Home › Forum › Ask A Member › 1956 Johnson RD 18 Upper Cowl Pin Removal
- This topic has 8 replies, 4 voices, and was last updated 9 years, 8 months ago by
viking66.
-
AuthorPosts
-
June 23, 2016 at 10:26 am #4570
Hi All,
Anyone know how to remove the Upper Pin on the cowl that will seperate the two parts of the Cowl? I appears to be just a pin, and I do not see an E clips holding it but it will not budge.
I am thinking and please tell me if I am wrong, but maybe it is slightly tapered and has to come out from one side. If that’s the case, I can’t tell which is the larger side.
As always thanks a Bunch!!!!
June 23, 2016 at 10:37 am #38801Thinking one end is knurled…look closely and when you find that end, drive out towards that side…
http://www.richardsoutboardtools.com
classicomctools@gmail.comJune 23, 2016 at 12:35 pm #38803I believe one end is knurled also. I’m not sure which end or if they were even assembled consistently. Be careful when driving it out. That cast aluminum can be brittle and that pin probably hasn’t moved in 60 years. A bit of penetrating oil may help especially on the knurled end.
OldJohnnyRude on YouTube
June 23, 2016 at 1:39 pm #38805Breaking the Aluminum is a big Concern.
I just thought it may be easier to get blasted, and to paint with them seperated.
I will giveit a good soak on both ends, maybe a tad bit of heat too.
June 23, 2016 at 2:44 pm #38806Yes, some heat may help too. I have not yet done a repaint on one of these hoods. I can certainly see it being easier to handle and deal with for prep and paint if it was separated.
I know there are a number of members here that have done superb paint work on these motors. I’m not sure what their methods are, but maybe they will chime in and give some direction. I’m guessing the pin gets removed, but maybe not.
-BenOldJohnnyRude on YouTube
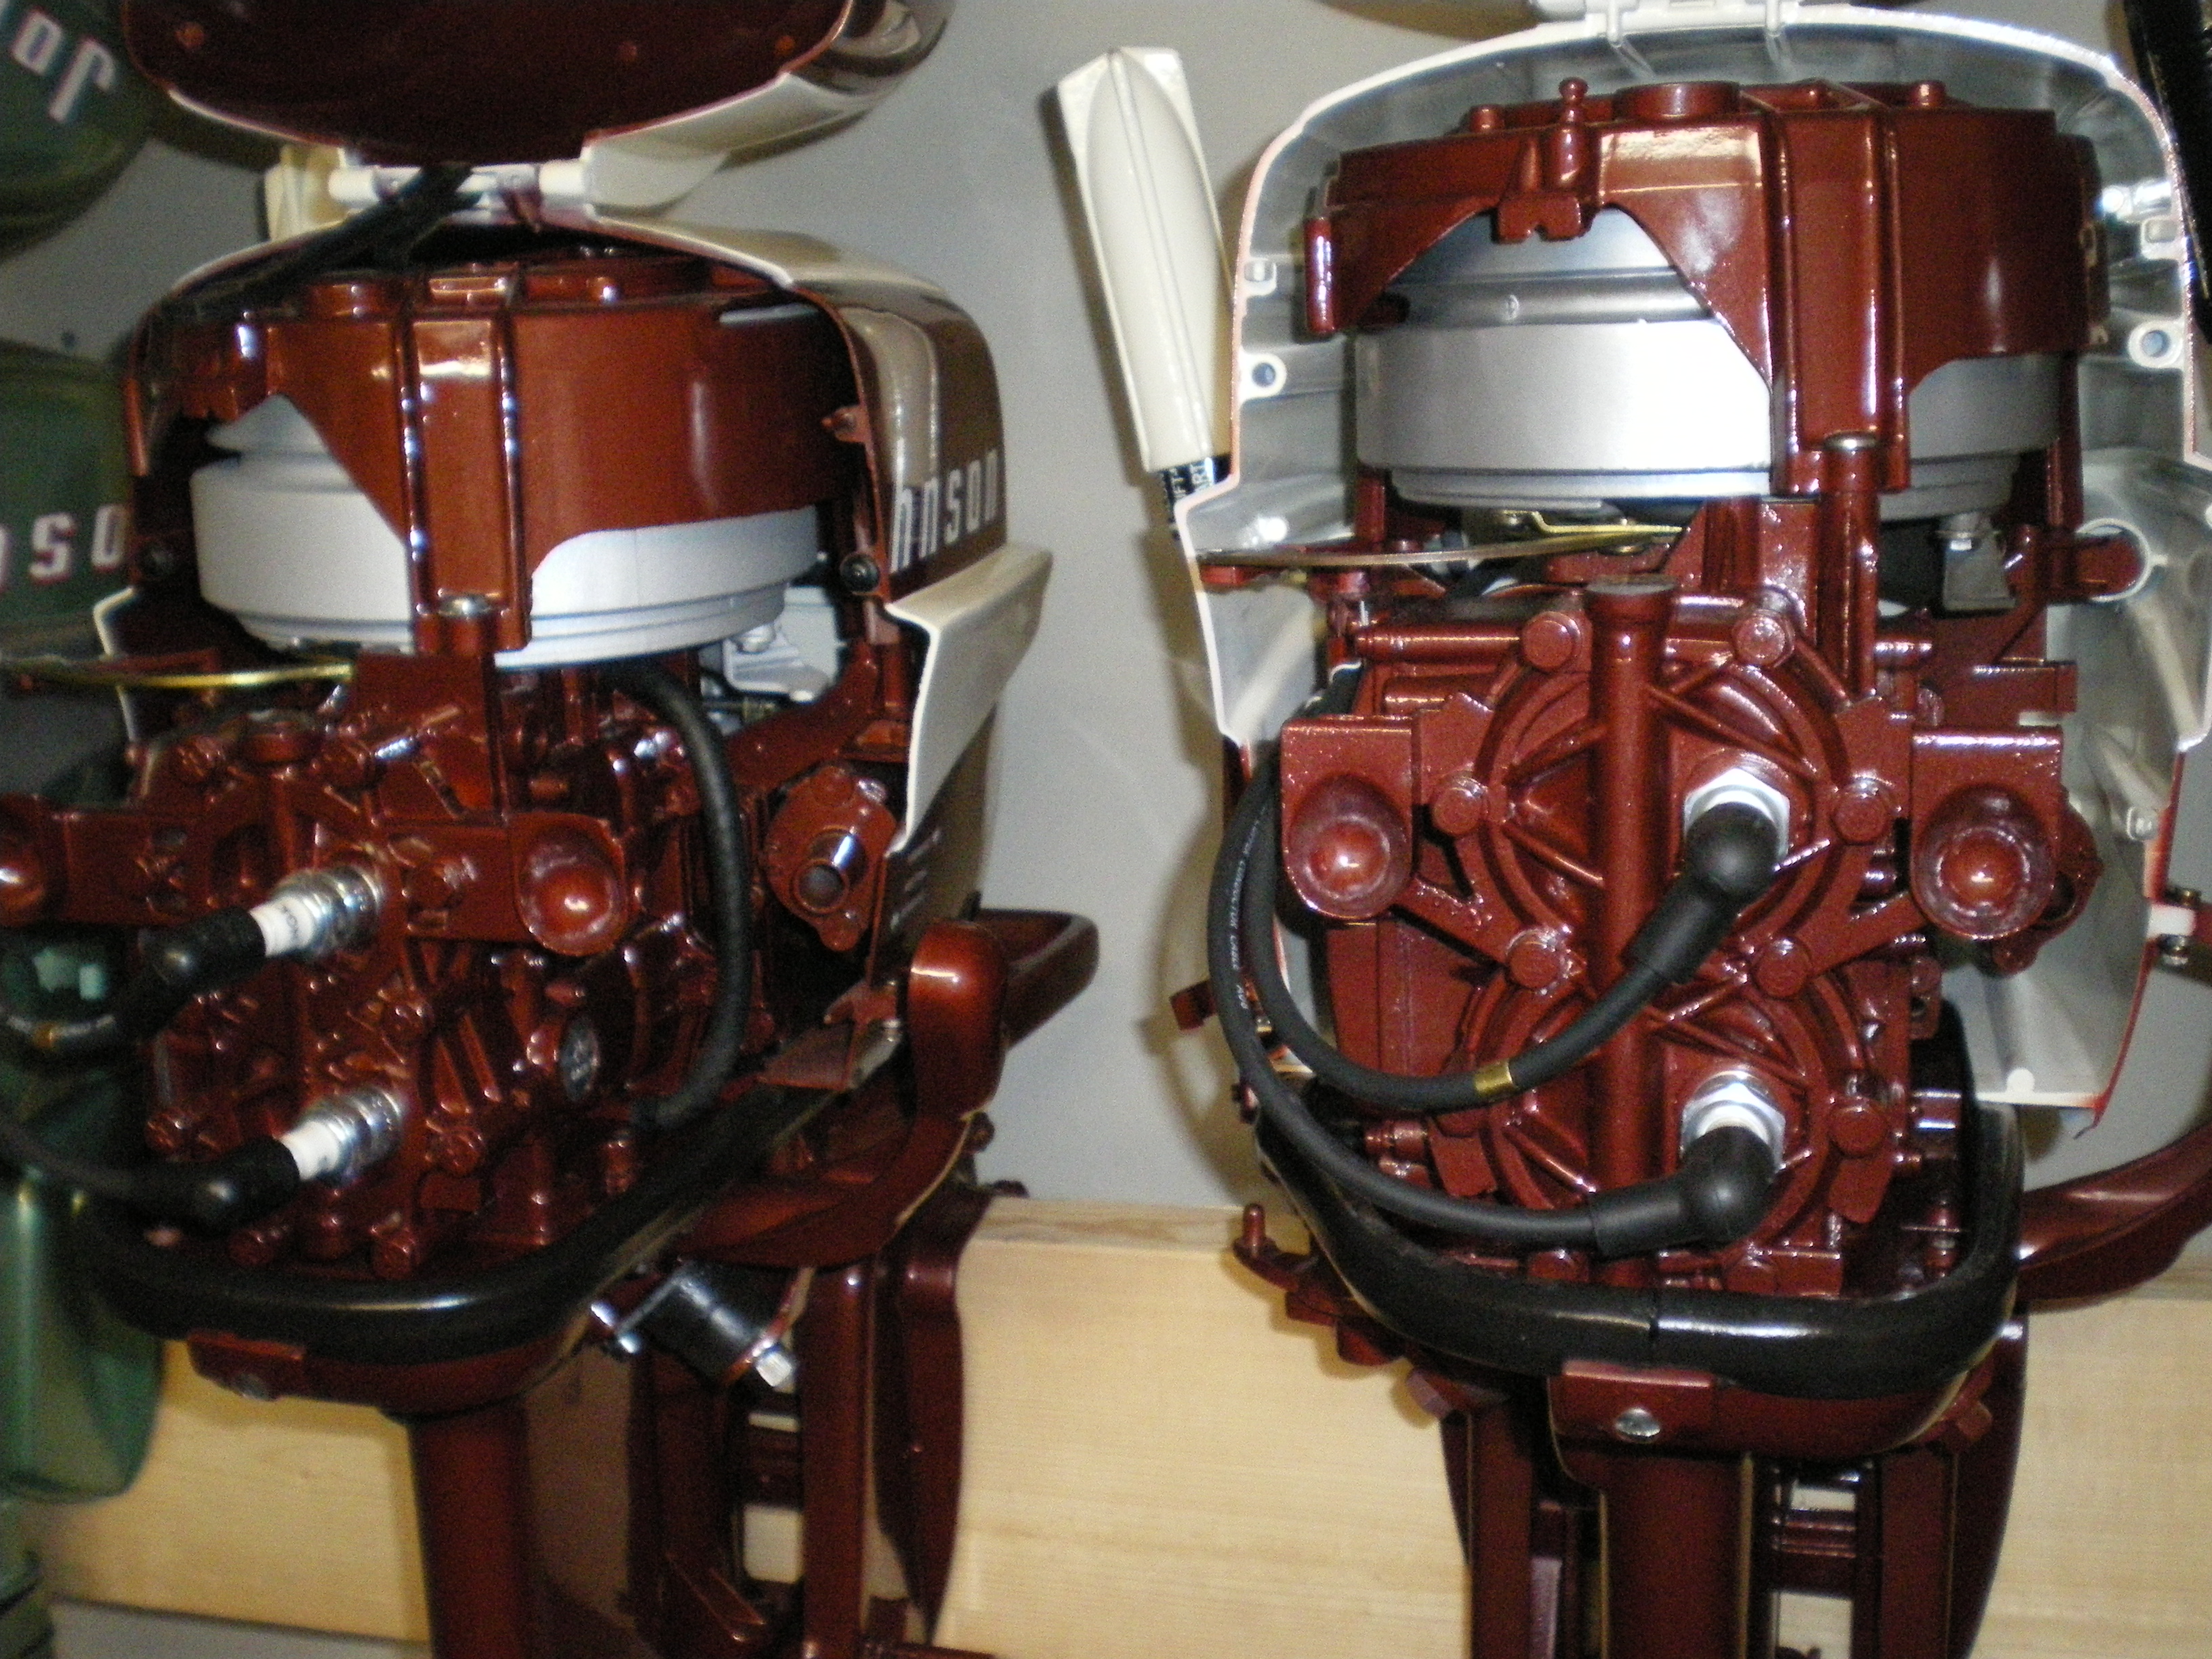
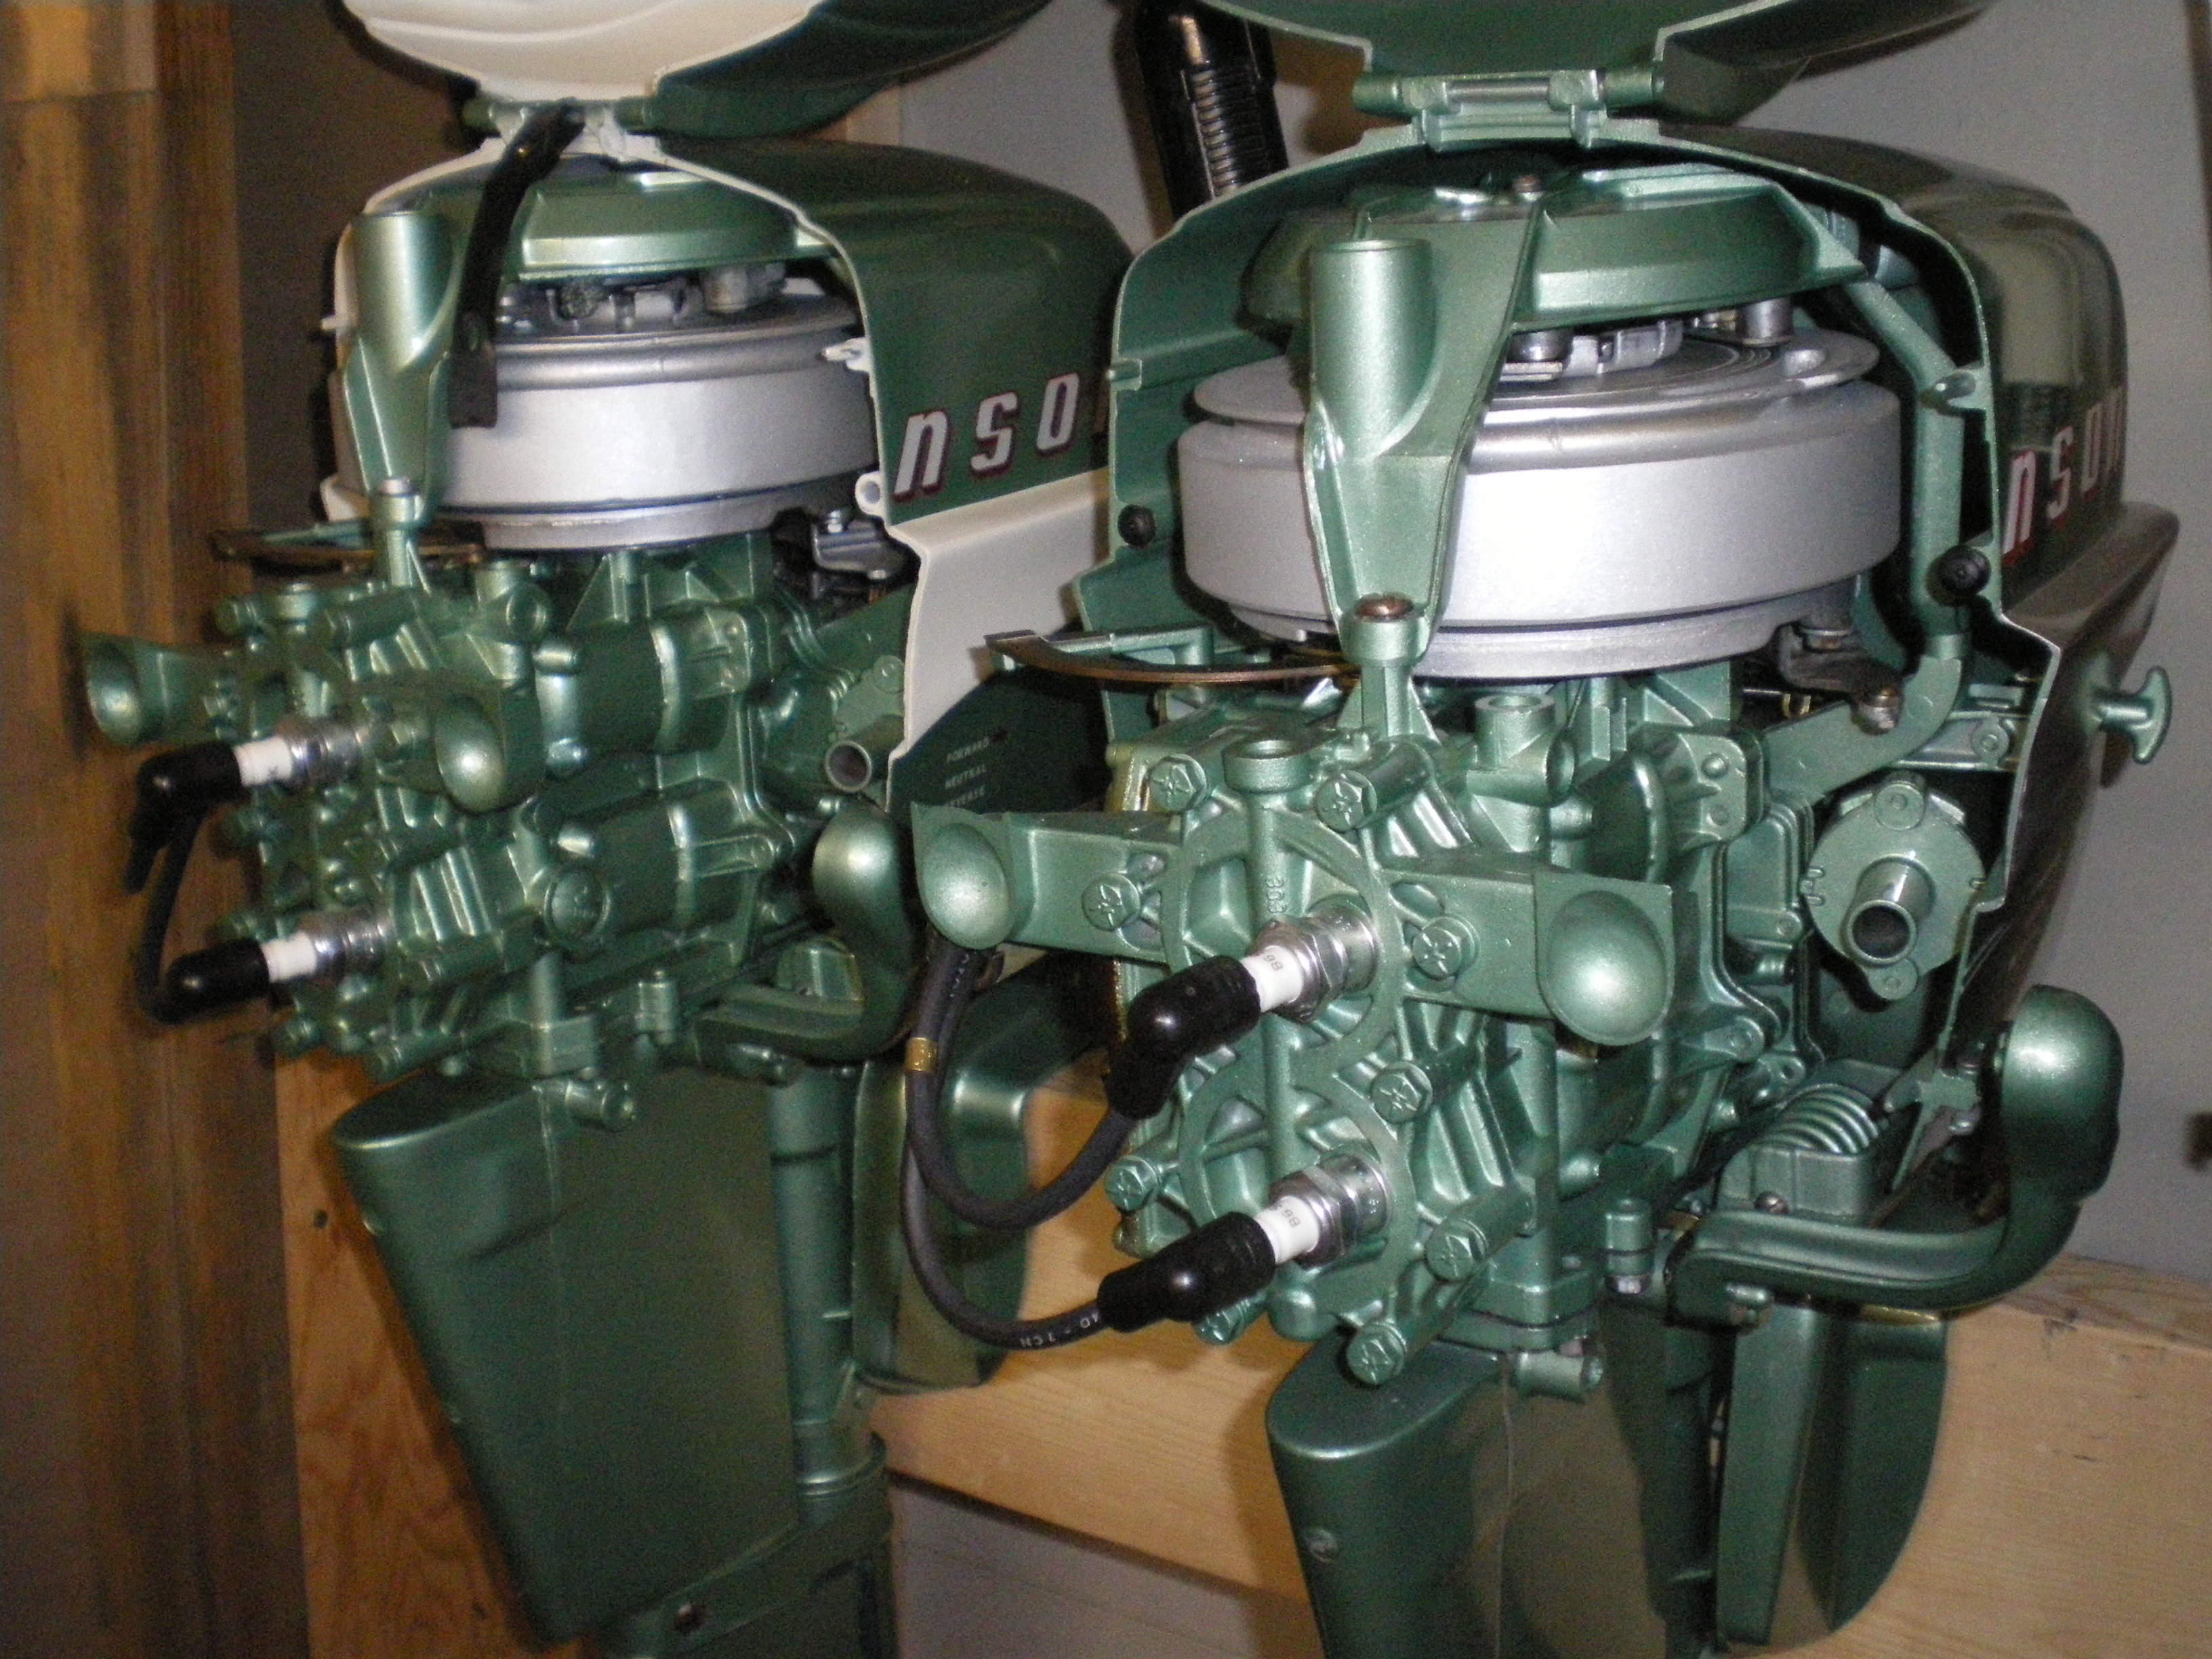
June 23, 2016 at 4:02 pm #38813The pin is knurled on one end but being made of aluminum, sometimes it wants to expand on the other end while driving it out with an appropriate size pin punch, firmly locking it in place at both ends, especially if it is tight from corrosion. To solve that, I cut them out with a small zip blade so the hood can be separated and the locked in pieces drilled out or driven after heating with the torch. If I remember correctly, the pin is just 3/16 round aluminum available at any good welding shop so a replacement is easy to make.
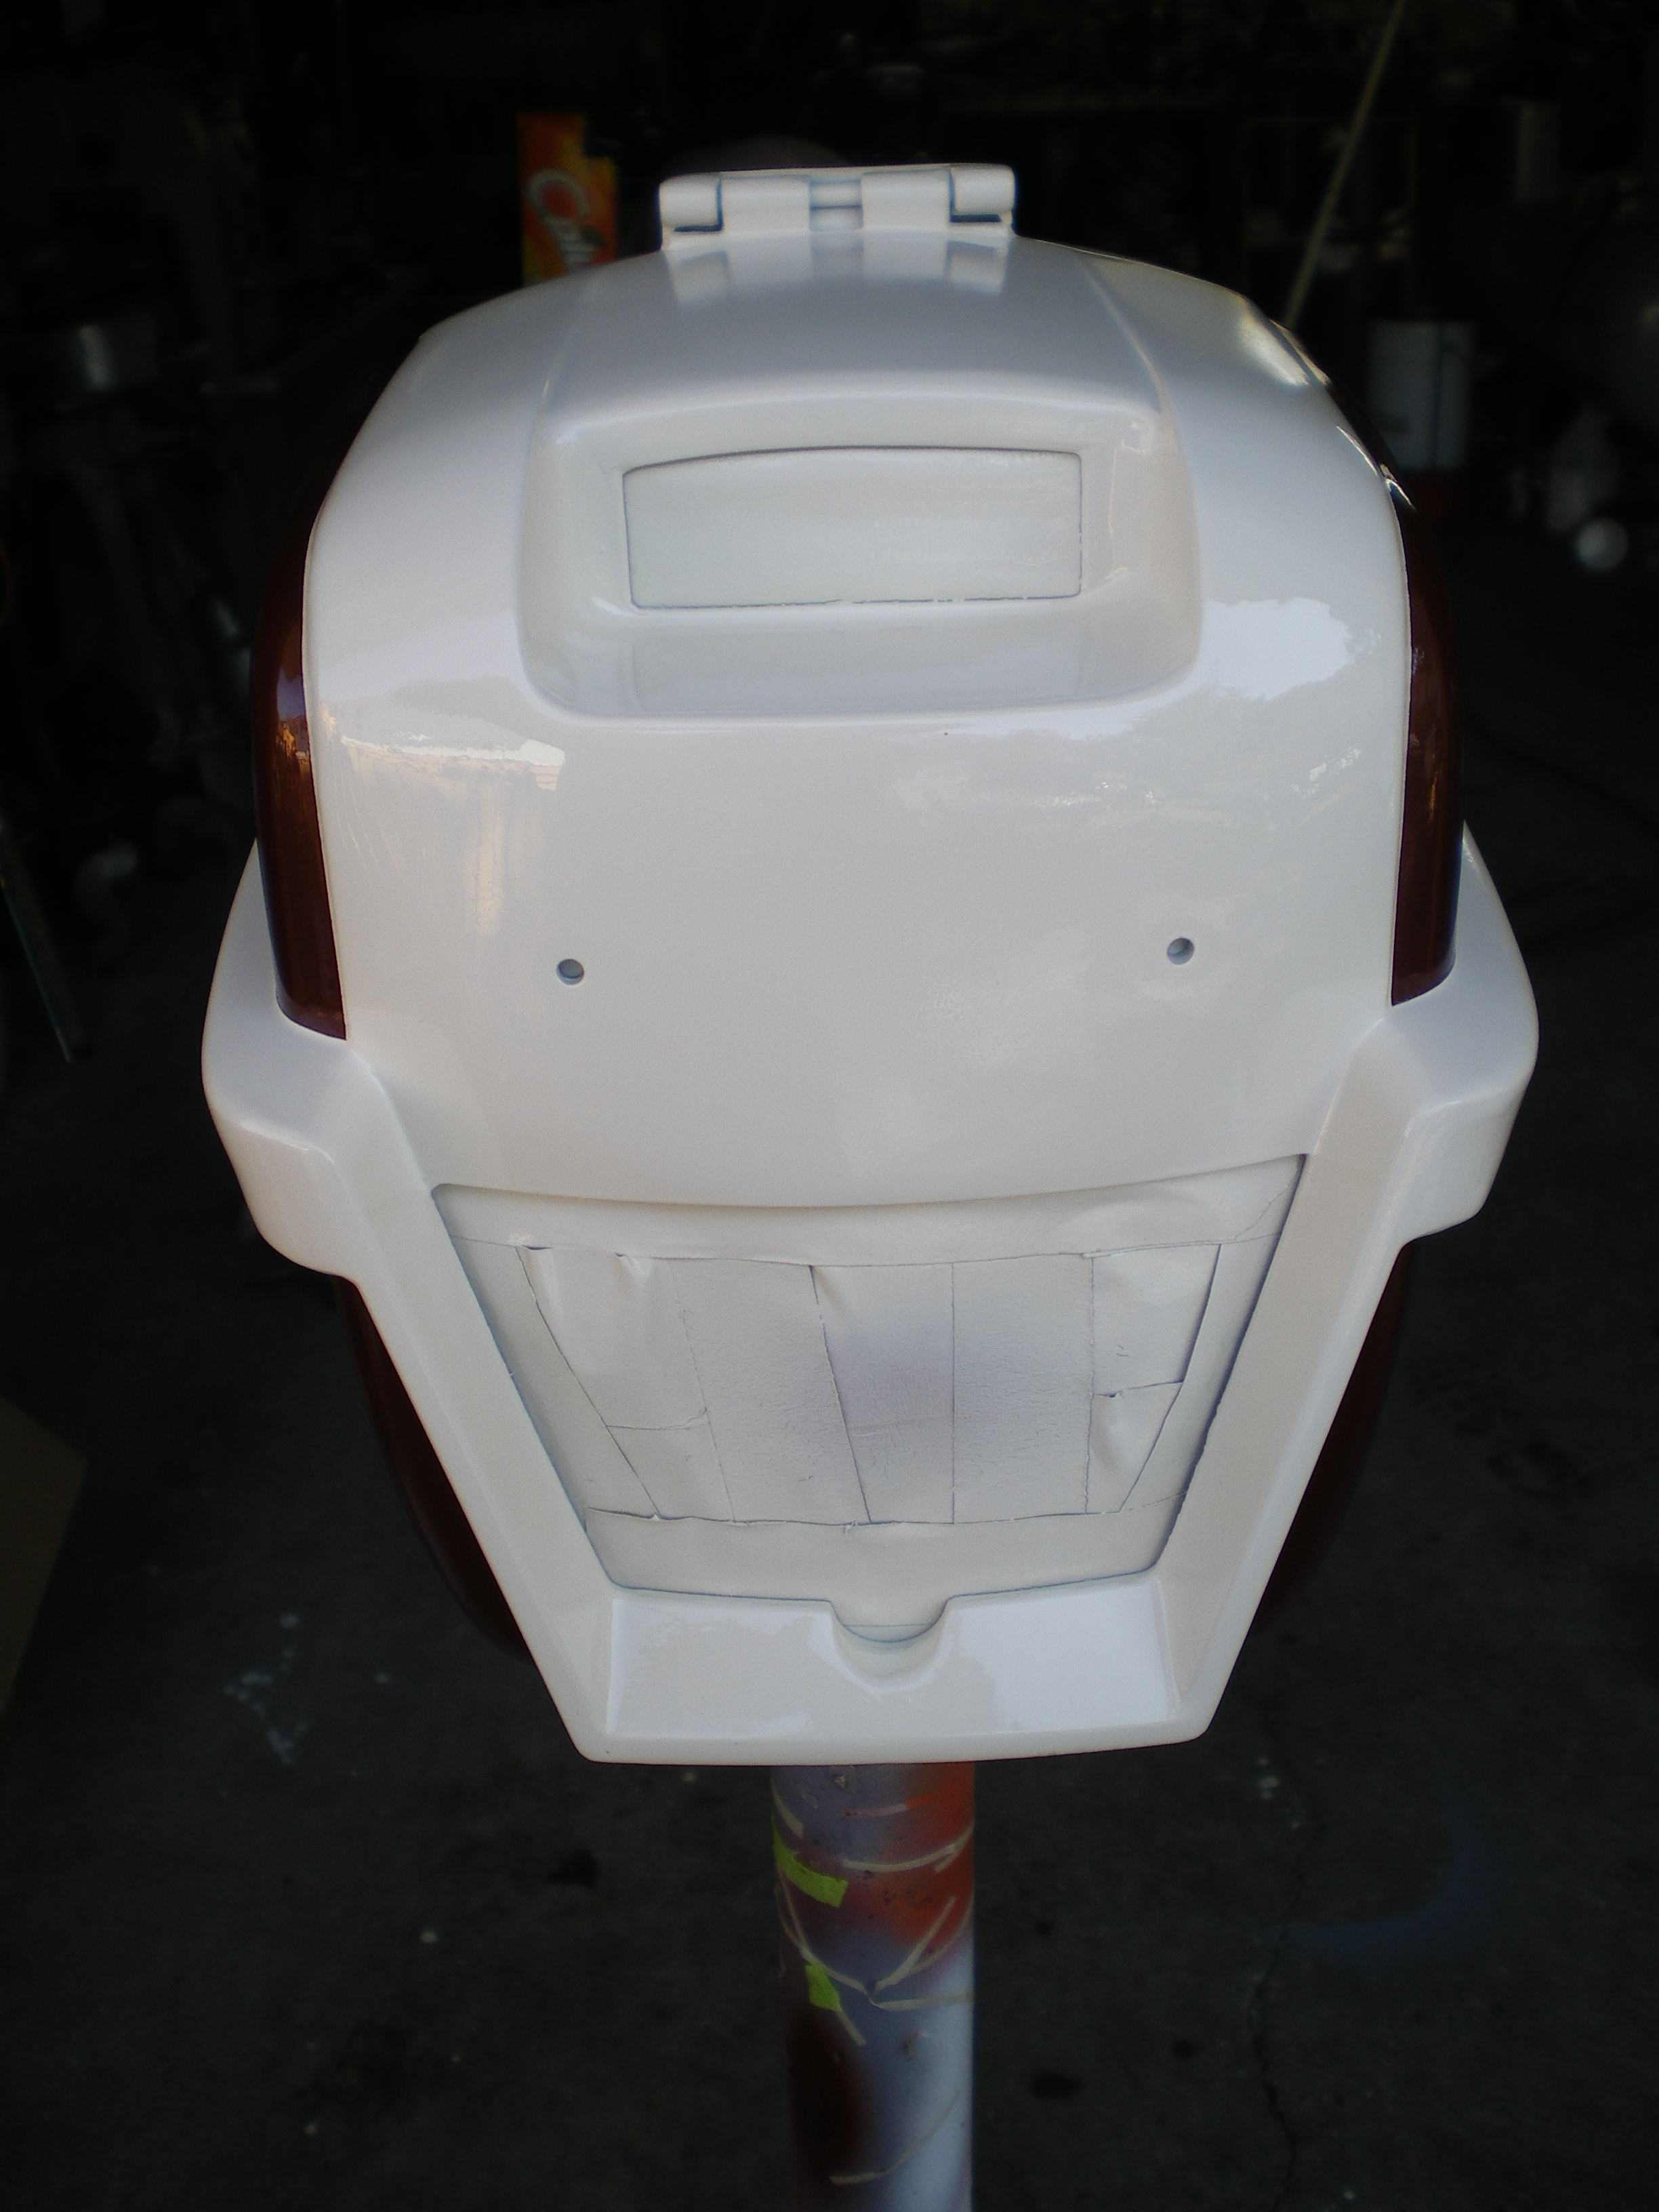
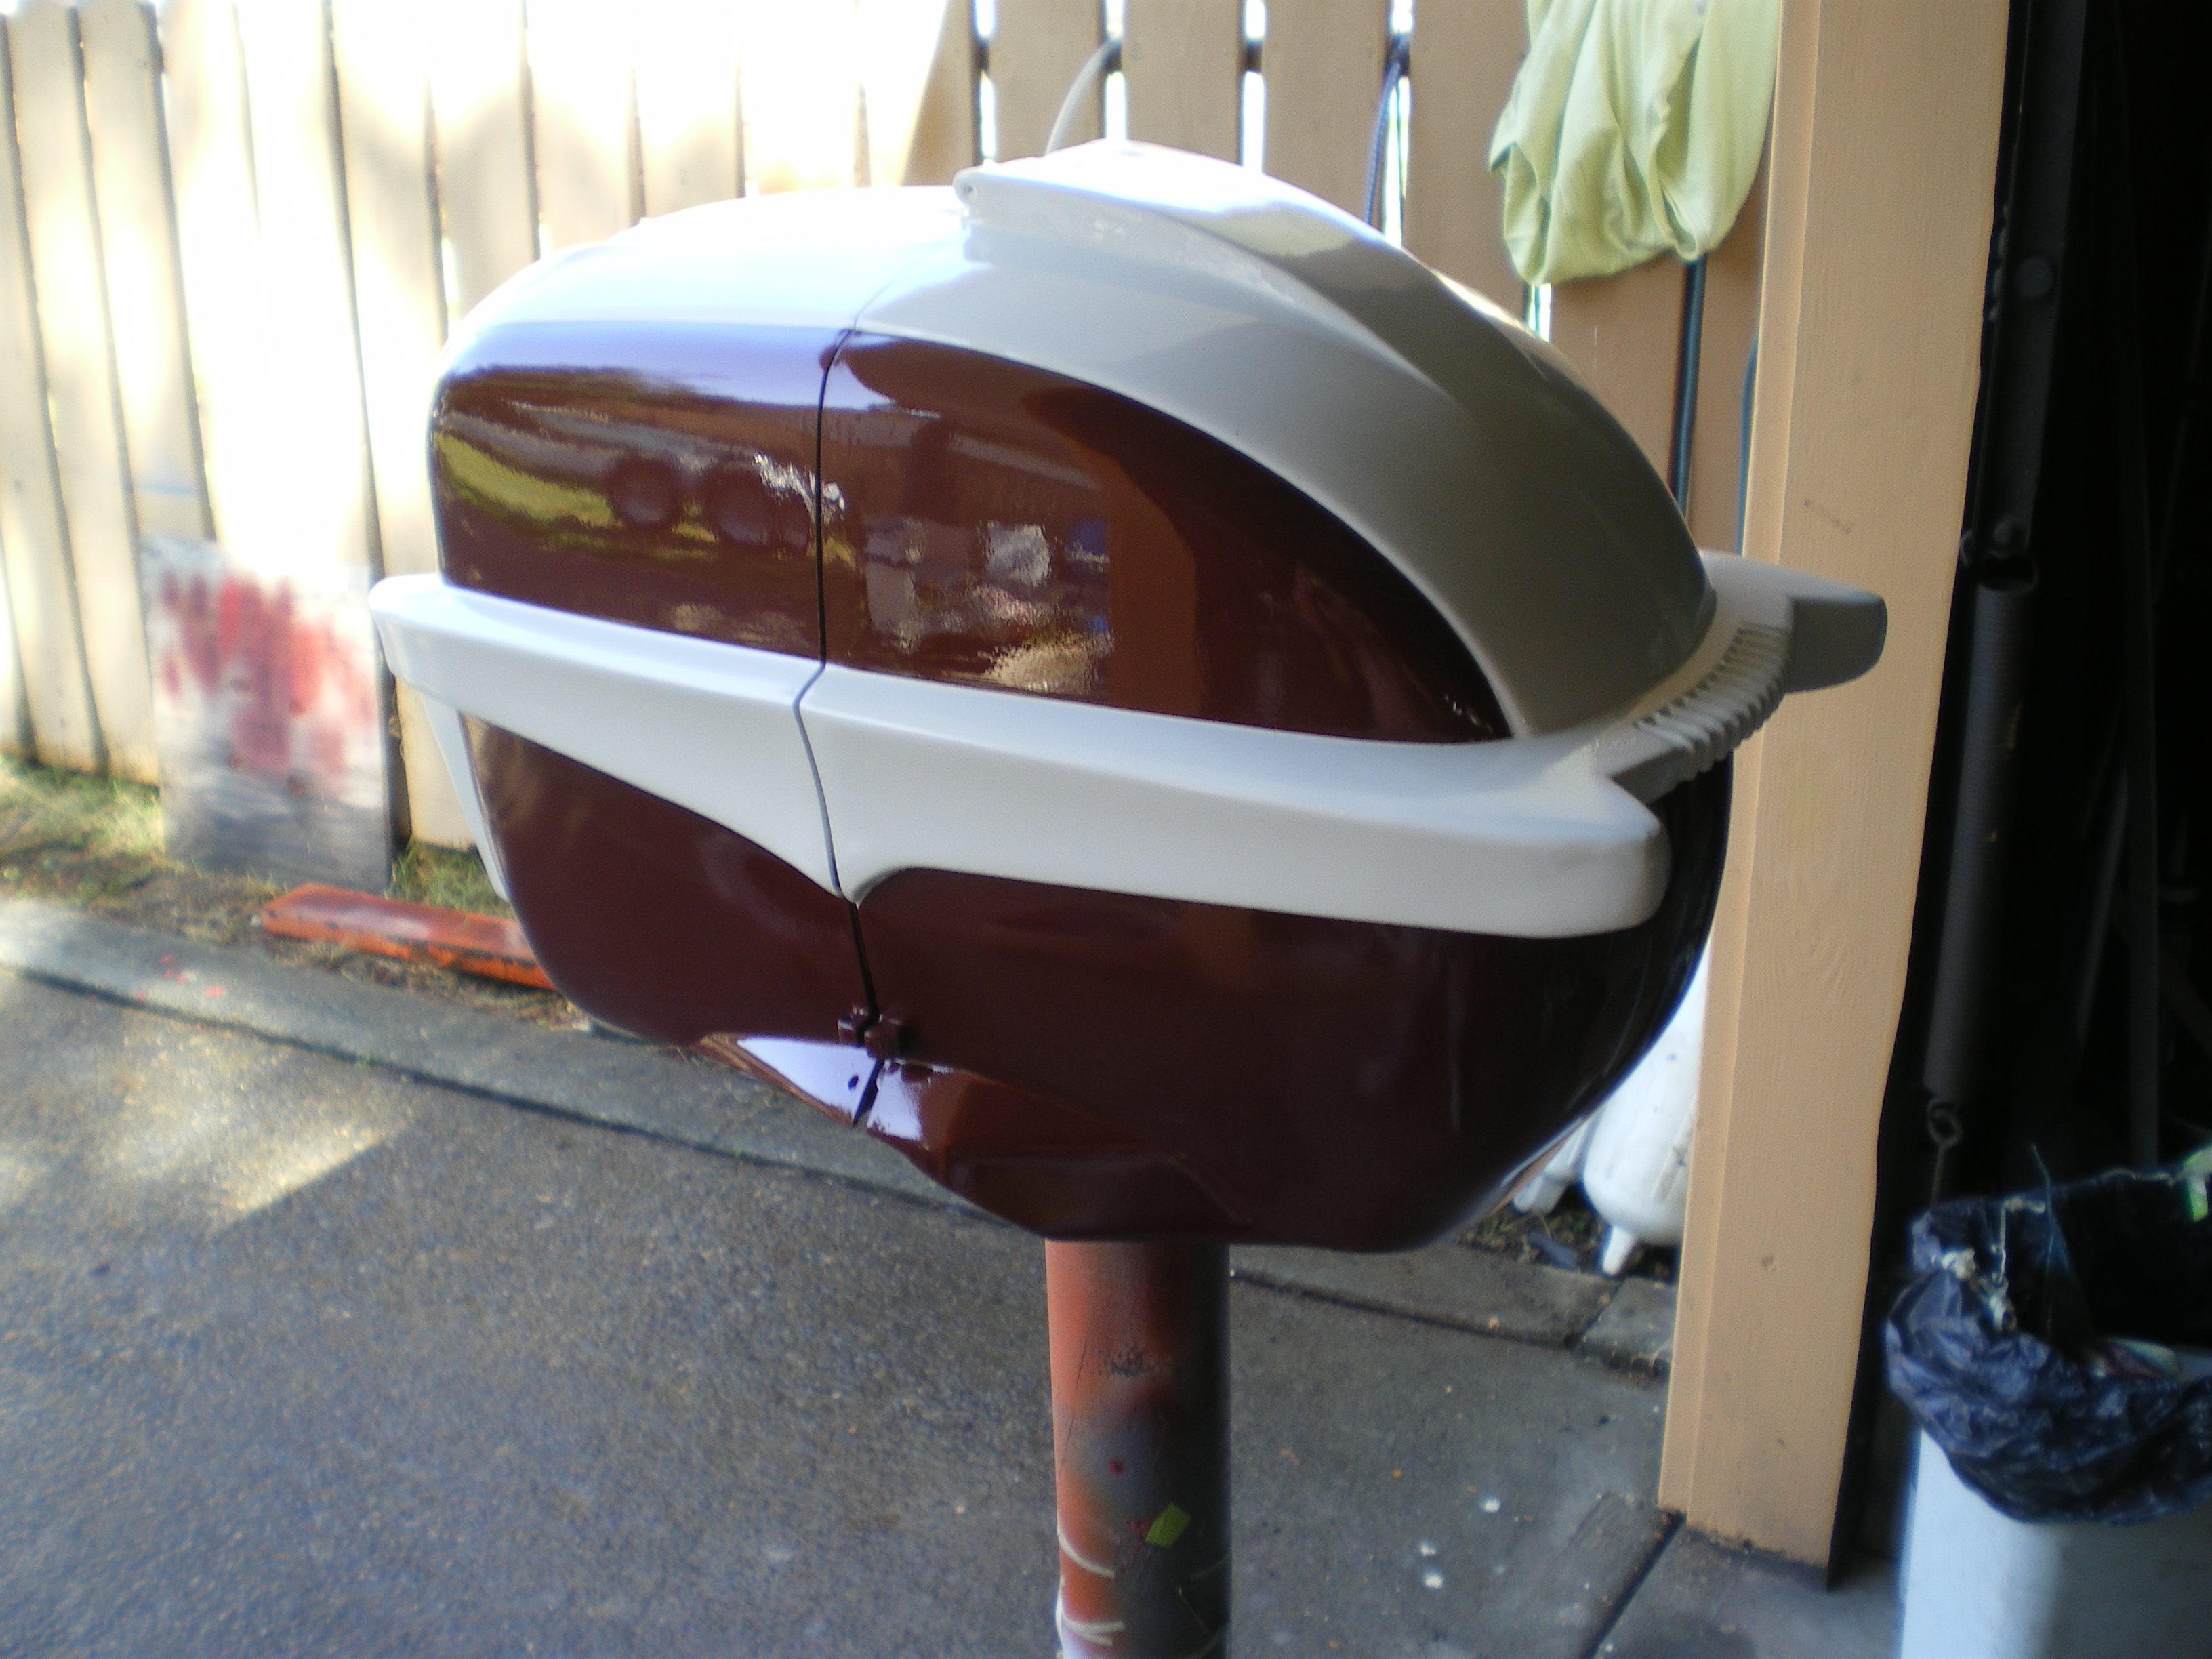
Your bodywork on the hood will hide any damage caused while removing it and the new pin gets epoxied in place if it’s a loose fit. I find it’s way easier to do the bodywork and paint the insides of the two hood halves while they are apart and then reassembling them before masking the joint and painting the outside surface, especially if the inside is being painted Cream color. You wouldn’t want any Holiday Bronze overspray on the Cream! ☺
Attachments:
 June 23, 2016 at 4:22 pm #38814
Ok, I came up with the easiest fix!
Mumbles just sends me on already done at no charge because he likes me…..LOL
June 23, 2016 at 6:24 pm #38817I also meant to add, beautiful Cowlings!!
June 24, 2016 at 2:39 am #38860I went ahead and cut the pin and drilled out the 2 end parts.
I am glad the pin is aluminum, very easy to drill and get the bit lined up straight. It is 1/4" for future reference.
Thanks all!!!
-
AuthorPosts
- You must be logged in to reply to this topic.