Home › Forum › Ask A Member › 1957 Evinrude 18HP ignition issues
- This topic has 15 replies, 6 voices, and was last updated 7 years, 11 months ago by
nobodyspecial.
-
AuthorPosts
-
May 3, 2018 at 4:32 pm #9815
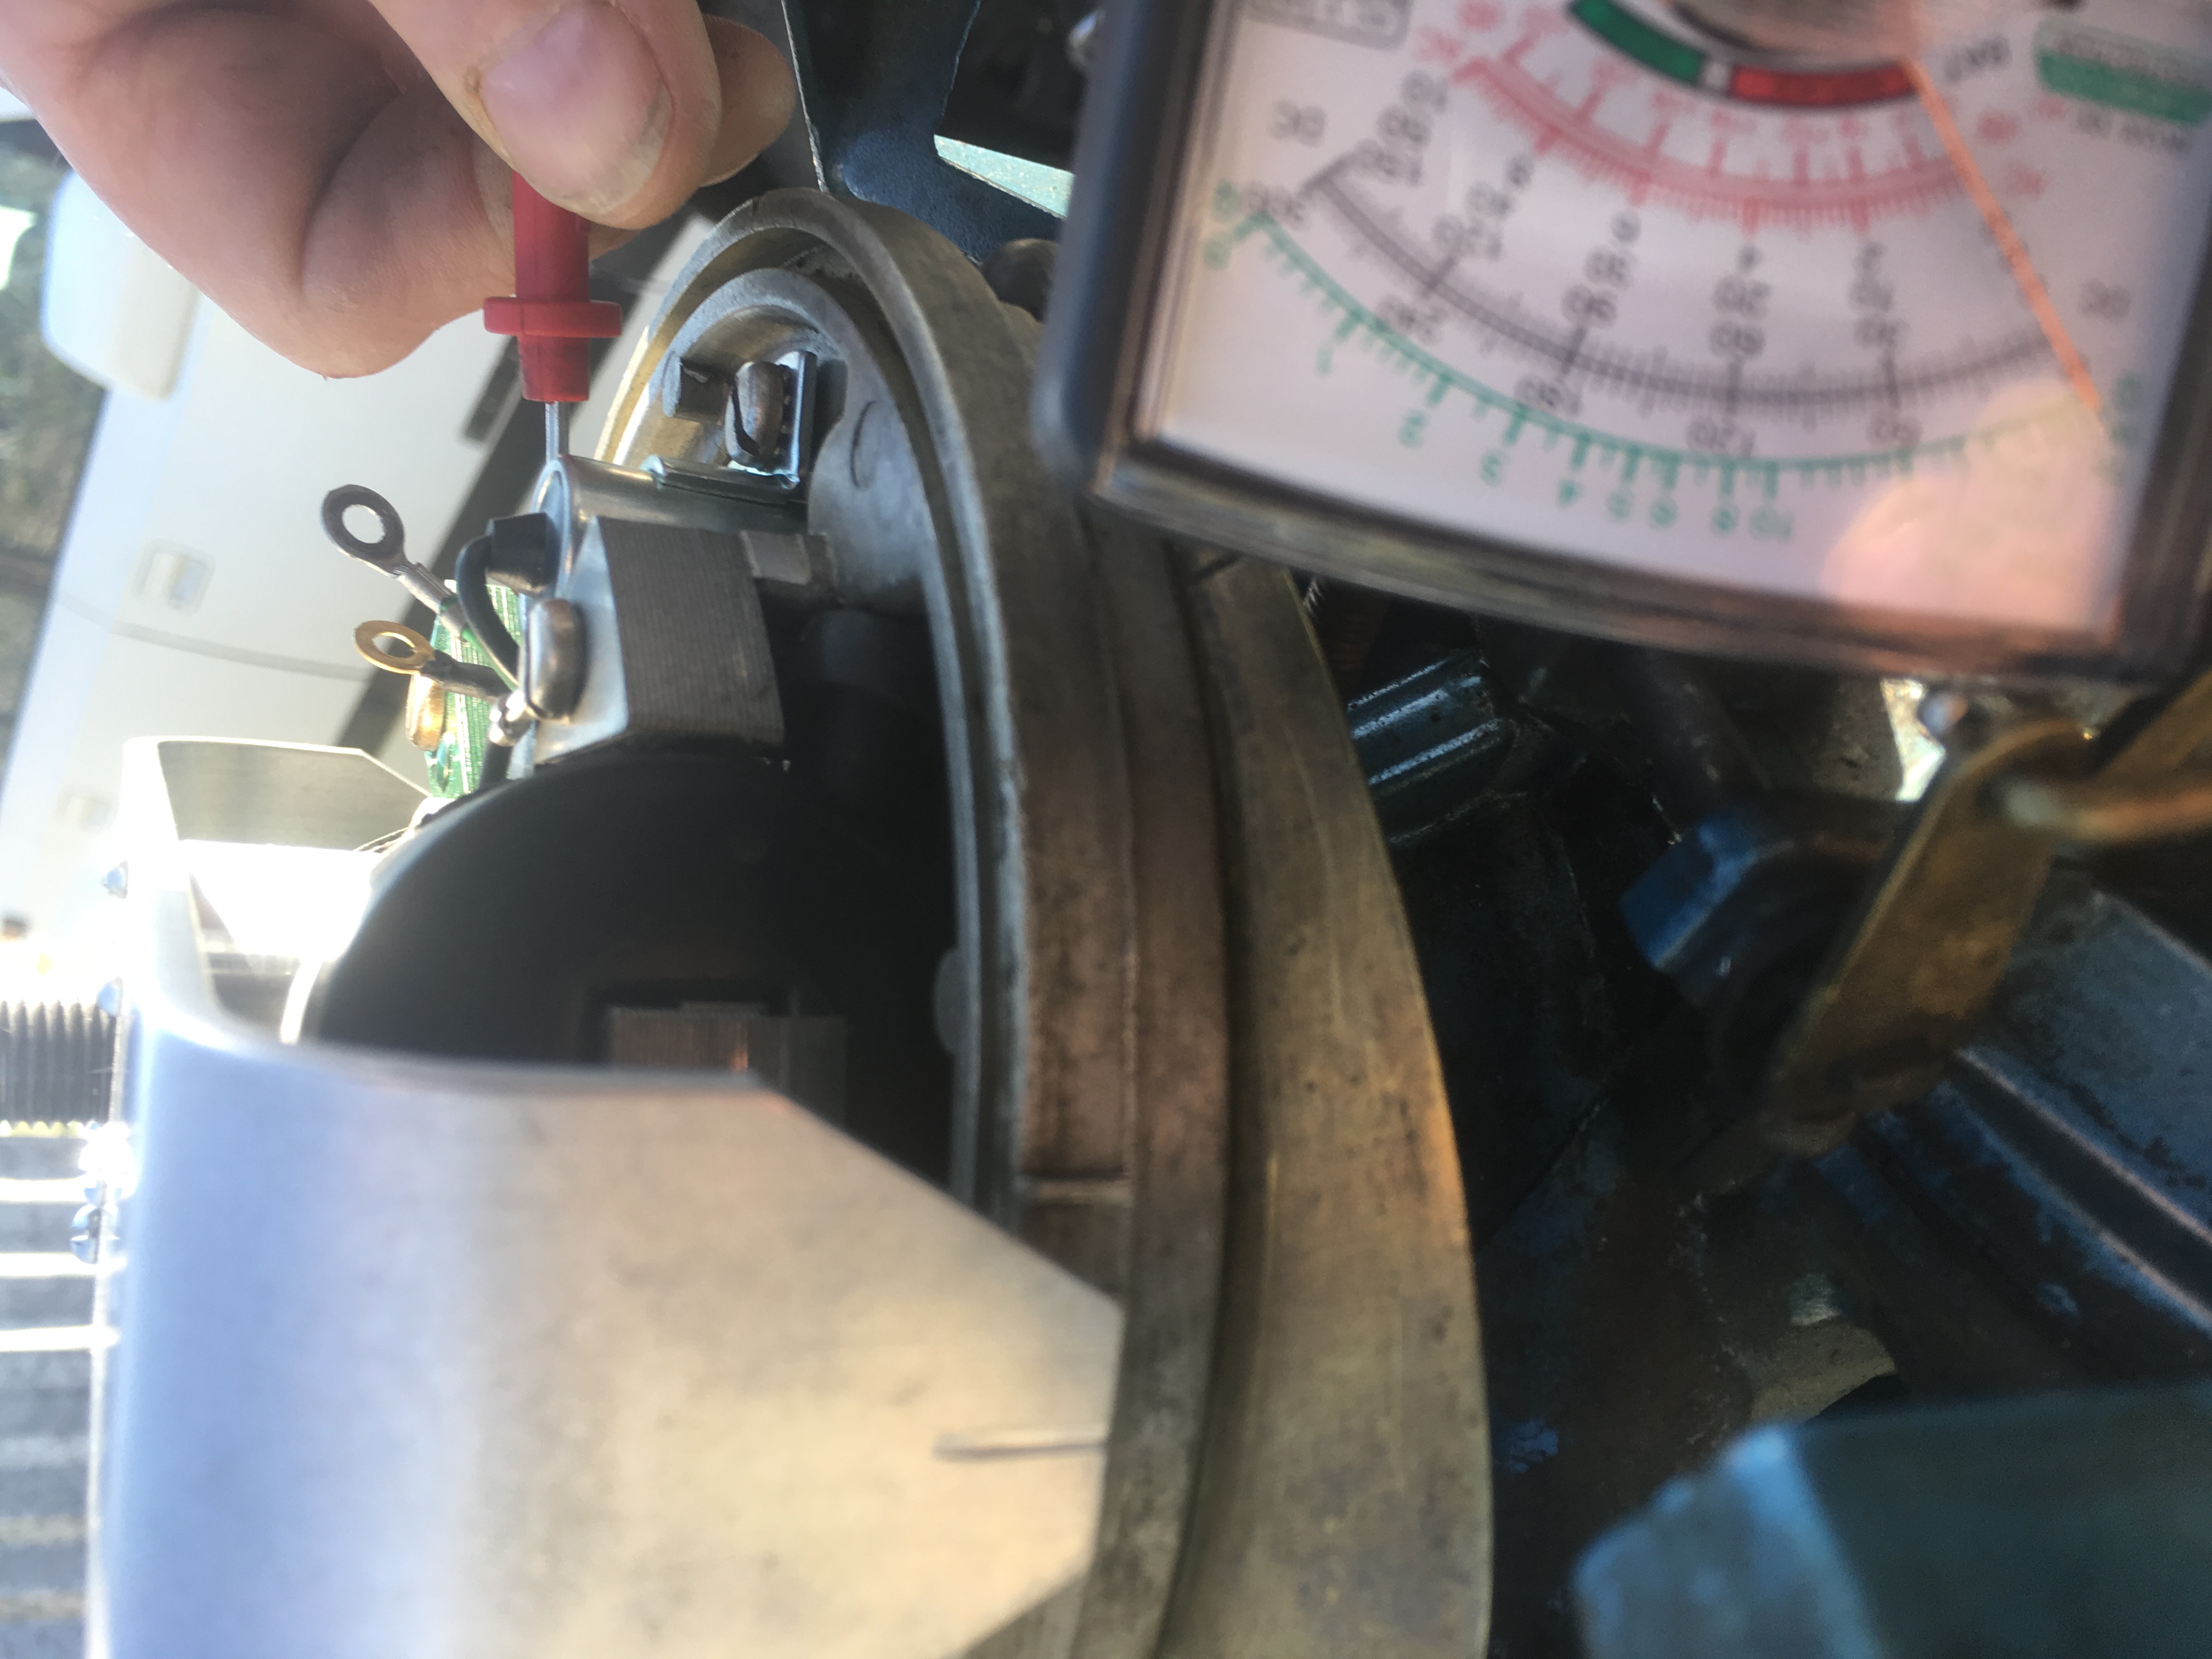
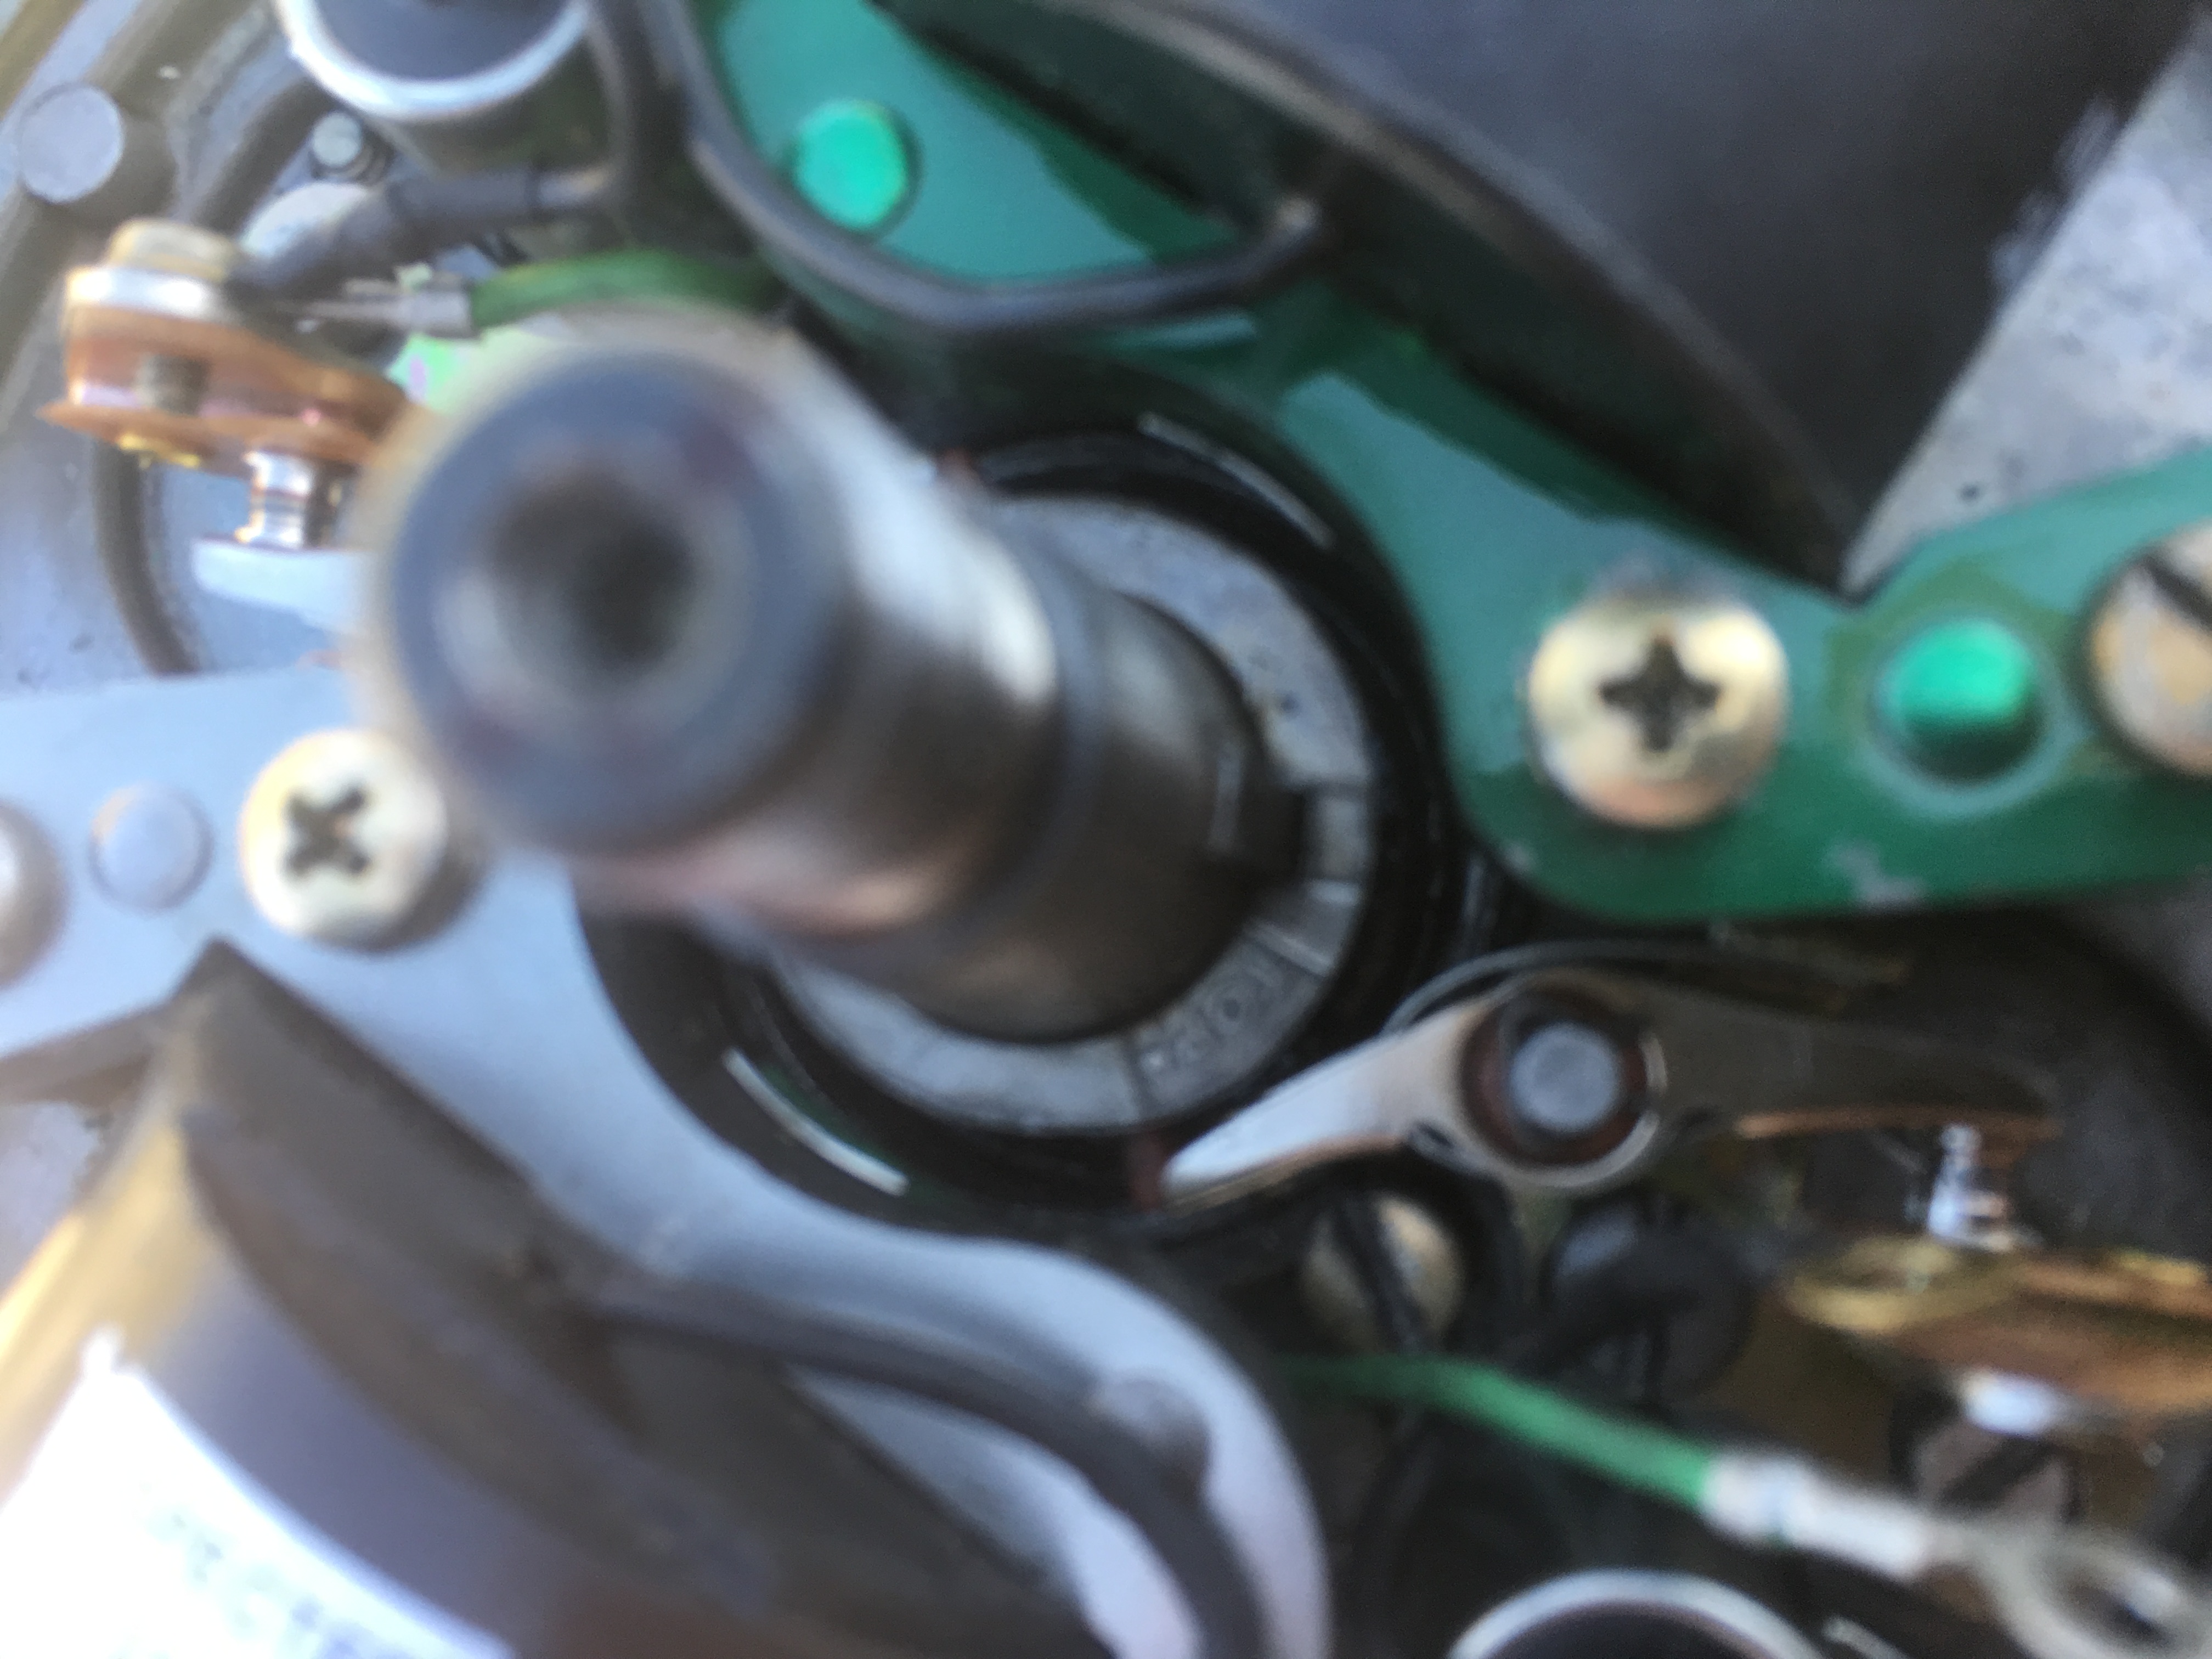
I attached a few pictures below. Second one shows where the tool hashtag is 1/4" past the second armature hashtag, just as the points opened up and the multimeter went to zero. I couldn’t get a direct image directly in front of it for you to see but, it definitely is 1/4" past the second hashtag. The first image is of where the points foot sits, where the feeler gauge is at 20.(which is where it sits right now.
Cajuncookone, from youtube, has some really excellent videos on ignition tune ups and I posted a question there. He responded and asked me to post the issue here. So I signed up and I’m posting my issue here, in hopes of getting some help from all you fine people!
I ordered one of the Timing tools from Richard White but, it doesn’t seem to work for me. No matter what I do, I cant get the tools hashtag to get in between, or even NEAR either of the hashtags on the armature! The tools hashtag is always about 1/4" PAST the second hashtag. I can’t get it to be near the first hashtag at all(which is suggested for the new points I installed) or even in between them, or even AT the second hashtag. Like I stated, it is always about 1/4" PAST the second hashtag. It’s exactly the same with the bottom cylinder side. I watched Cajuncookone’s videos on ignitions using this timing tool and followed each step exactly, about 5 different times. Now I DID set it as he said but, the Tools hashtag is of course 1/4" past the second hashtag.
So to see if I could get them closer to the hashtags, I tried the feeler gauge method with the fly wheel on. This is where you run a wire through the condenser screw hole and attach it to the insulated points(same spot used when using the timing tool method.) This didn’t work either because when the points opened up to the 20 feeler gauge, the hashtags were even more way off(more like 2" away.) Also, another confusing issue with this method, is the adjustment window on the flywheel doesn’t line up with the point adjustment screw! The window is always above the coil, not the points!
I did not do these two different methods together. I did them totally separate of each other, in hopes of seeing the hashtags closer to where they should be.
By the way, Cajuncookone asked if the points cam was possibly upside down. The points cam is not on upside down. It is as it should be with the word "TOP" facing the shaft and the arrow pointing to the shaft.
After doing each one of these methods multiple times and not getting the hashtags to lineup with the tool OR the flywheel hashtags, I decided to try another way. I just eyeballed the insulated foot on the points, when it was at the highest point on the cam, where it just opened enough for the 20 on the feeler gauge and I tightened it down. I did this on the bottom cylinder also. The only issue is that the hash tags on the armature plate aren’t near the hashtags on the flywheel. This is where it is right now.
I’ve removed it and examined it probably 18-20 times and I am left scratching my head in absolute bafflement! This was running 3 weeks ago but, rough so this was to replace points and coils(but, it turned out it was a bad spark plug wire.) I haven’t tried starting it yet as I am anxious it won’t work and I will be stuck again with no idea what to do next. I know it must be something simple that I have overlooked but, I am lost. Any ideas??? Thank you for your patience with this first timer on these great old engines!
Attachments:
 May 3, 2018 at 4:37 pm #75276
Welcome.
I am not sure when reading your post if you are trying to use the feeler gauge AND that timing tool. If so put the feeler away. It is not needed with the tool.
One other question is are the points BRP or aftermarket?
May 3, 2018 at 4:44 pm #75277the rub block may or may not be at he highest point of the lobe if you just use top you could be a few degrees away from perfection
when the rub block is at the highest point of the lobe how do the marks line up with the tool
btw some points have longer "rubbing arms" are you using the points for your specific motor
Joining AOMCI has priviledges 🙂
May 3, 2018 at 4:51 pm #75278David Bartlet: Thank you for the reply. I never used the feeler gauge WITH the tool or at the same time. I did those two methods separately. The points are aftermarket. I will go out to try and run it today and see if it runs even though the hashtags aren’t anywhere near to where they should be and update here when done. Thanks again!
Crosbyman: Thank you! Points were ordered off of Ebay. Aftermarket of course. I really just adjusted them paying attention the to exact spot where they opened up just enough for the20 feeler gauge. Not using the highest point on the lobe. It is possible they are the wrong points and that is throwing it off. I will go tinker some more and update here later. Thank you for your thoughts!!!!
May 3, 2018 at 5:03 pm #75279OK, I have had issues with aftermarket points i the past. I will not use them any longer.
The eccentric screw for the points can be used in such a way that the eccentric(cam) part of the screw is closer or further from the pivot point of the points. Hope this makes sense. This can affect how much the points will move. so you may want to try turning the eccentric screw a half turn from where it is and try your adjustment process again.
May 3, 2018 at 5:04 pm #75280One thing to remember, that is to forget about that points cam once it is installed properly.
Especially when using the proper timing tool.
So I would recommend going back into the ignition and setting the timing tool between the marks, set the proper set of points to open at that point, rotate the tool 180 degrees and do that other set and your done… Ignore what you see when looking down on the points cam after you set the points, as if it is the correct cam, the timing tool will do its intended job… and that is to make spark at the proper time.I have also seen points that just plain are junk and do not work no matter what someone tries… don’t skimp, get the good ones…
Let us know how it goes..
Respectfully
Richard White
http://www.richardsoutboardtools.com
classicomctools@gmail.comMay 3, 2018 at 5:09 pm #75281"" I really just adjusted them paying attention the to exact spot where they opened up just enough for the20 feeler gauge""
the opening of the points does not set the position on the cam !
the highest cam position sets the opening of the points
step 1 find the highest point of the cam
set the points at .020
or better yet you use the tool & VOM method by R White or
use the utube video and a VOM
http://www.youtube.com/watch?v=ga1Cjymj … e=youtu.be
Joining AOMCI has priviledges 🙂
May 3, 2018 at 5:10 pm #75282And one of the coil wires is a little close to the crankshaft in your first picture and may rub through if not rerouted.
May 3, 2018 at 5:29 pm #75283Wow! Thank you for all the good info!!
Aftr Crosbys response, I decided to replace the old points I took off and use the Timing tool again and TA DA! It now lines up! The points I bought off of ebay were either wrong ones or just crap. The rubbing foot was definitely bigger.
I would not have thought of this! I was starting to think I was losing my mind in some fashion(which I probably am BTW)
Thank you again.I will now go out to run it and update…..
May 3, 2018 at 5:30 pm #75284I will take care of that coil wire too and update the results.
-
AuthorPosts
- You must be logged in to reply to this topic.