Home › Forum › Ask A Member › Elto Lightweight Transom Pad and Screw
- This topic has 11 replies, 3 voices, and was last updated 4 years, 1 month ago by
 Tubs.
Tubs.
-
AuthorPosts
-
December 7, 2021 at 9:59 pm #250817
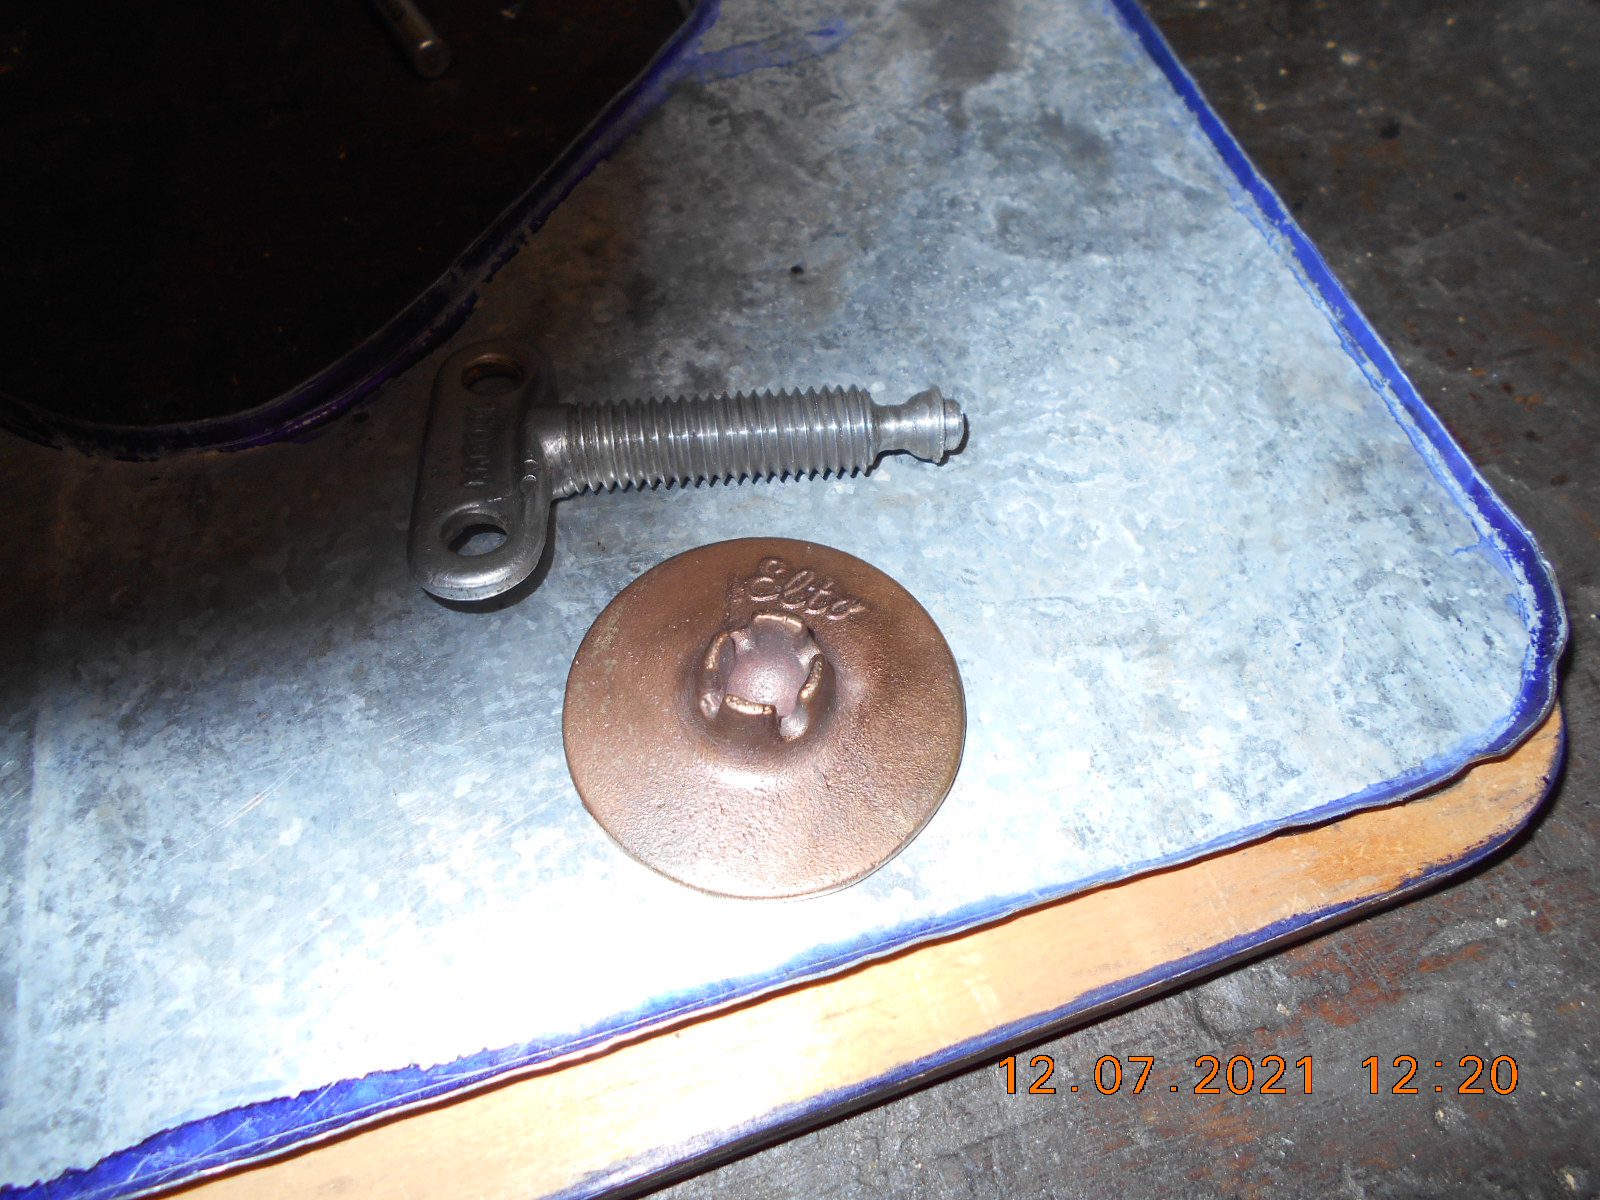
I received my new transom pad today from Art DeKalb, and it looks real nice.
What I’m wondering about is my old screw that the pad is to mount on.
Are the ends of the screw suppose to have a complete round ball on the
end?
Mine has only half a ball. I don’t think it’s worn down that way, but perhaps someone
machined it to fit a different pad at one time?
Any ideas?
The other screw has an original pad on it yet, so hard to tell what the end looks like. 🙂
Thanks.Prepare to be boarded!
December 7, 2021 at 10:10 pm #250820I’m no Elto expert, but that typical Elto/Evinrude transom pad needs a screw with a fully round ball like the one shown on Art’s website. I “think” you are right in that someone worked on that screw in the past to fit another type of pad. Here’s the screw Art has listed for the Elto Lightweight:
http://www.precisionservoutboard.com/evinrude-elto-lightwin-lightweight-400-series-1930s-screw/
Bob
1937 Champion D2C Deluxe Lite Twin
1954 Johnson CD-11
1955 Johnson QD-16
1957 Evinrude Fastwin 18
1957 Evinrude 3022
1958 Johnson QD-19
1958 Johnson FD-12
1959 Johnson QD-20“Every 20 minute job is only a broken bolt away from a 3-day project.”
"Every time you remove a broken or seized bolt an angel gets his wings."December 7, 2021 at 11:27 pm #250826Thanks Bob, I did ask Art in an email, but never heard back yet.
I didn’t think to look on his web page!
I wonder if “alumi-braze” would take to it. Not sure I could gob enough
on at one time in order to form a complete ball. Might work if
I made a brass for around the end, then weld it up?Prepare to be boarded!
December 8, 2021 at 8:12 am #250831
What you have there is the result of using a
fender washer as a substitute for the missing
pad. As the ball was forced into the hole of
the washer it pushed some of the material back.
If I could make a suggestion you could drill a
hole into a piece of steel a little deeper than
where you want to add some material. The
alumi-braze really shrinks when it cools. Devise
some way to balance the screw in the hole and
fill the hole with the alumi-braze. It should pull
out the steel. Your screw looks to be aluminum?
If it is brass I don’t know if the a“alumi-braze”
would stick to it.
TubsA "Boathouse Repair" is one thats done without having tools or the skills to do it properly.
December 8, 2021 at 9:28 am #250833Tubs, I think we’re on the same wave length on how to alumi-braze
the ball up, but at looking at my last post, I see I shouldn’t try to
compose a comprehensive sentence later in the evening. May have
to edit that one!I was thinking of putting the sleeve / mold over the existing “half ball”,
sticking up a ways, filling the sleeve with alumi-braze, and hoping
I can get the sleeve off, and that the braze “sticks” to the screw.
Your way may make life easier though.The screw is aluminum. Maybe a steel mold would be a better way to go
than brass…….. not sure if it matters or not when alumi-brazing.
Thanks!Prepare to be boarded!
December 8, 2021 at 9:32 am #250834Forgot to ask about attaching the transom pads. Is there a better
way to bend the ears over the ball than a little hammer or punch?
Is heat suggested?Prepare to be boarded!
December 8, 2021 at 10:21 am #250835On my Champion restoration, I just used a hammer and punch with some light taps that worked fine. But I’d be interested to hear about other methods. I seem to remember a thread on this subject before where someone posted a picture of some type of homemade clamping device to squeeze the pad “ears” together.
Bob
1937 Champion D2C Deluxe Lite Twin
1954 Johnson CD-11
1955 Johnson QD-16
1957 Evinrude Fastwin 18
1957 Evinrude 3022
1958 Johnson QD-19
1958 Johnson FD-12
1959 Johnson QD-20“Every 20 minute job is only a broken bolt away from a 3-day project.”
"Every time you remove a broken or seized bolt an angel gets his wings."-
This reply was modified 4 years, 1 month ago by
 Bob Wight.
December 8, 2021 at 11:24 am #250839
I normally stick a
2X4 in the clamp assembly and tighten the
screw pushing it into the pad. Should pop in
by hand. If not use Bobs method.
I would suggest putting the screw & pad in
the freezer over night. Don’t know how much
of and effect it has on parts that small but
if you can shrink the ball a bit and open the
socket in the pad some it would increase your
odds in getting them together. Put on some
lubricant before you put them in the freezer.
A brass pad may be more forgiving. Its
difficult (for me anyway) to get the aluminum
ones apart with out breaking one of the ears.
Hard to find room in the freeze for the whole
clamp assembly and management probably
wouldn’t allow it any.
TubsA "Boathouse Repair" is one thats done without having tools or the skills to do it properly.
-
This reply was modified 4 years, 1 month ago by
 Tubs.
Tubs.
December 8, 2021 at 7:35 pm #250858Tubs, perhaps my ball OD is a little undersize, but it slips into
the new pad with no problem. Of course the new pad’s ears
have never been cinched down, so perhaps it’s a different
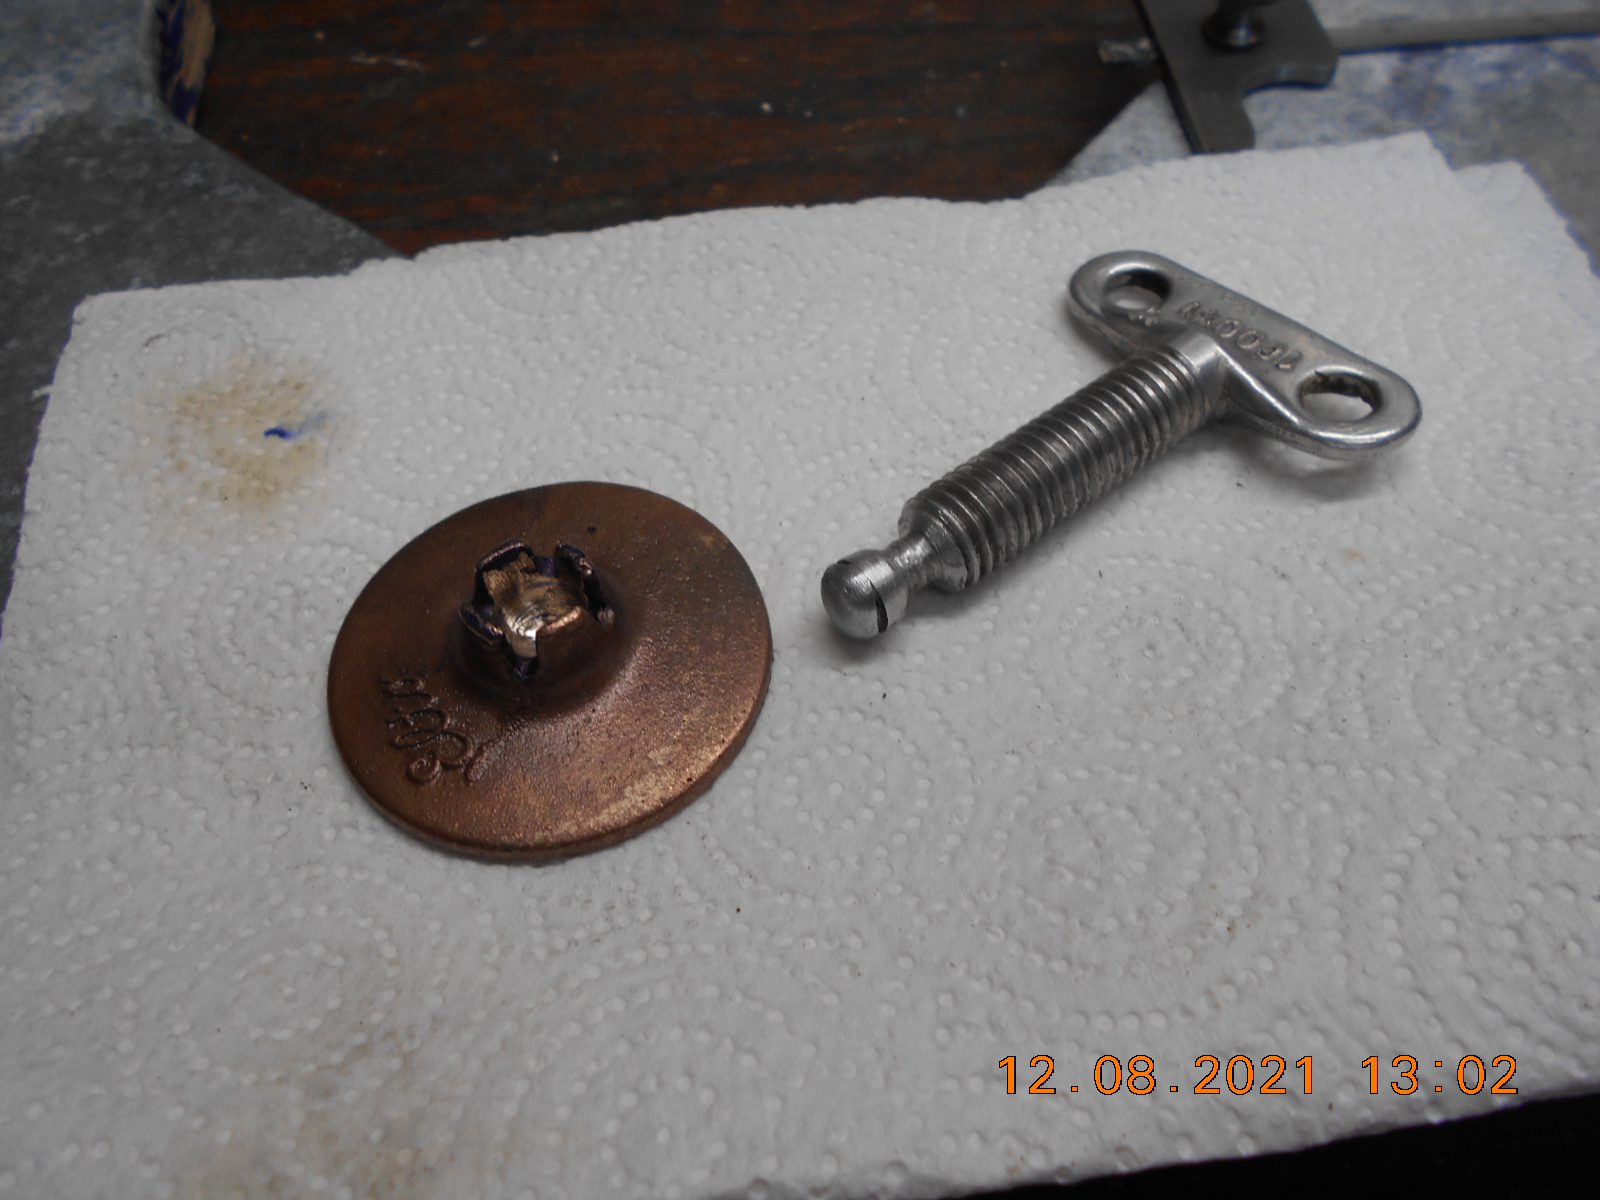
story re-installing a used pad.Anyhoo, here’s what I did with the screw and pad today.
I made a little sleeve for a mold, and put two 1/2″ nuts
below it, to force the mold off after alumi-brazing.
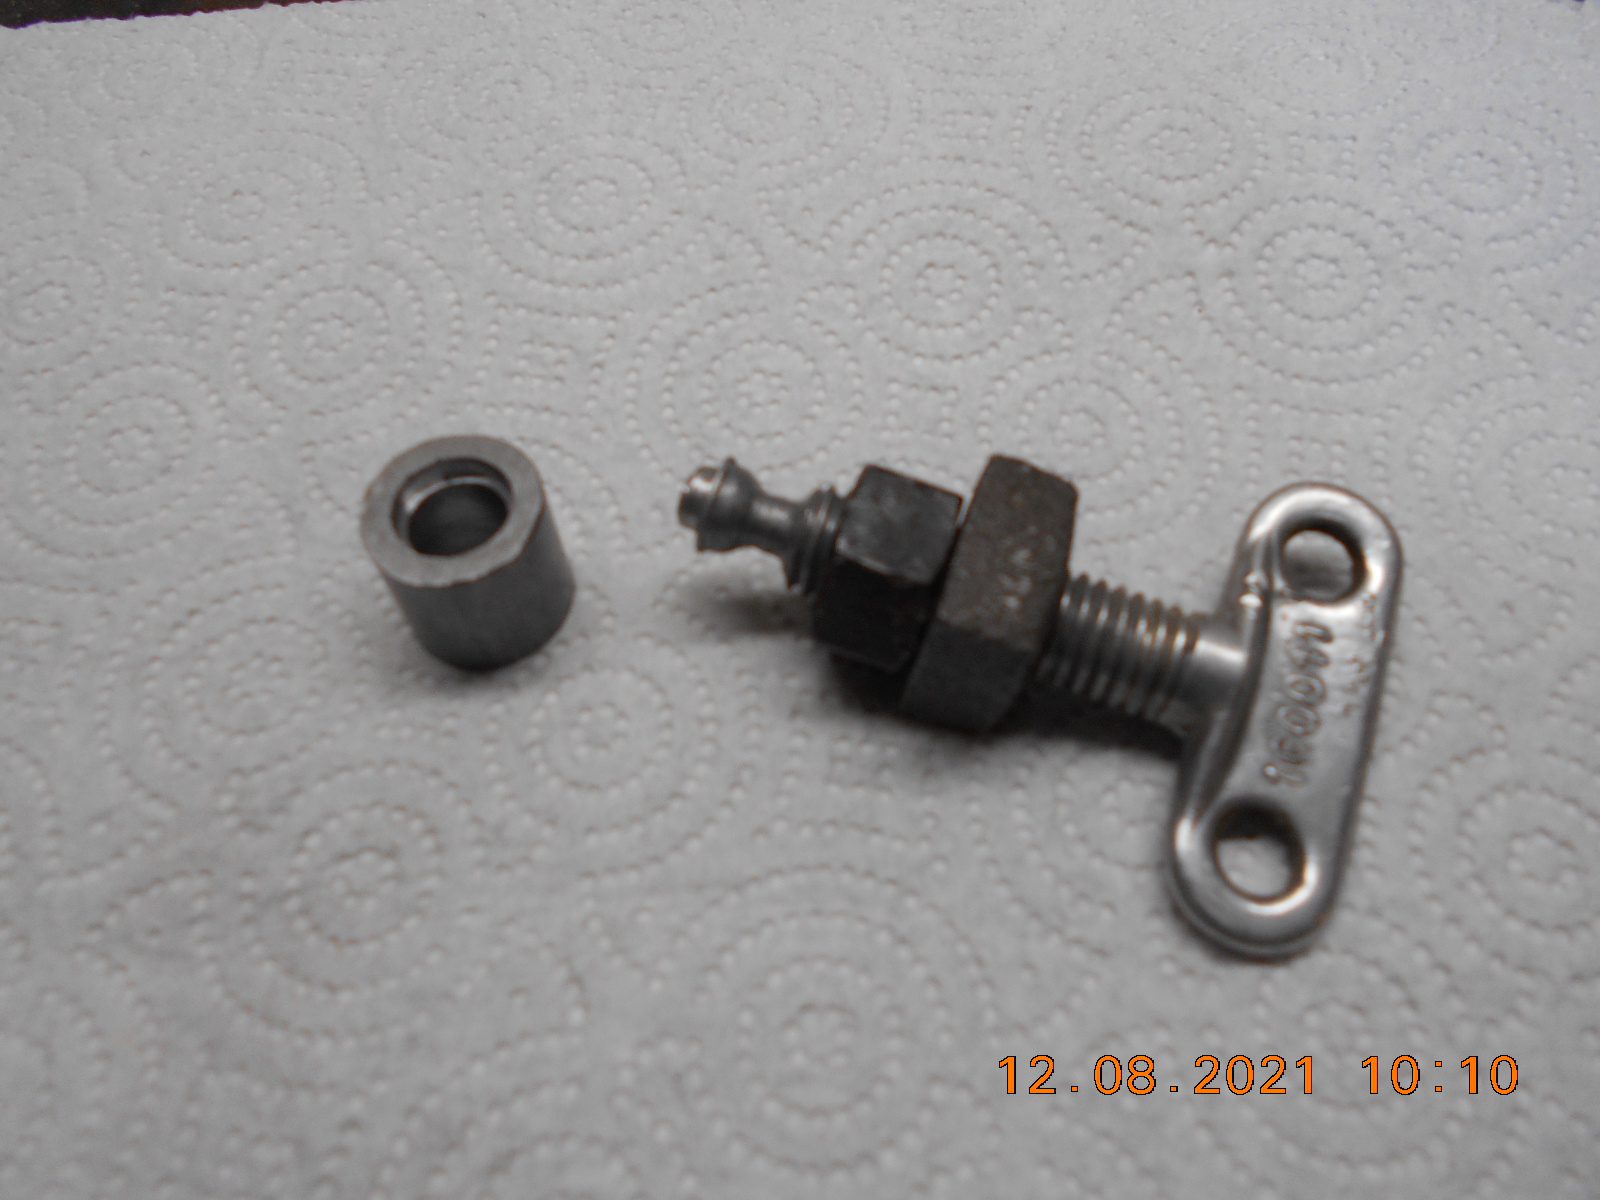
The mold on the transom screw, ready for action.
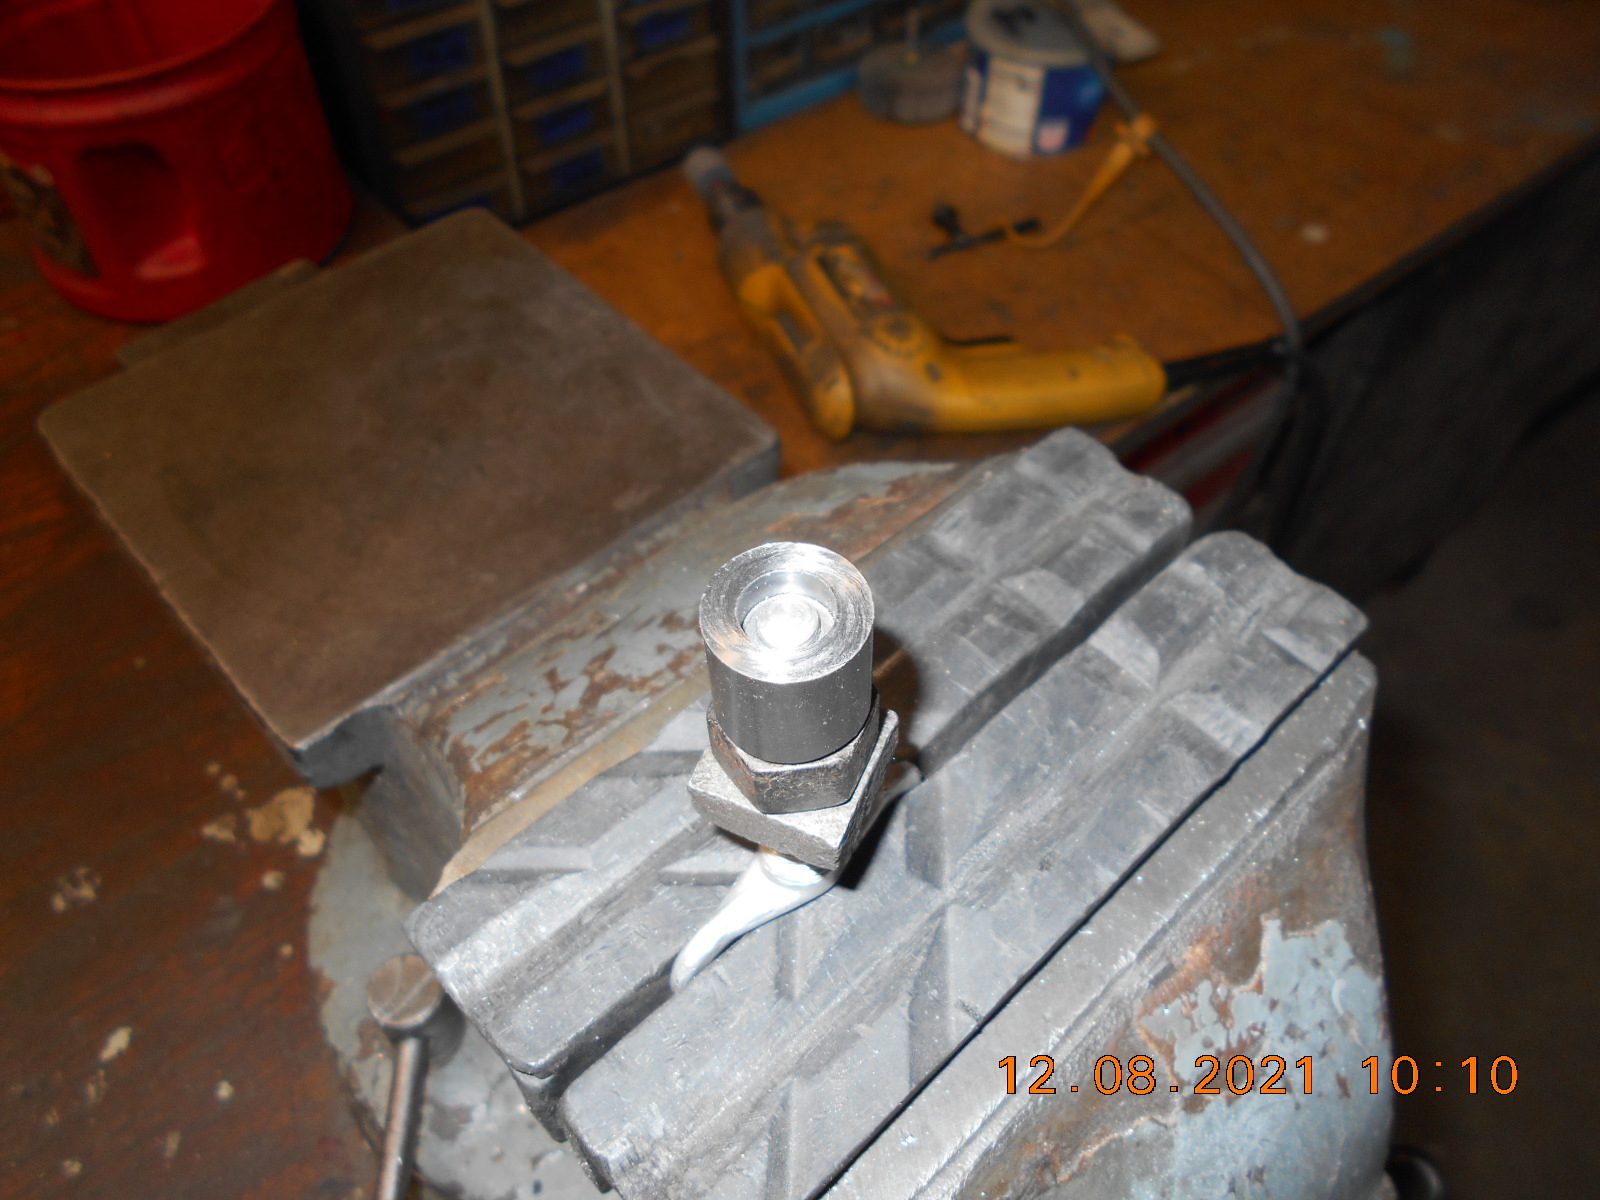
Removing the mold with the nuts…. that worked slick.
I ground the excess brazing off the top of the mold on
the belt sander first though.
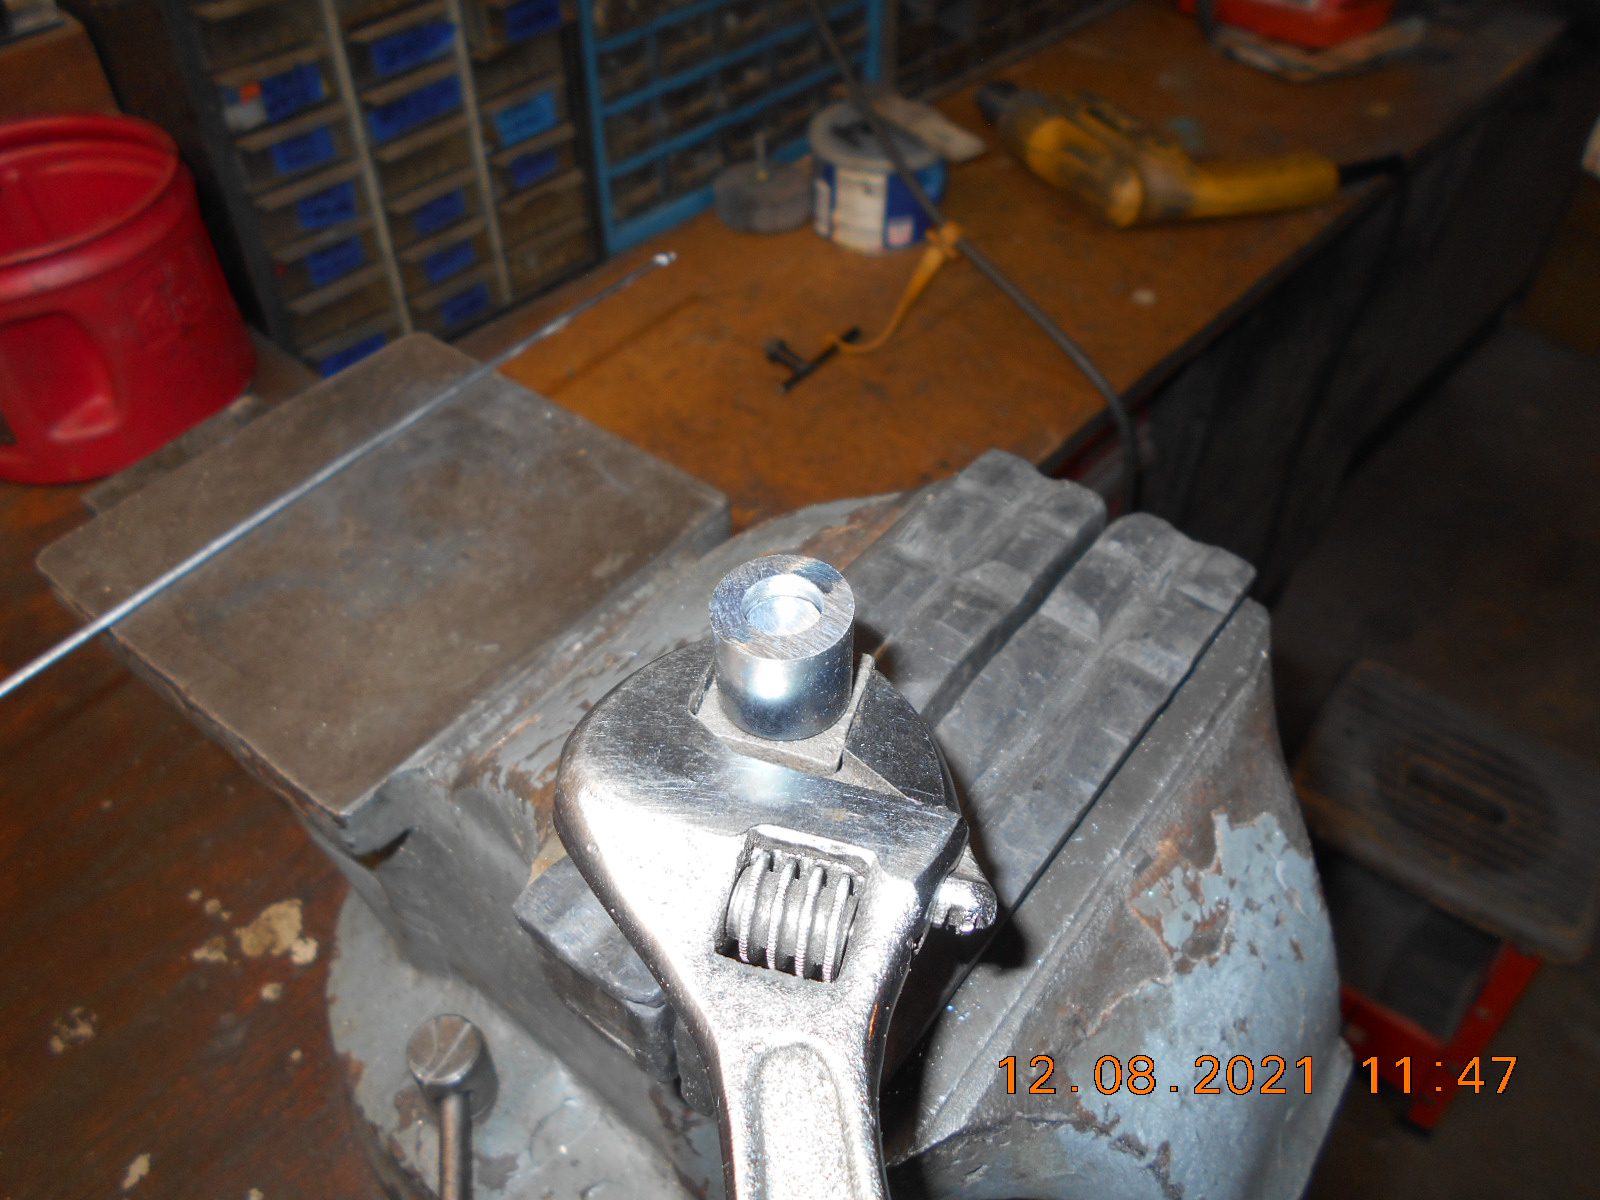
If I were to do it again, I would play the torch around the mold
a little bit after the mold was filled with braze, as I ended up
with a little void around the center perimeter. Don’t think
it’s going to matter much.
I finished it off by shaping the ball on the belt sander, little by
little, test fitting it in the pad. I also did a little deburring and
enlarging in the bottom of the pad’s socket with a Dremmel,
as Art said might be necessary.
Maybe I’ll try installing it back on the motor tomorrow.
Prepare to be boarded!
December 8, 2021 at 7:49 pm #250870Buc – nice fix on the screw. Sounds like we had a similar experience with this repair. On my Champion project, I also had to reshape/reduce the ball on my transom screws as they were a bit too large for the new pads. On one pad, I also had to rework the socket a bit with a Dremel tool. After snapping the screws into the new pads, I tapped the pad ears down with a punch for a tighter fit. Art makes some nice castings.
Bob
1937 Champion D2C Deluxe Lite Twin
1954 Johnson CD-11
1955 Johnson QD-16
1957 Evinrude Fastwin 18
1957 Evinrude 3022
1958 Johnson QD-19
1958 Johnson FD-12
1959 Johnson QD-20“Every 20 minute job is only a broken bolt away from a 3-day project.”
"Every time you remove a broken or seized bolt an angel gets his wings." -
This reply was modified 4 years, 1 month ago by
-
AuthorPosts
- You must be logged in to reply to this topic.


