Home › Forum › Ask A Member › pressure tank rebuild
- This topic has 8 replies, 4 voices, and was last updated 7 years, 11 months ago by
kirkp.
-
AuthorPosts
-
April 18, 2018 at 3:55 pm #9677
Started rebuilding my tank and got pretty much everything apart. Problem I’m having is the removal of the support that the housing screws into. It has the one screw that holds it in place but it WILL NOT come out and leaving the support in makes it impossible to completely drain the tank. Anyone else had this problem? Or, do you even worry about taking the piece out. I’m thinking about cutting a piece of wood to stick in the tank to support the piece so I can use a impact driver on it. Of course will need to cut a small piece of wood to put under the tank to support the bottom.
Only other issue I’m having is that when I got it all apart I found that the spring that goes under the diaphragm under the plunger was collapsed. Looking at it and part of the wire was corroded and easily broke off. Found this strange considering the interior of the tank is very clean. I would think that if the spring was corroded the inside of the tank would be toast as well.
Kirk
April 18, 2018 at 4:56 pm #74257A piece of wood for a support sounds like a good idea but I have heated them up after washing the tank out. Leaving it full of water would be safer if using a torch.
There must be condensation building up in the top of the tank if the screw and spring are both corroded. Once the support is removed, you can feel for rust on the top of the tank with your fingers.
Attachments:
 April 18, 2018 at 8:15 pm #74265
You’re probably right Mumbles. A couple of the screws that attached the two housings together had some rust on only part of the head. Also, a couple of the screws that attach the housing to the tank had rust on the end of the threads. Felt up inside the tank and didn’t really feel anything and there was no rust on my fingers. I’ll take a better look when I get it completely apart.
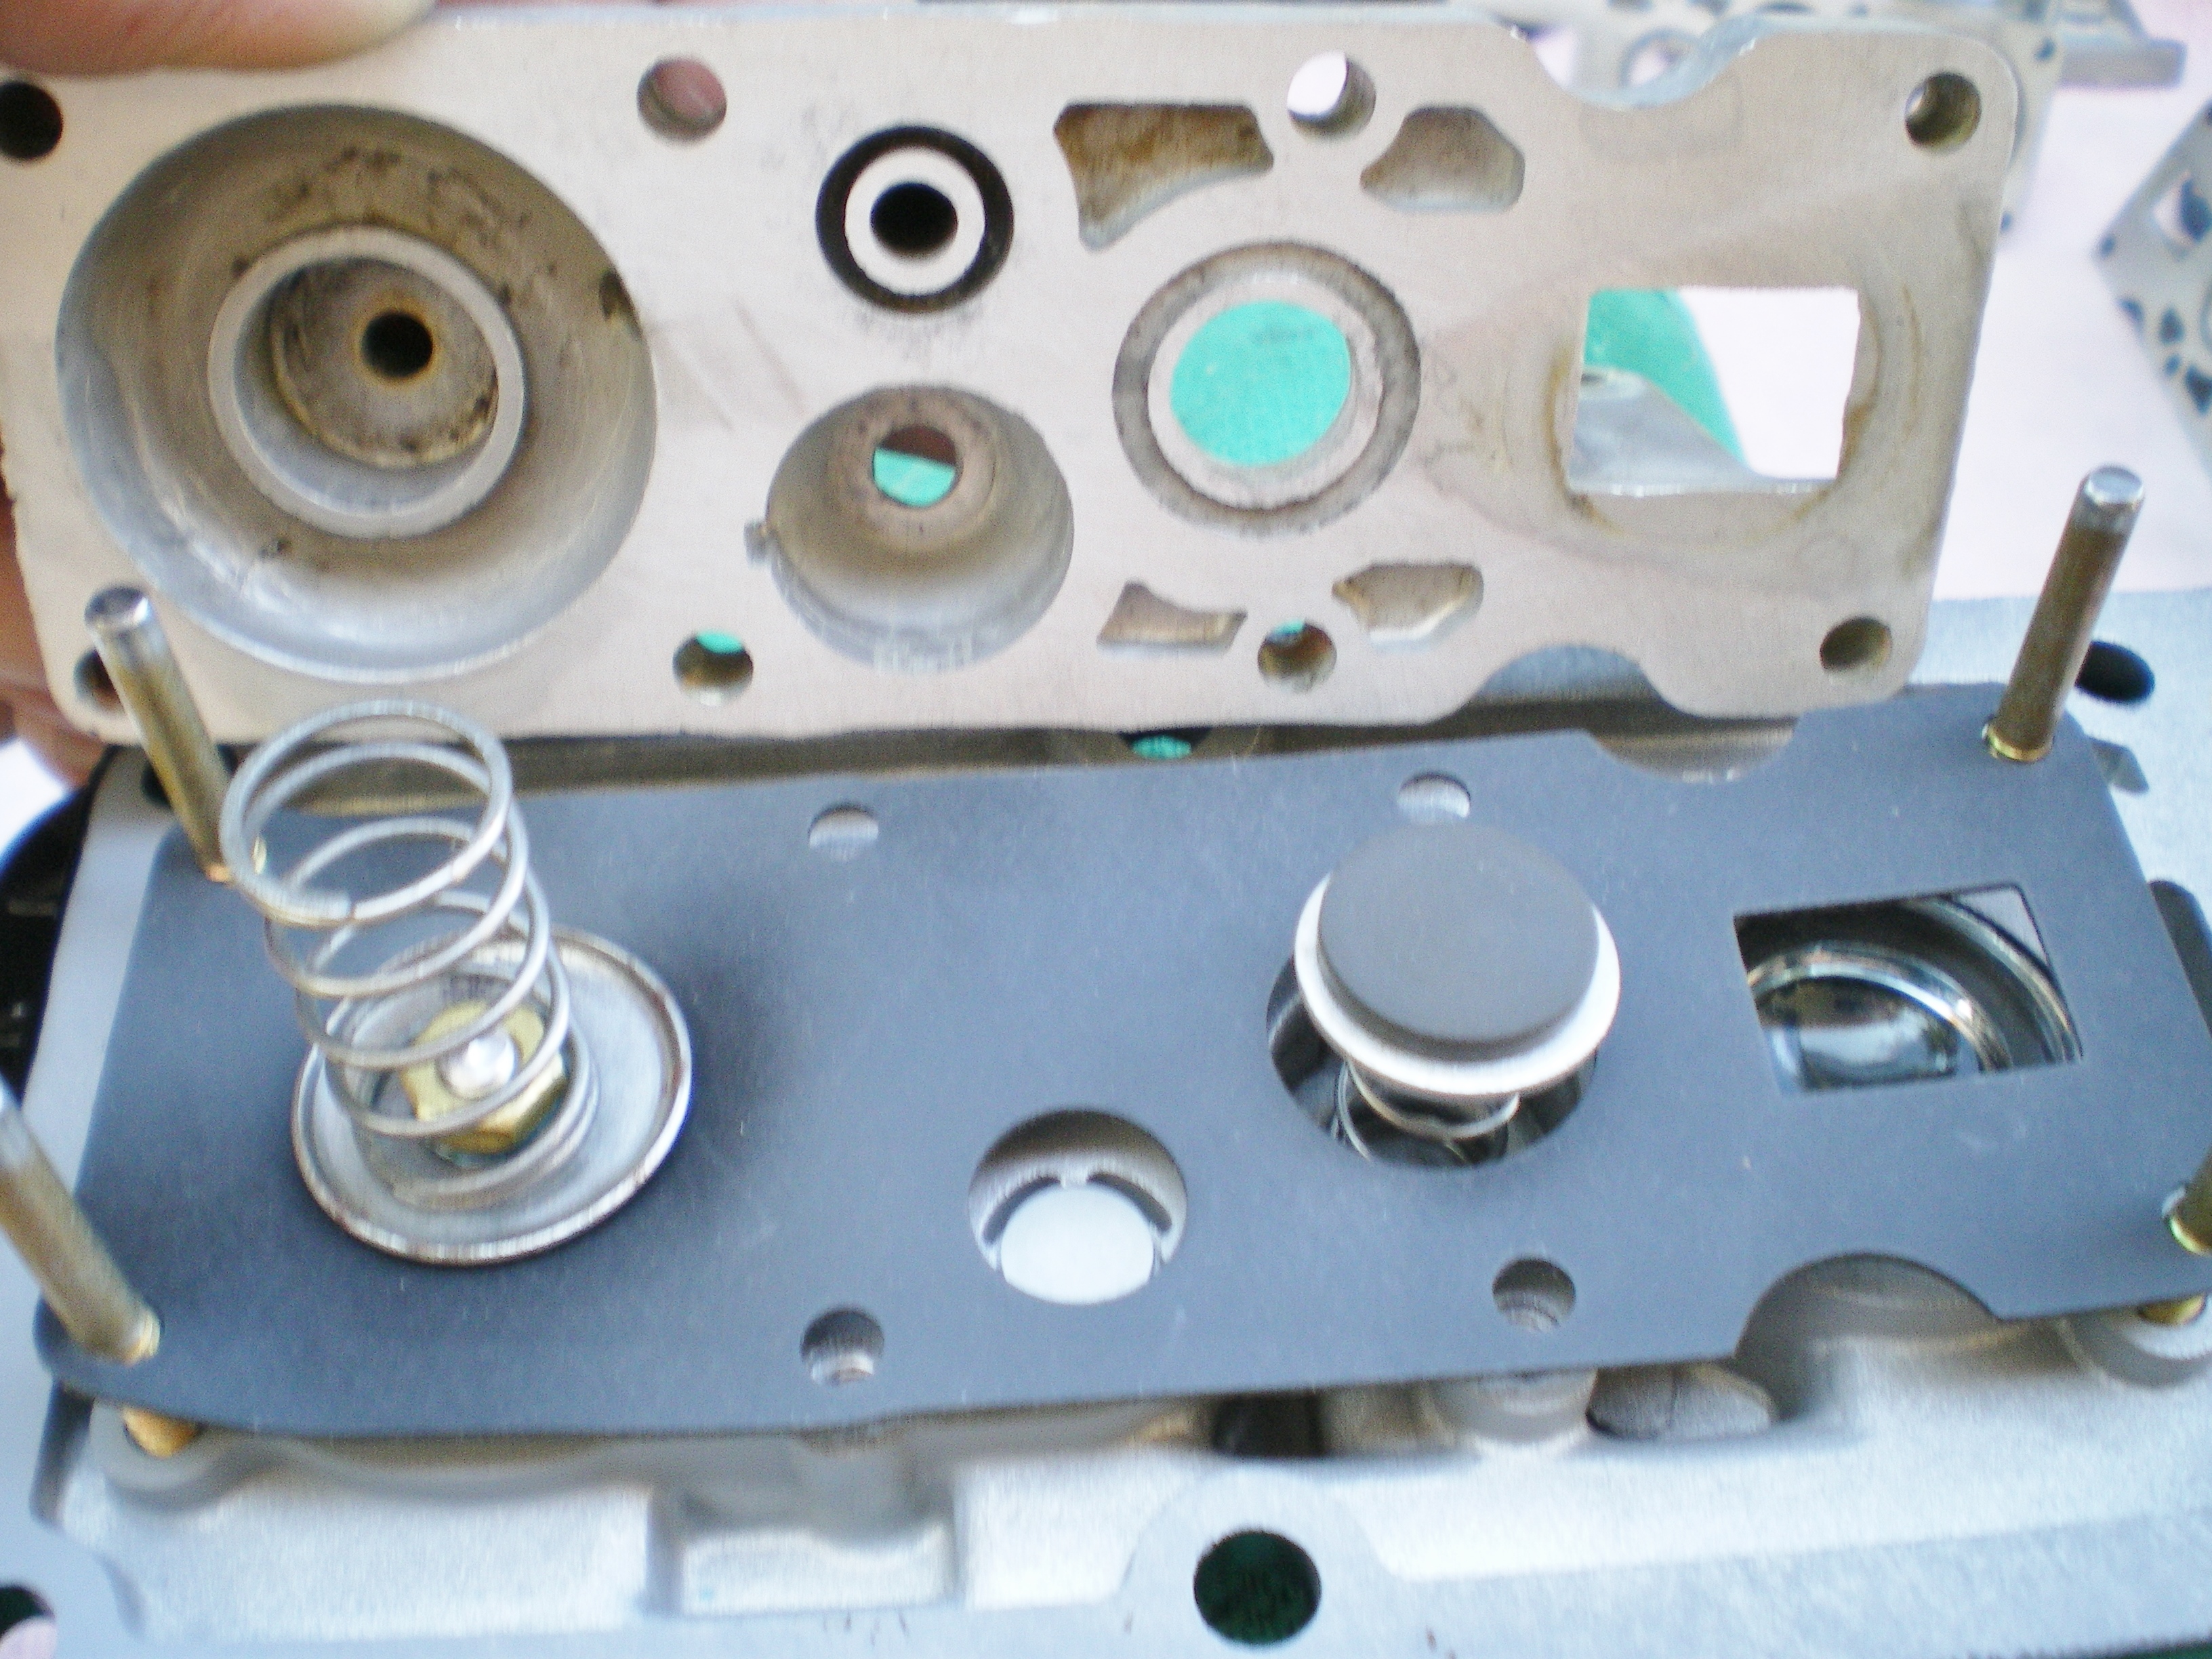
I like the alignment pins that you used in your photo. You just get some long machine screws and cut the head off?
thanks
KirkApril 18, 2018 at 11:42 pm #74279Long bolts with correct thread, cut off heads and ground them down a bit to round them off…that’s how I made alignment pins.
Cron
April 18, 2018 at 11:58 pm #74281BTW, when I rebuilt my pressure tank I used a Sierra kit. When the tank sat for a couple months in the garage it appears to have let some fuel seep out that sat against the wound up fuel hose on top of the tanks and evaporate. I now have ultra sticky varnish that I can’ get off without removing the original paint, too. It’s aggravating. I don’t know if using OMC kit parts would have prevented it or not, but I will use OMC on my second pressure tank rebuild.
Cron
April 19, 2018 at 3:24 am #74299quote kirkp:You just get some long machine screws and cut the head off?They are made from leftover 10/24 screws which are included with new BRP coils. They seem hard and were a bit tough to cut.
Attachments:
 April 19, 2018 at 1:58 pm #74318
Thanks guys. Have to pick some up.
KirkApril 19, 2018 at 3:17 pm #74325quote kirkp:Only other issue I’m having is that when I got it all apart I found that the spring that goes under the diaphragm under the plunger was collapsed. Looking at it and part of the wire was corroded and easily broke off. Found this strange considering the interior of the tank is very clean. I would think that if the spring was corroded the inside of the tank would be toast as well.Kirk
This is a common problem. I think that when these tanks get left out in the rain, water gets into the pump chamber through the aluminum pushbutton, and gets trapped in there with nowhere to go. Then, that water sits in the chamber for a long, long time. The diaphragm seals the water in the chamber, and keeps it separated from main tank body.
Improvise-Adapt-Overcome
May 3, 2018 at 2:11 am #75258Finally got around to messing with the tank some more. Supported the plate with a piece of wood and a couple of whacks with a hammer and impact screwdriver and the bolt came out. Tank looks good in my opinion. Time to start reassembly.
Mumbles, what did you use to get the components so clean?
thanks
Kirk
-
AuthorPosts
- You must be logged in to reply to this topic.