Home › Forum › Ask A Member › 1941 Johnson KS-15 coil swap
- This topic has 13 replies, 5 voices, and was last updated 2 years, 4 months ago by
 GARY.
GARY.
-
AuthorPosts
-
February 12, 2024 at 9:32 am #284867
I never got and sage advice on my last query regarding this
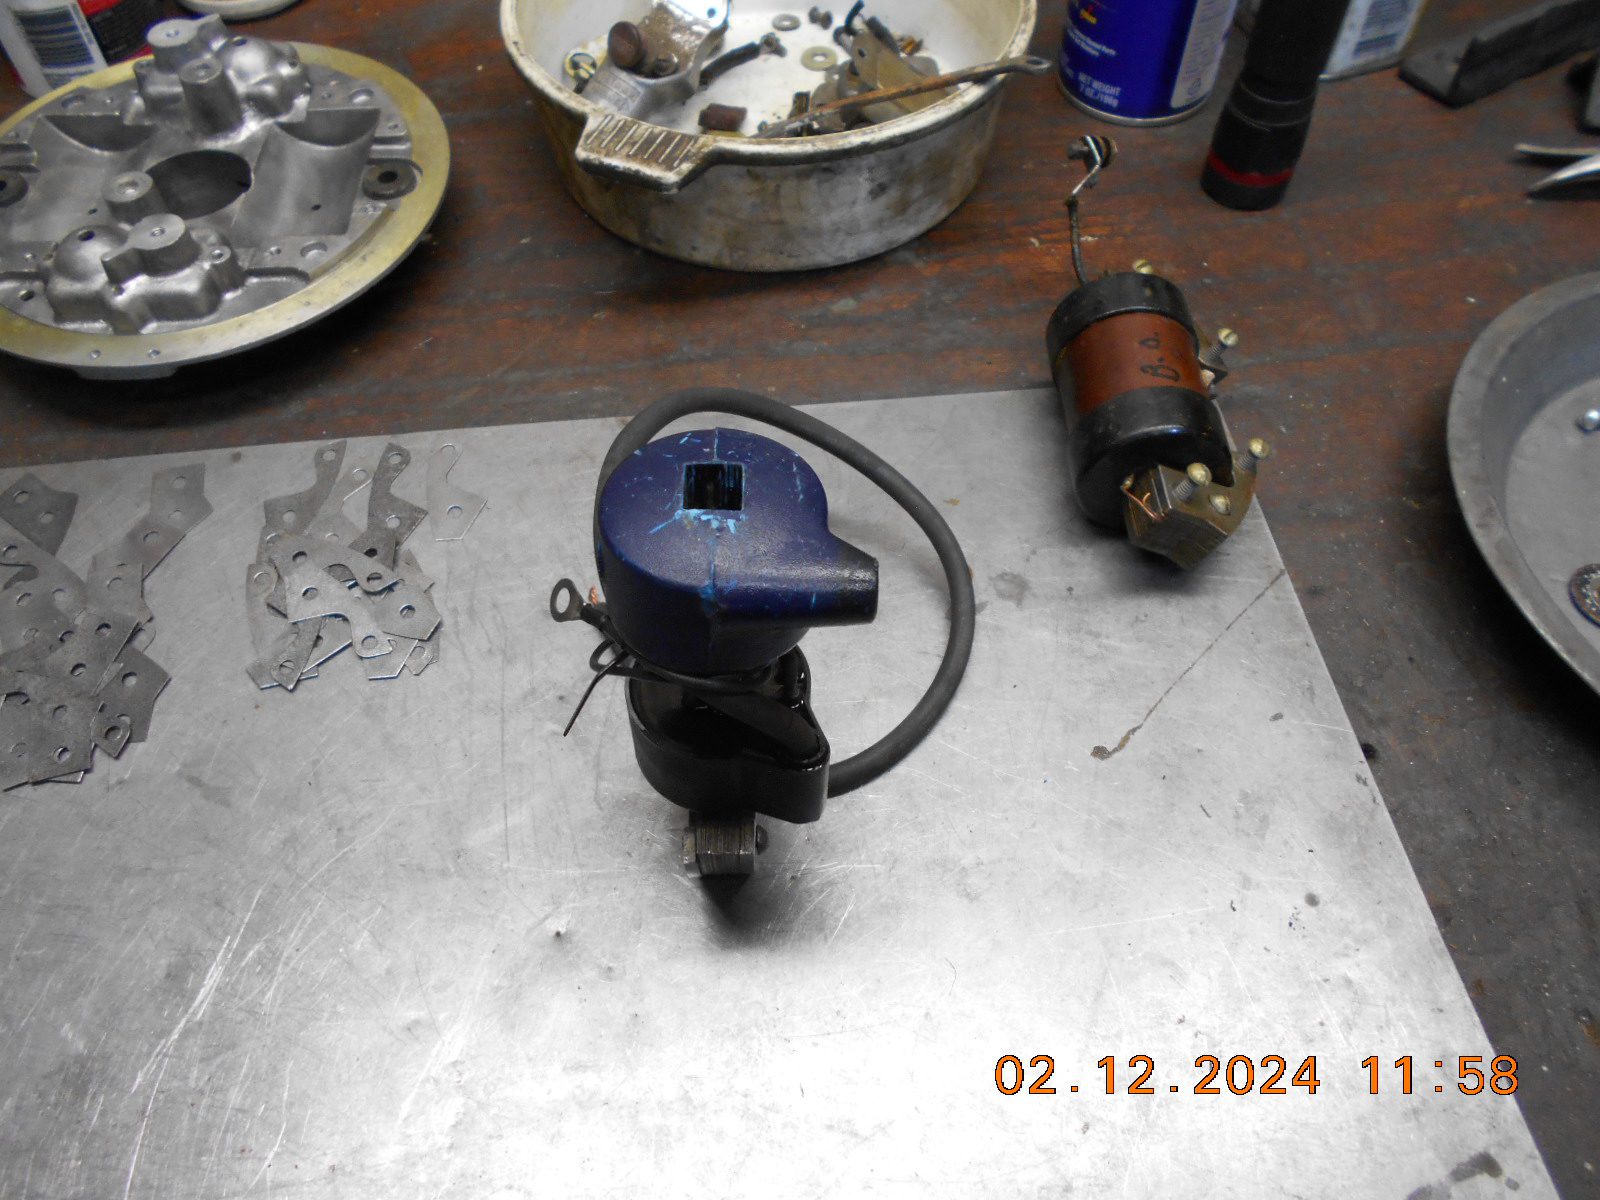
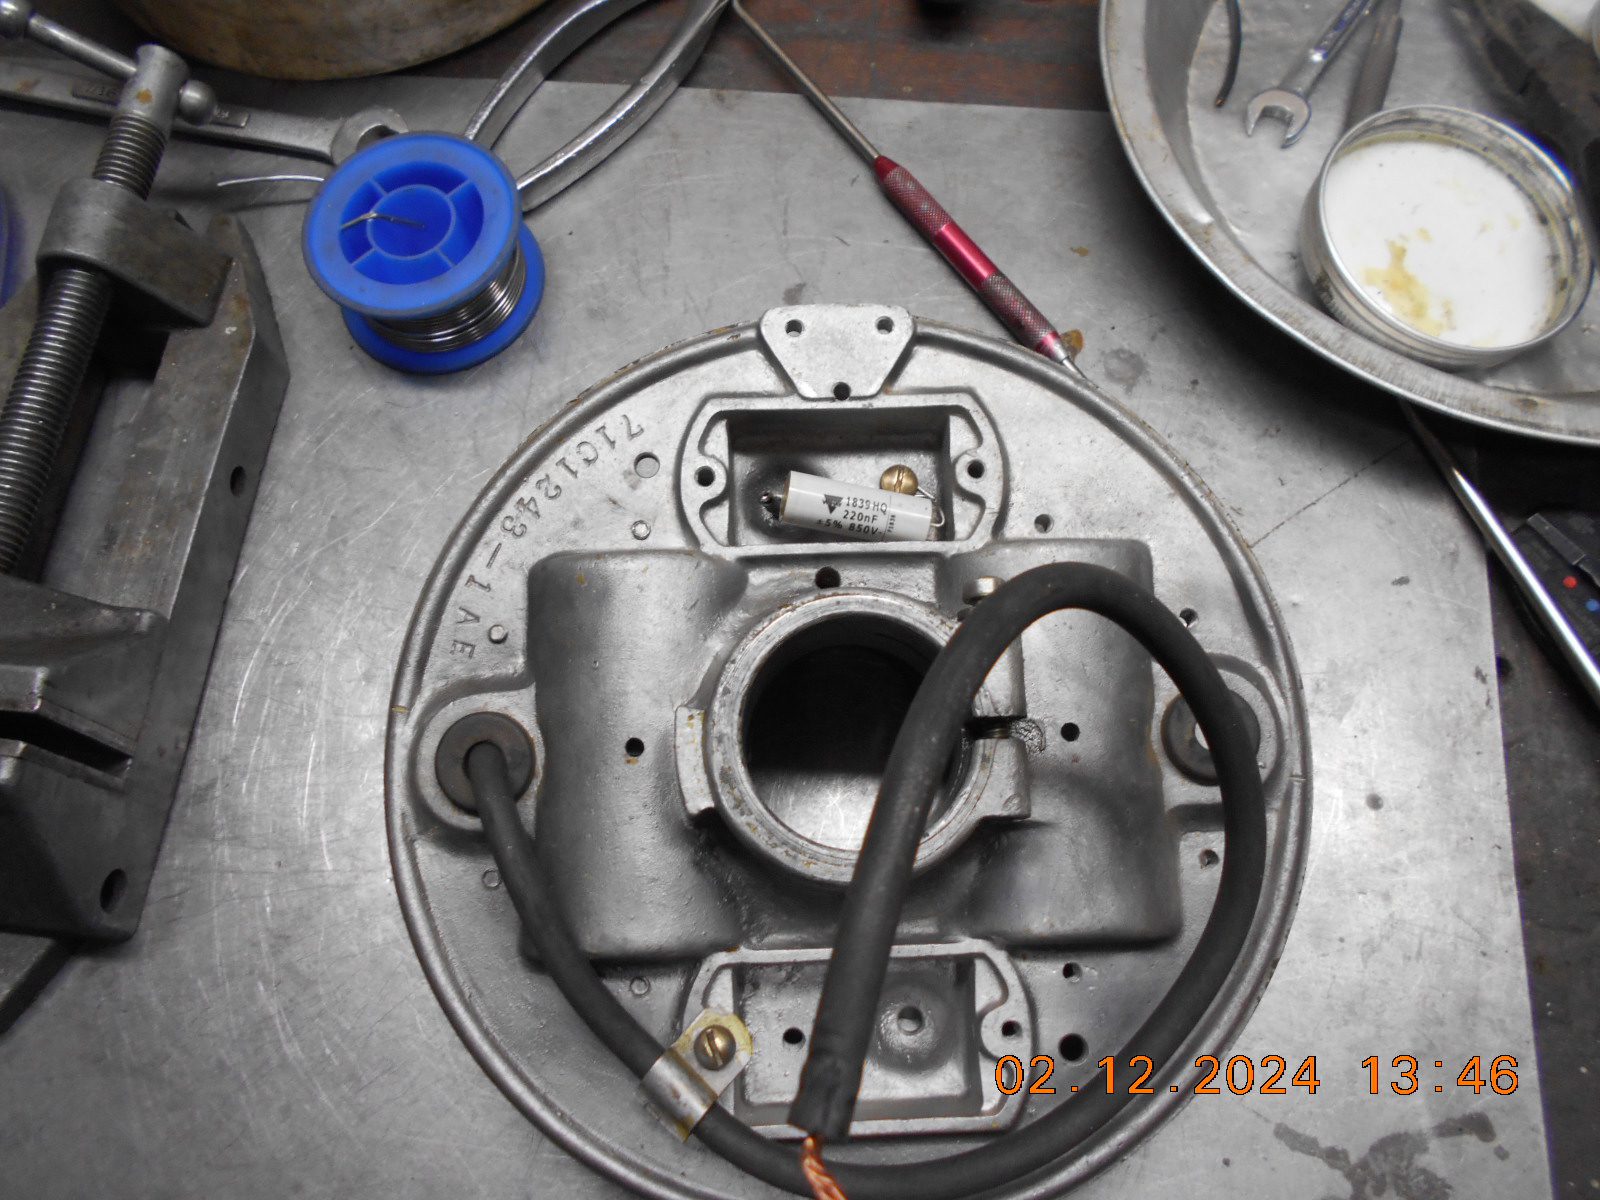
coil swap, so thought I’d just forge ahead, and “wing it”.The original K coil lamination would almost fit an OMC coil
with little effort, but, there’s no good way to orient the coil
where there wouldn’t be clearance issues with the flywheel,
or other.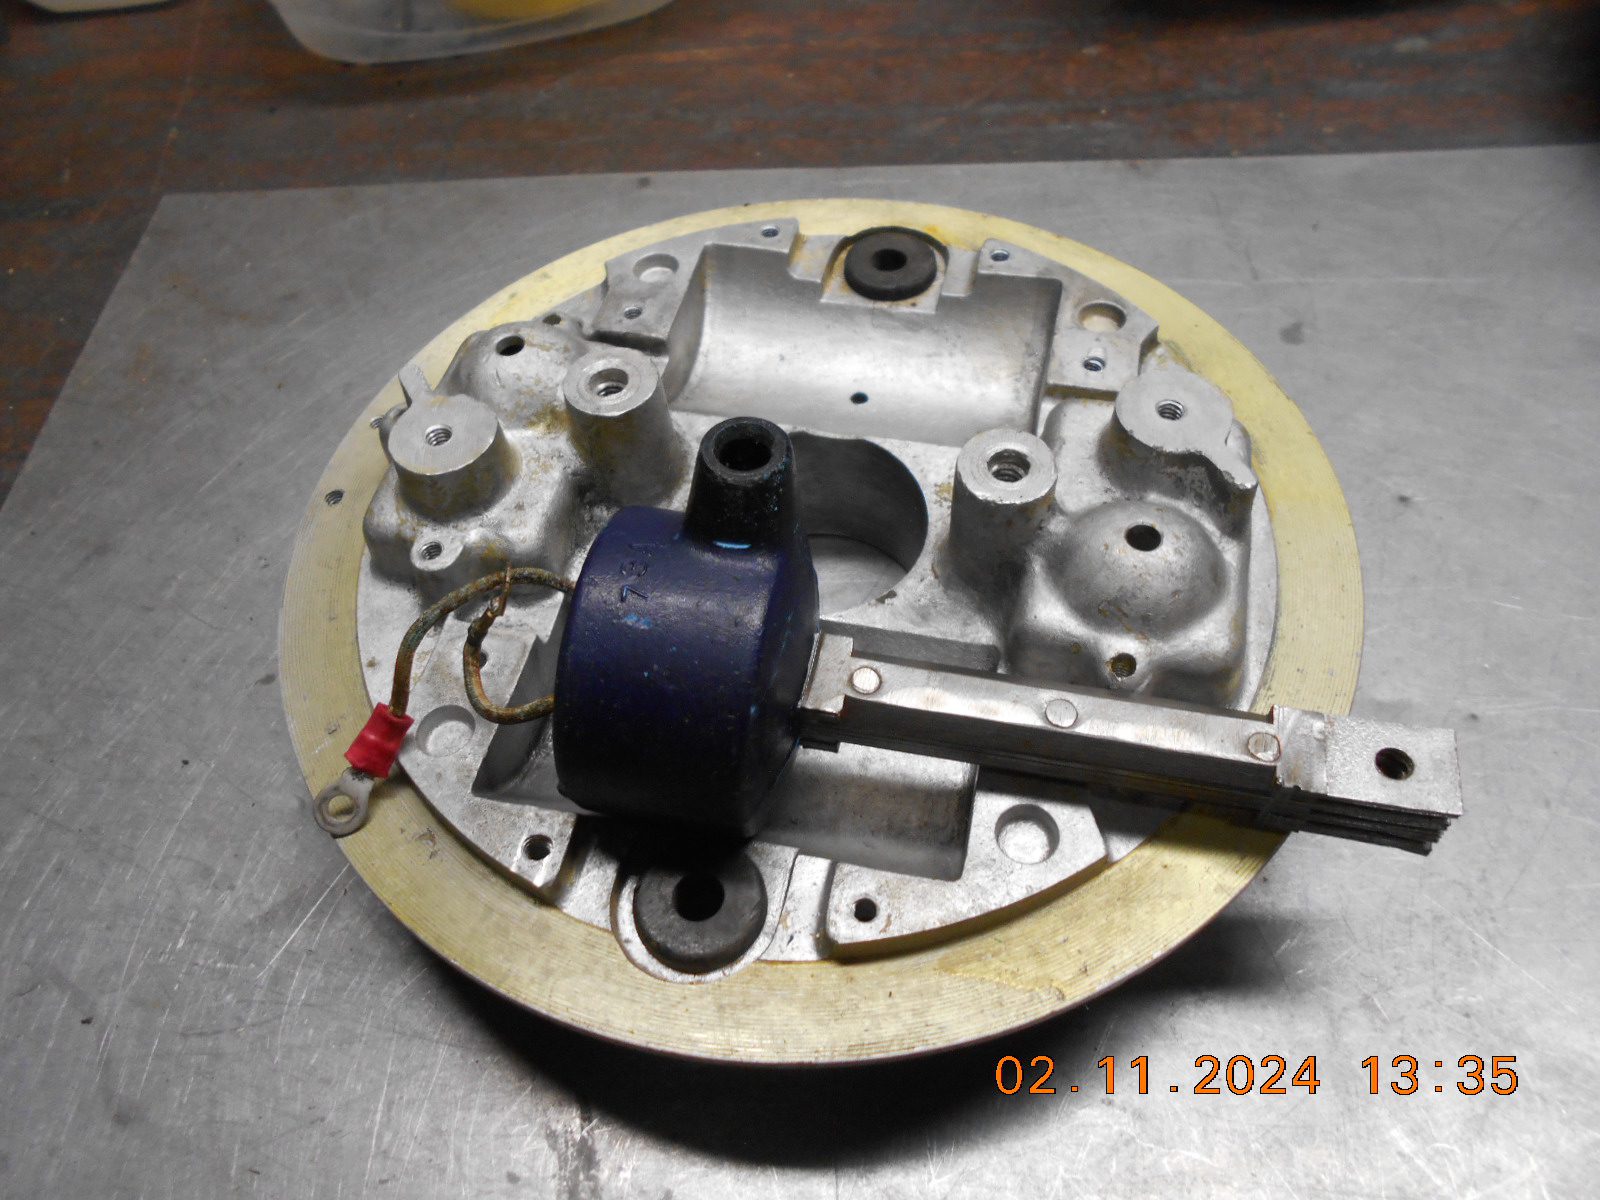
I have a couple of Tecumseh small engine coils I purchased
in the past for a possibility on a different magneto coil swap,
which didn’t work out, but “maybe” will on this one.In this orientation, the flywheel hub would likely rub.
This orientation looks “doable”. I checked the height,
and it looks like there would be enough clearance so
that the flywheel would not rub.
I started machining down the width of the lamination
to fit, but I still have to remove some laminations
on the height so the coil will slide on.The only “issue” that may dampen my hopes and dreams,
is that the plug wire on this Tecumseh coil is too short,
and it seems to be “glued in” place. Hopefully the
coil is still useable after I get the plug wire out.Plan “C”, would be a Military surplus Bendix Scintilla
coil, which would fit fine, but I dread removing those
coil laminates.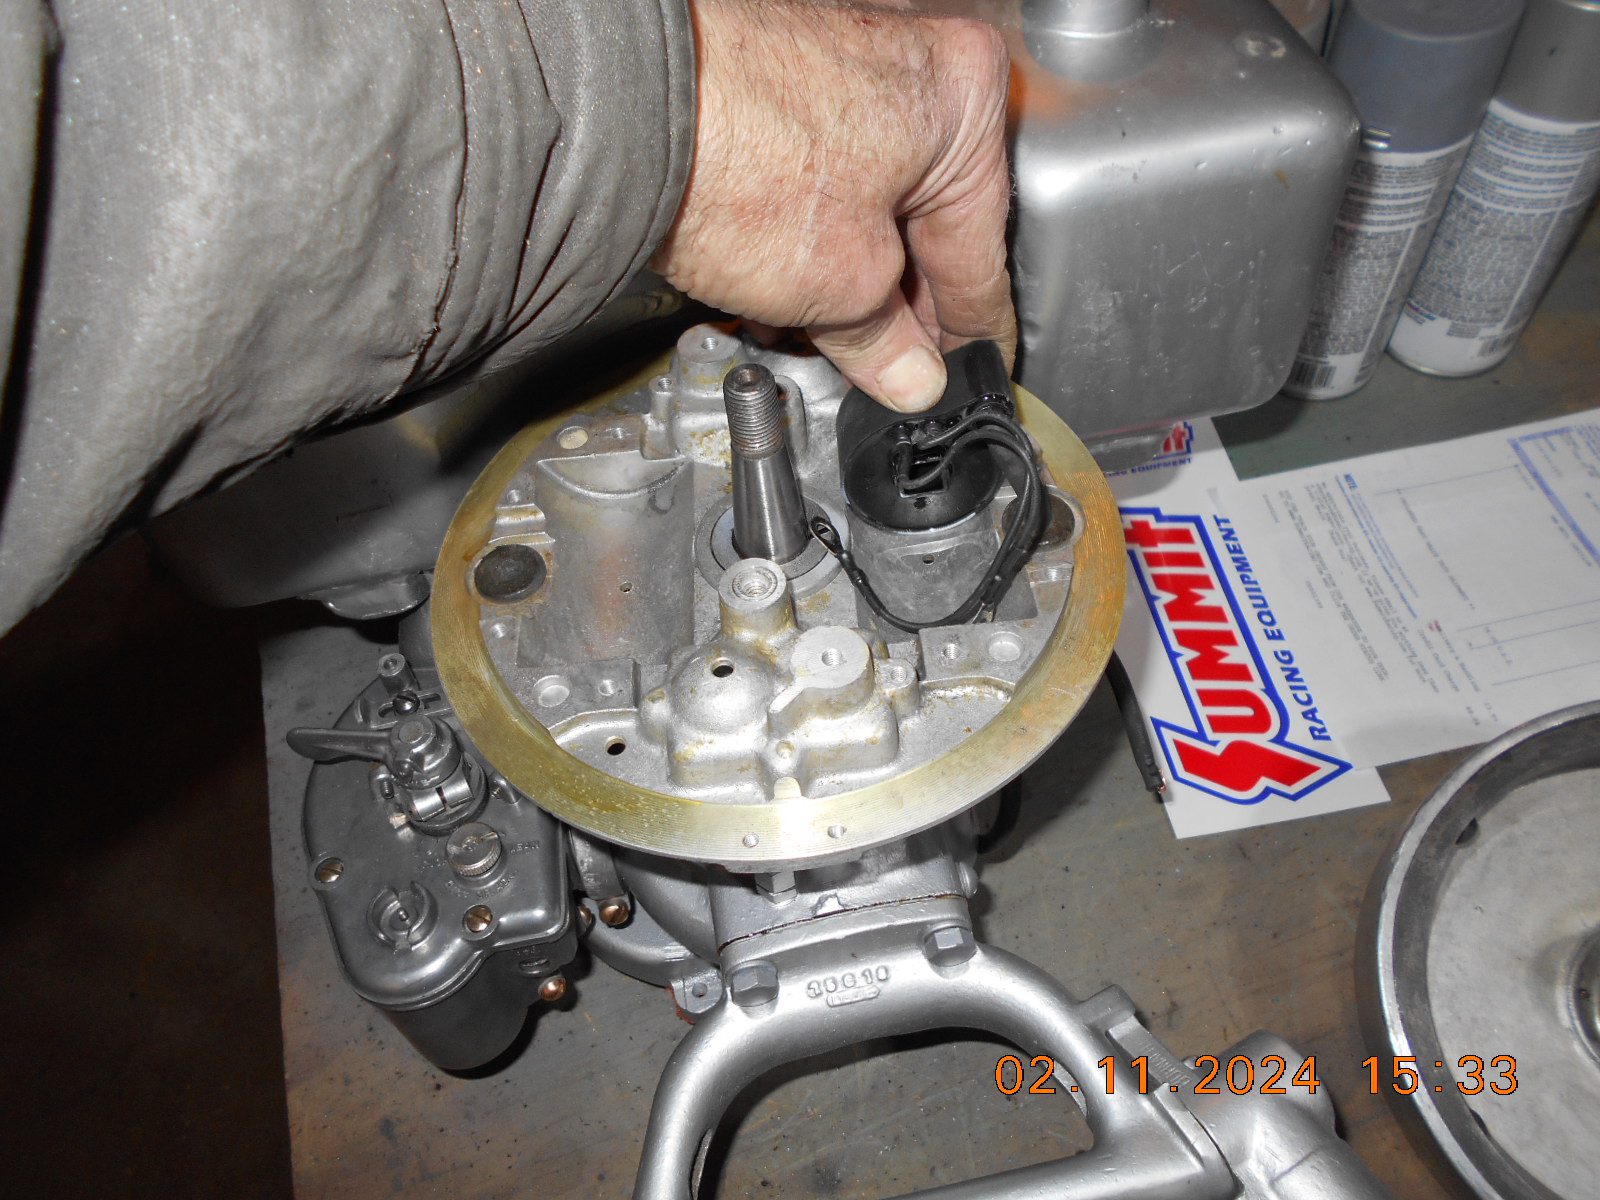
Prepare to be boarded!
February 12, 2024 at 11:46 am #284876Why not try an “inconspicuous “splice of the plug wire on the Tecumseh coil ?I’ve spliced plug wires before with good results.
February 12, 2024 at 12:08 pm #284877
Cut off the shield and solder on the
wires like the coils you’re taking out.
I usually add a coat or 2 of liquid tape.
Tubs
.

A "Boathouse Repair" is one thats done without having tools or the skills to do it properly.
February 12, 2024 at 12:23 pm #284878And I’ve done a couple like Tubs shows.
February 12, 2024 at 12:37 pm #284879I wished you guys told me this after my first post, lol.
Too late now, I’ve already machined down the first
laminate to fit the Tecumseh coil.
After I get that buttoned up, I’ll check for spark,
and then decide if I’ll convert the other bad coil,
or use an original coil that I just happened to pick up
at Tomahawk last year.Prepare to be boarded!
February 12, 2024 at 1:52 pm #284880For future reference,some of the newer black OMC coils are enough smaller that they will fit where the older thicker green coated coils won’t.I replaced the coil on an OMC foldlight with two of those coils on the original laminates.The length was the issue in that case but those coils would just fit when nothing else would.
February 12, 2024 at 3:17 pm #284881Good to know Stanley. I have a couple of Zongfung coils
on standby. Maybe I’ll measure the diameter compared to
the old blue OMC coil, for future reference.
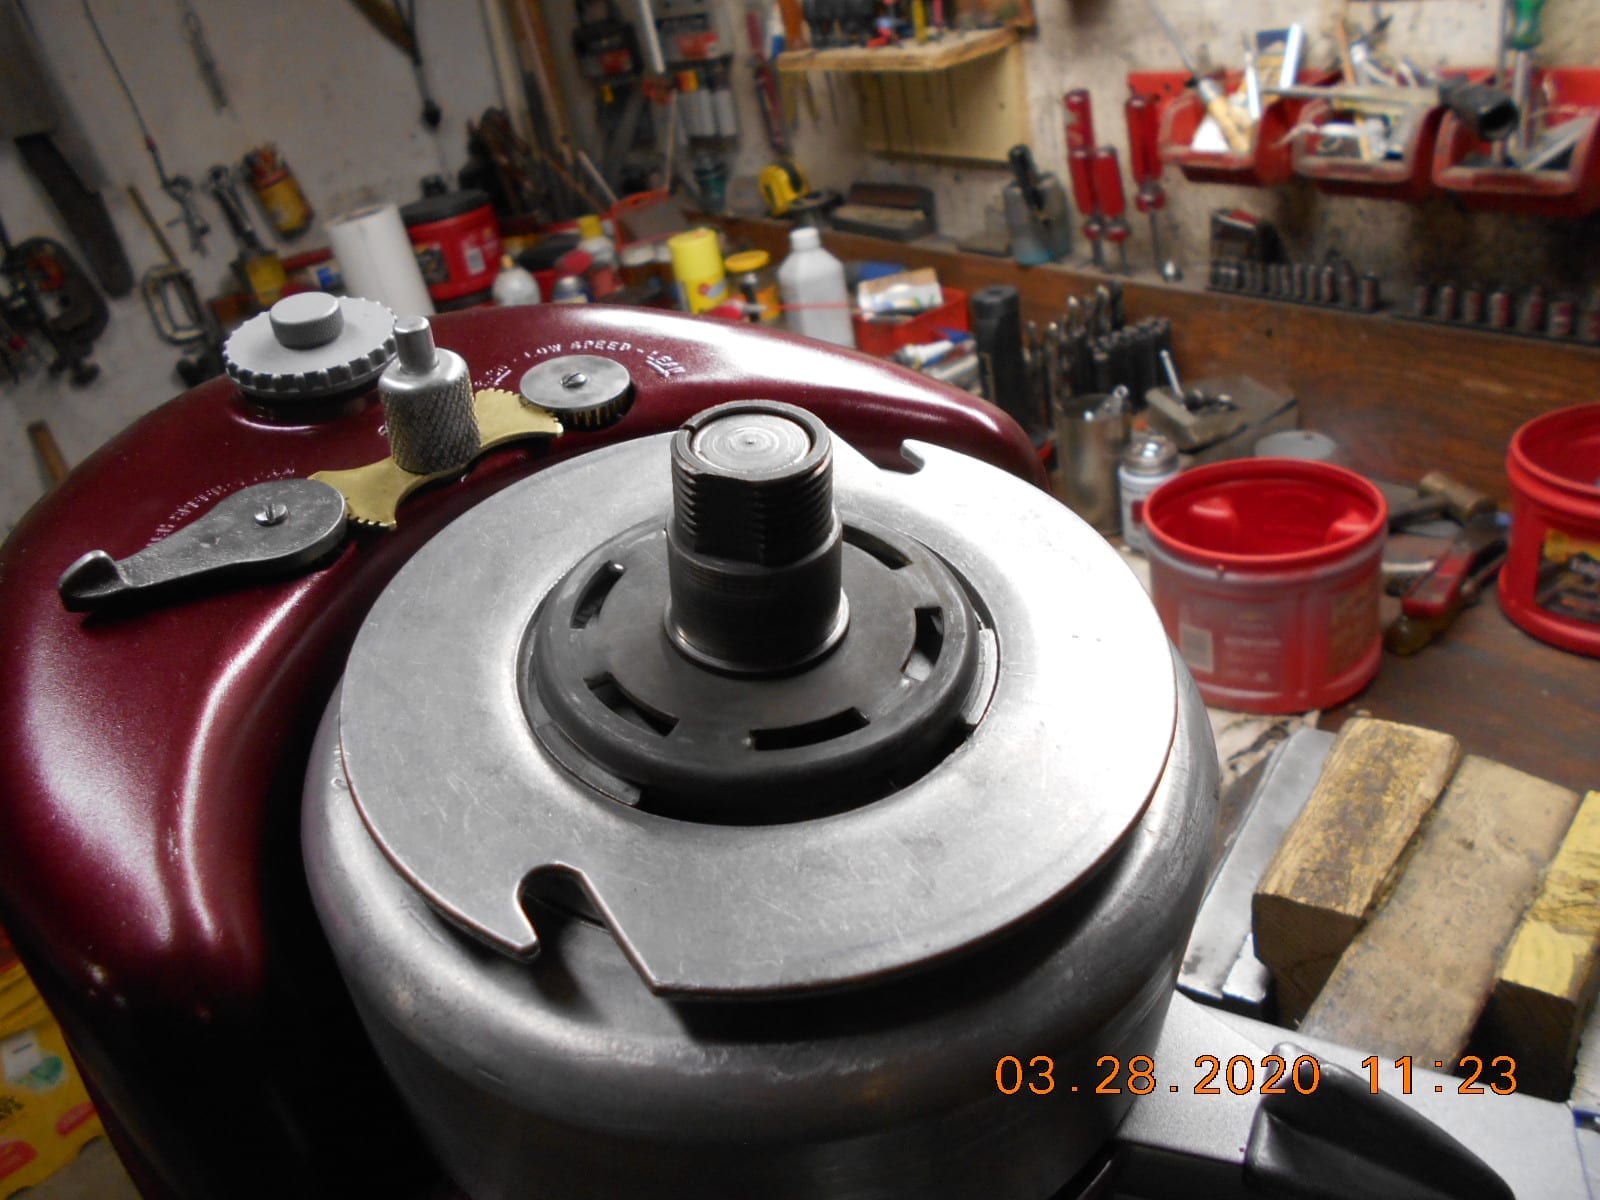
When I went back out to the garage, I slid that blue omc
coil on the lam (even though it’s now too small) to eye up
the height. It probably would have clearance, if prepped
like the coil in Tubs photo, with the plug wire soldered on
off the side of the tower.Prepare to be boarded!
February 12, 2024 at 6:06 pm #284883Will see if I have better luck posting photos today, but it was nice
to see my Flambeau again anyway. (Sarcasm!)I finished up swapping out one of the original coils for the Tecumseh,
and tested it out. It’s not the fattest spark I’ve ever seen, but perhaps
okay?I’m debating weather or not to do the same coil swap with the
other original “bad” coil, or put the one good original on it that
I had stashed.
Either way, there’s a few road blocks before this KA-37 may ever
run again. I lost the stationary half of the point set somehow,
and the moveable half has a broken “spring steel” spring broken.
Bigger problem is that I’m awaiting different piston rings, as
the Maytag rings I installed aren’t going to work out.VIDEO…….
Comparing the OMC vs. the Tecumseh coil as far as “height”.
The Tecumseh coil all hooked up and ready for a test.
P.S.- That’s the style of point set I need for the other side,
in case anyone had one to sell.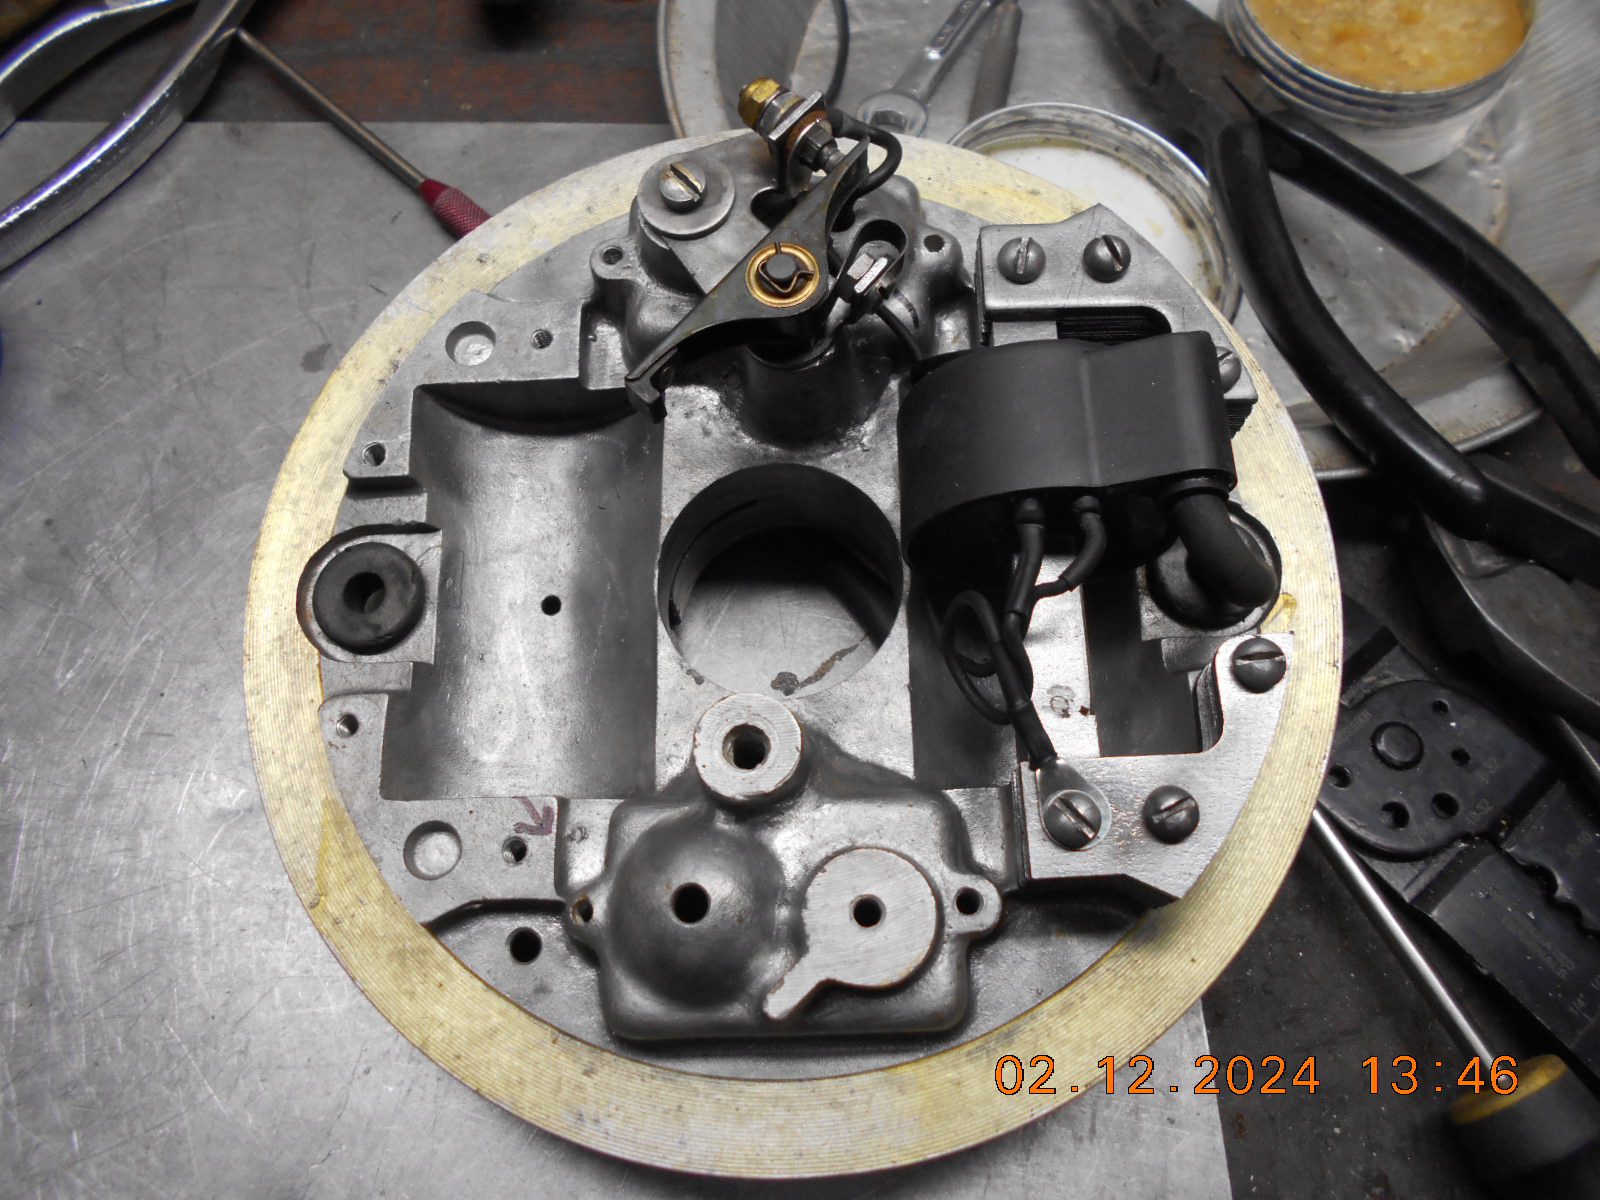
I used a .22 mdf capacitor, but not idea what the Tecumseh coil desires.
Prepare to be boarded!
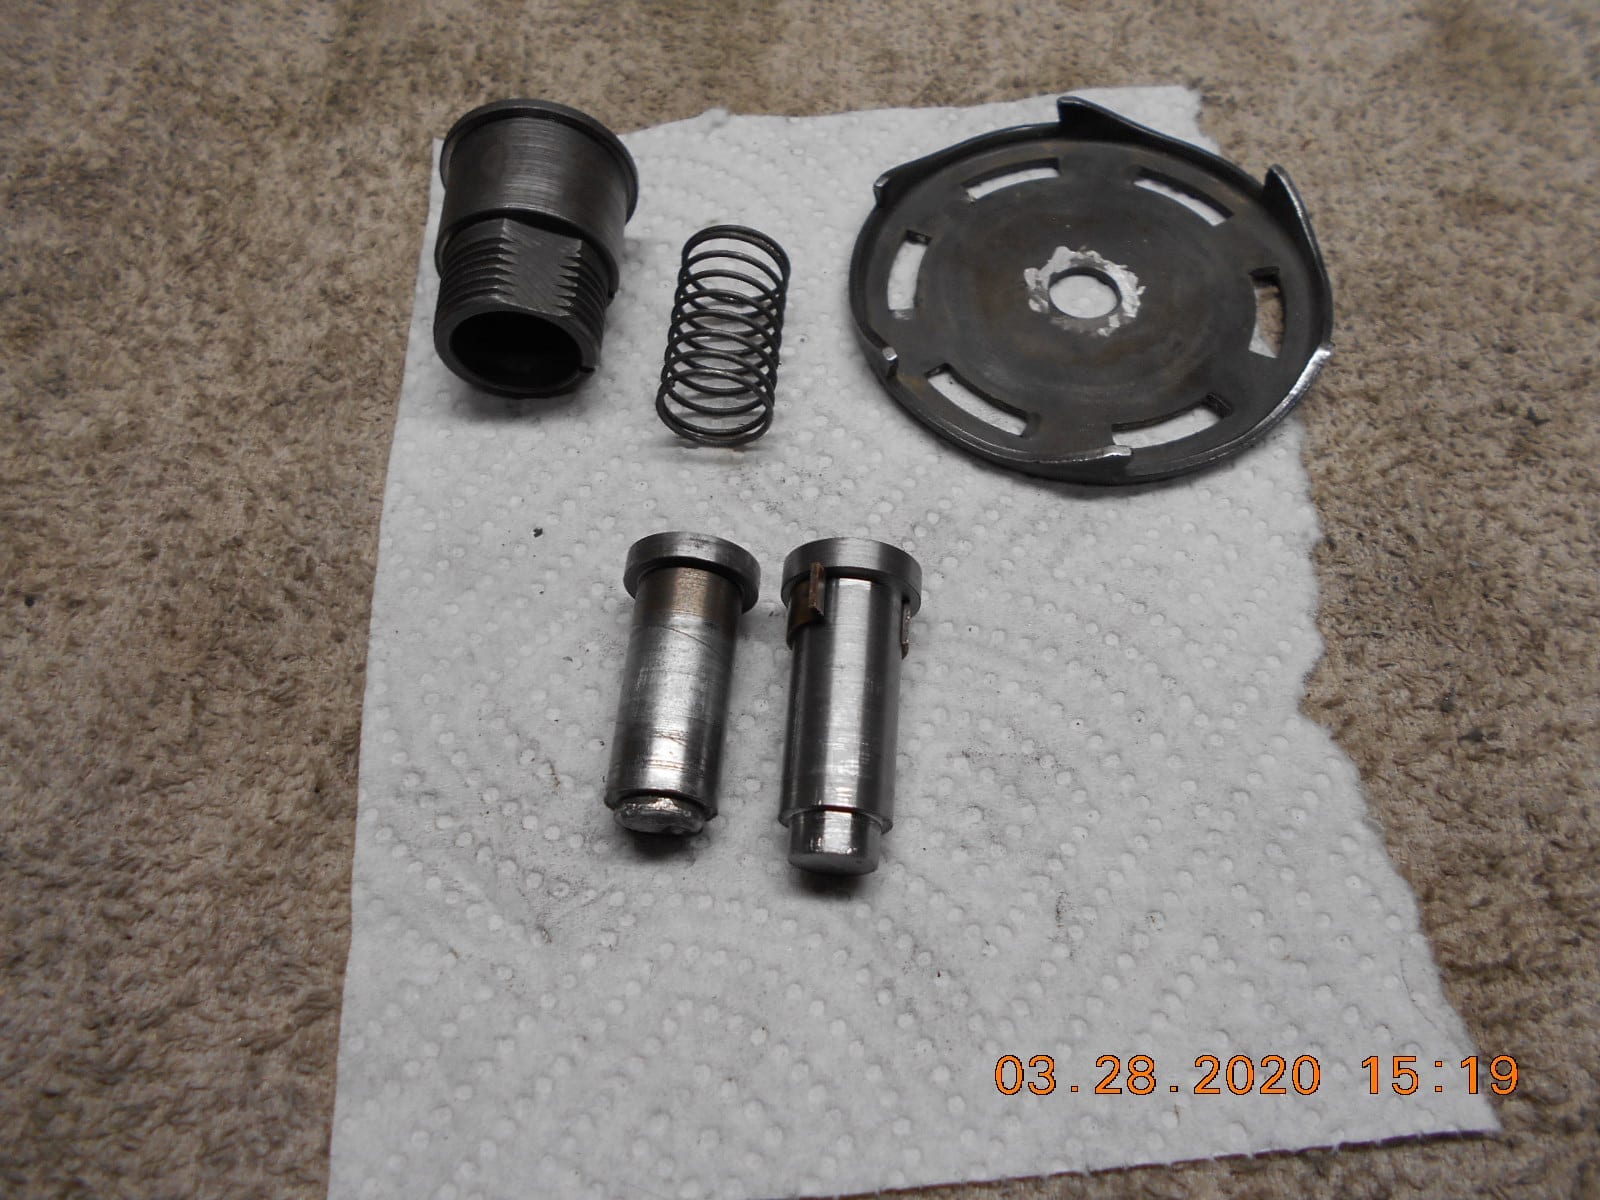
February 12, 2024 at 9:42 pm #284890Regarding Plan C:
Military Surplus laminate removal.
Received MS coil today and successfully removed the laminates in just under 2 hours without loss of blood, appendages or disparaging words, a win in my cave. After spinning my prop for 90 minutes I took this approach.
- Using a die grinder cut off laminates on both side up close to the coil.
- Cleaned up lam ends on bench grinder
- Center drilled lams on drill press using 9/32 bit stopping 1/4 inch short of going all the way through.
- Using round flat punch & small hammer drove center lams out opp end.
- Separated remaining lams using hammer, straight pick tool, flat blade screwdriver and needle nose pliers.
Almost want to do this again and clock the time….damn only ordered one coil.
February 12, 2024 at 10:23 pm #284893Tim, I believe it was the last Military coil I used that I did
the same procedure, and kept thinking that there had
to be an easier way!
Glad you suceeded!Prepare to be boarded!
-
AuthorPosts
- You must be logged in to reply to this topic.