Home › Forum › Ask A Member › Caille Neptune Gas Tank Repair?
- This topic has 94 replies, 15 voices, and was last updated 4 years, 6 months ago by
 Buccaneer.
-
AuthorPosts
-
December 6, 2020 at 10:07 pm #224460

Yeah, and I think MN lake water may be too hard already, unless you have an ice breaker.
Prepare to be boarded!
December 6, 2020 at 11:06 pm #224464
A "Boathouse Repair" is one that done without having tools or the skills to do it properly.
December 7, 2020 at 9:07 am #224474As long as you don’t drop the motor in the lake!
Prepare to be boarded!
December 7, 2020 at 11:12 am #224488Buc,
On a project of this scale, I am impressed with your progress…
I would have one possible suggestion. and I would like others to chime in if I am not thinking clearly.
I would surmise to NOT tighten the crimps on the tank, but let the solder do its job. My thought process is that if you tighten the crimps, you will struggle removing the panels should that ever need done.
Remember, YOU may not need to but the future owner may need to, and in my mind the solder will seal that tank as intended, and allow for work on the tank if necessary.
Fabulous job…Respectfully
Richard A. Whitehttp://www.richardsoutboardtools.com
classicomctools@gmail.comDecember 7, 2020 at 9:06 pm #224563Thanks Richard for your input. I may tighten up the joints just enough to make sure it
doesn’t pop apart as I’m soldering.
Tutankhamun was buried with some of his favorite things…….. maybe I should
take the Caille with me when I go!Prepare to be boarded!
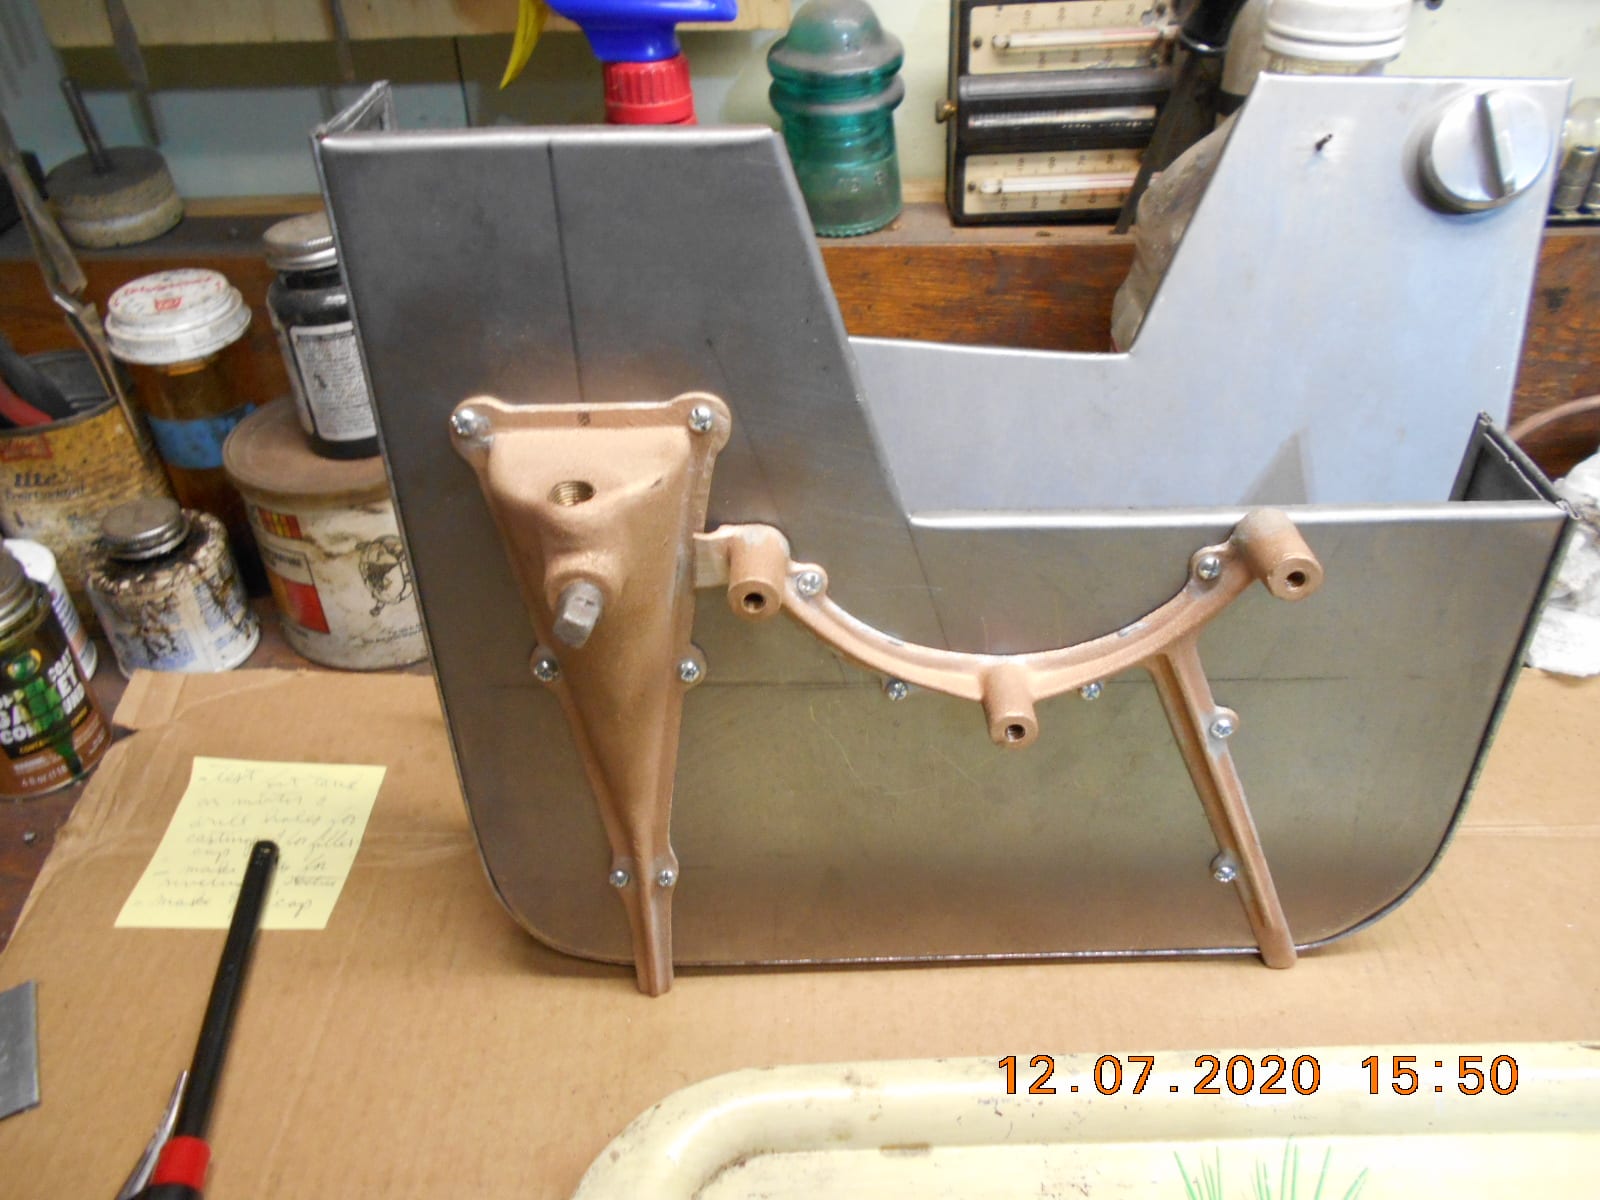
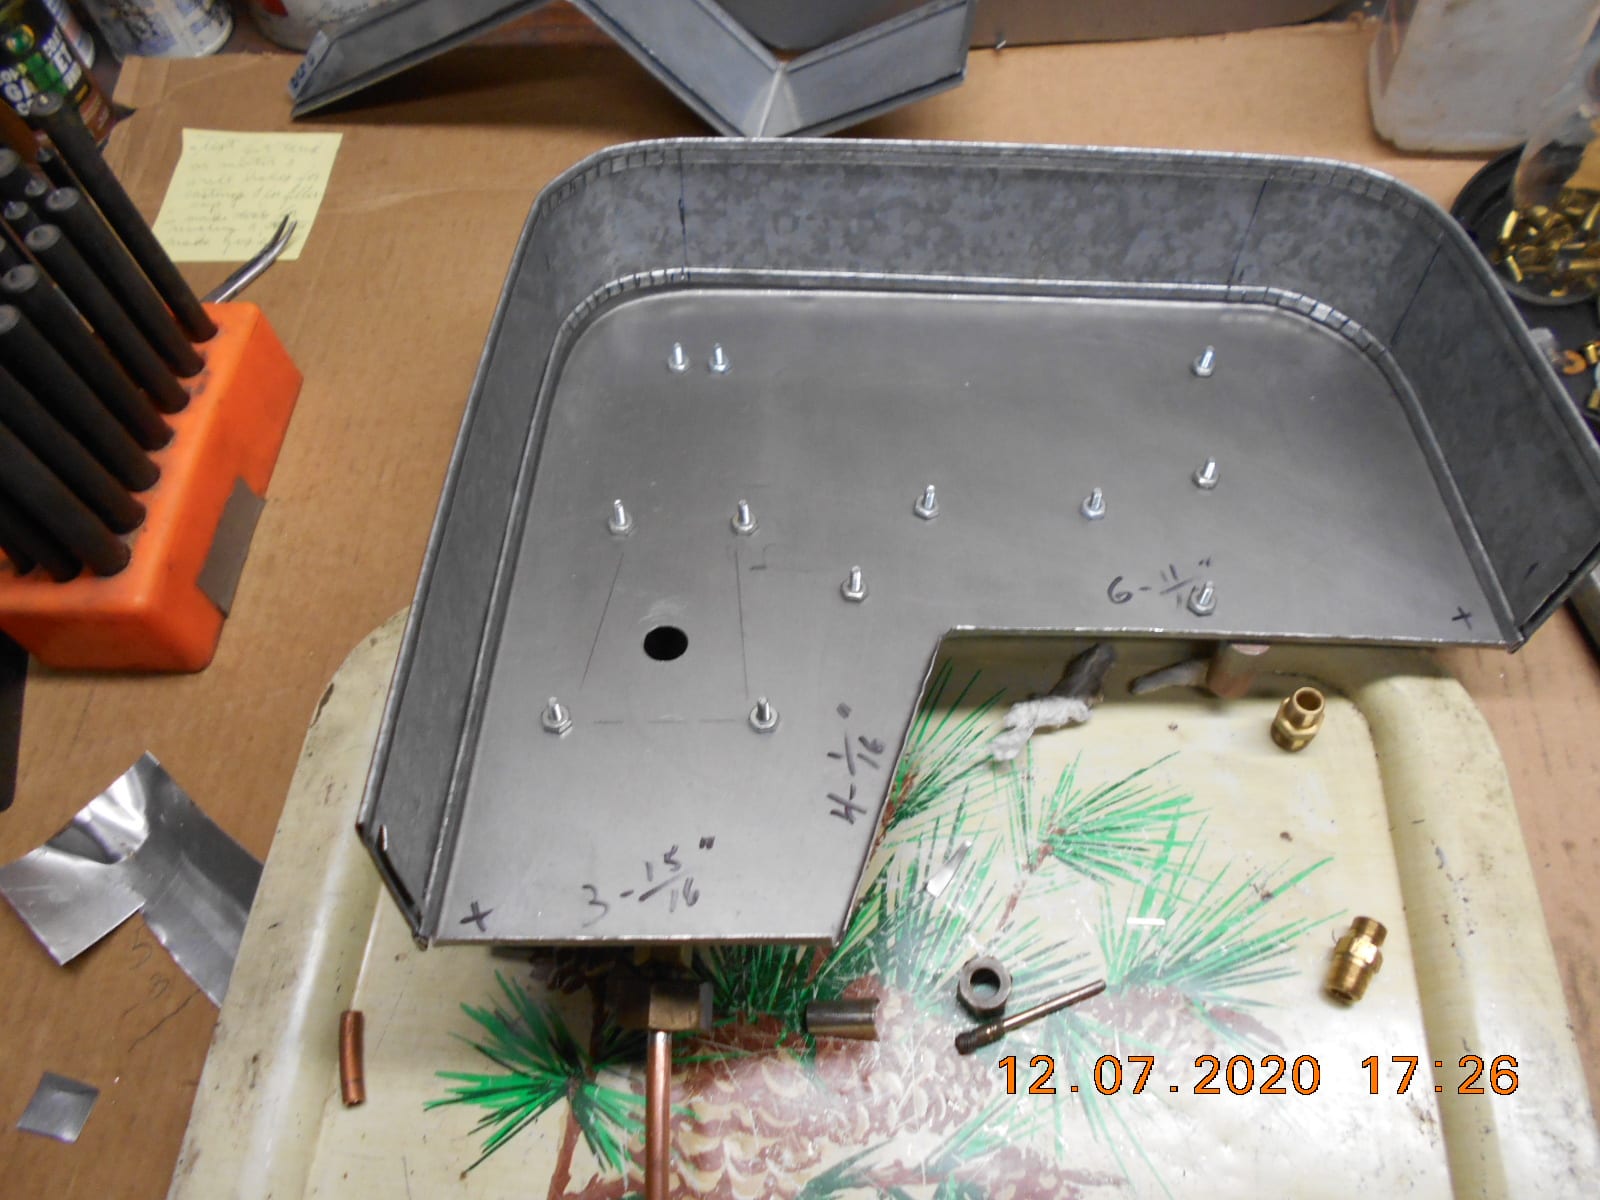
December 7, 2020 at 9:26 pm #224564I didn’t get a whole lot done on the project today, but did get the holes drilled
to mount the bronze “trough” on the bottom of the tank.
I ended up drilling one 1/2″ hole in the bottom pan above the trough.
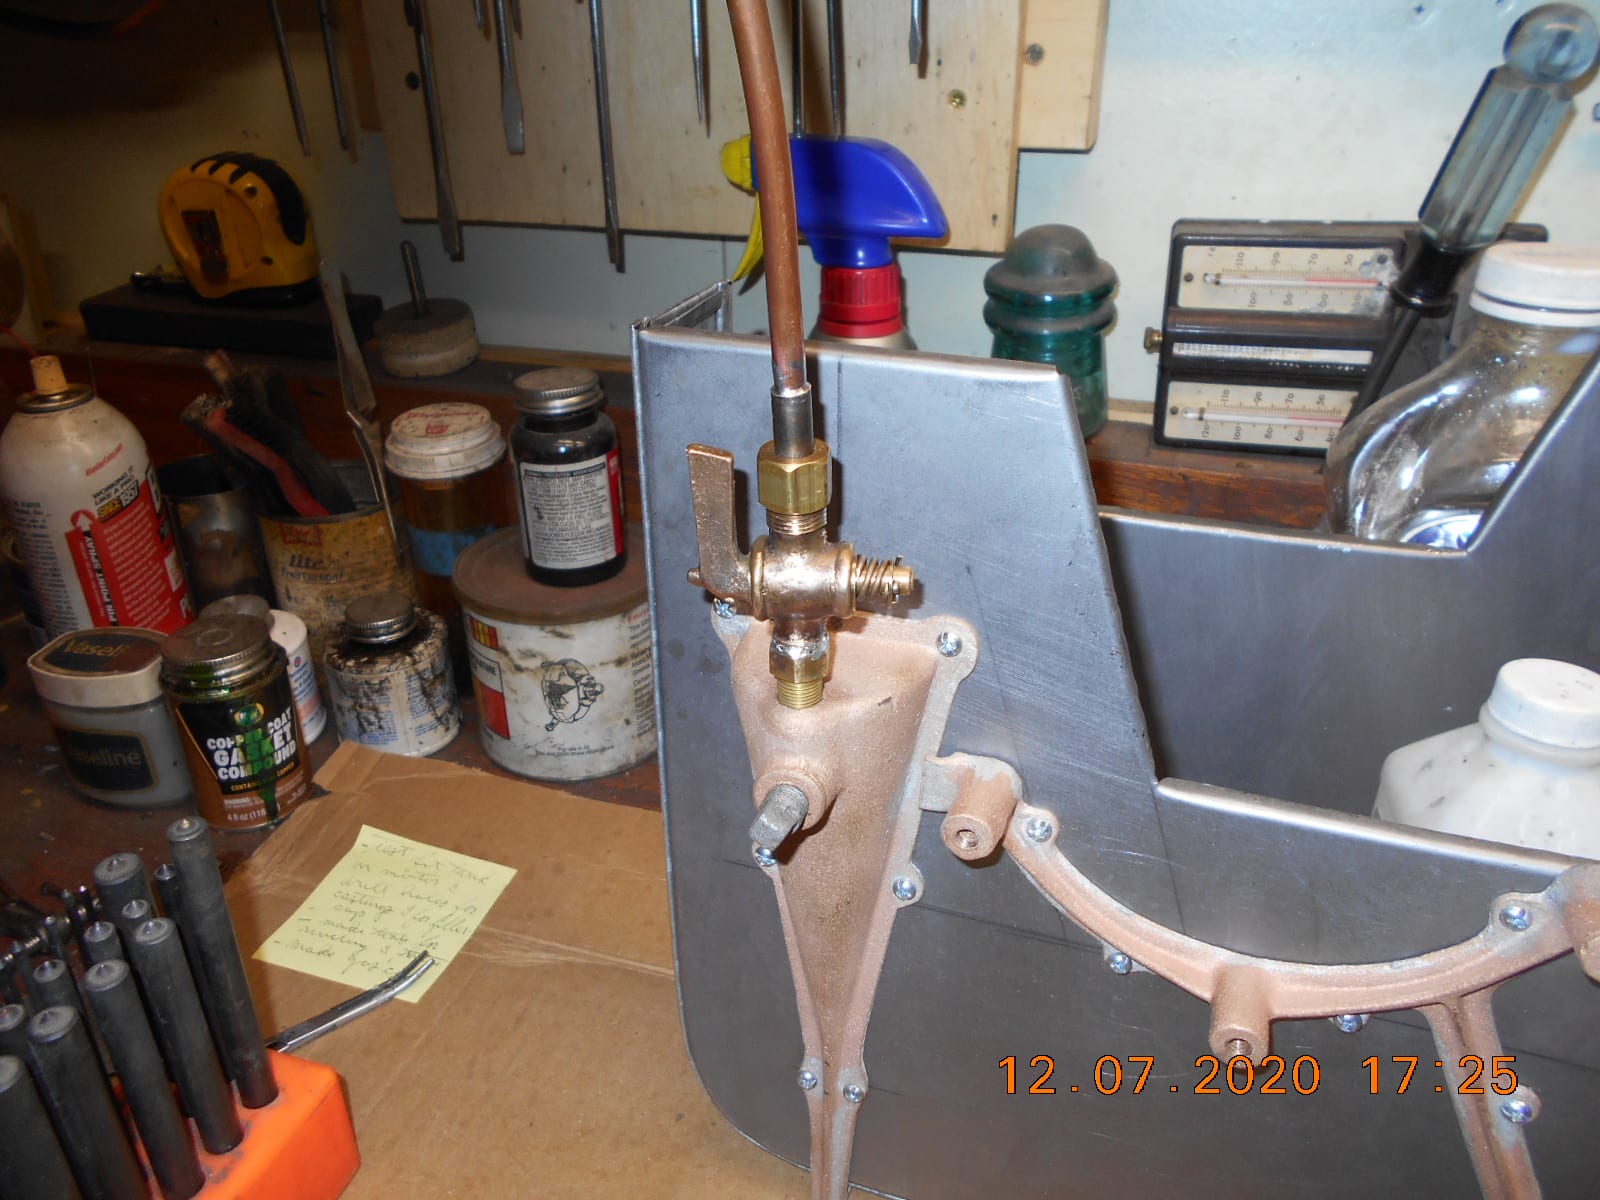
No idea why Caille thought “more holes are better”.I didn’t get a petcock with the motor. I dug through my junk and found one
that was buggered up on one end, and for 5/16″ compression fittings.
I did a little re-designing and attached a 1/8″ pipe thread on it
to screw into the tank trough, and made a conversion on the other
end so 1/4″ tubing will go to the mixer, as that’s the size line that was
originally sweating into the mixer fitting.My flux came today, but my solder says “delayed” 🙁
Still have to figure out the whole “rivet” thing, so maybe I’ll experiment with
that tomorrow.I talked to my uncle today that gave me the Caille a couple of years ago.
He said he got it back in the 1960’s from a junk dealer about 40 miles away,
along with a 1930 Durant car. I should have asked him what he paid for
both…. maybe next time!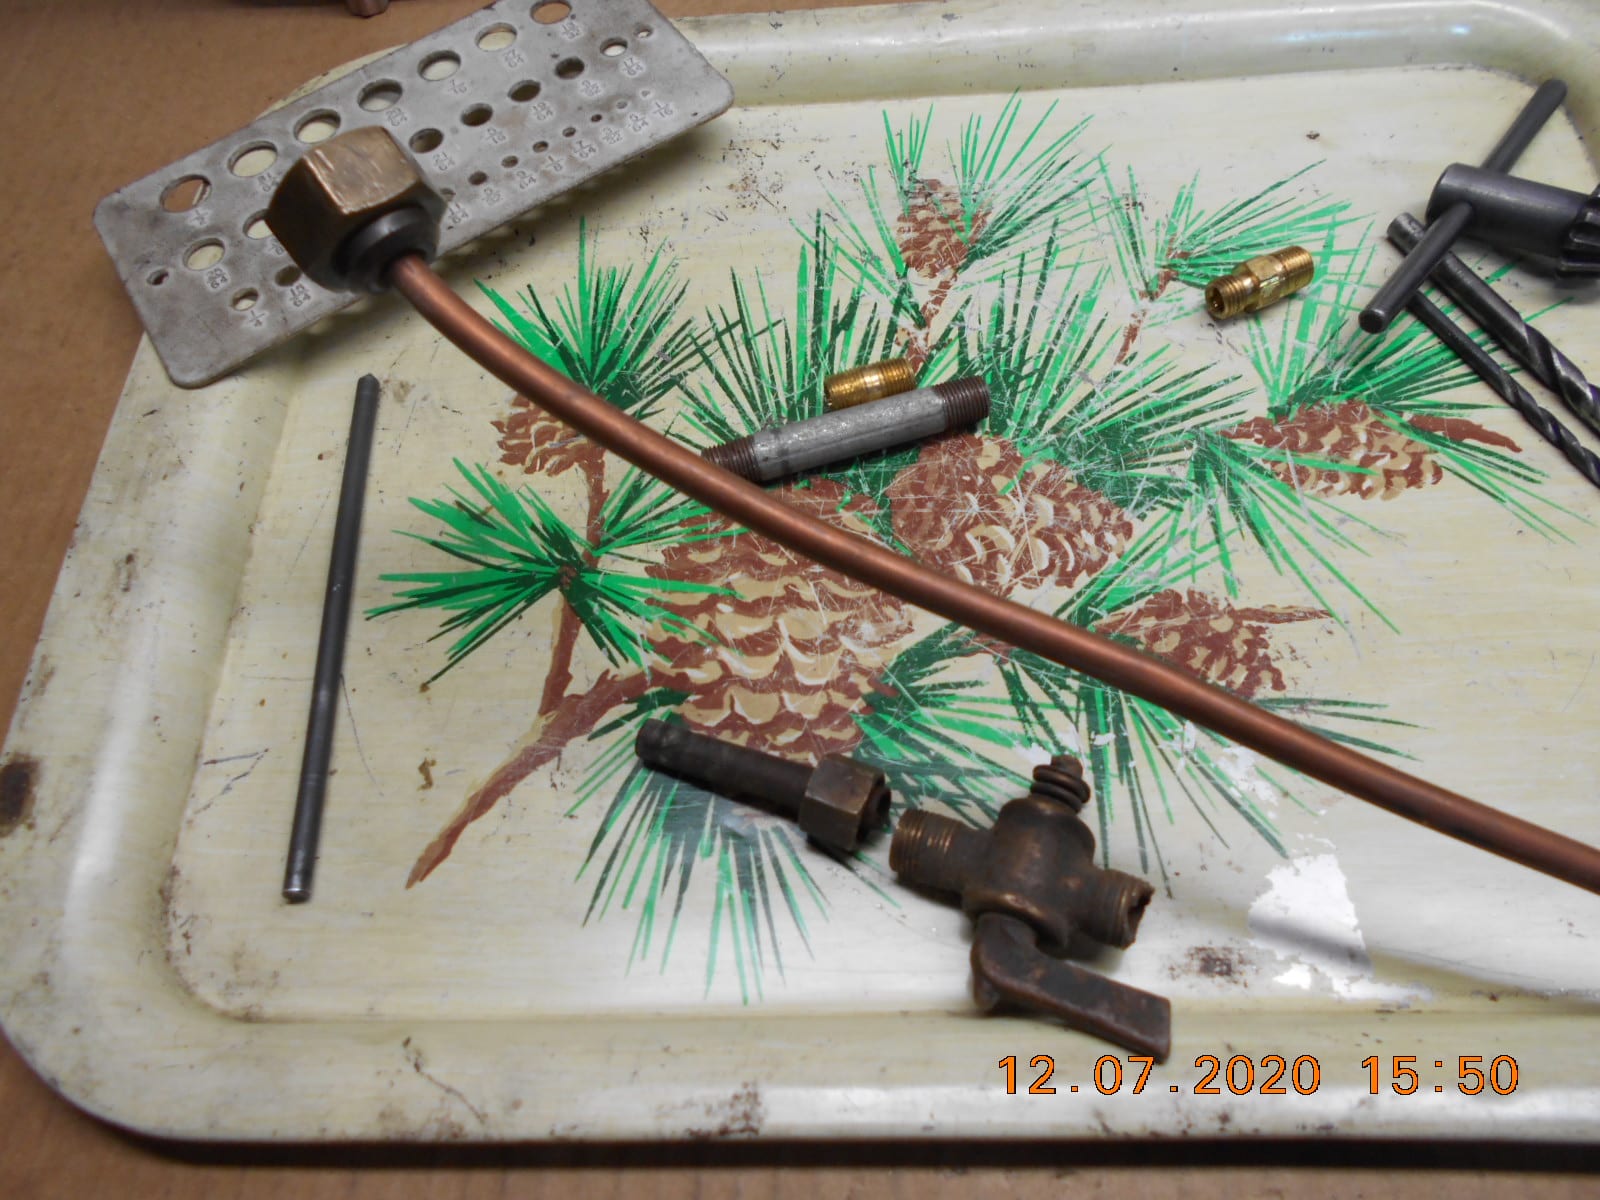
Prepare to be boarded!
December 7, 2020 at 10:15 pm #224574install the rivets then solder them on the inside.
December 7, 2020 at 11:25 pm #224585install the rivets then solder them on the inside.
Dave, I was planning on doing a little soldering on the inside of the
panel seams in critical areas, so I’ll be sure to do the rivets as well.
The bronze gas trough mating surfaces will need to be soldered to the
tank as well.
Not sure if I should try to “tin” the trough’s mating surfaces before I
rivet them down just to make sure I get good solder coverage
when I do the final soldering.
Once I get the solder I need to practice on a test seam to test
out my electric iron and get the feel for it.
Thanks.Prepare to be boarded!
December 8, 2020 at 6:08 pm #224657Still awaiting my solder. Tracking says “delayed”, but still on it’s way.
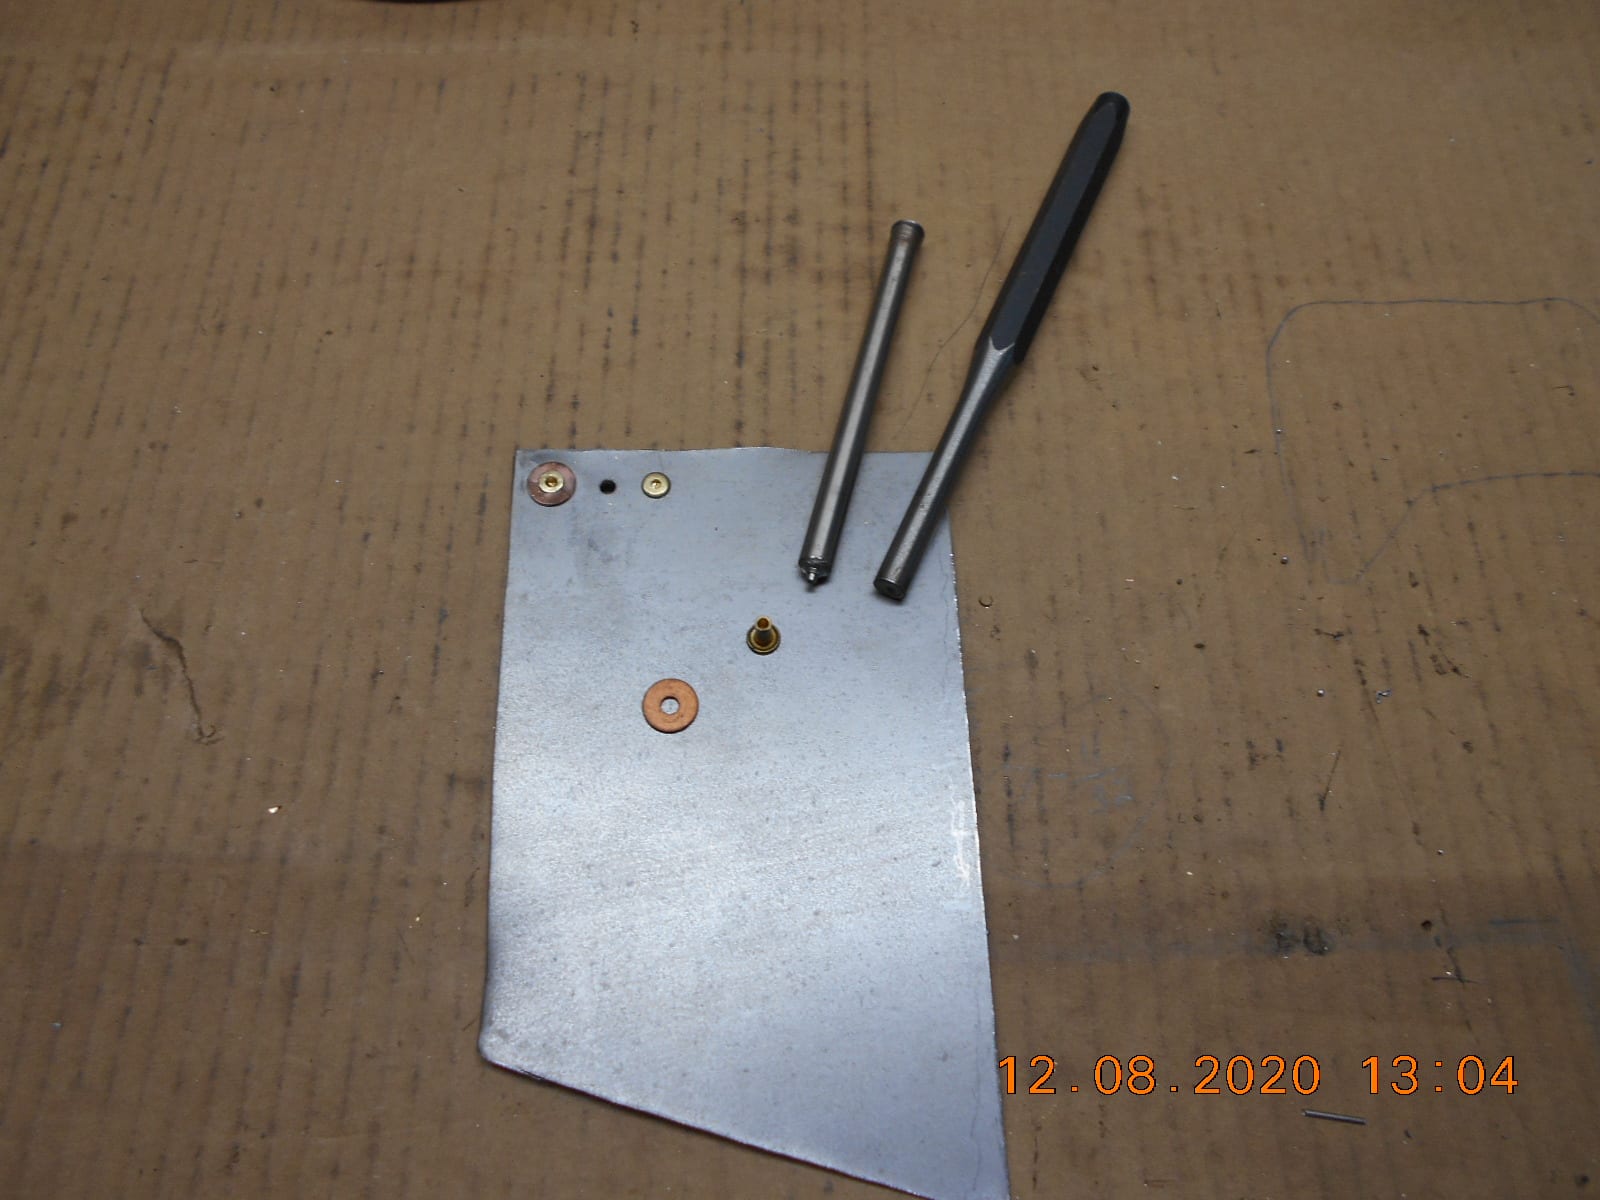
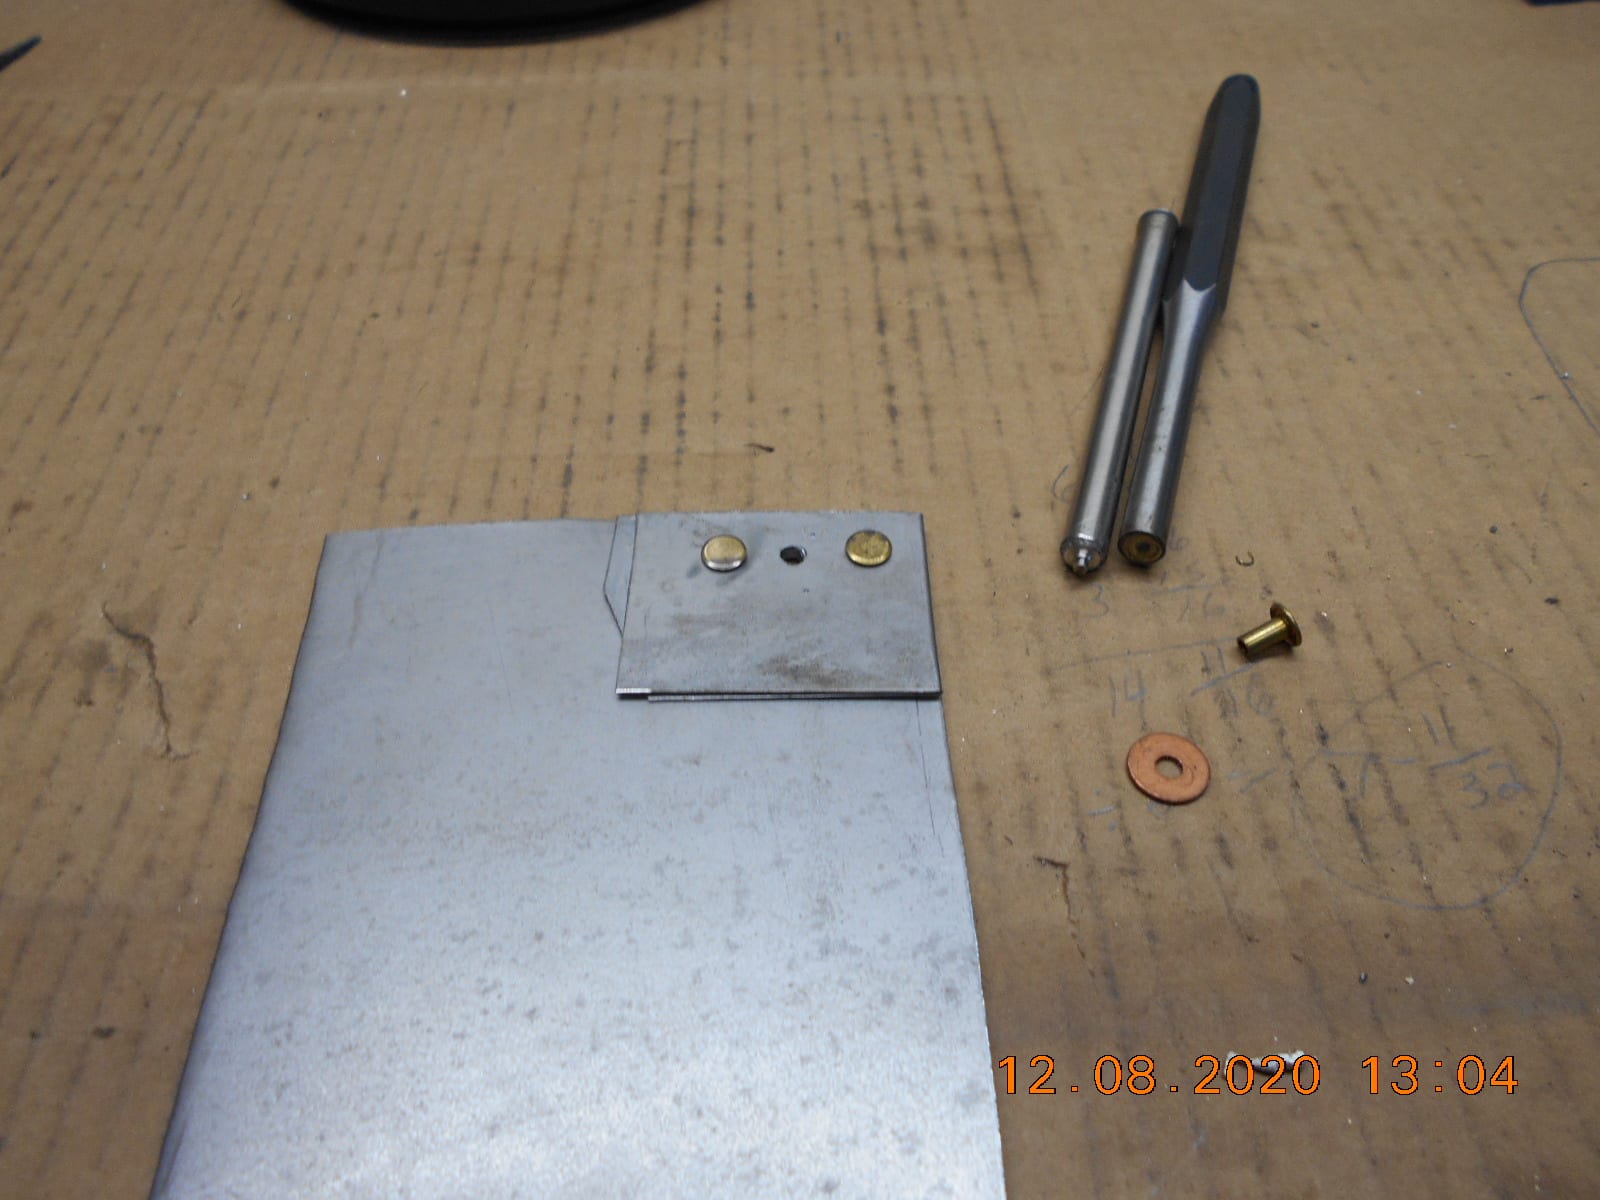
Story of my life, lol.I tinkered around and made some brass spacers to raise the gas tank
1/8″ higher. Looks like that will do the trick.I custom made a rivet set on the lathe, and along with a normal punch,
I think I’ll be in business when it comes time to install the rivets.There were originally large, thin, steel washers used on the inside
for the rivets that held the tank to the mounting casting. I have some
smaller copper washers. Not sure if I should use them?
Perhaps the original washers prevented the tank from
stress cracking as the motor tried to shake apart the boat?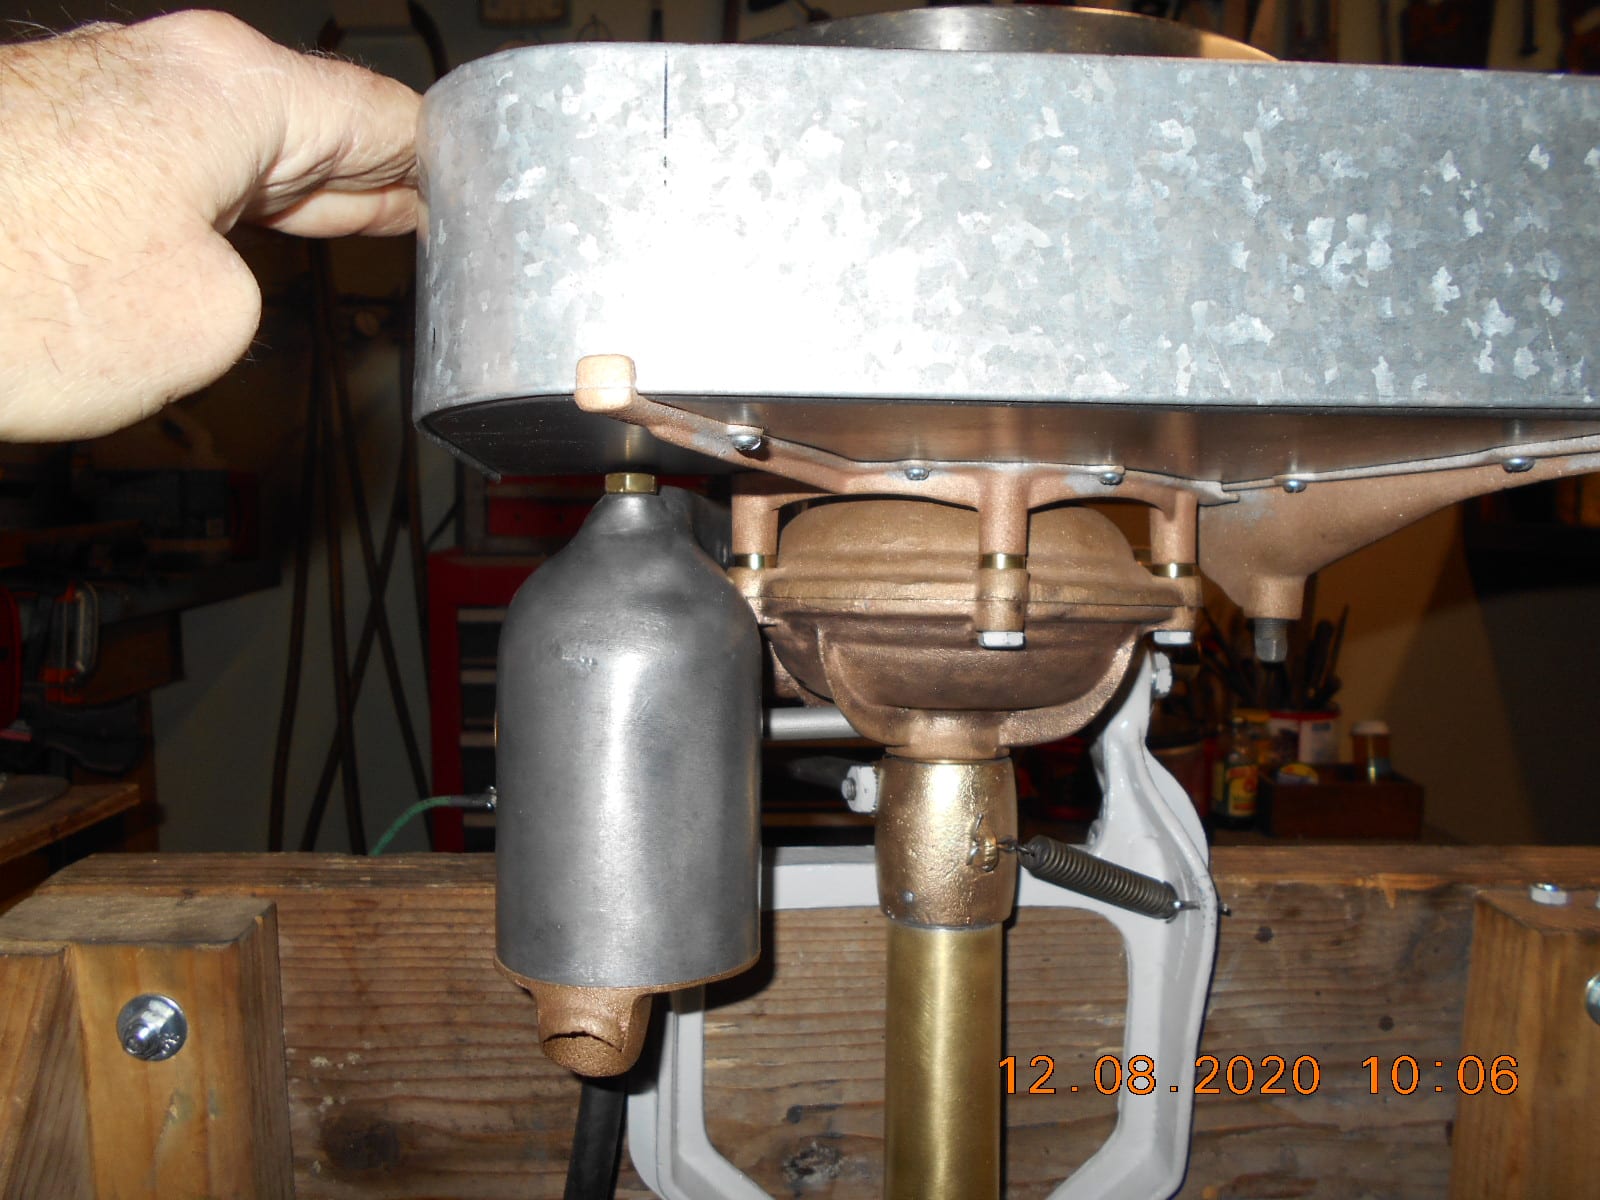
Prepare to be boarded!
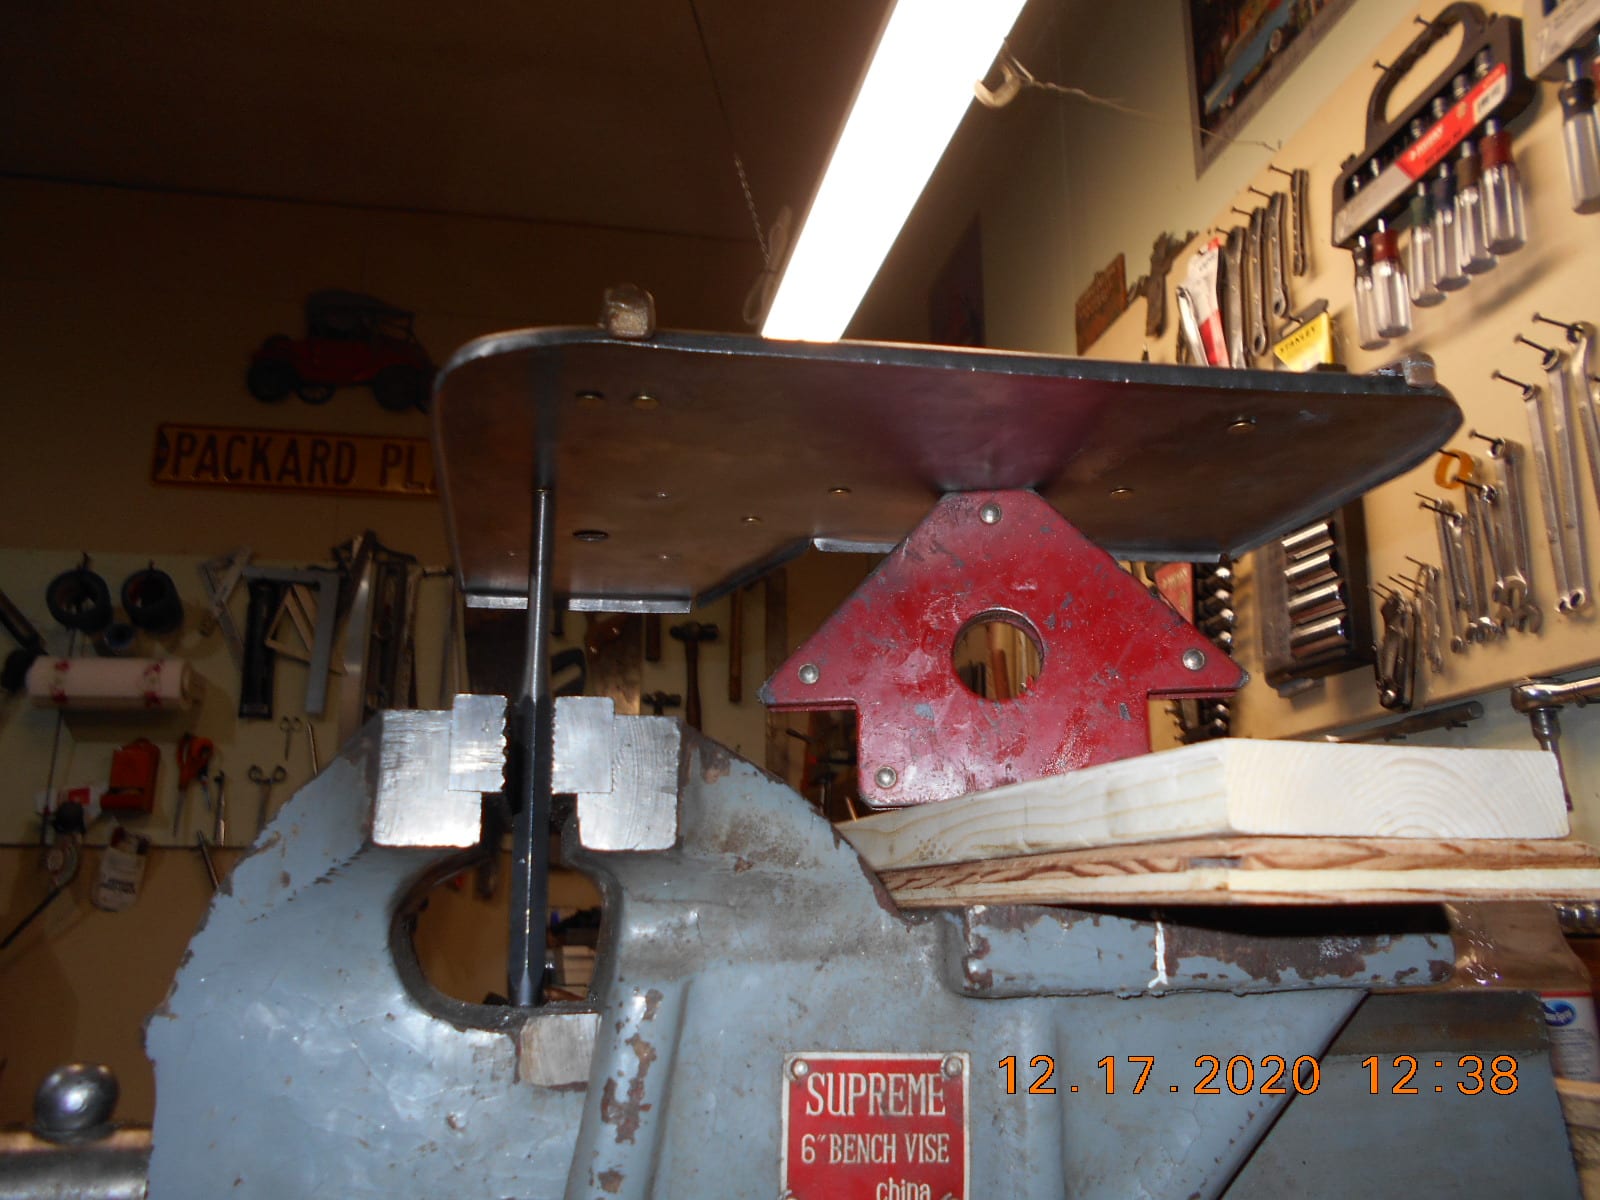
December 17, 2020 at 7:08 pm #225424My solder finally showed up a couple of days ago, so I got back to the Caille tank today.
I’m sure that there was a dozen things I should have done different, or
could have done better, but it was a learning process for sure.I tinned the bronze castings, and bolted them to the tank, after cleaning
the area with muratic acid and then fluxing the area.
I then heated the castings up with a bottle torch until the tinned solder
melted, tightening up the bolts as I went, then went around the edges with
a little more solder.
Next I removed the bolts, cleaned the holes out, and went to riveting.
All the rivets were soldered on the inside of the tank.
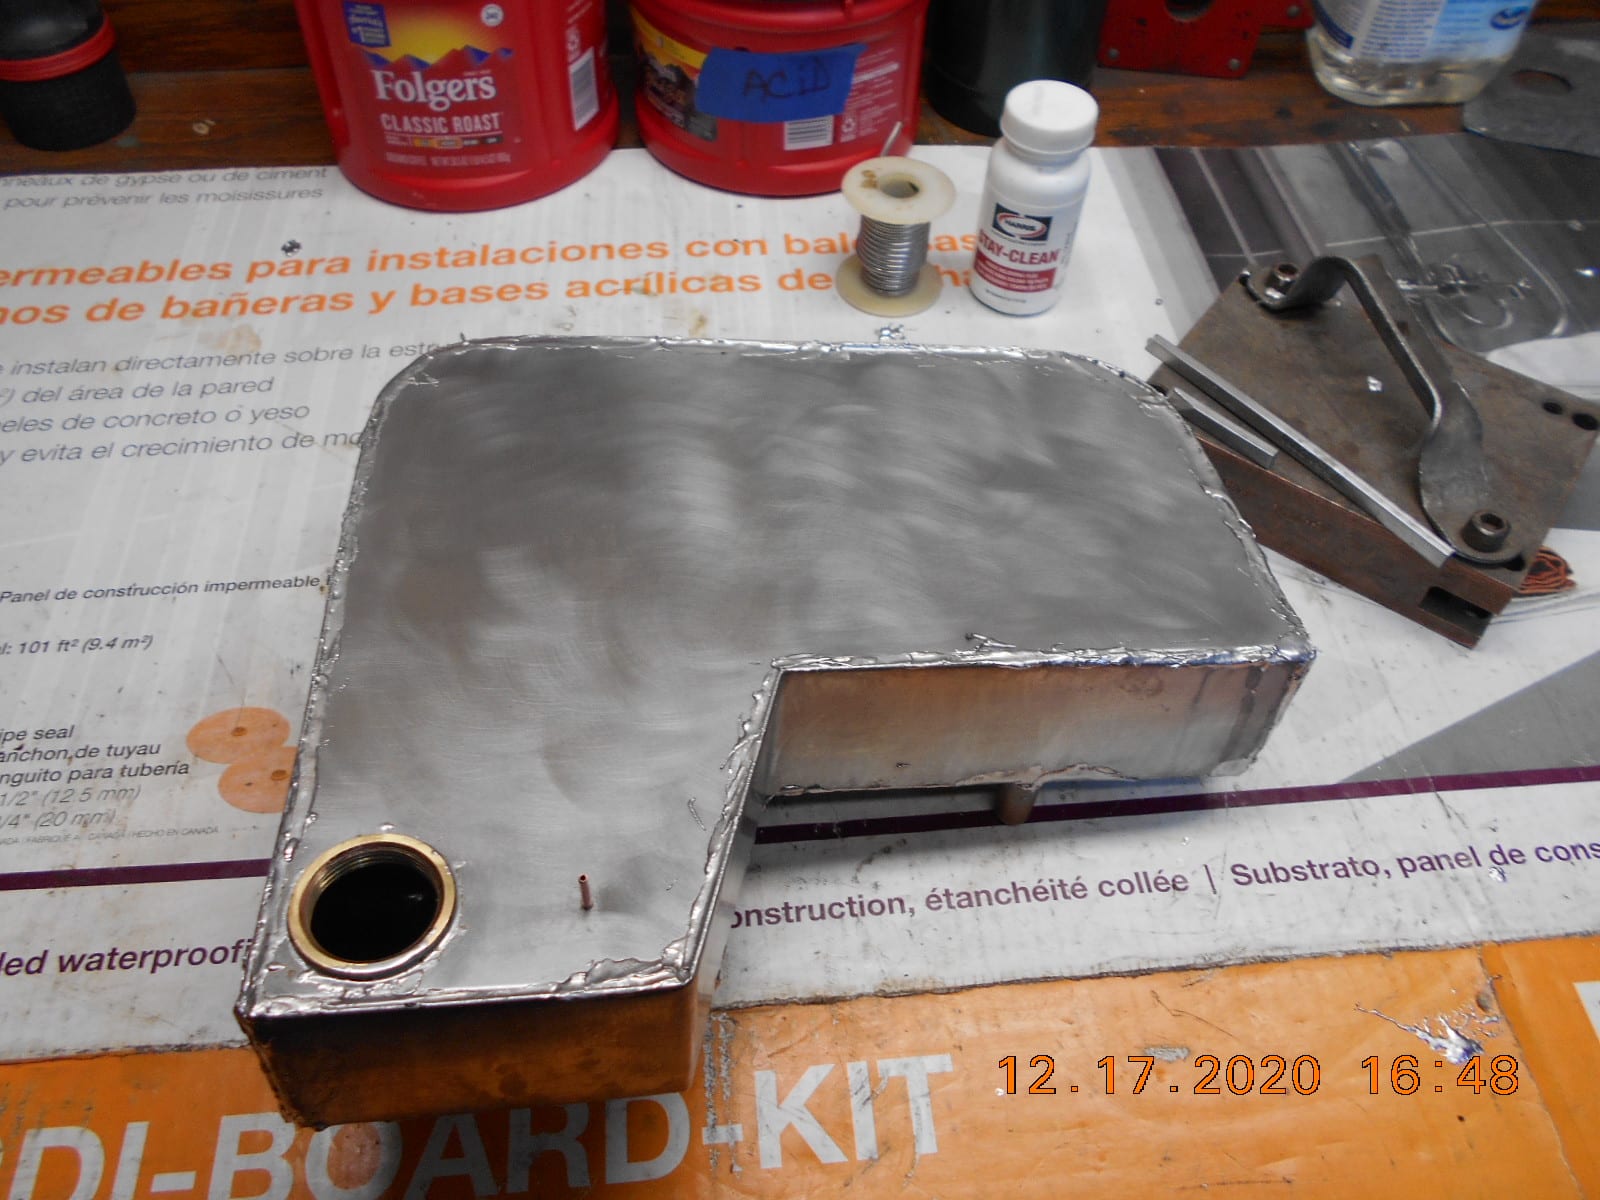
I’m thinking the Caille factor had a better way to “buck” the rivets.Next I soldered the side bands to the bottom, then installed the top
and soldered that. My vintage big electric soldering iron worked great
for doing all the seems.
It doesn’t look pretty and I haven’t checked for leaks yet.
I cleaned up the flux residue with lacquer thinner and tried acetone as well.Not sure how best to make the solder joints more presentable before painting.
Was thinking about using an orbital sander. Any better ideas?No idea on painting over solder either, nor have a clue what color I’m going to
paint the tank.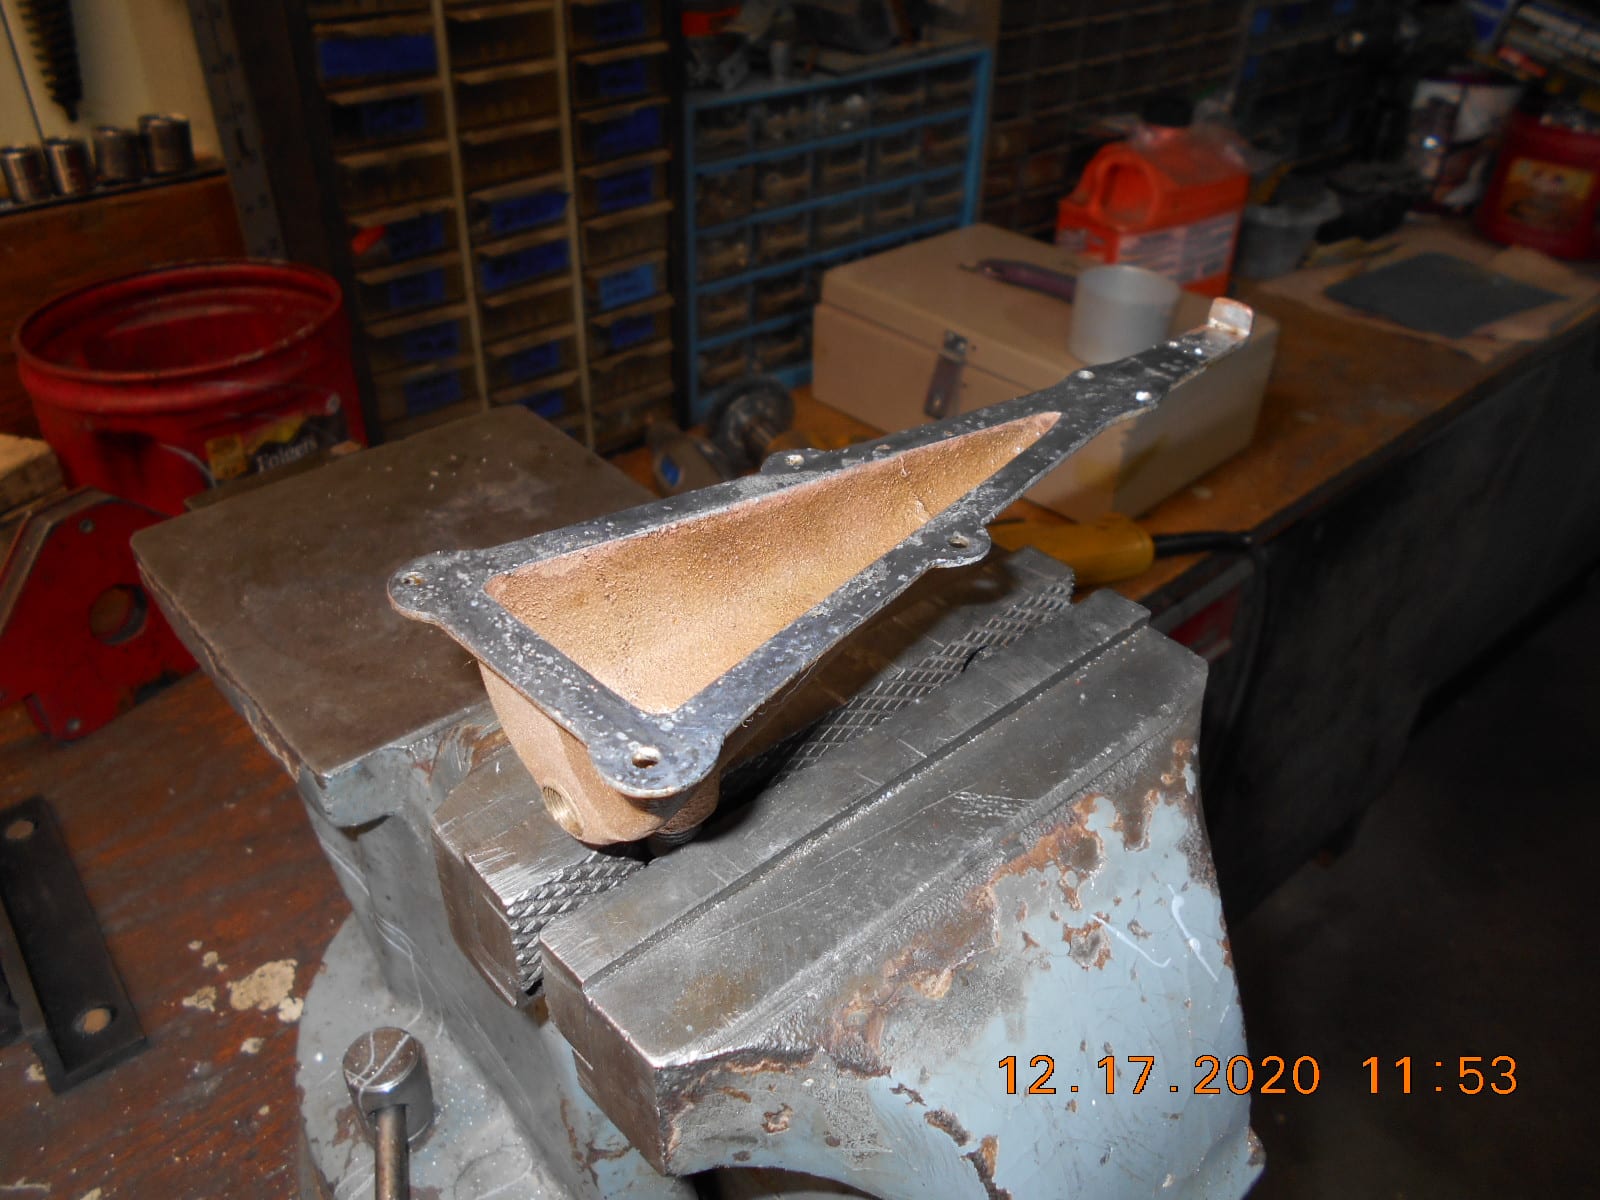

Prepare to be boarded!
-
AuthorPosts
- You must be logged in to reply to this topic.