Home › Forum › Ask A Member › Eismann coils
- This topic has 38 replies, 15 voices, and was last updated 6 years, 5 months ago by
 labrador-guy.
-
AuthorPosts
-
January 20, 2020 at 9:49 am #192627
Tubs, you have me wondering if I should just go ahead and try to swap out the Eisemann coils
for OMC and be done with it. It was nice to see that little motor running on that scenic lake.
Makes me yearn for Spring, especially when it’s -6 degrees and snow up the “shovel’s hilt”.
Again, nice documentation on the “How To”.
Thanks.Prepare to be boarded!
January 20, 2020 at 12:06 pm #192633Here is how I did it.
Not as easy as some but anybody can do
it and your suppose to have parts left over!!!


A "Boathouse Repair" is one thats done without having tools or the skills to do it properly.
January 20, 2020 at 12:29 pm #192644Thank You gentlemen!. I have learned somethings I needed to know.
LouisJanuary 20, 2020 at 1:15 pm #192651Very nice job on the coil mod, Tubs.
Wayne
Upper Canada Chapteruccaomci.com
January 20, 2020 at 5:01 pm #192660I “eyed up” the coil swap situation a little today, holding an OMC coil
this way and that a way, but not sure I took in consideration the depth
the coil needs to go on the lams and if there’s clearance for the primary
and ground wires. The Eismann coil is quite a bit bigger, so I don’t think
clearance will be an issue.Just wondering, is there any benefit “magnetic flux” wise, to only shave down
the center lam and leave the rest original thickness?
Thanks.Prepare to be boarded!
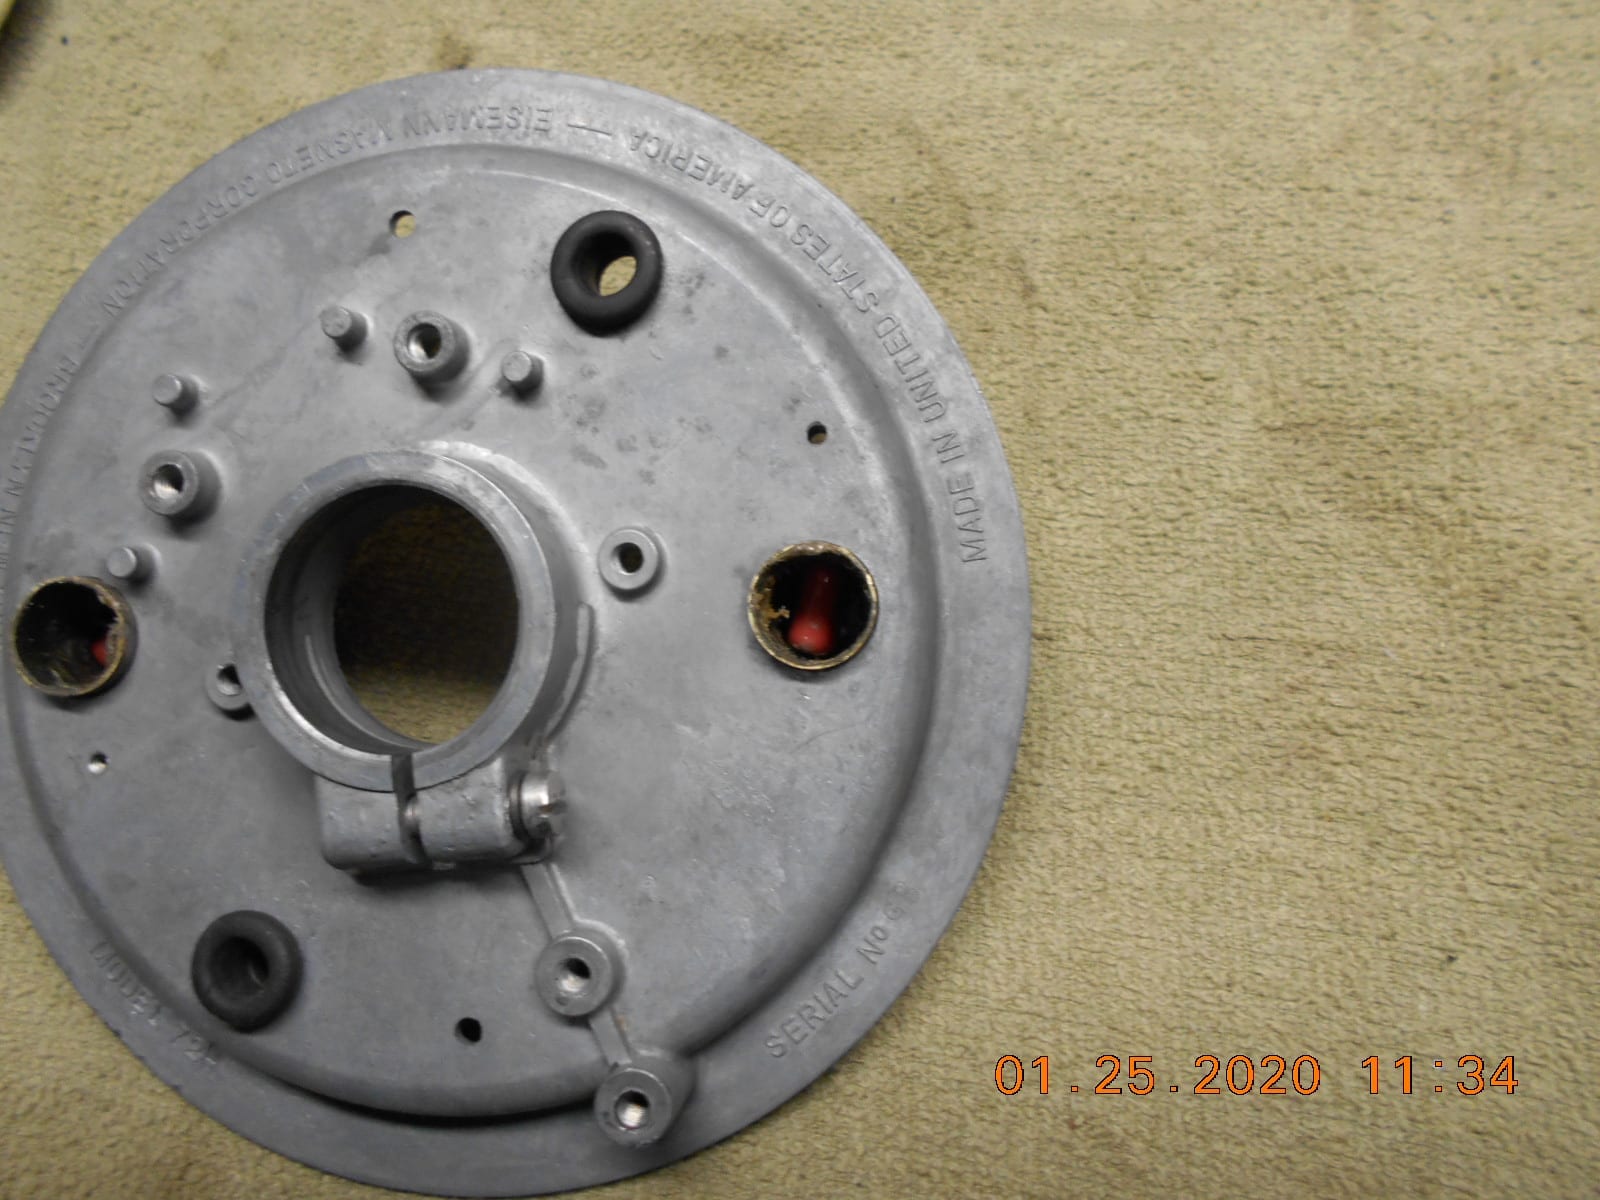
January 21, 2020 at 10:13 am #192717January 25, 2020 at 3:17 pm #193060I went ahead and started the coil conversion on the Eisemann magneto today,
while I await supplies to finish the gas tank.
Not sure if the way I machined down the laminate layers is going to be
“better, worse, or not work at all.
I left the bulk of the laminate the original 5/8” thick, and only machined down
the center post where the new coil slides on. All the “height” removed was
from the bottom side of the laminate, with my thought being I’d have a little
more clearance below the coil to snake the new spark plug wire out the original
hole in the mag plate, and to use the OMC coil spark plug wire attachment
as designed. Not sure if I succeeded as I have not tried hooking up a wire yet.
The Eisemann coild was bigger diameter, so I still end up with the same
clearance from top of laminate to top of coil.I’ve never tried, but is there any reason I couldn’t install the one finished
OMC coil on the mag, and it’s points, condenser, of course, and give
it a try, to see if I have good spark, before I potentially ruin another
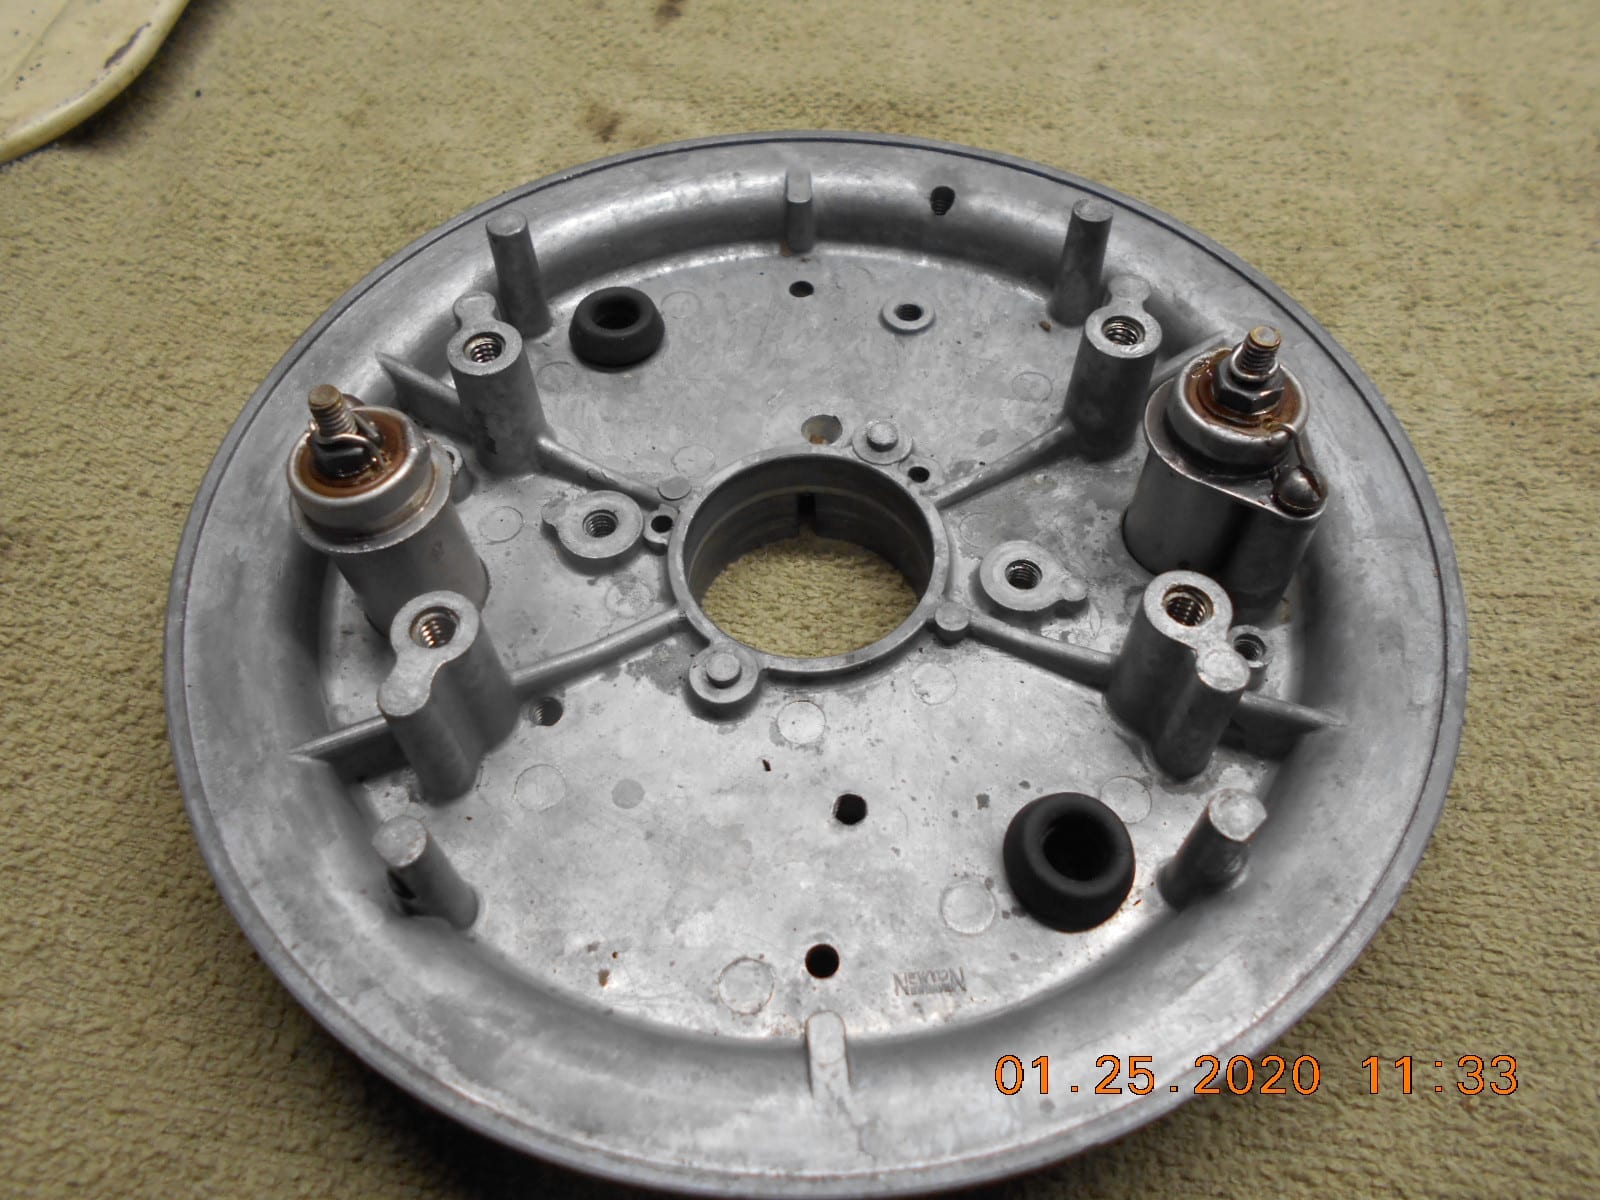
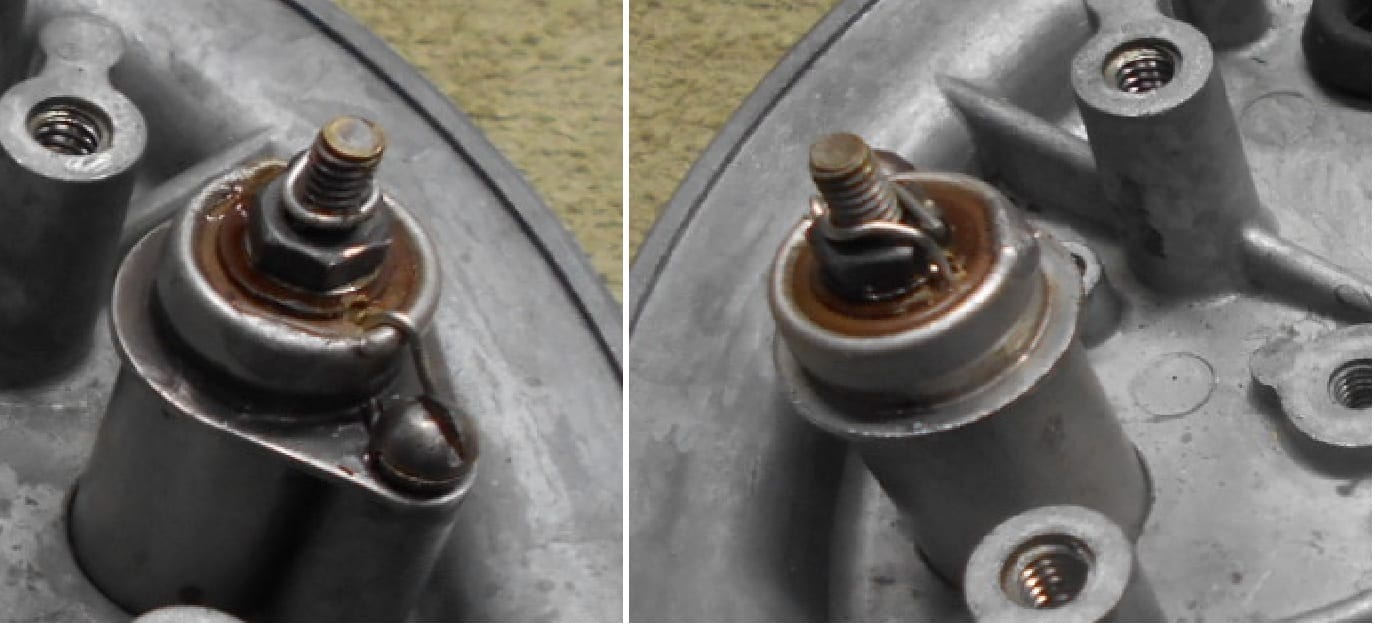
Eisemann laminate?Also news worthy, I revamped the old condensers and put a little
orange, radial capacitor in their cans. The axial caps I had were
too long anyway. I never tried this conversion, as I never found
an old condenser large enough in diameter were said cap would fit
inside of. I’ll probably fill the cans with silicone, to make the caps
vibration free, and keep the mud daubers out!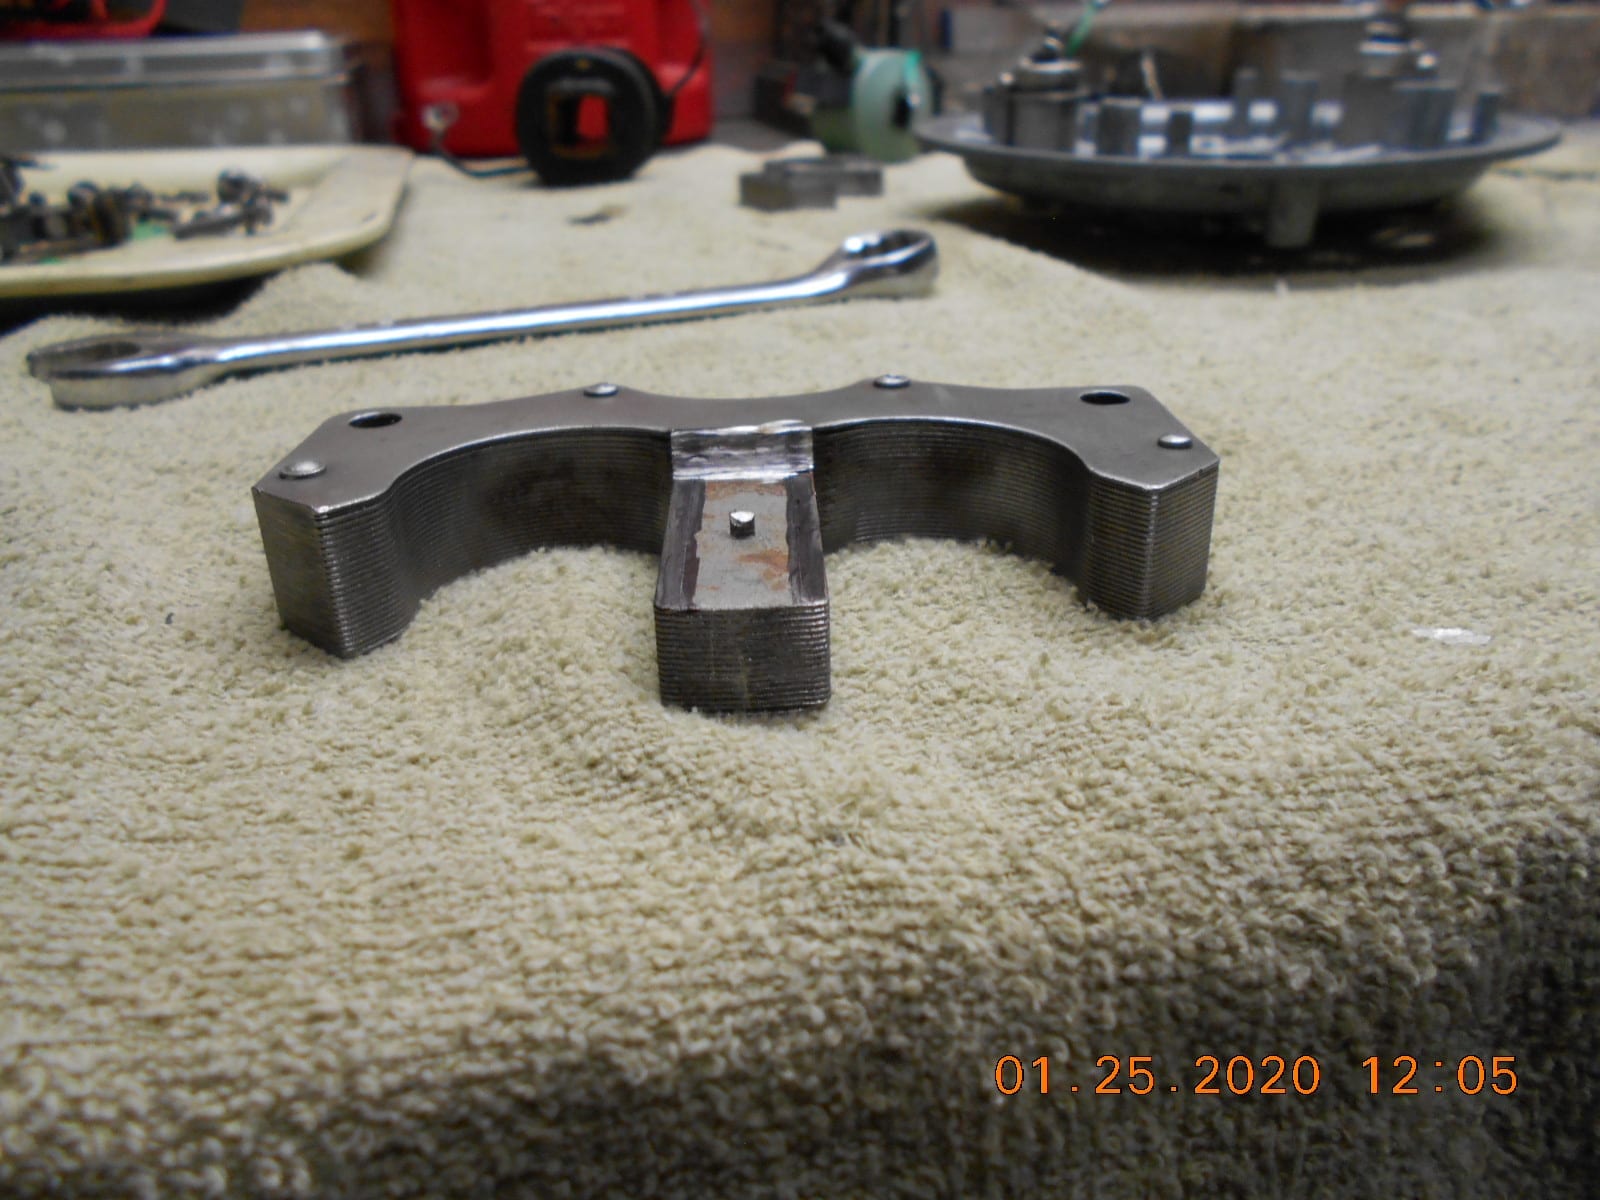
Prepare to be boarded!
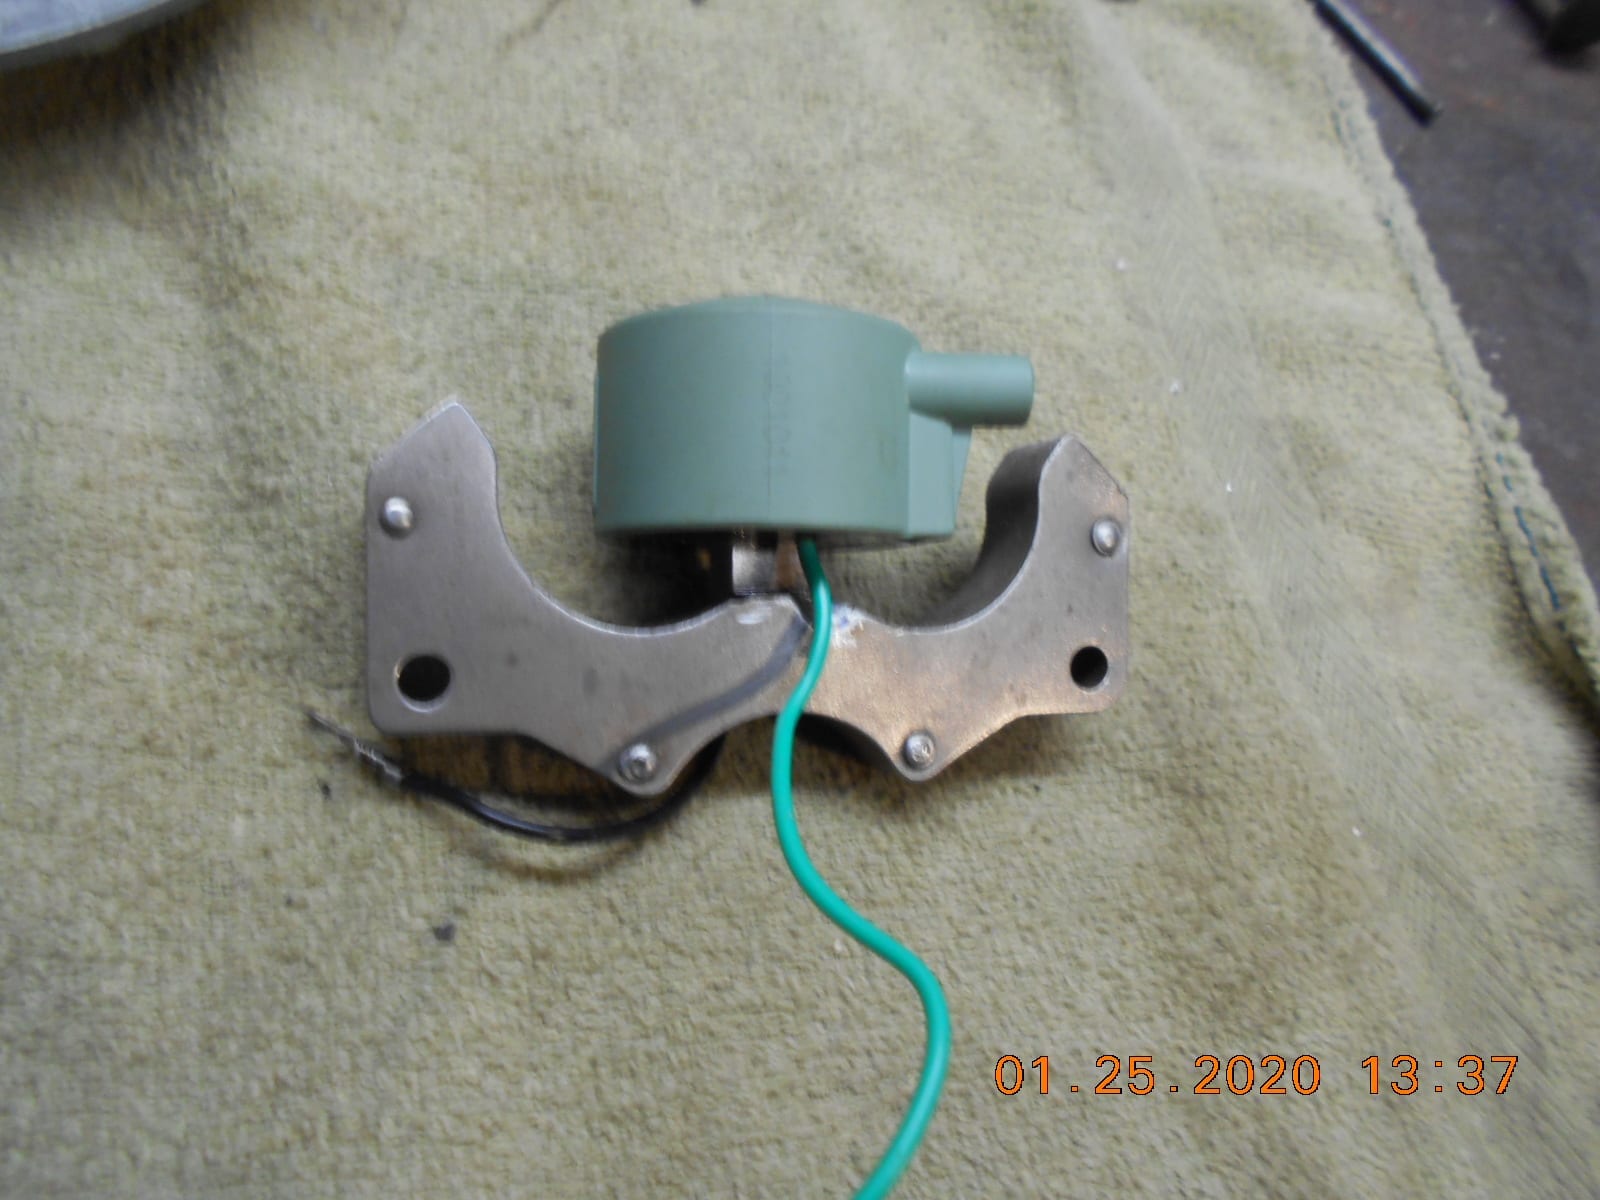
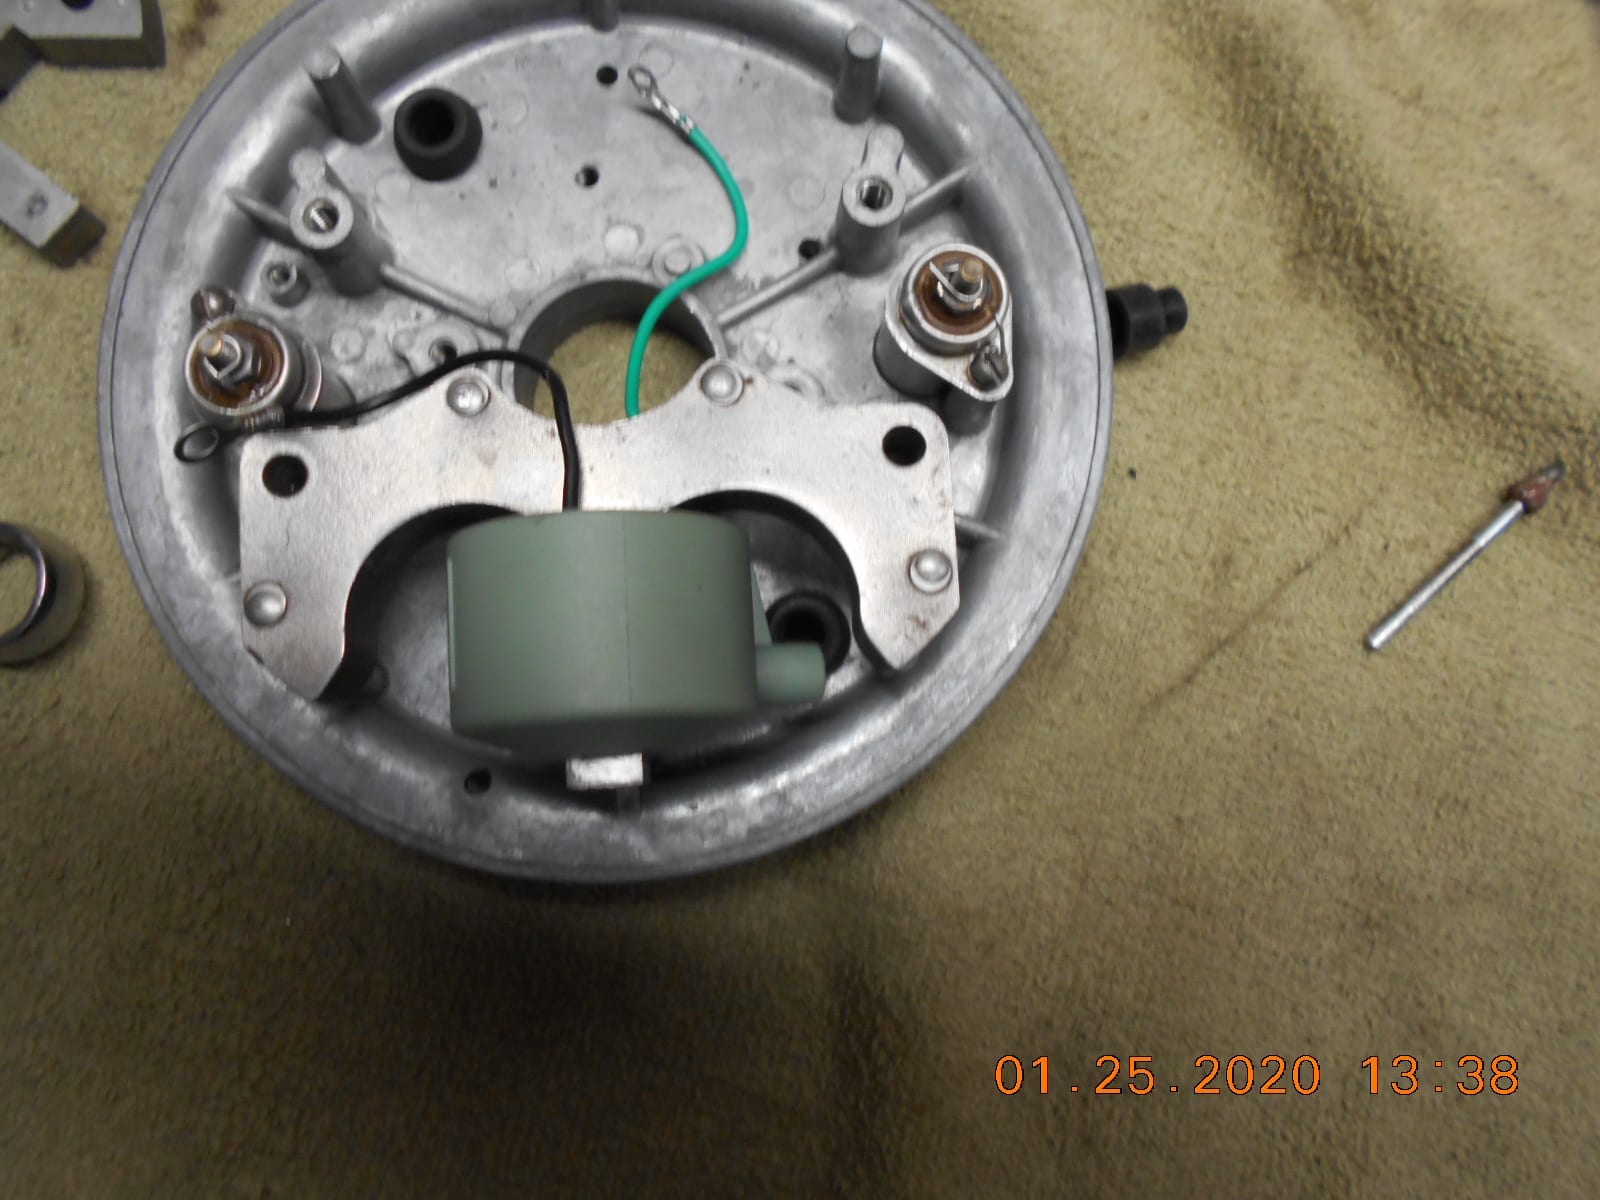
January 25, 2020 at 6:02 pm #193081I went ahead a while ago and installed the one converted coil on the
mag plate. I was able to attach the spark plug wire to the coil
as intended, and exit the mag plate out the original hole.
Flywheel had plenty of clearance over the coil. Therefore, I tried it out
and was very happy to see nice blue spark!
Guess I’ll go ahead and whittle down the other Eisemann laminate
in the next day or so.As a footnote, I was going to install some Zonghong (sp?) coils
for the conversion, but decided on some Sierra “green” coils that
Tubs mentioned. The primary leads on the Zonghongnese coils
were too short. Also, their primary’s OHM reading was 1.3, and
.7 on the Sierra…… not sure if that would have been an issue or not.Prepare to be boarded!
January 25, 2020 at 9:38 pm #193084That’s very interesting Buc. By chance do you have photos of your work on the cap conversion? Maybe you’ve posted it already and I missed it. Also; the P/N for the orange Cap would be appreciated.
Awesome Job!January 25, 2020 at 11:28 pm #193094I cut the ends of the condensers off with my Dremel and tiny cut-off saw.
I used about a 3/8 drill bit to drill the “guts” out of the condenser. Part
way in with the drill bit, the innards all pulled out in one piece.
After I cleaned the inside of the condenser a little, I drilled two tiny holes
in the top of the old condenser, for the cap wires to poke through.
Make sure the one hole is not touching the outside of the condenser can.
This wire will be attached to the condenser screw post along with the wire
from the coil and points. The other cap wire gets grounded. I used the condenser
“hold down” screw for this.These are the “Orange” caps from DigiKey I used….
.2 UF (.20 mfd)
0.2µF Film Capacitor 400V Polypropylene (PP), Metallized RadialDigi-Key Part Number P12106-ND
Manufacturer Part Number
ECW-F4204JL
=============
Prepare to be boarded!
-
AuthorPosts

- You must be logged in to reply to this topic.