Home Forum Ask A Member QD16 Simplex pawl starter assembly

Viewing 8 posts - 1 through 8 (of 8 total)
  • Author
    Posts
  • #8389
    piddler
    Participant

      Hello
      Anyone have a diagram on this ? Newbie. First post. This one is wearing me out.
      Thanks for any comments or instructions

      #65746
      Steve D
      Participant

        Here’s that page from the manual.


        Attachments:

        #65749
        piddler
        Participant

          Thank you very much. How exactly is part 15 placed in the re assembly?
          Thanks again

          #65755
          crosbyman
          Participant

            Canada Member - 2 Years

            http://boatinfo.no/lib/johnson/manuals/ … on.html#/0

            book to read

            Joining AOMCI has priviledges 🙂

            #65757
            Steve D
            Participant

              It’s been awhile since I did one but the way that worked for me was:
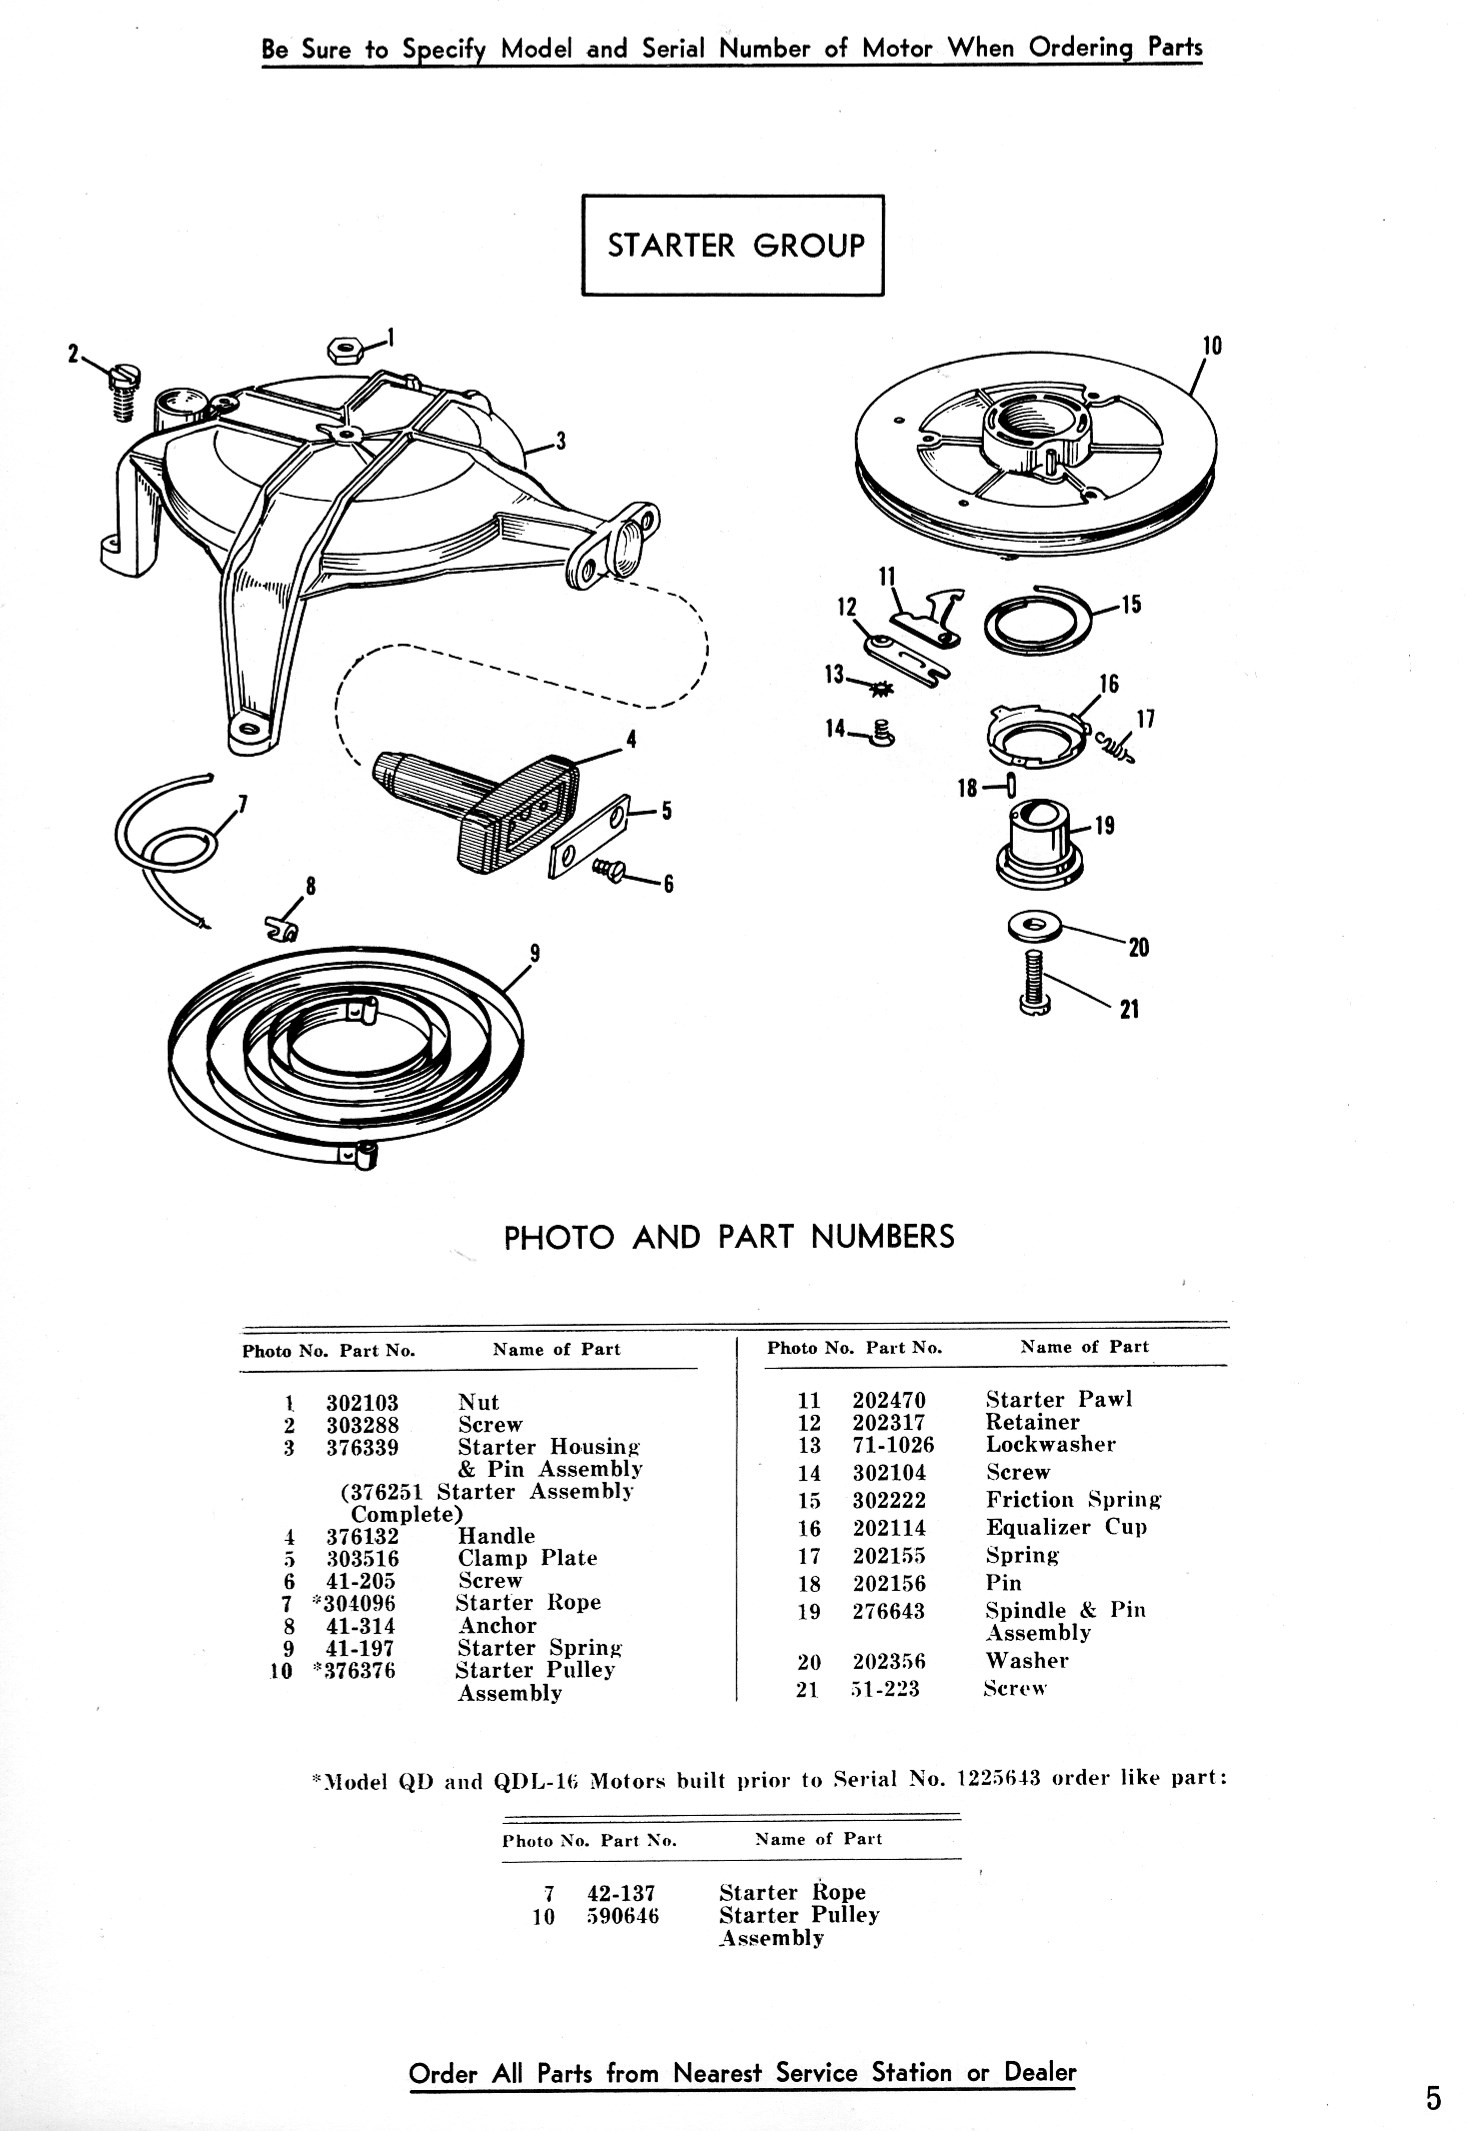
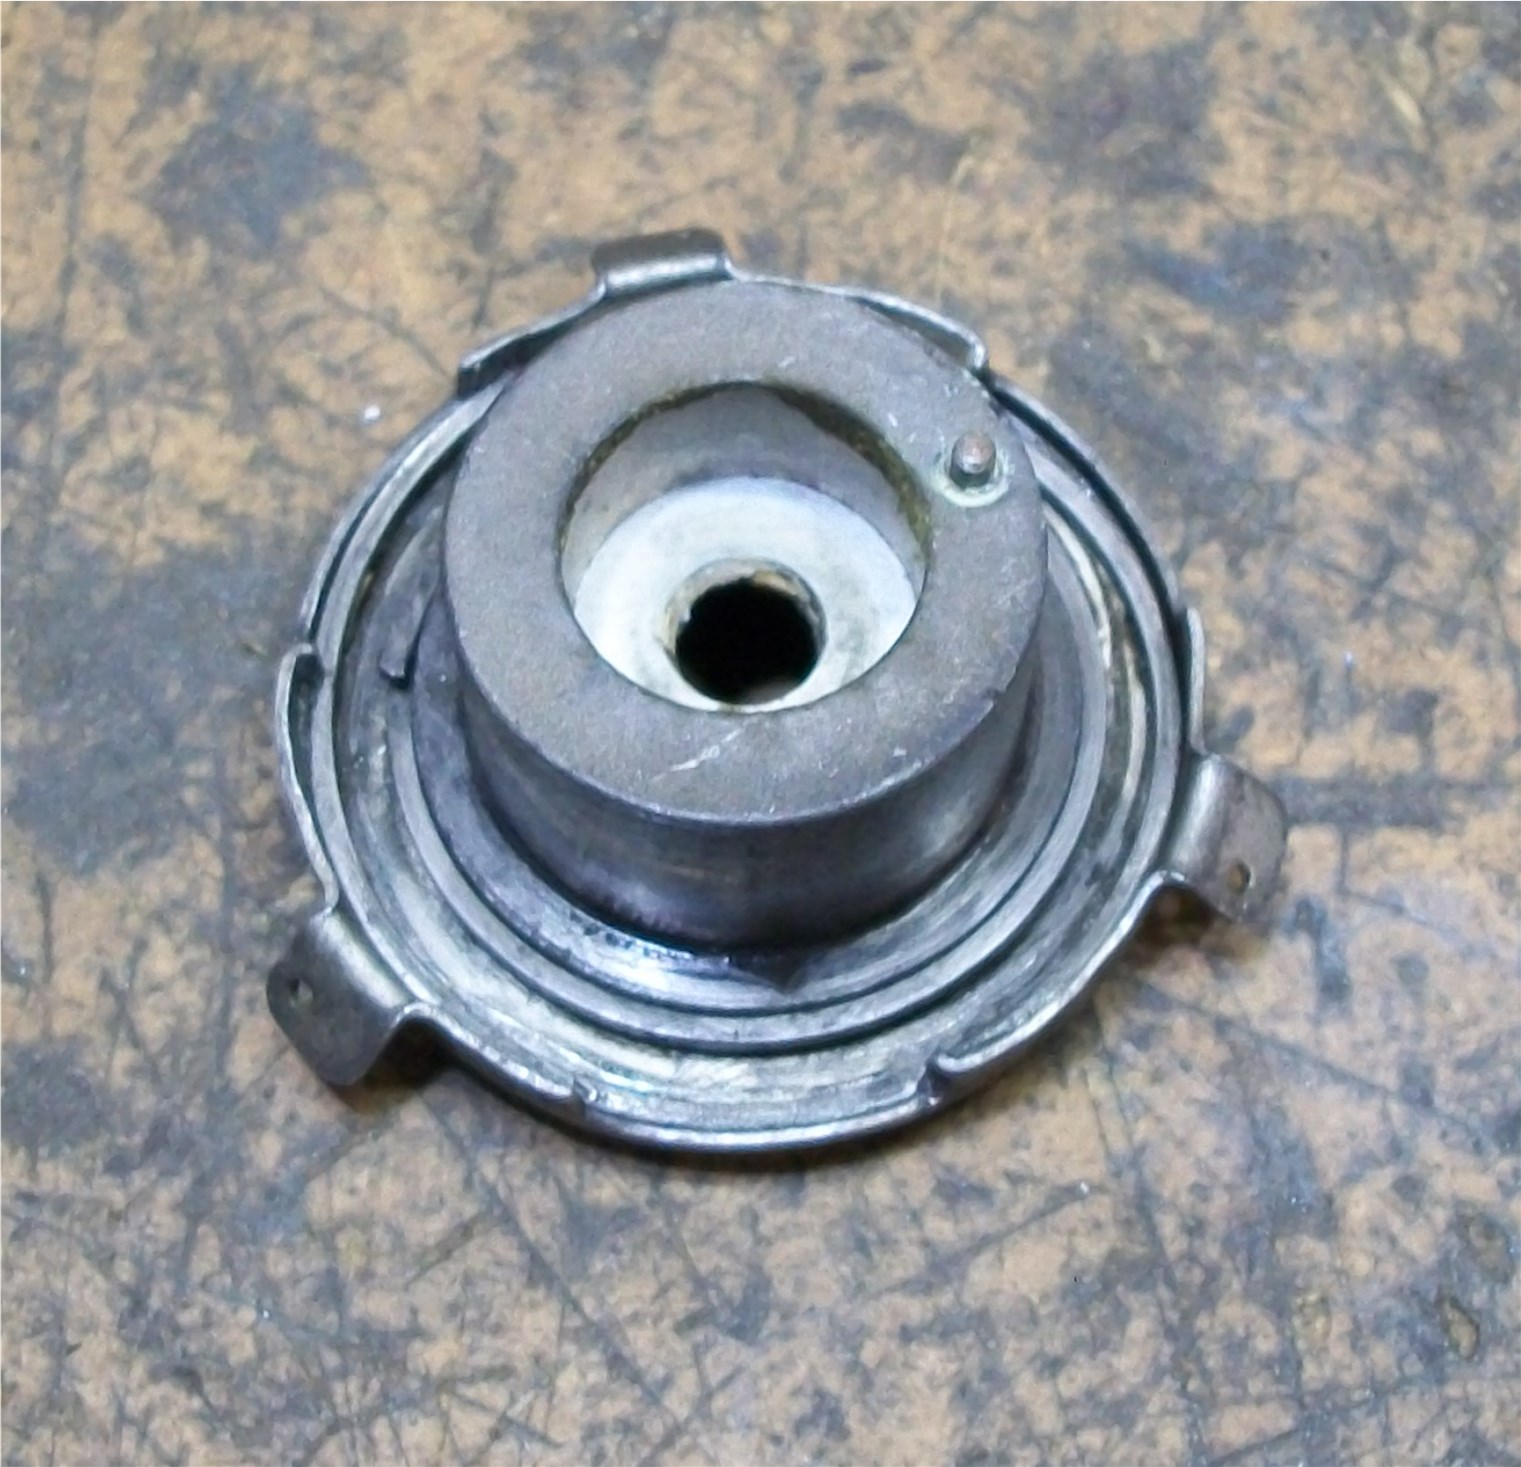
              1- Fit the spring into #16, the Equalizer Cup
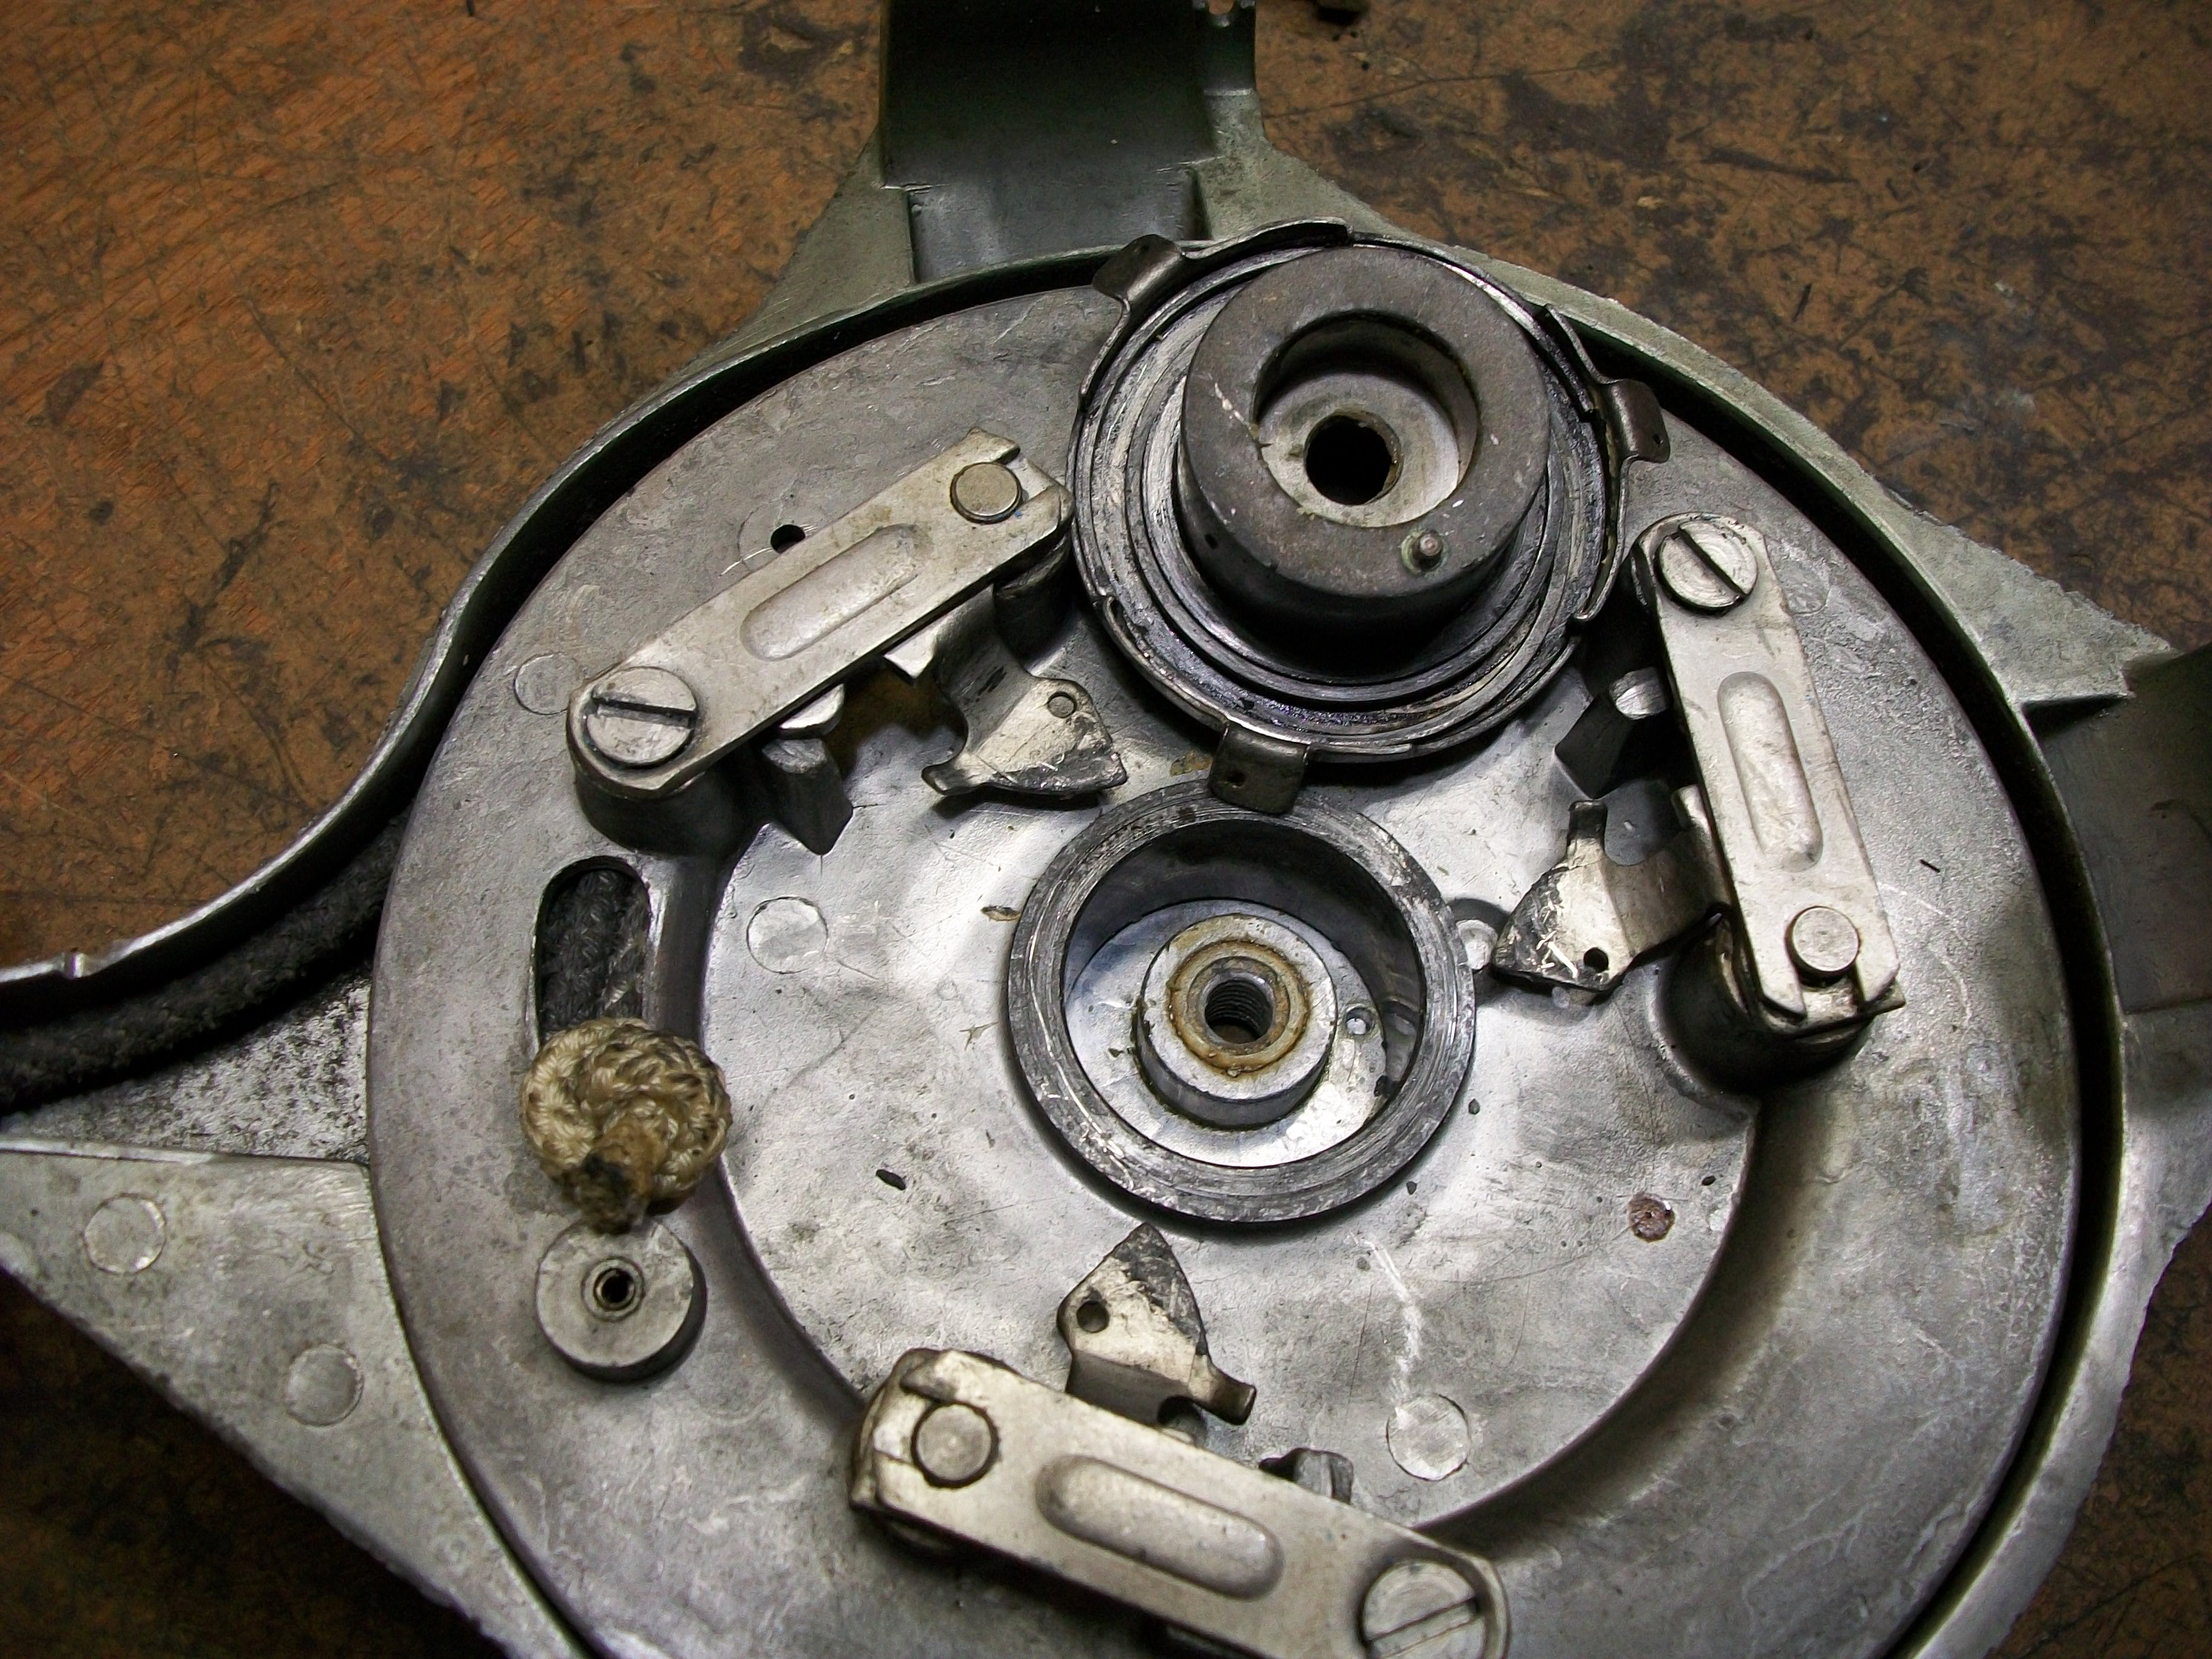
              2- Slide that over the Spindle making sure the spring is around the lip/ridge of the spindle
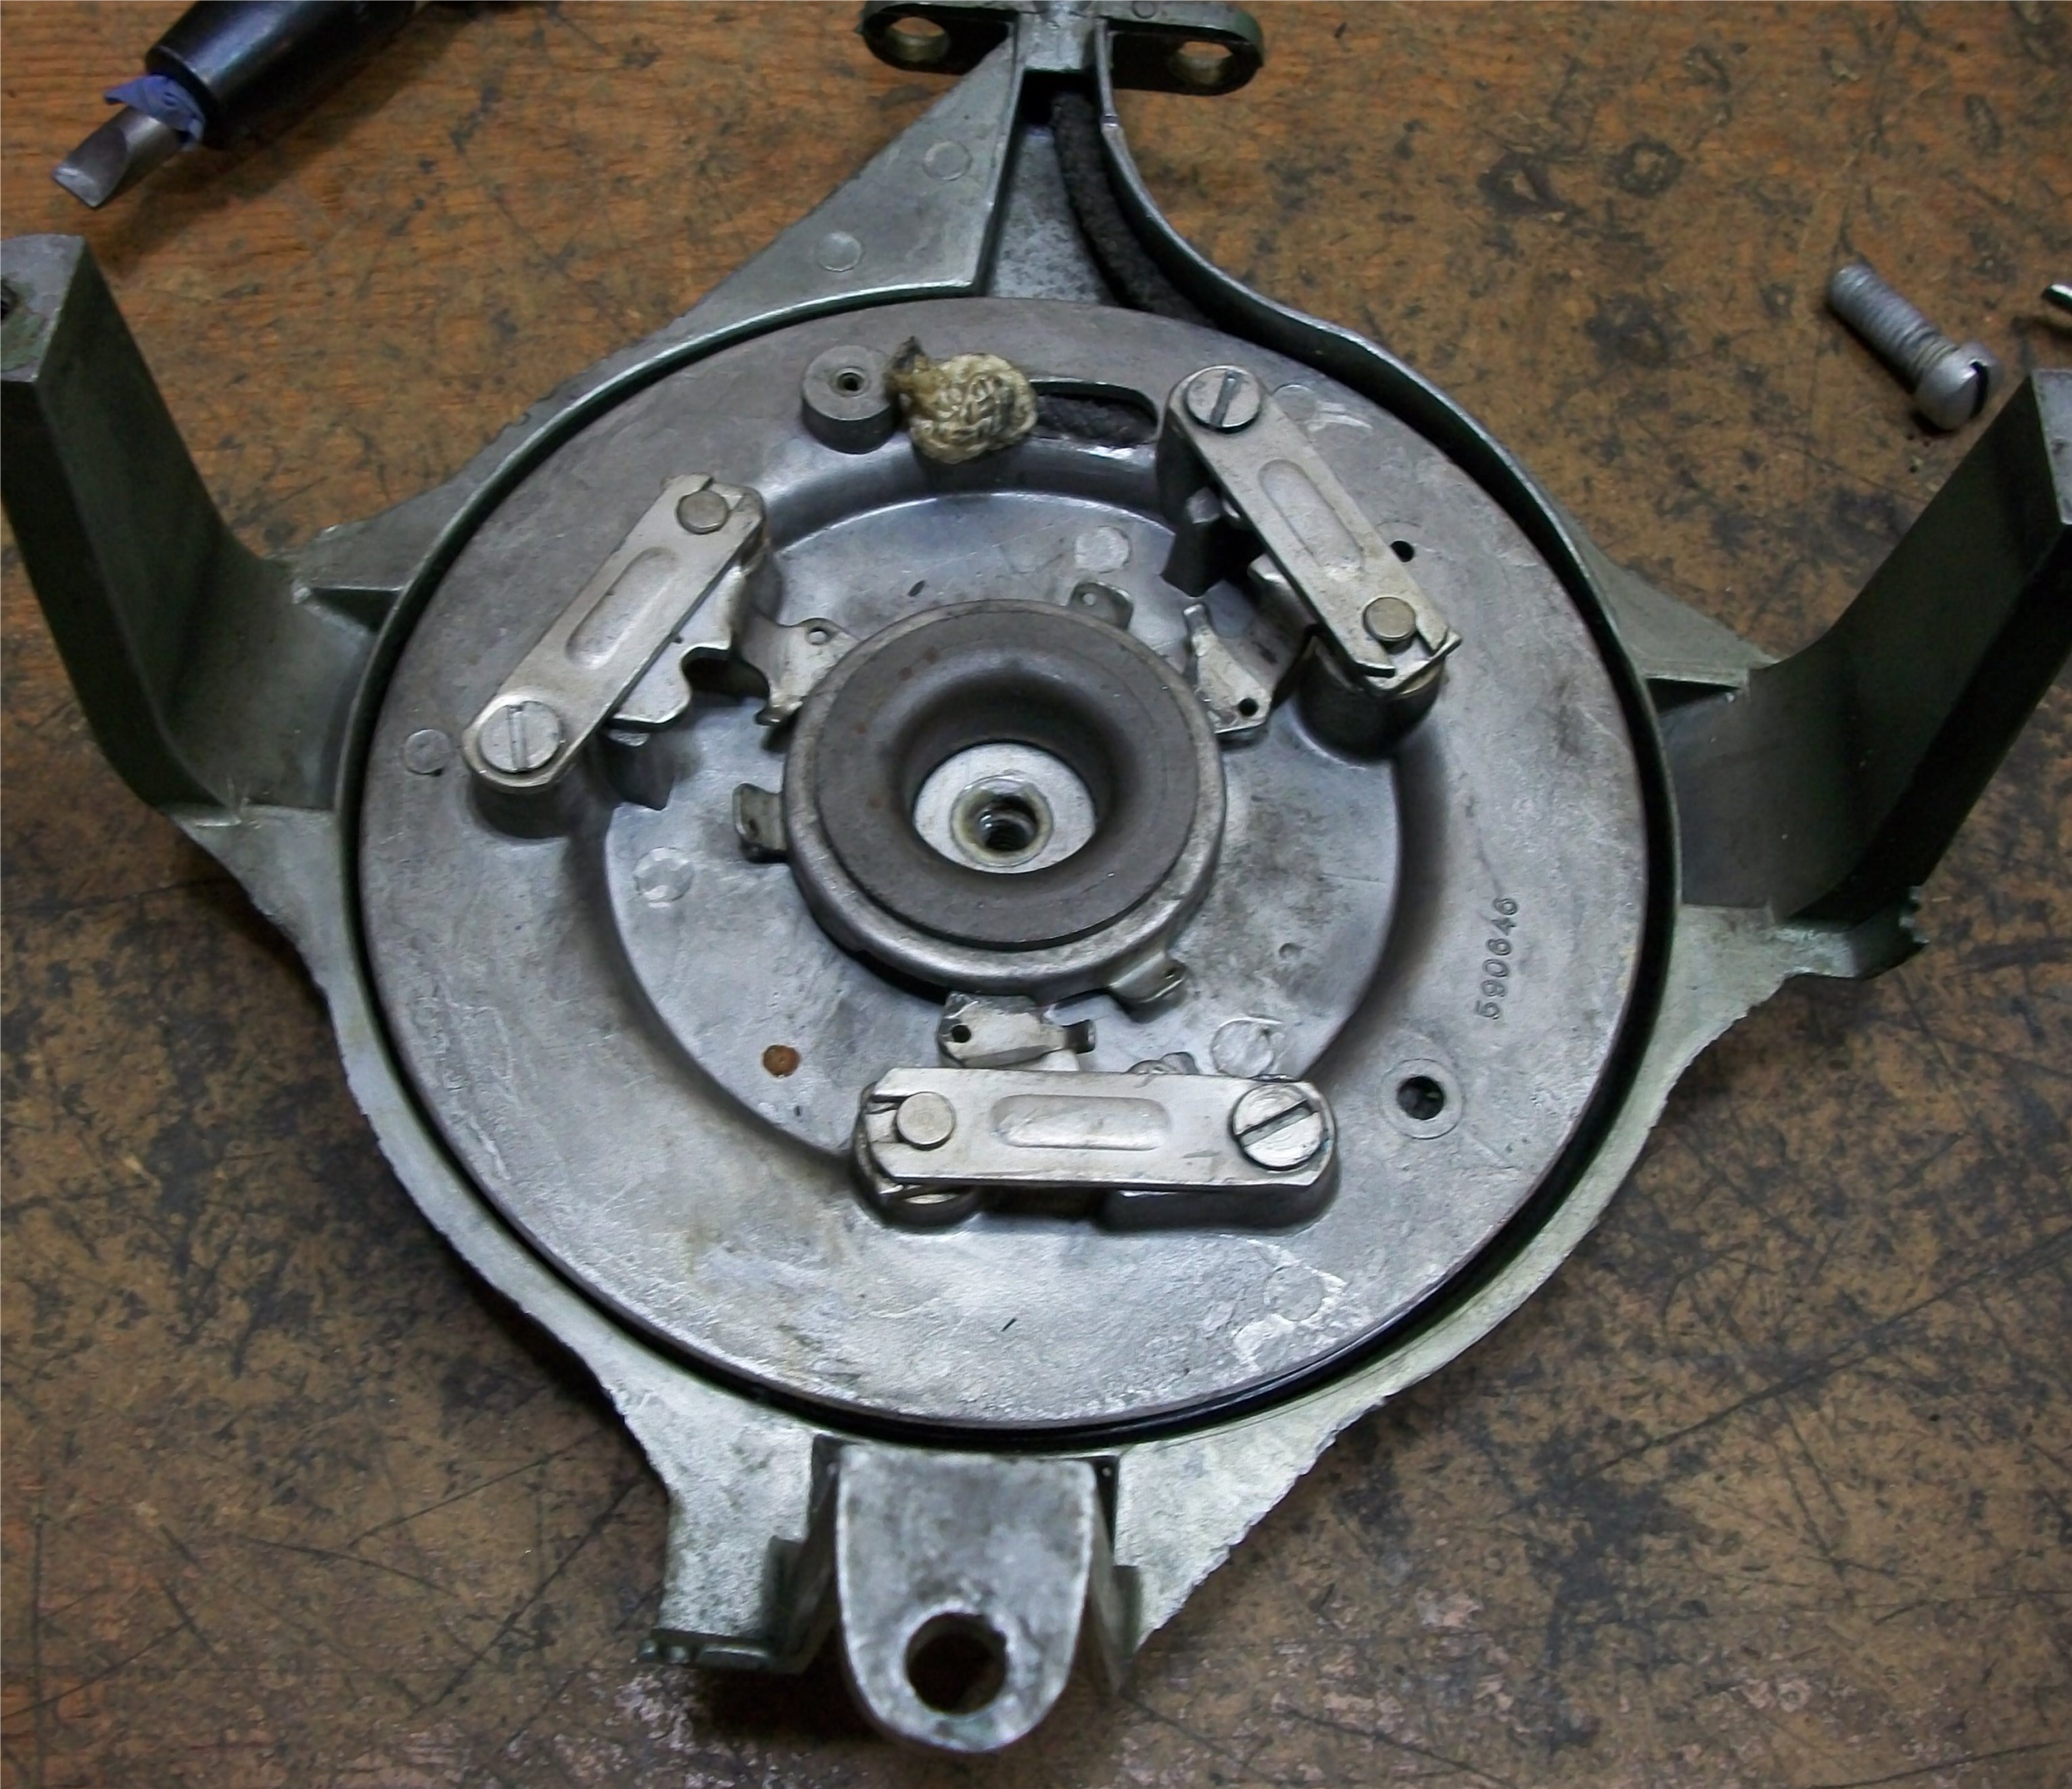
              3- Slide that whole assembly into the pulley lining up the pin on the spindle with the hole in the starter housing
              4- Rotate the Equalizer cup counter clockwise as close to the pawl as possible to attach the springs
              5- Screw down the spindle


              Attachments:

              #65764
              garry-in-michigan
              Participant

                Lifetime Member

                It is important not to put pressure on the equalizer cup when installing the spindle. This will push the friction spring off the shoulder on the spindle and cause the pulley to bind when the screw is tightened. . . 😉

                #65781
                piddler
                Participant

                  Are you the greatest or what!!!
                  Thanks a million

                  #65783
                  chris-p
                  Participant

                    and of course clean it up spic and span of old grease, then re grease for smooth operation.

                  Viewing 8 posts - 1 through 8 (of 8 total)
                  • You must be logged in to reply to this topic.