Home › Forum › Ask A Member › Water Pump Replacement on 1959 Johnson 35 HP – RD21
- This topic has 3 replies, 3 voices, and was last updated 6 years, 2 months ago by
 h20lew.
-
AuthorPosts
-
April 6, 2020 at 6:53 pm #199370
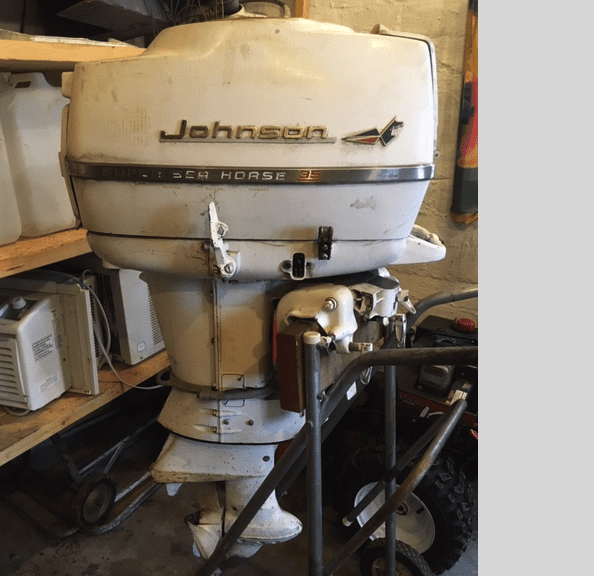
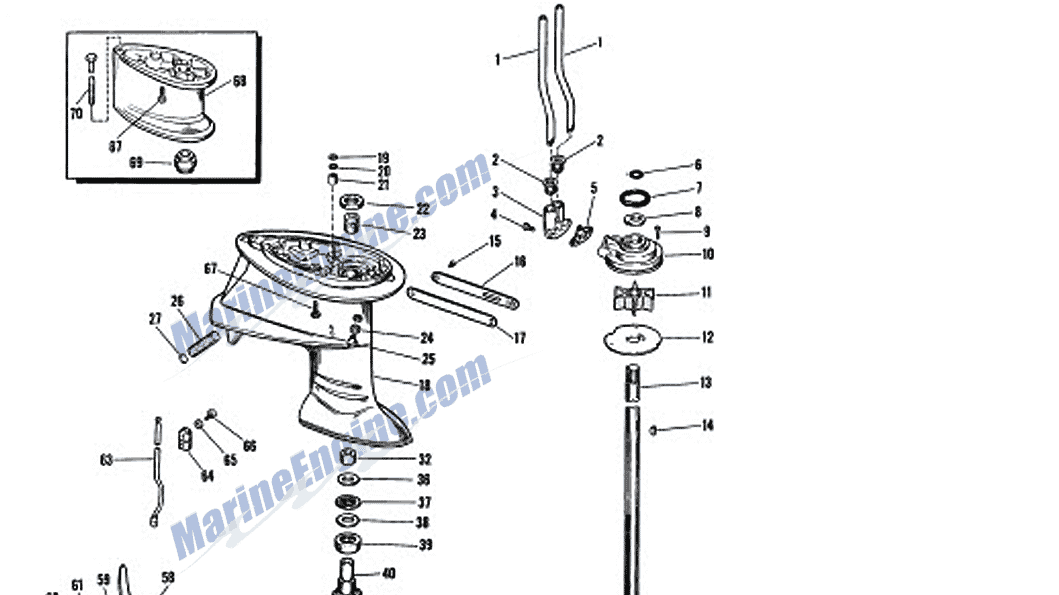
Hi All. Last fall I picked up a 1959 Johnson 35 HP as a backup to my 57 Javelin. I’ve done water pump replacements on a number of other motors but this one looks to have two challenges – one, there seems to be an outer shroud over the exhaust tube and two, there are two, count ’em, TWO! water tubes off of the water pump. I’ve had a hard enough time getting one of those water tubes to line up correctly when reinstalling the gear case – it seems like two of them would be 4 times as difficult. Just looking for suggestions on how best to go about this before I dig into it.
-
This topic was modified 6 years, 3 months ago by
 Mumbles.
April 6, 2020 at 7:52 pm #199373Well, you are right….It is best to have another pair of hands to help align everything. Make sure the water tubes are correctly oriented, the angled cut ends of the water tube should be pointed toward the gearcase, it is easier to align and get the tubes started correctly this way. And yes, the back half of the outer lower motor cover has to come off to access the rear most gearcase bolt. Make sure the water tubes are clean, hit them with a little emery to make sure the tubes slide easily into the grommets. Make sure the grommets are in good shape and add some grease inside them also. You may want to test fit the impeller housing up into the tubes by itself (while off the gearcase) to ensure the tubes are oriented correctly and will slide into the grommets easily. Be sure to clean the driveshaft splines and re lube with OMC moly lube, replace the oring if necessary. The final tricky part is getting the shift rod correctly secured into the connector. This seems like a trivial thing, but shifting headaches and gearcase damage will result if not done properly…. Mumbles has a great method, use a bit of red paint on the recessed part of the shift rod to ensure it is properly positioned into the connector before tightening the connector bolt. Make sure the other bolt is tight also. Unfortunately, the threads on the SS bolts are easily messed up, so be careful…Try not to drop the screw/washer or you will have to pull the gearcase down again to retrieve it….
Finally, once everything is in place, check the shift lever adjustment to ensure you are getting full forward engagement and that the gearcase comes out of gear when shifted into neutral….Again, I can’t over emphasize the importance of securing the shift connector properly and checking things out….April 6, 2020 at 9:14 pm #199374Nothing to fear, except fear itself. It isn’t as hard as it looks. It will help if you have a hand impact screwdriver to get all those shroud screws out.
April 13, 2020 at 10:16 am #199890Thanks for the suggestions guys. Yes, it wasn’t as hard to take off the gear case as it may have looked – and yes, impact driver was a needed tool on those screws for the rear housing. What I immediately noticed after separating the gear case was the water tubes going up into the exhaust housing seem rather fixed in place as opposed to my other motors with a single tube where the tube flopped around more, so getting those 2 tubes to line up with the pump housing doesn’t seem to be as much of a challenge as I originally thought it would be.
-
This topic was modified 6 years, 3 months ago by
-
AuthorPosts
- You must be logged in to reply to this topic.