Home › Forum › Ask A Member › 1937 Sea King ~ Thor 2.4 hp crankcase seals
- This topic has 21 replies, 5 voices, and was last updated 6 years ago by
 Buccaneer.
-
AuthorPosts
-
April 3, 2018 at 10:20 pm #73421
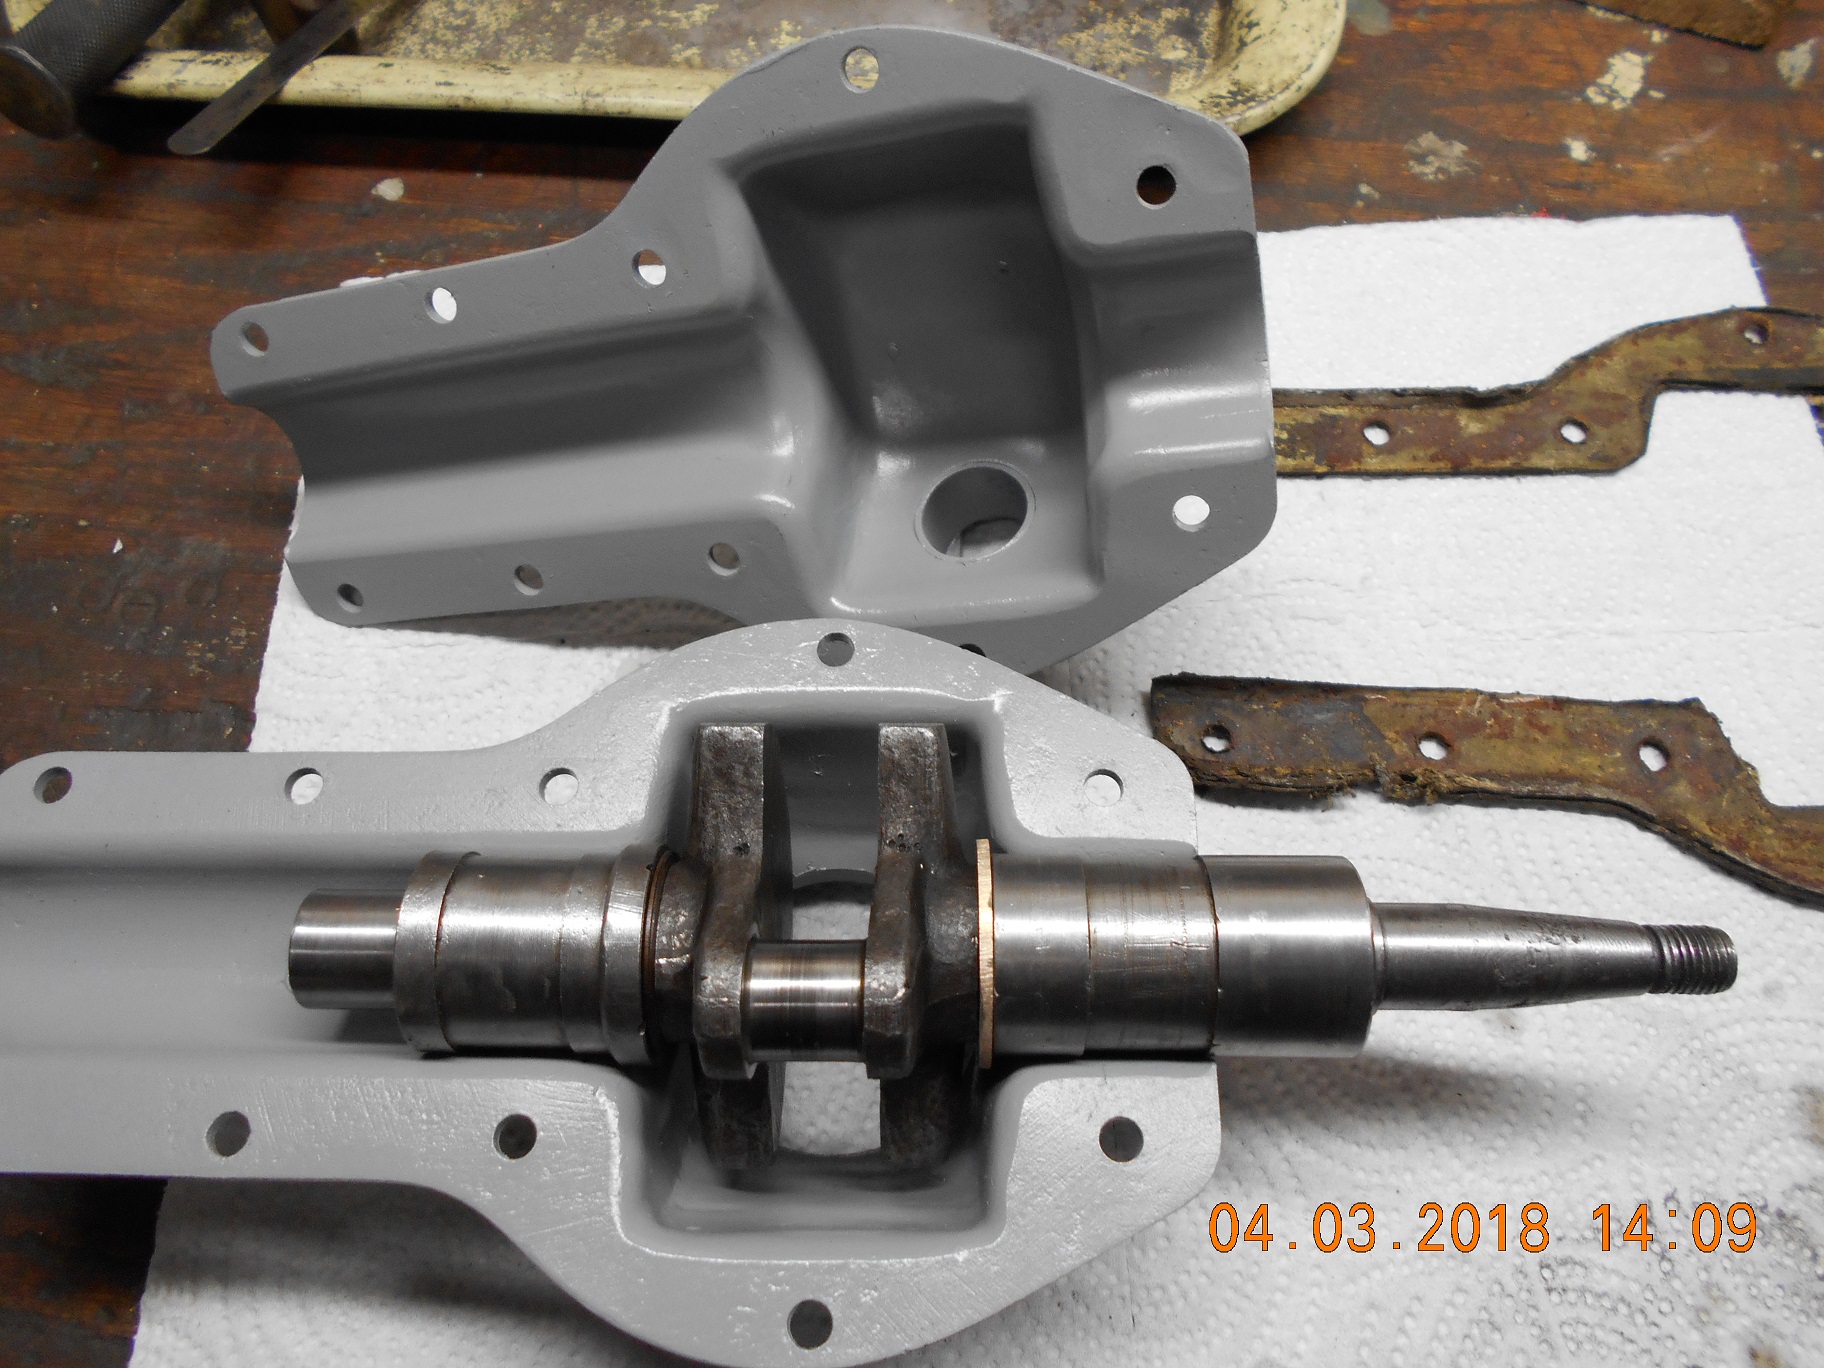
I finished making the new crankshaft bushings today.
The new bushing in the upper carrier is now 1/4"
longer than the old one, in hopes that "longer
is better" as far as keeping the crankcase sealed, etc.
I also bored the top end of the carrier (above the bushing)
so I could stuff a felt seal or 3/4" x 1.0" seal on the top
of the crankshaft for good luck.
Now the bad part, the flywheel key way is so "wallowed out"
and flywheel is loose on the taper. Not shown is the points
cam that catches the bottom of the key to locate it.
The keyway on the flywheel is okay, and I have a new
key that fits good in it.
Has anyone tried JB Weld to tighten up a keyway?
I don’t have equipment or skill to weld up and cut
a new keyway. Any other ideas?
Thanks.
Attachments:

Prepare to be boarded!
April 3, 2018 at 11:21 pm #73423Nice work Buck! So did the old bushings press out or did you have to bore them out? As for the keyway, I don’t think I’d get to concerned about it if you can’t repair it as the key doesn’t drive the flwheel, it just positions
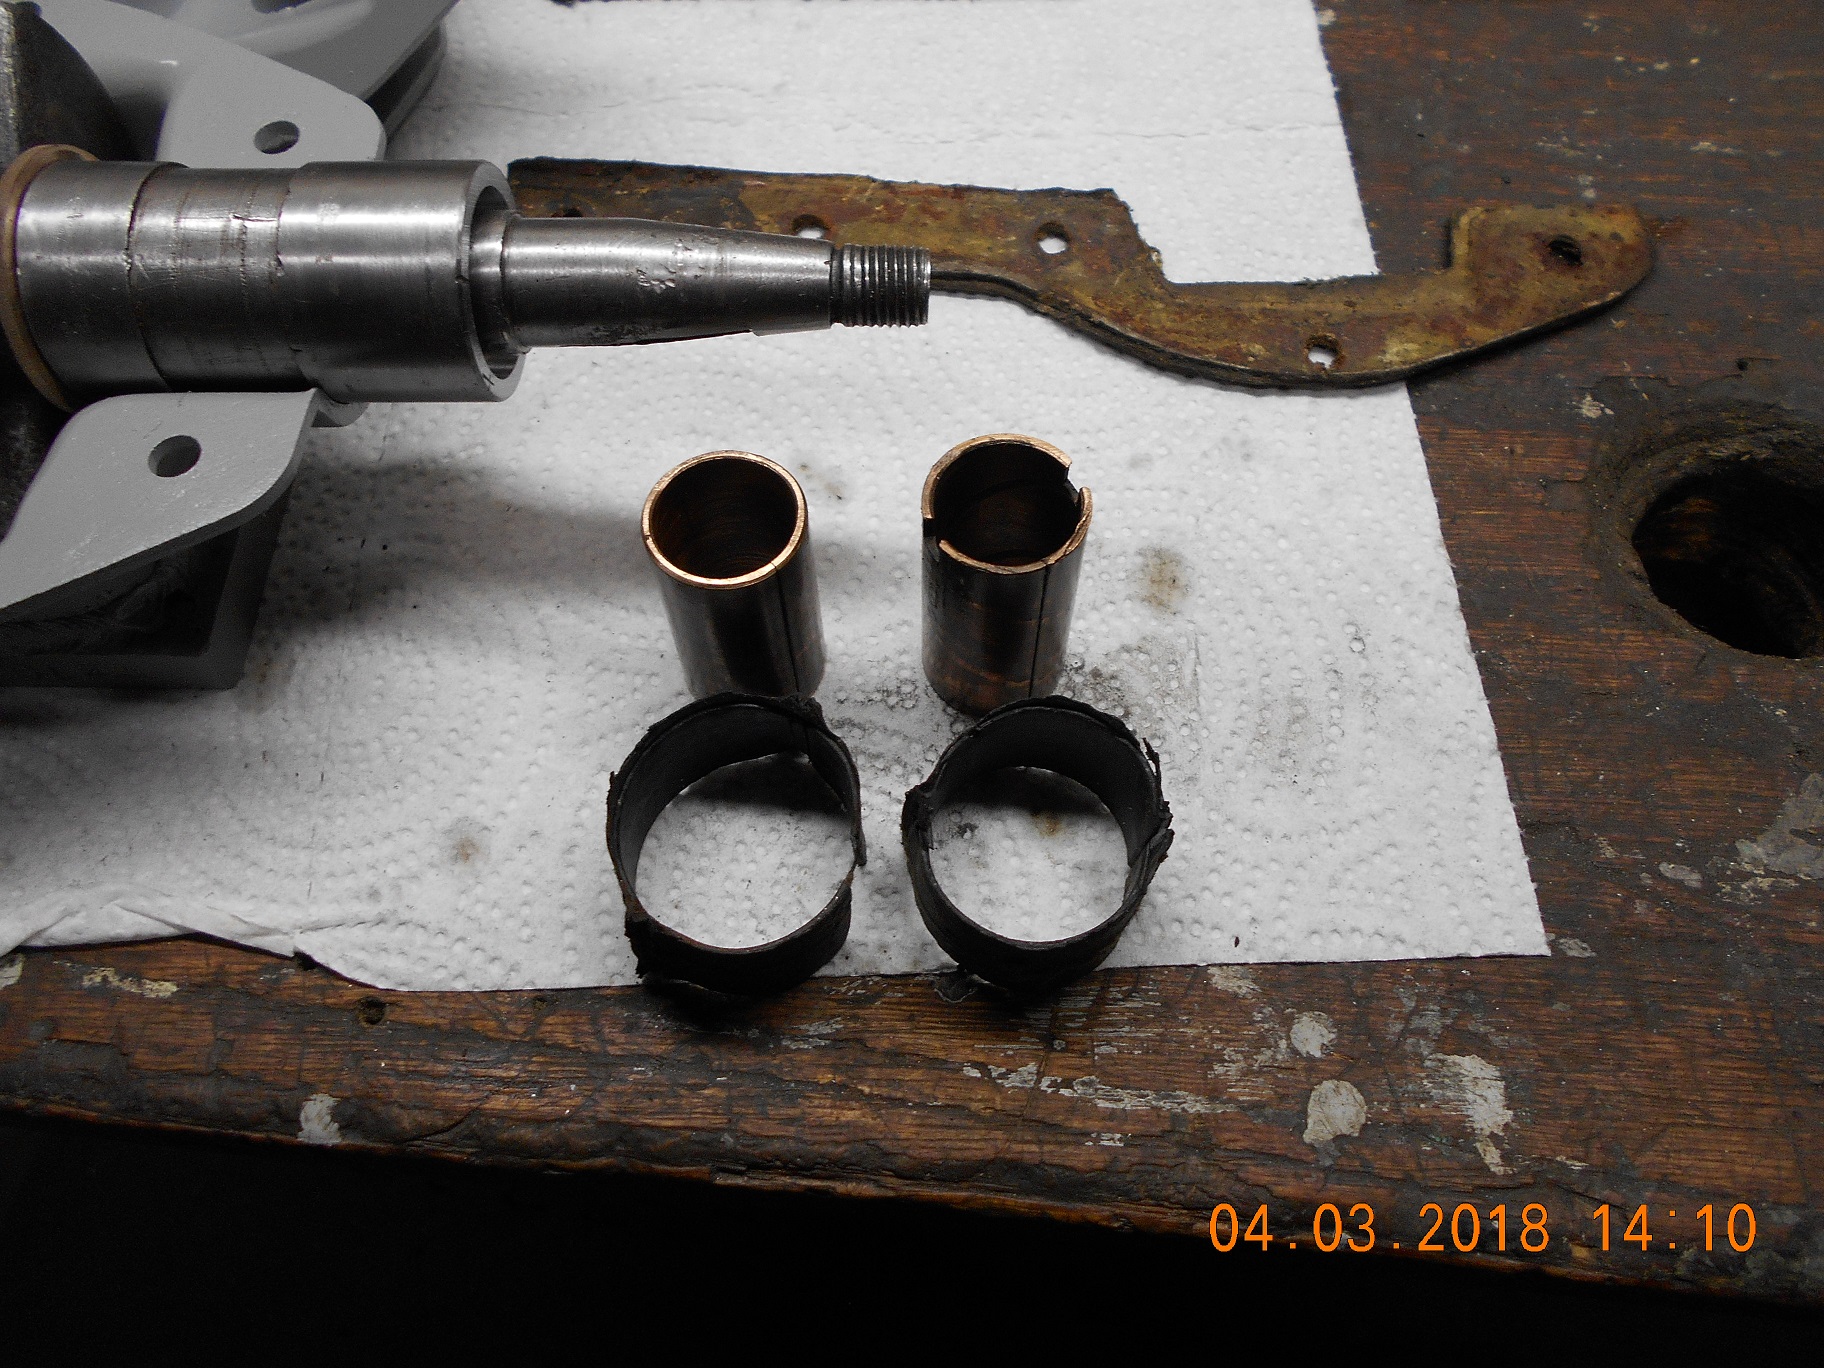
it correctly for the ignition timing. One motor I had came to me with half a flat washer being used as a key and it ran great! With clean and dry tapers and a properly torqued nut, that flywheel aint going nowhere!April 4, 2018 at 1:50 am #73429The old bushings were of the "split" type, that is, one slit
the length of the bushing. I drove them out fairly easy
using a bearing driver, big hammer, and the hole in
grandpa’s old anvil!
The old bushings in the photo, next
to the "tape" bearing cartridge seals.
The new ones I pressed in with my big vise, and man
are they tight!
I put an oil groove in the bushings using the lathe as suggested,
by backing out the inside boring bar. I didn’t go very deep.
After I was wondering if it mattered in what direction the
spiral groove was in relation to the rotation of the crankshaft.
Won’t loose any sleep over it though.
I at least want to hear it run in the test barrel for a while when
I’m done. Don’t think I’ll take it across the Great Lakes!
I saw two different products on YouTube (perhaps similar to JB Weld)
suggested for repairing keyways….. basically just cementing
the key in place and getting rid of the slop.
I’ll look it over again tomorrow, and see if I’m smarter after a night’s
sleep!
Attachments:
Prepare to be boarded!
April 4, 2018 at 4:13 pm #73448quote Buccaneer:Now the bad part, the flywheel key way is so “wallowed out”
and flywheel is loose on the taper. Not shown is the points
cam that catches the bottom of the key to locate it.
The keyway on the flywheel is okay, and I have a new
key that fits good in it.
Has anyone tried JB Weld to tighten up a keyway?
I don’t have equipment or skill to weld up and cut
a new keyway. Any other ideas?
Thanks.With your skills you can make a key to fit the crankshaft
then mill down the part for the flywheel.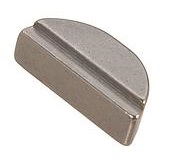 April 4, 2018 at 6:03 pm #73452
Regarding direction of oiling slot/groove/channel;
Top or bottom – You obviously don’t want it ending where the bushing is exposed to air. That’s why i say don’t cut the groove the full length of the new bearing. You want the end to be on the crankcase side, as that is the opening to help the oil get directed upwards between the crank journal and bearing surface.
if its the direction of the spiral you’re referring to, it probably doesn’t matter so much.
Hope this helps.
best,
PM T2April 4, 2018 at 8:50 pm #73458Good idea on the "stepped" key Tubbs.
I’ll have to remember that one for the future.
I ended up JB Welding the key in place today.
After it cures, I’ll address the slop on the crankshaft
taper.
I have seal on the upper crankshaft bearing now,
so air leakage should be minimal.
Hopefully Thorwald and Carl would approve.Prepare to be boarded!
April 5, 2018 at 2:42 pm #73473Great work the motor is looking great. The case looks great. What type of paint do you use to spray the case? I wish I had machining equipment.
JOe
April 5, 2018 at 4:35 pm #73478Joe, regarding the paint, all I could find local was
some Rustoleum Gray. I put it over my Duplicolor
engine enamel primer and it seemed to agree with it.
I may put some Duplicolor engine enamel "Clear"
over the tank at least, as the Duplicolor engine
enamels hold up well to gas spillage.I "dry fit" the crankshaft with the new bushings and gaskets
in the stamped crankcase today. There’s some binding
in the bushings when I tighten the case bolts tight.
Before I took the motor apart, the driveshaft tube,
which inserts into the bottom of the crankcase halves,
was loose, as the gaskets between the halves were
"double up" and hence too thick.
Upon reflection, I’m guessing someone previously did
this to get rid of binding in the crankshaft bushings.
With my one thickness of gasket the driveshaft tube
fits nice in the case. When I loosen the case bolts
a little near the top bearing the crankshaft turns
easier, so I’m sure it’s a binding issue!
I oiled everything up nice and spun the crank over for
a while with the drill. It did loosen up considerably.
Perhaps when I get the gasket sealant on the case
gaskets, it will be "just right".
Tracking said my "Right Stuff" sealant was due today,
but it didn’t show up. 😥
I’m amazed these outboards ran at all, lol.Prepare to be boarded!
April 5, 2018 at 4:50 pm #73479I am amazed they ran also. I guess that’s a good thing for Carl. I am just thinking I am sure you have seen the yellow teflon tape. I wonder if a person put it around the higher points of the bearing (not where you will put the Right Stuff) if that would aid in sealing that case? it might also aid in the bearings binding also. Just a thought. I some times use it on my camper to fix my propane hoses. Seems like no matter how tight I tighten the hose clamp on rubber hose the propane will seep out between the nozzle and the hose. I put a small layer or 2 of the yellow teflon tape around the nipple before putting hose over it and it seals. Just wonder if that might help seal the bearings against case.
Joe
ps I did some reading it most likely yellow teflon tape wouldn’t hold up to gasoline over time but might help you figure out the binding situation. I can’t help but think the case might no be in-line putting crank in a bind when tight or when the case is tight if one bearing is squeezed harder than the other possibly. What about reducing the top bearing diameter a tad? Temporarily putting the tape on lower bearing might help figure out if reducing size on top bearing would help? Tinfoil might also aid in figuring it out. One other idea is that whoever was in the engine last used 2 different bearings meaning out of 2 different engines or 1 new 1 old because 2 gaskets were used between the case halves. I wonder if the diameter of bearings are the same but looking at pics looks like they wouldn’t be the same.
April 5, 2018 at 4:55 pm #73480I had the same binding issues and tried different thickness gaskets to try and solve it. When I thought I had it, I used The Right Stuff with the new gaskets and the binding came back after tightening all of the fasteners. 😥 When it gets warmer out, I’ll try spinning it in the lathe for a while to see if it loosens up. Spinning them this way while spraying fogging oil in them also helps to seat the rings making the first start easier.
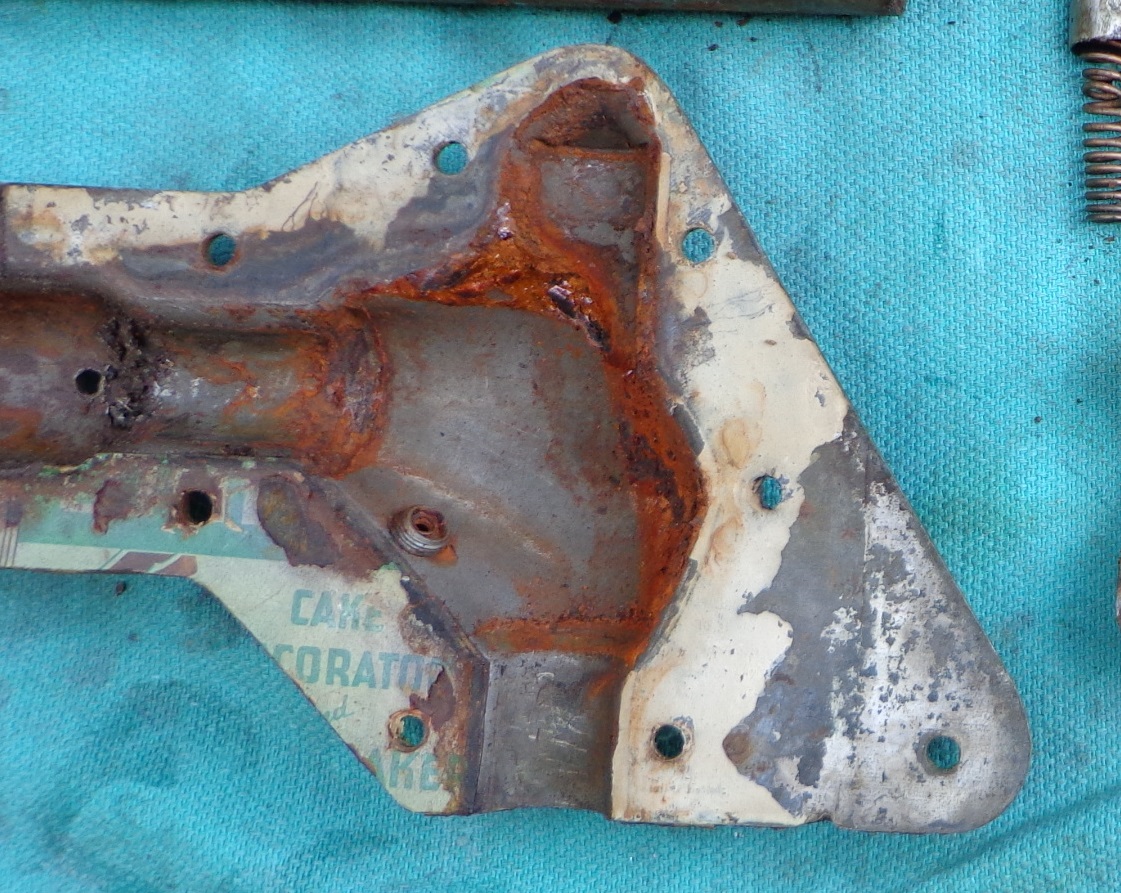
My motors previous owners wife must have been PO’d as he used what looks like a page out of a recipe book for a gasket. Maybe it was from a cake box, not sure.
Attachments:
-
AuthorPosts
- You must be logged in to reply to this topic.