Home › Forum › Ask A Member › Newbie Questions Restoring 1957 Johnson 18hp FDE-11
- This topic has 53 replies, 16 voices, and was last updated 5 years, 11 months ago by
 bobw.
bobw.
-
AuthorPosts
-
December 13, 2017 at 3:12 pm #68569
"FrankR; I am getting confused & I want to make sure we aren’t confusing Jim? You are advocating using this primer for bolts for Loctite, etc, right? A brush on primer would not be good for crankcase halves? You need the spray for that. Just want to make sure we are clear on that? "
Ok, now I’m getting confused. Why do you say it is not good for crankcase halves? Isn’t it the same stuff in different containers? Educate me on that. The dinky brush in the bottle may be a tad small for smearing it on the crankcase halves. A Q-Tip might work better.
I no longer work on V-6’s. So I’m old school and use 847 on small crankcases and gearcases. Let the uproar begin.
December 13, 2017 at 3:31 pm #68571Hi All,
So, I think I’m pretty clear on the crankcase seal. I will plan to use Permatex 51531 and the activator (spray can). I can buy these locally, or online. Looking at the Permatex website, it doesn’t look like they make the activator in a brush on can anymore (not listed anywhere). SO, I’ll muddle through with the spray.
For the gear case, I’ve got a new tube of 3m 847. I’ll use this around the spaghetti seal and the outside of the new oil seals (drive shaft and prop shaft).
When taking apart the motor, I didn’t notice any thread locker. There may have been some on the rubber mounts, but could have been grease. Are there any key location where I should consider thread locker? I have not seen this mentioned in the service manual that I have.
One thing I have seen in the service manual, it was mention that when replacing some gaskets you need to apply a sealer to both sides. Like on the exhaust cover and baffle gaskets. What is used in these locations?
I will be replacing almost all of the gaskets, so are there any other locations where you need a sealer as well as the gasket?
I’ve tried searching these out here, but I didn’t turn up anything, so maybe the new gaskets are enough?
I hope I didn’t light off another fire storm of opinions! 😯
December 13, 2017 at 5:47 pm #68573As far as I know, threadlocker hadn’t been invented yet in 1957. Or if it was, it was not used on that motor. The first time I ever came across it was to keep all those little screws from all falling out of Homelite chain saws.
OMC/BRP Gasket sealer for general gaskets, both sides. You can cheat on brands on this. If your new head gasket has pre-applied sealer on it, don’t add anything else. No goop on intake manifold/reed plate/carburetor.
Hint: To apply the gasket sealer, lay the gasket on a magazine page, and paint it on (like a coat of paint). Flip it over and do the other side. That will give just the right amount. Close up the magazine and save for the next job
EDIT: Apply a generous amount of gasket sealer to the bolt threads too.
December 13, 2017 at 6:57 pm #68574FrankR; Your primer might be fine as a substitute, I have never tried it? I just would be worried about it being laid down evenly? Never have really thought about it. Might not matter. The spray is so easy to use. You just need a quick past over the back half & your ready. Didn’t mean to imply yours wouldn’t work, just thought you were using it for bolts & stuff. It definitely would take forever to paint a whole V-6!
I agree with the gasket painting the gaskets. I sent you NOS gaskets that are dry (asbestos) in most cases. Paint them well like Frank said. I use a Walmart bag myself so it doesn’t stick so bad, but that is a matter of semantics.
Dan in TN
December 15, 2017 at 2:06 pm #68618A lot to know for sure! I did not know that about the Gel seal (don’t let it get too cold), but usually only buy it in the small expensive tubes because of the fear of shelf life or improper storage.
Just goes to show that sealing up the crankcase halves might seem like a minor detail when it comes to rebuilds, but there is so much to know to avoid troubles.
Again, there is nothing quite so upsetting than starting a fresh rebuild and noticing even a slight crankcase leak. It is also important to note that using more sealer to avoid leaks is definitely not the answer either. Too much of either sealer can actually "shim" the halves apart and get into the crank bearings also. Not trying to be "preachy", but definitely speaking from negative experiences for sure.December 15, 2017 at 2:09 pm #68619quote FrankR:"FrankR; I am getting confused & I want to make sure we aren’t confusing Jim? You are advocating using this primer for bolts for Loctite, etc, right? A brush on primer would not be good for crankcase halves? You need the spray for that. Just want to make sure we are clear on that? "Ok, now I’m getting confused. Why do you say it is not good for crankcase halves? Isn’t it the same stuff in different containers? Educate me on that. The dinky brush in the bottle may be a tad small for smearing it on the crankcase halves. A Q-Tip might work better.
I no longer work on V-6’s. So I’m old school and use 847 on small crankcases and gearcases. Let the uproar begin.
No uproar here Frank, I’m with you buddy! As for clamshell gearcases or crankcases with the spaghetti seal, only the 847 should be used for sure.
Again, the spaghetti seal is what is really doing the sealing, the 847 is used sparingly just to keep the spaghetti seal properly positioned (except for special/tricky sealing areas).December 15, 2017 at 3:10 pm #68622Hi Fleetwin,
This is exactly the kind of information I hope to see here. I’m used to working with balsa and wood and the tolerances are much different. While these old motors are pretty easy to work on, there appears to be a lot of subtleties in putting them back together.
Thanks for the help and expertise.
February 24, 2018 at 6:24 pm #71518Hi All,
I’ve been making slow progress on this restore. A local member helped me get the cylinders bored out and replaced the wrist pin bearings. I got new gaskets and seals from Dan, and a local shop blasted the entire motor.
This morning I started putting the powerhead back together, and everyting went back where it was supposed to. This motor has a new crankshaft, new wrist pin bearings, new 0.020" oversize pistons, cylinders bored out to match, new gaskets all around, and new top and bottom seals. I used Permatex 51813 and activator between the block halves and OMC BRP sealer on the new gaskets (thanks for the magazine idea it works great). I bought a small torque wrench at Harbor Freight, so everything is torqued to spec. For the screws, I used my Bosch 12V impact wrench to make sure they are all tight.
Thanks again for all the help and information.
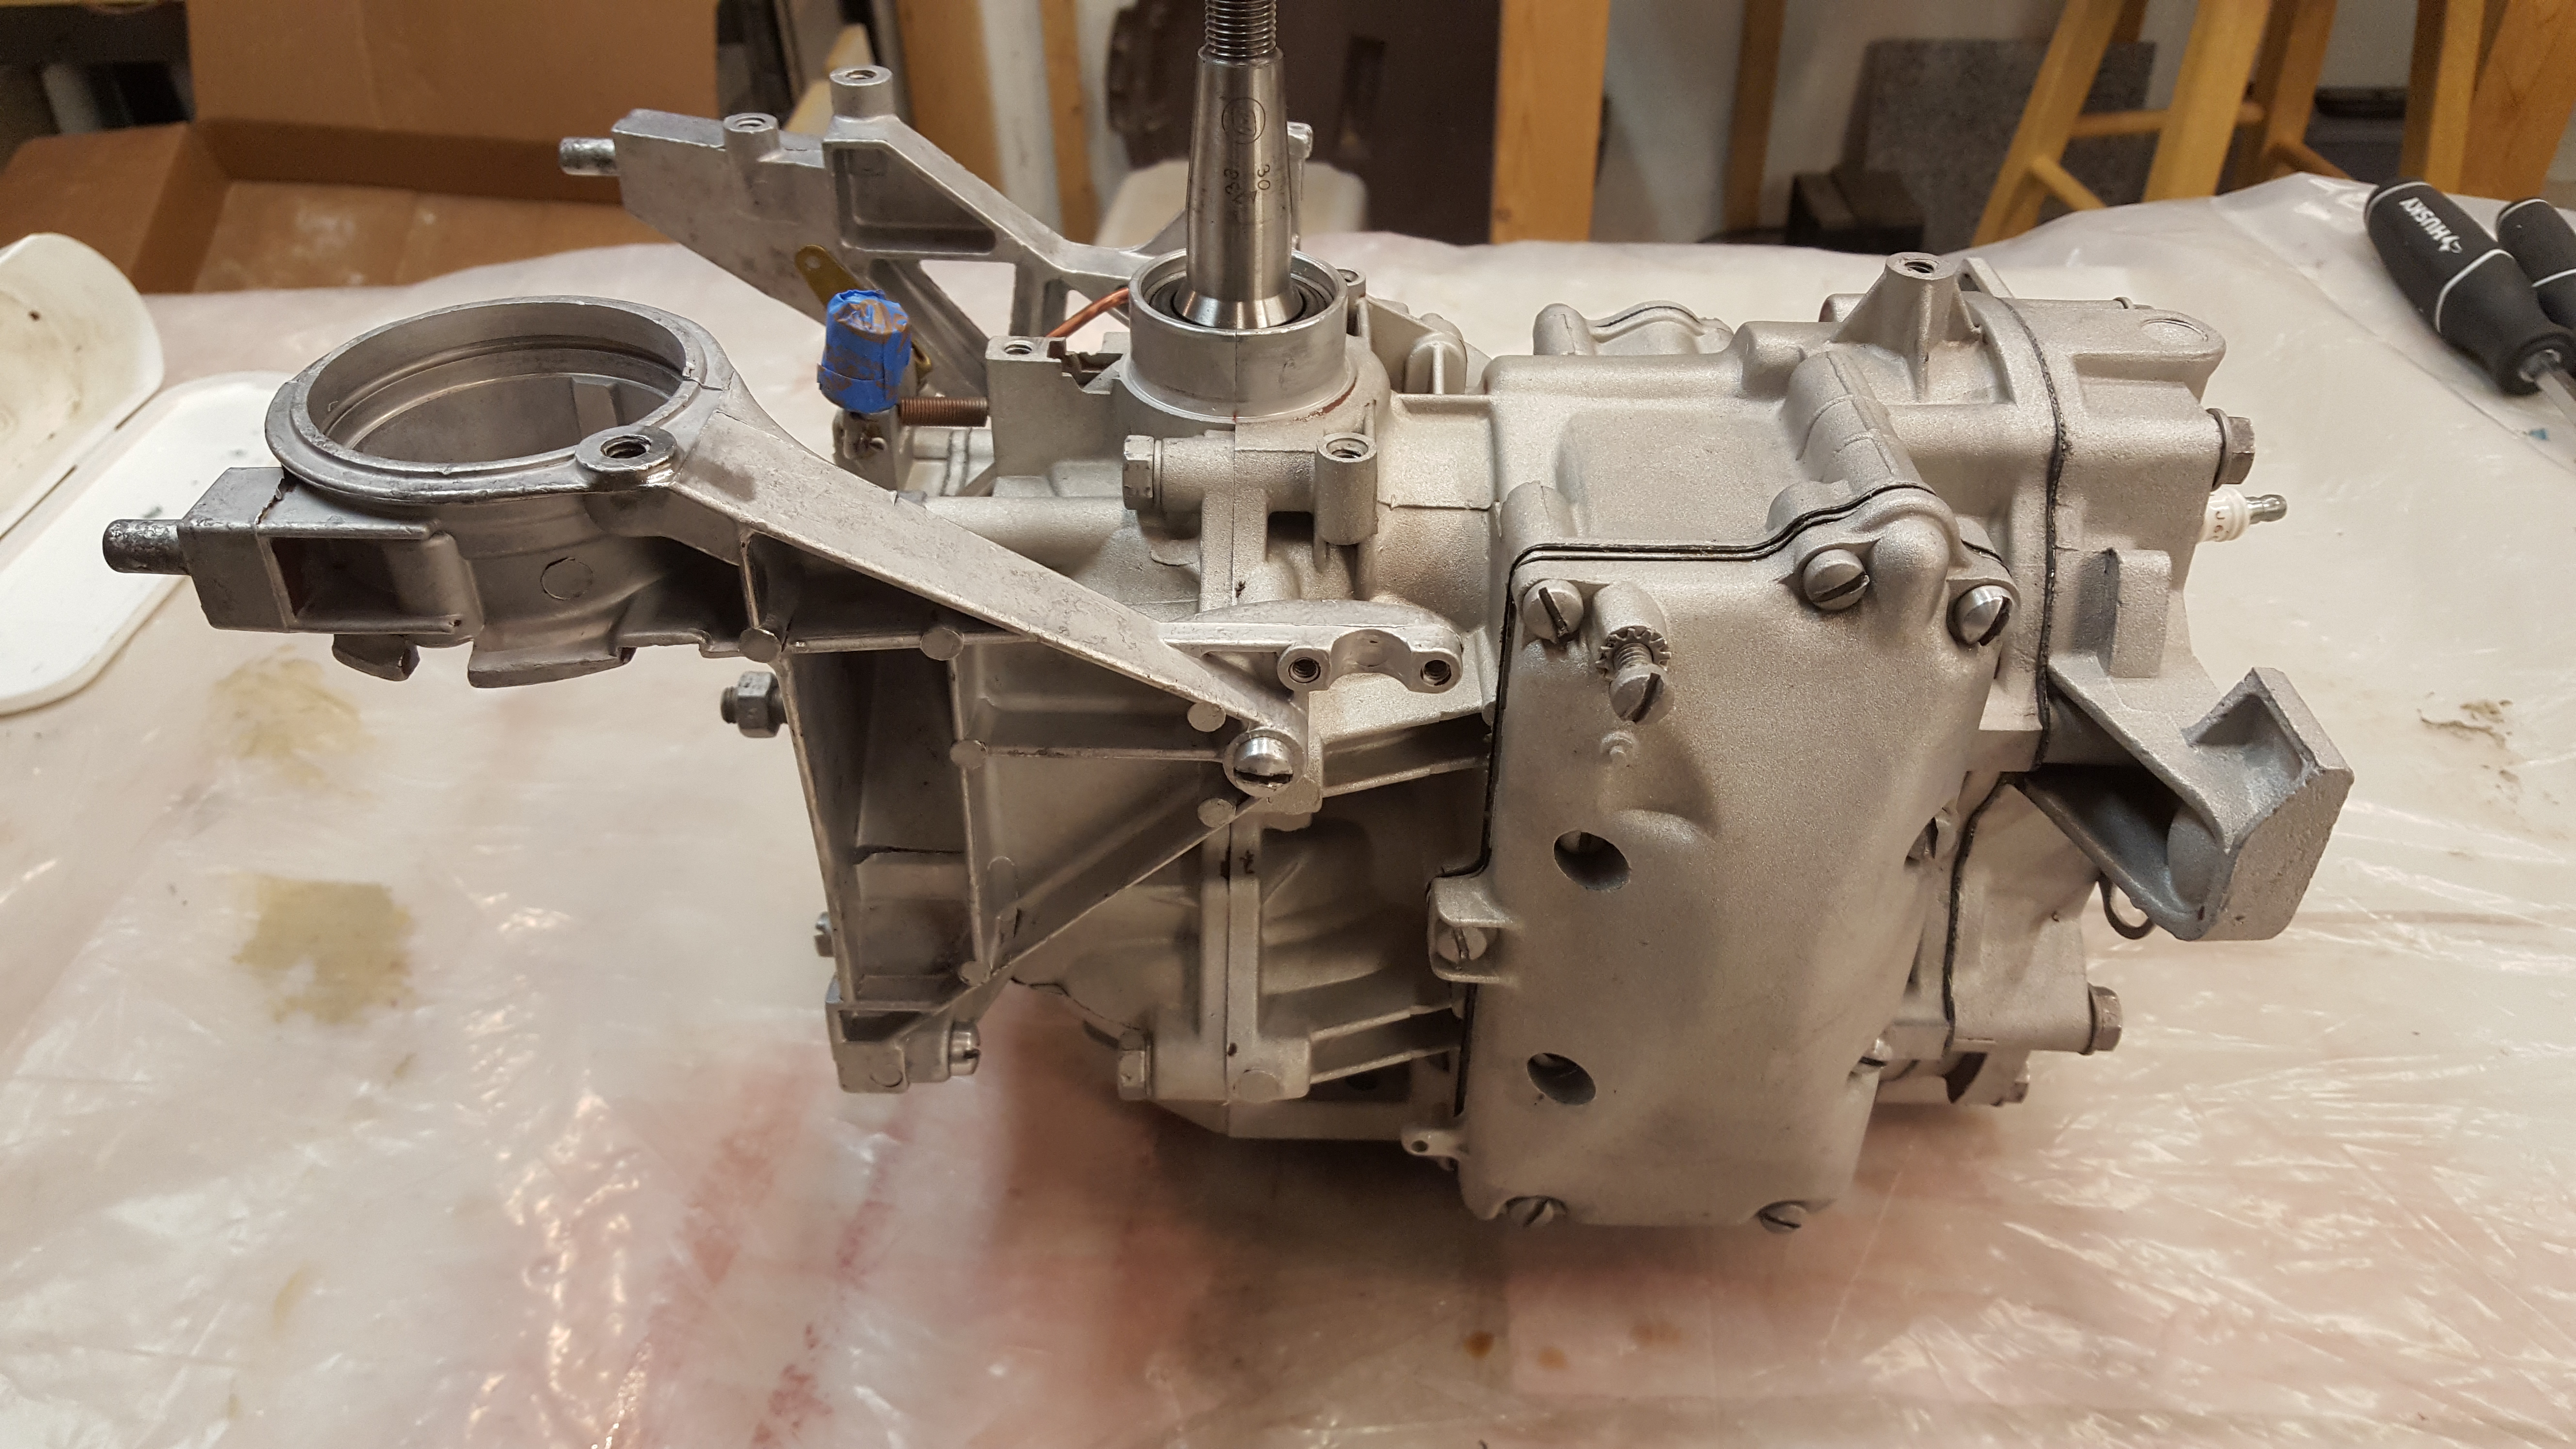
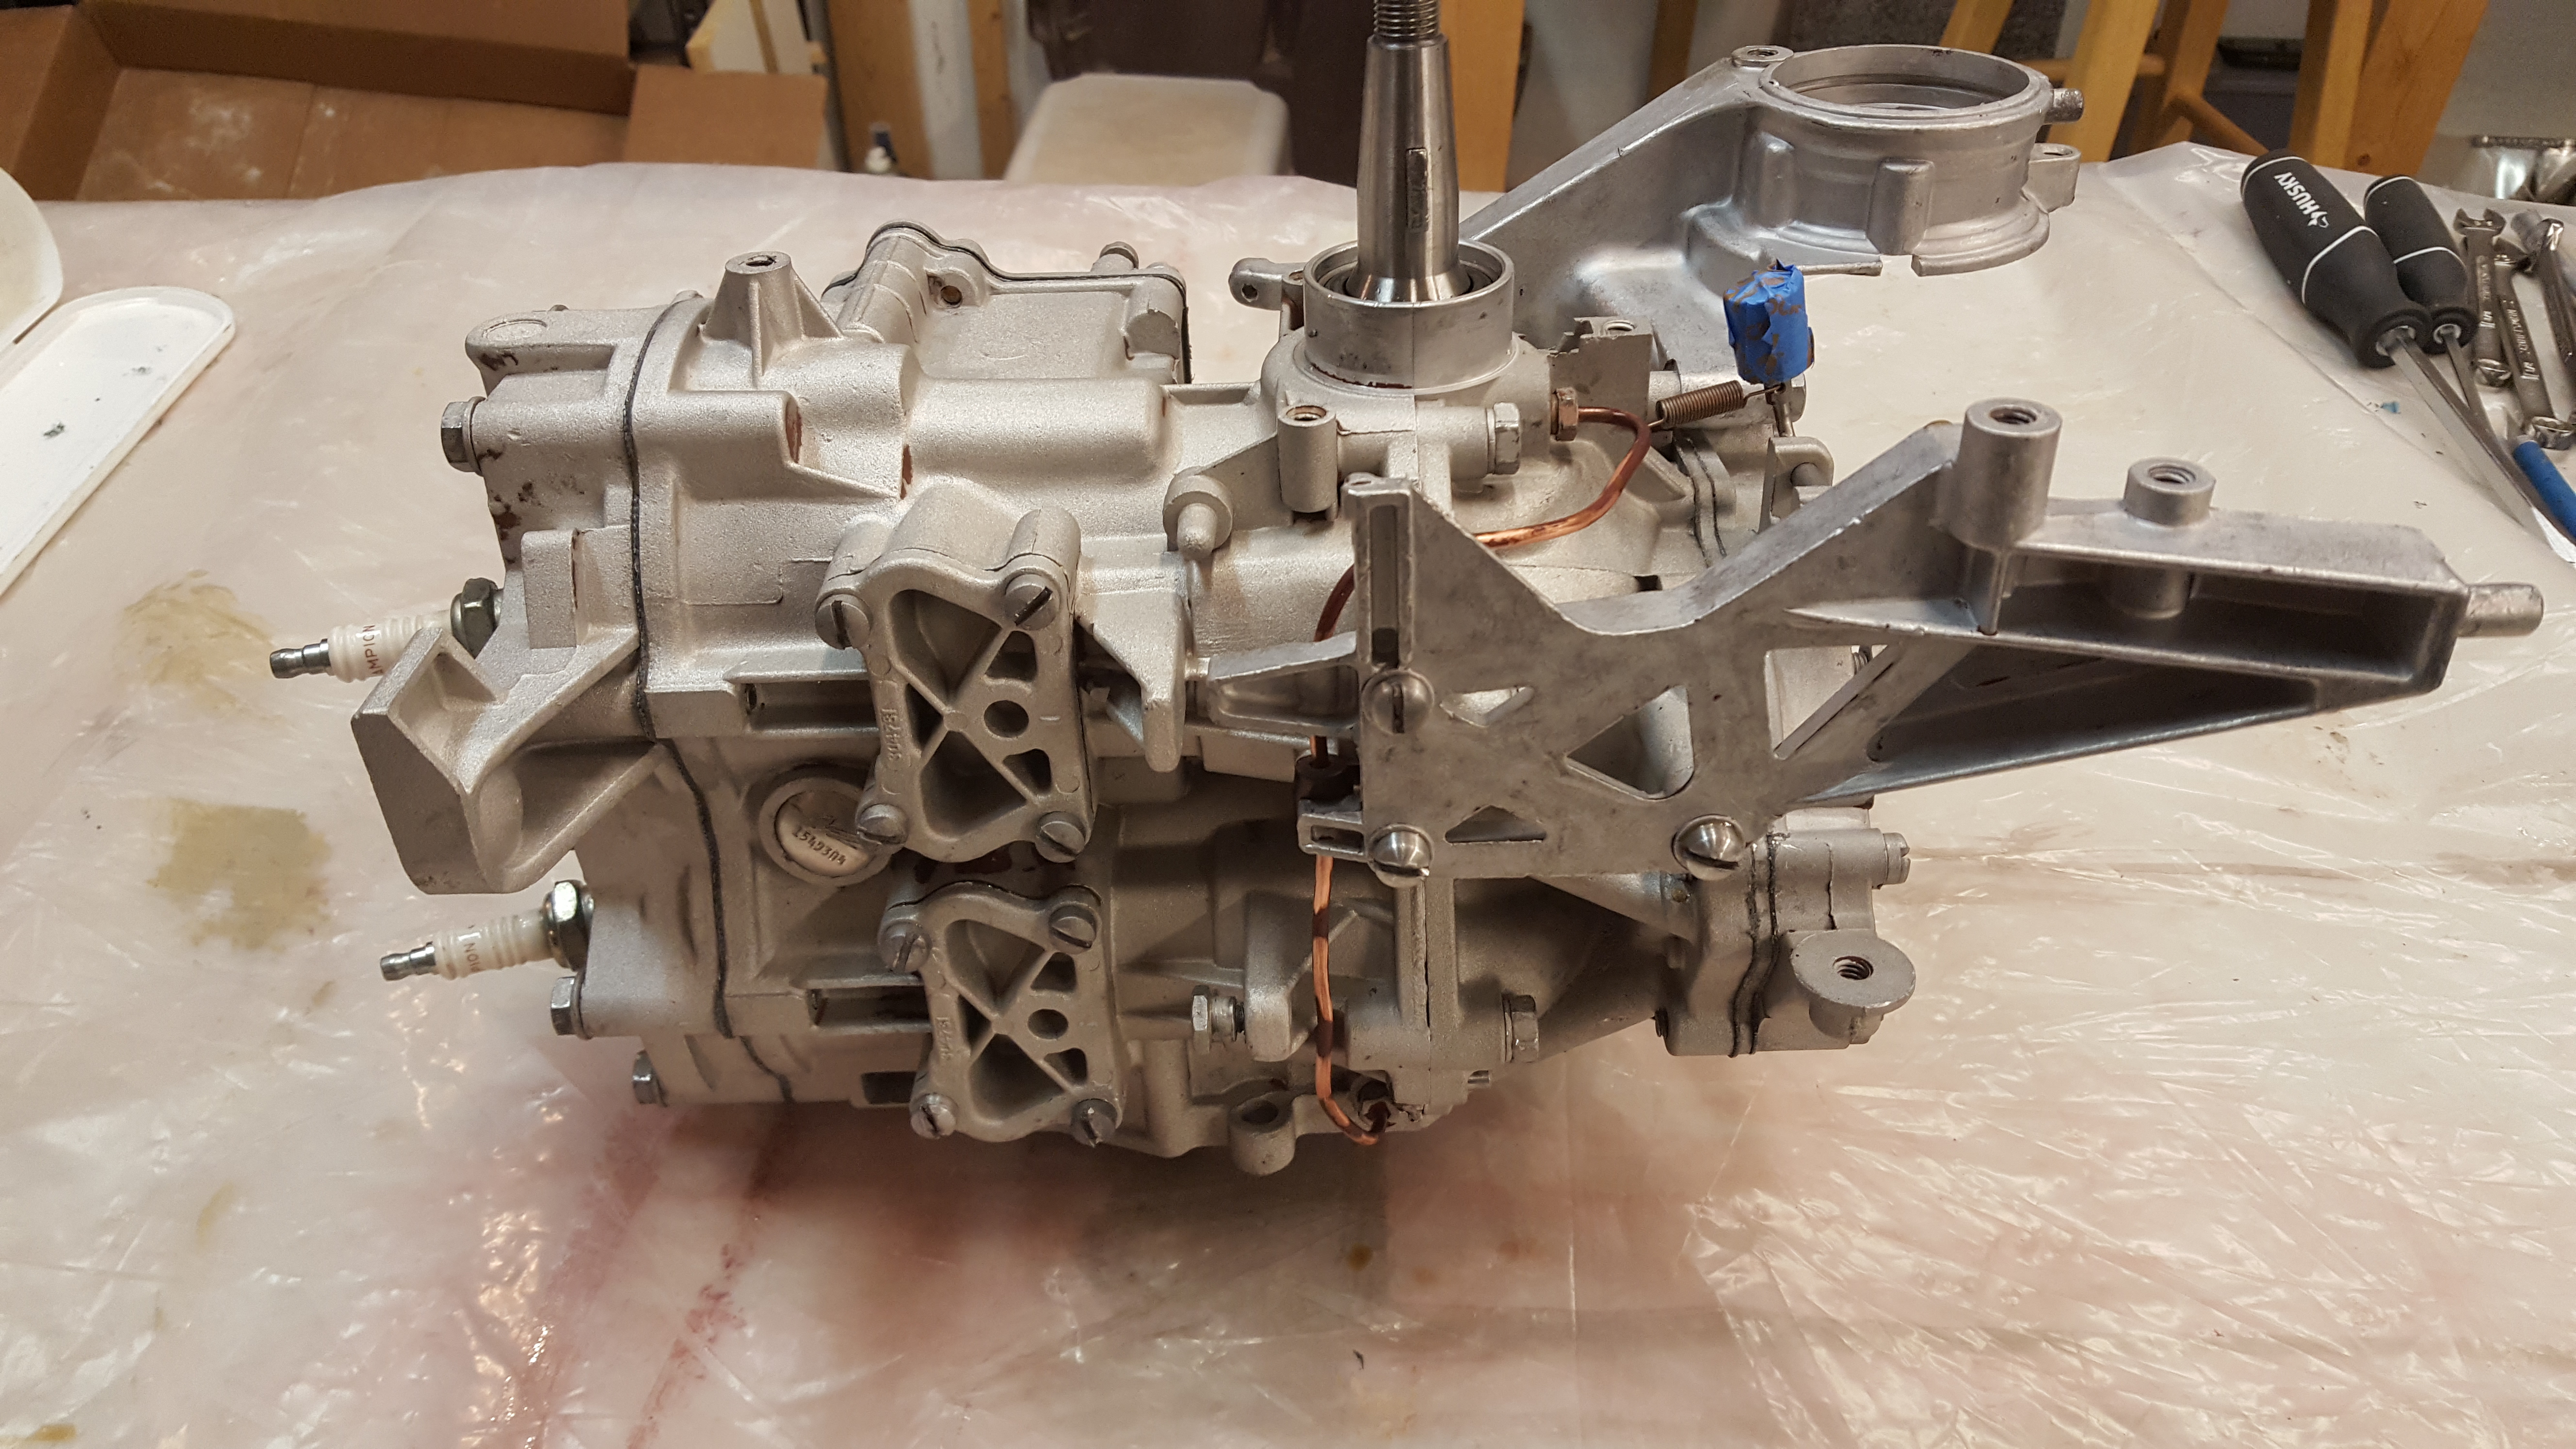
Next up is to reassemble the gear box, and then assemble it to the lower unit and powerhead. New paint and decals arrived form North York Marine, and I’ve got a window in March to get into my friends paint booth.
February 24, 2018 at 11:04 pm #71540Great thread as I have the ’58 version of your motor. Question for you. What was your wash process after you had the block blasted?
KirkFebruary 24, 2018 at 11:50 pm #71544Simple green and water. This got all the grit off. I plan to spray it down with lacquer thinner before priming it. I’m trying not to handle it without gloves to keep my greasy finger prints off it.
I’ve got to go dumpster diving,as I dropped two screws in the trash can while spraying them with brake cleaner. DOH!
-
AuthorPosts
- You must be logged in to reply to this topic.