Home › Forum › Ask A Member › Evinrude Ignition Coil Test
- This topic has 14 replies, 5 voices, and was last updated 1 month, 3 weeks ago by
JACQUES.
-
AuthorPosts
-
April 27, 2026 at 7:47 pm #316661
Before starting to tear down my ’82 25hp Evinrude I checked the ignition for spark and had a good hot spark on both cylinders. With the motor now in pieces, I’ve been working on cleanup and just checking everything out. Today I tested the primary and secondary side on both ignition coils; 1 coil tested good on both primary and secondary, the other coil tested good on the primary side but the secondary side tested open, i.e. no reading at all on my VOM. As a follow-up test, I put the stator, flywheel, power pack and coils back on the powerhead and spun it over with a drill and I still get a really hot spark on both cylinders. If the secondary on the 1 coil tests open how is it still producing spark? Again, I don’t understand everything I know about this CD ignition system yet!
Bob
1937 Champion D2C Deluxe Lite Twin
1954 Johnson CD-11
1955 Johnson QD-16
1957 Evinrude Fastwin 18
1957 Evinrude 3022
1958 Johnson QD-19
1958 Johnson FD-12
1959 Johnson QD-20
1982 Evinrude 25hp“Every 20 minute job is only a broken bolt away from a 3-day project.”
"Every time you remove a broken or seized bolt an angel gets his wings."April 27, 2026 at 9:31 pm #316675a break in the wire isn’t going to stop 10-15 ,000 volts if it can jump a plug gap !! best to get a new coil before the inside arcing finds a new route to ground and you loose spark at the plug !!!
Joining AOMCI has priviledges 🙂
April 27, 2026 at 10:21 pm #316680a break in the wire isn’t going to stop 10-15 ,000 volts if it can jump a plug gap !! best to get a new coil before the inside arcing finds a new route to ground and you loose spark at the plug !!!
Well, that certainly makes sense. When I saw it tested open, I thought it best to just get a new coil, especially since this one appears to be the original OMC coil. It has the original OMC number stamped on it which was superseded at some point. The other coil which tested good is an obvious replacement as it is a German made Prufrex coil.
Bob
1937 Champion D2C Deluxe Lite Twin
1954 Johnson CD-11
1955 Johnson QD-16
1957 Evinrude Fastwin 18
1957 Evinrude 3022
1958 Johnson QD-19
1958 Johnson FD-12
1959 Johnson QD-20
1982 Evinrude 25hp“Every 20 minute job is only a broken bolt away from a 3-day project.”
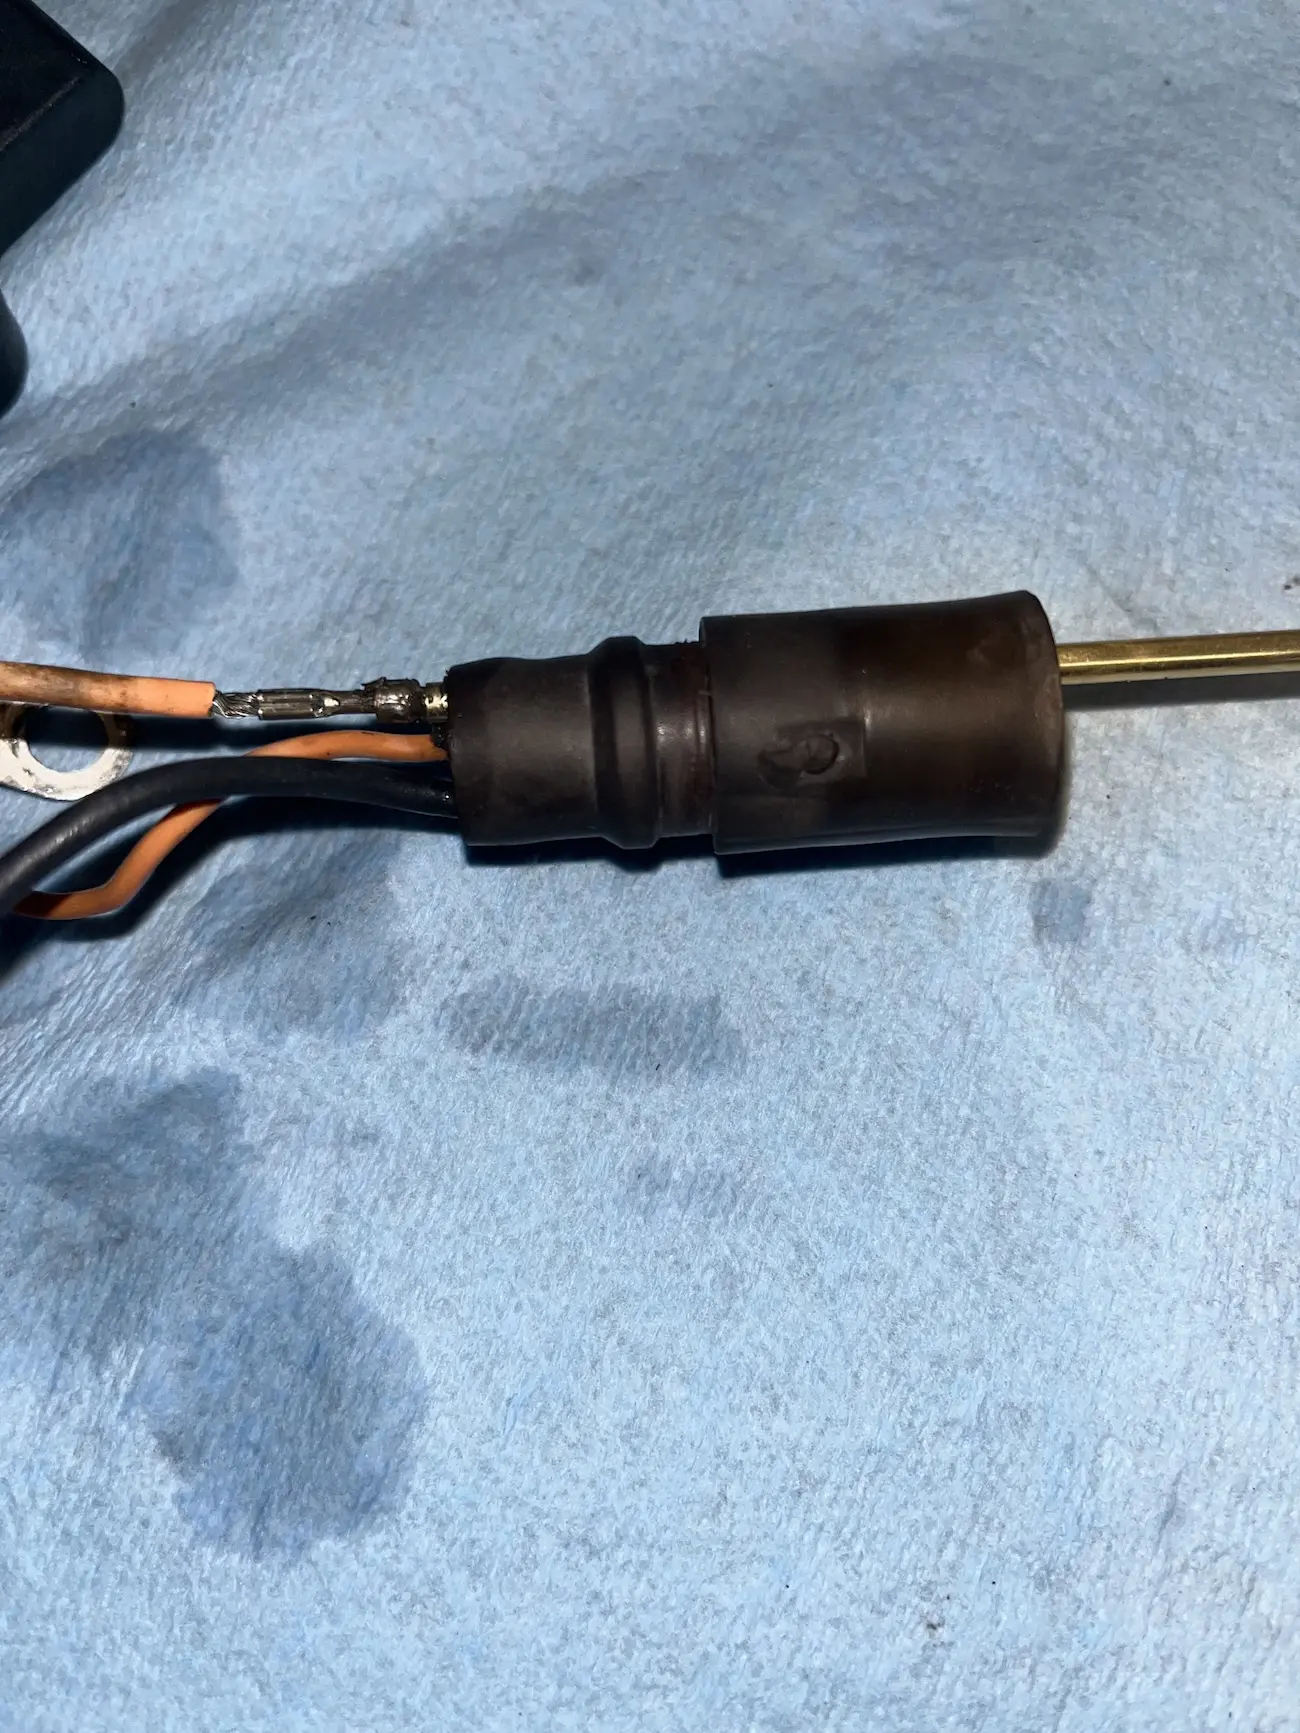
"Every time you remove a broken or seized bolt an angel gets his wings."April 27, 2026 at 11:10 pm #316683It may test open due to a wire issue…Those spring connectors inside the plug boots are known for losing their connection to the wire core.
April 27, 2026 at 11:25 pm #316684It may test open due to a wire issue…Those spring connectors inside the plug boots are known for losing their connection to the wire core.
At first I thought that might be the problem so I removed the plug wire and connected my meter directly to the coil terminal – see pic.
Bob
1937 Champion D2C Deluxe Lite Twin
1954 Johnson CD-11
1955 Johnson QD-16
1957 Evinrude Fastwin 18
1957 Evinrude 3022
1958 Johnson QD-19
1958 Johnson FD-12
1959 Johnson QD-20
1982 Evinrude 25hp“Every 20 minute job is only a broken bolt away from a 3-day project.”
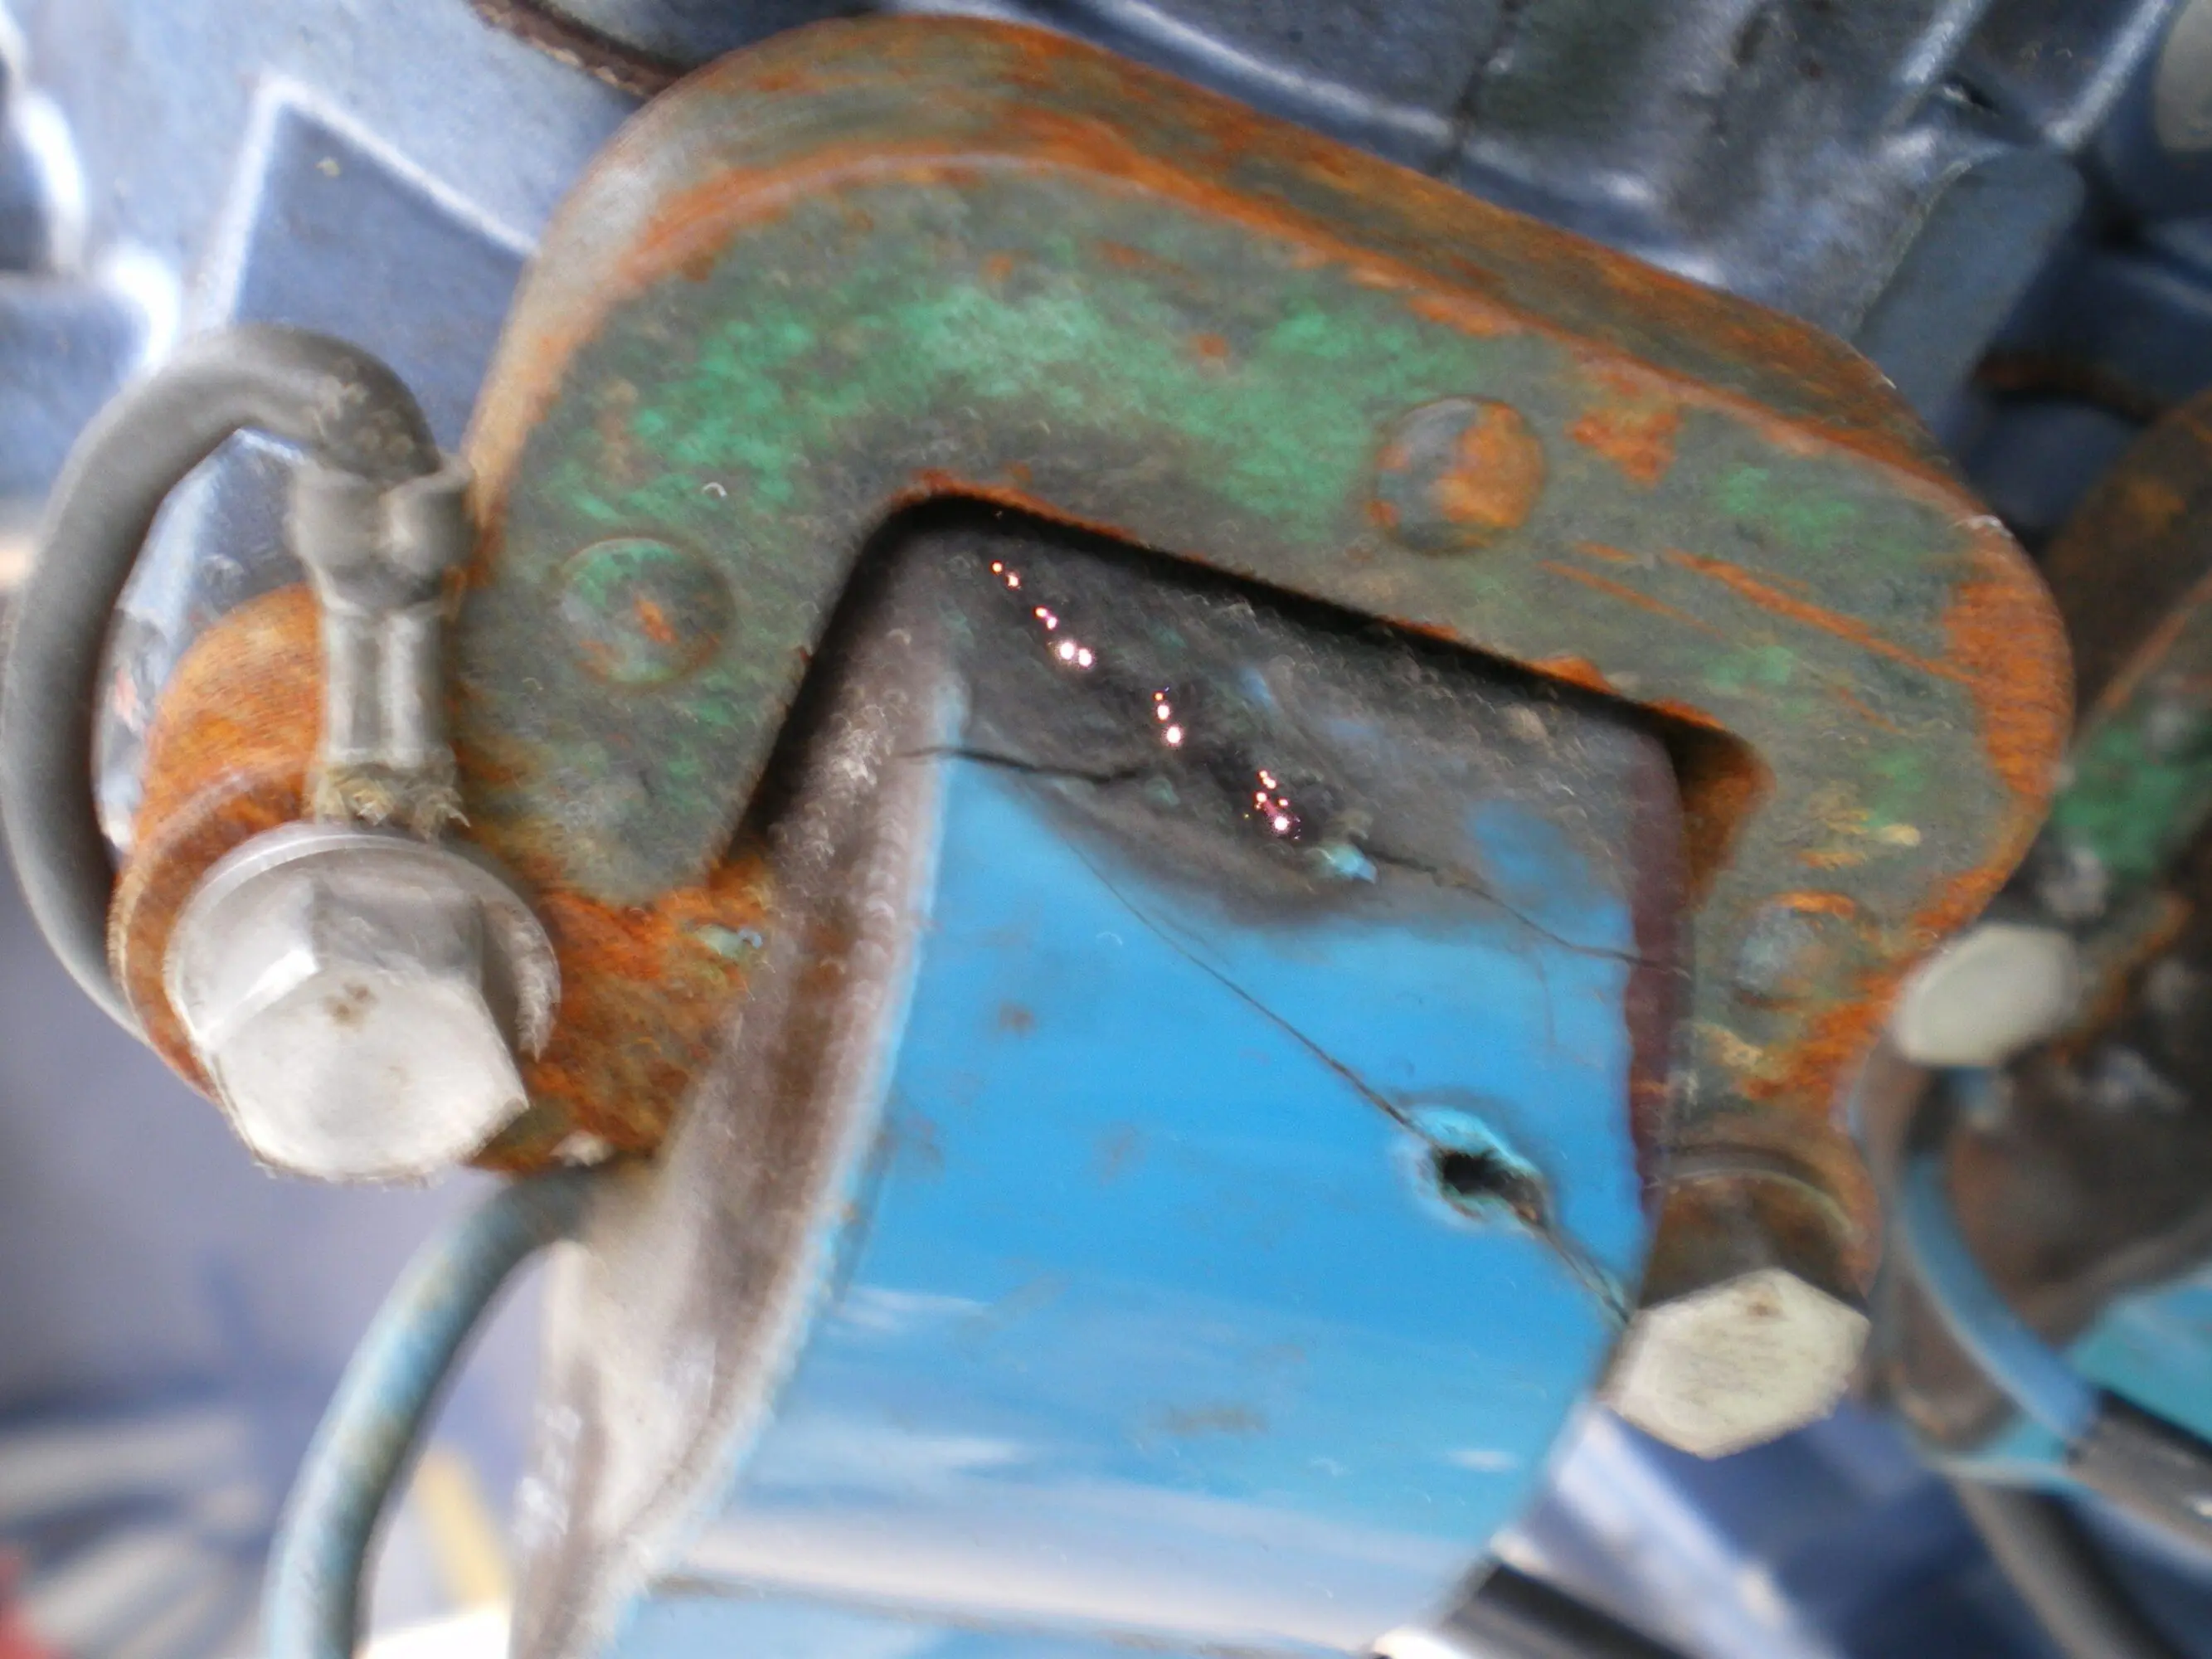
"Every time you remove a broken or seized bolt an angel gets his wings."April 28, 2026 at 12:16 am #316686I can’t remember if this coils secondary windings read open or not but the eighteen horse Evinrude it was on ran good until it warmed up. Then the missing began.
 April 28, 2026 at 9:23 am #316718
I sure don’t want mine to end up looking like that so a new coil is now on order! Anyone have a tip for a homemade tool to remove the amphenol pin on the coil plug connector? The OMC tool or aftermarket pin removal tool is like $70 which is just crazy for something you might only use a few times.
Bob
1937 Champion D2C Deluxe Lite Twin
1954 Johnson CD-11
1955 Johnson QD-16
1957 Evinrude Fastwin 18
1957 Evinrude 3022
1958 Johnson QD-19
1958 Johnson FD-12
1959 Johnson QD-20
1982 Evinrude 25hp“Every 20 minute job is only a broken bolt away from a 3-day project.”
"Every time you remove a broken or seized bolt an angel gets his wings."April 28, 2026 at 12:57 pm #316733OK, your test definitely concluded that the coil secondary is open….NG But, be sure to check the plug wire with the ohmmeter before resuing it (or after you have made the new one included in most of the coil kits). An open plug wire puts more of a load on the coil secondary, and could result in premature damage to the new coil.
And yes, manipulating those amphenol pins and sockets is tough, even with the right tools. The first thing to do is soak the rubber plug in isopopyl acohol to loosen up the rubber’s grip on the pins/sockets. Do not spray WD40 or any other spray lube into those rubber connectors…These spray lubes can conduct electricity and will lead to short circuits inside the rubber connectors.
Removing/installing the pins/sockets can be tough (especially when you don’t soak the rubber connectors in alcohol first), it is super easy to get poked as well. It is tough to steady/secure the boot while trying to push the pins, so try to steady on a solid part of the block/lower pan while pushing….Maybe use a super small screwdriver to poke inside and catch the shoulder of the pin/socket, you don’t really care if you damage the pin/wiring of the bad coil while you are removing it. As for installation, soak that rubber connector in alchohol again, push on the shoulder with a super small screwdriver, the pins/sockets usually go back into the rubber connectors fairly easily once they are softened up.
April 28, 2026 at 4:04 pm #316746Don – in addition to the new coil I already have some new replacement plug wires. I always replace plug wires on all of my restoration projects – no sense in re-using wires on a 45 year old motor.
The motor is torn down in pieces now so I should be able to steady the plug connector on the work bench while working the pin out. Thanks for the tip on soaking the plug in alcohol first.
Bob
1937 Champion D2C Deluxe Lite Twin
1954 Johnson CD-11
1955 Johnson QD-16
1957 Evinrude Fastwin 18
1957 Evinrude 3022
1958 Johnson QD-19
1958 Johnson FD-12
1959 Johnson QD-20
1982 Evinrude 25hp“Every 20 minute job is only a broken bolt away from a 3-day project.”
"Every time you remove a broken or seized bolt an angel gets his wings."April 29, 2026 at 2:40 pm #317070Followed Don’s advice and soaked the coil connector plug in alcohol for about 30 minutes then used a piece of 1/8″ brass tubing I had to remove the amphenol pin for the defective coil from the plug. Tubing fit perfectly over the pin and with a little pressure the pin backed right out. I’m going to cut off a length of the brass tubing and insert it into a wood dowel for a handle and I’ll have my own pin removal tool for a whole lot less than $70.
Bob
1937 Champion D2C Deluxe Lite Twin
1954 Johnson CD-11
1955 Johnson QD-16
1957 Evinrude Fastwin 18
1957 Evinrude 3022
1958 Johnson QD-19
1958 Johnson FD-12
1959 Johnson QD-20
1982 Evinrude 25hp“Every 20 minute job is only a broken bolt away from a 3-day project.”
"Every time you remove a broken or seized bolt an angel gets his wings." -
AuthorPosts
- You must be logged in to reply to this topic.