Home › Forum › Ask A Member › Martin 20 fuel tank
- This topic has 17 replies, 7 voices, and was last updated 4 years, 5 months ago by
davidk.
-
AuthorPosts
-
January 24, 2022 at 2:50 pm #253339
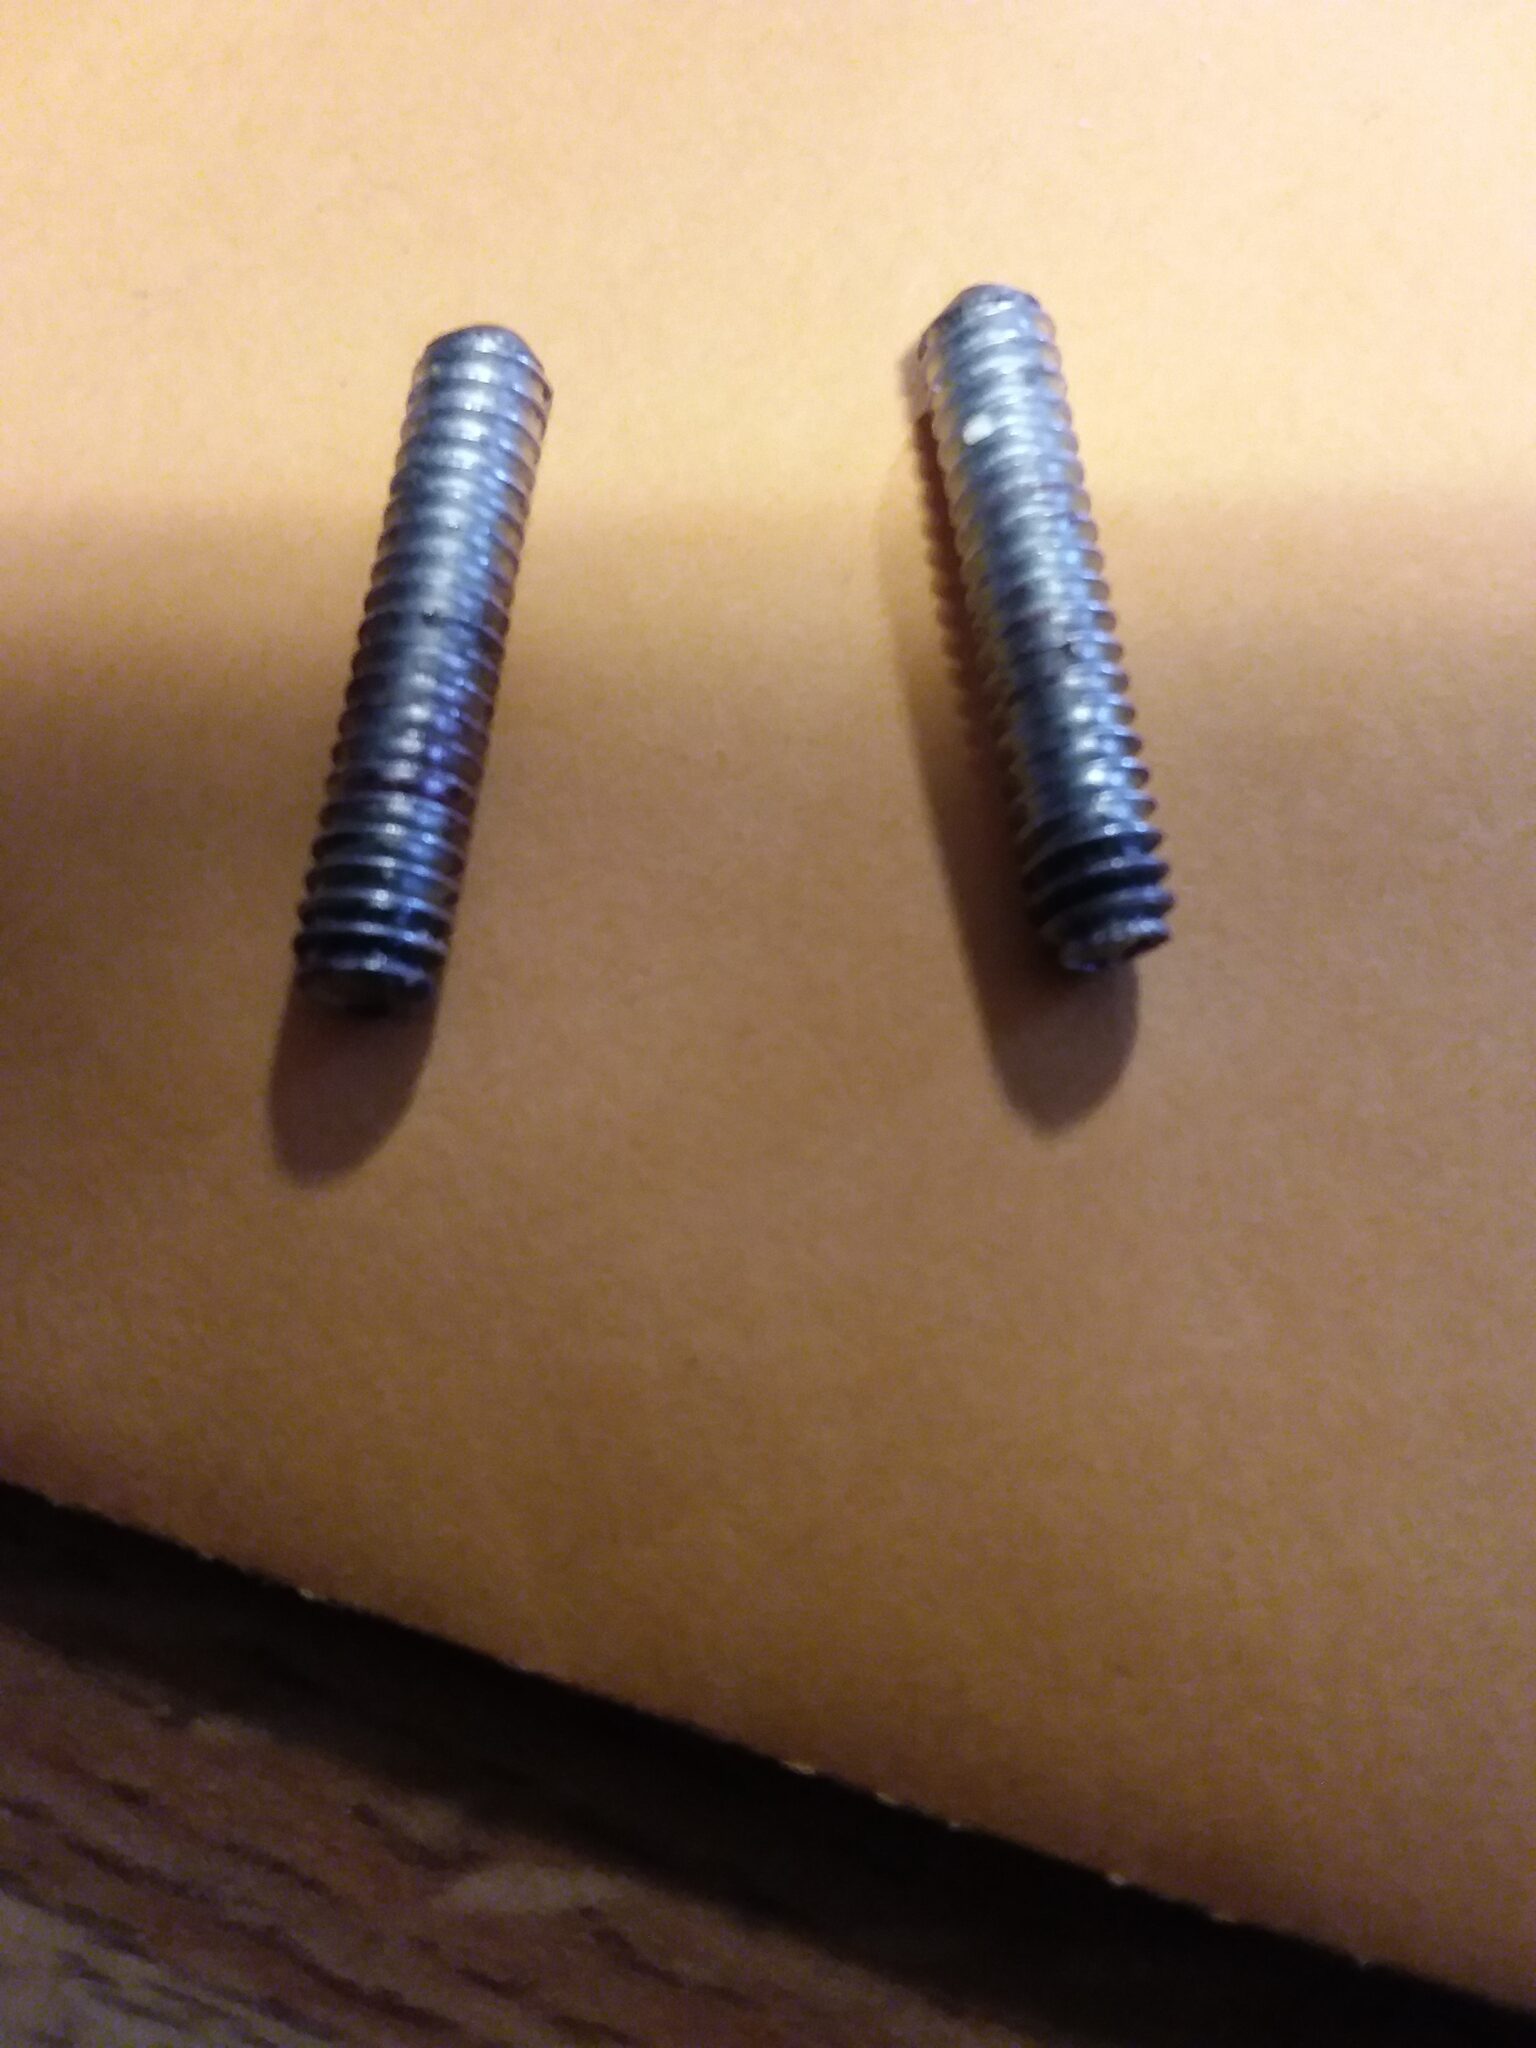
The “Alignment Pins” are just simply 10-24 Hardware store variety steel screws with the heads cut off about 7/8″ long. Just temporarily installed by hand a few threads to act as guides. Keeps everything from slewing around and easily removed when you are ready to install the actual ones when everything is seated. Probably could use less than 22 pins but a small price to pay for my piece of mind! Of course shear pins are way too valuable to be used for something like this!!
Sorry, no extra lower cowls for the 20s. I even looked behind my bowling ball collection. Did find some for the 40s and some other stuff I didn’t even know I had.
Hope this helps!
See Ya
Bob
1 user thanked author for this post.
January 24, 2022 at 3:30 pm #253344That’s some yankee ingenuity! Thanks for the details.
Since you are well experienced, can you weigh in on the questions of how to split the tank? Are bowling balls involved?
January 24, 2022 at 10:57 pm #253381Instead of cutting off screw heads, you could use long allen set screws so you can surely unscrew them.
January 26, 2022 at 8:43 am #253434Long set screws surely would do the job nicely. I think I considered them but I had regular screws on hand at the time years ago. I only put them in a few threads just as guide pins and to hold those skinny gaskets in place and a bit more “stable”. I do admit I had to use some small needle nose vise grips to extract a couple of them!
I think I will “upgrade” to long set screws on my next tank.
Thanks!
Bob
January 26, 2022 at 10:40 am #253443David,
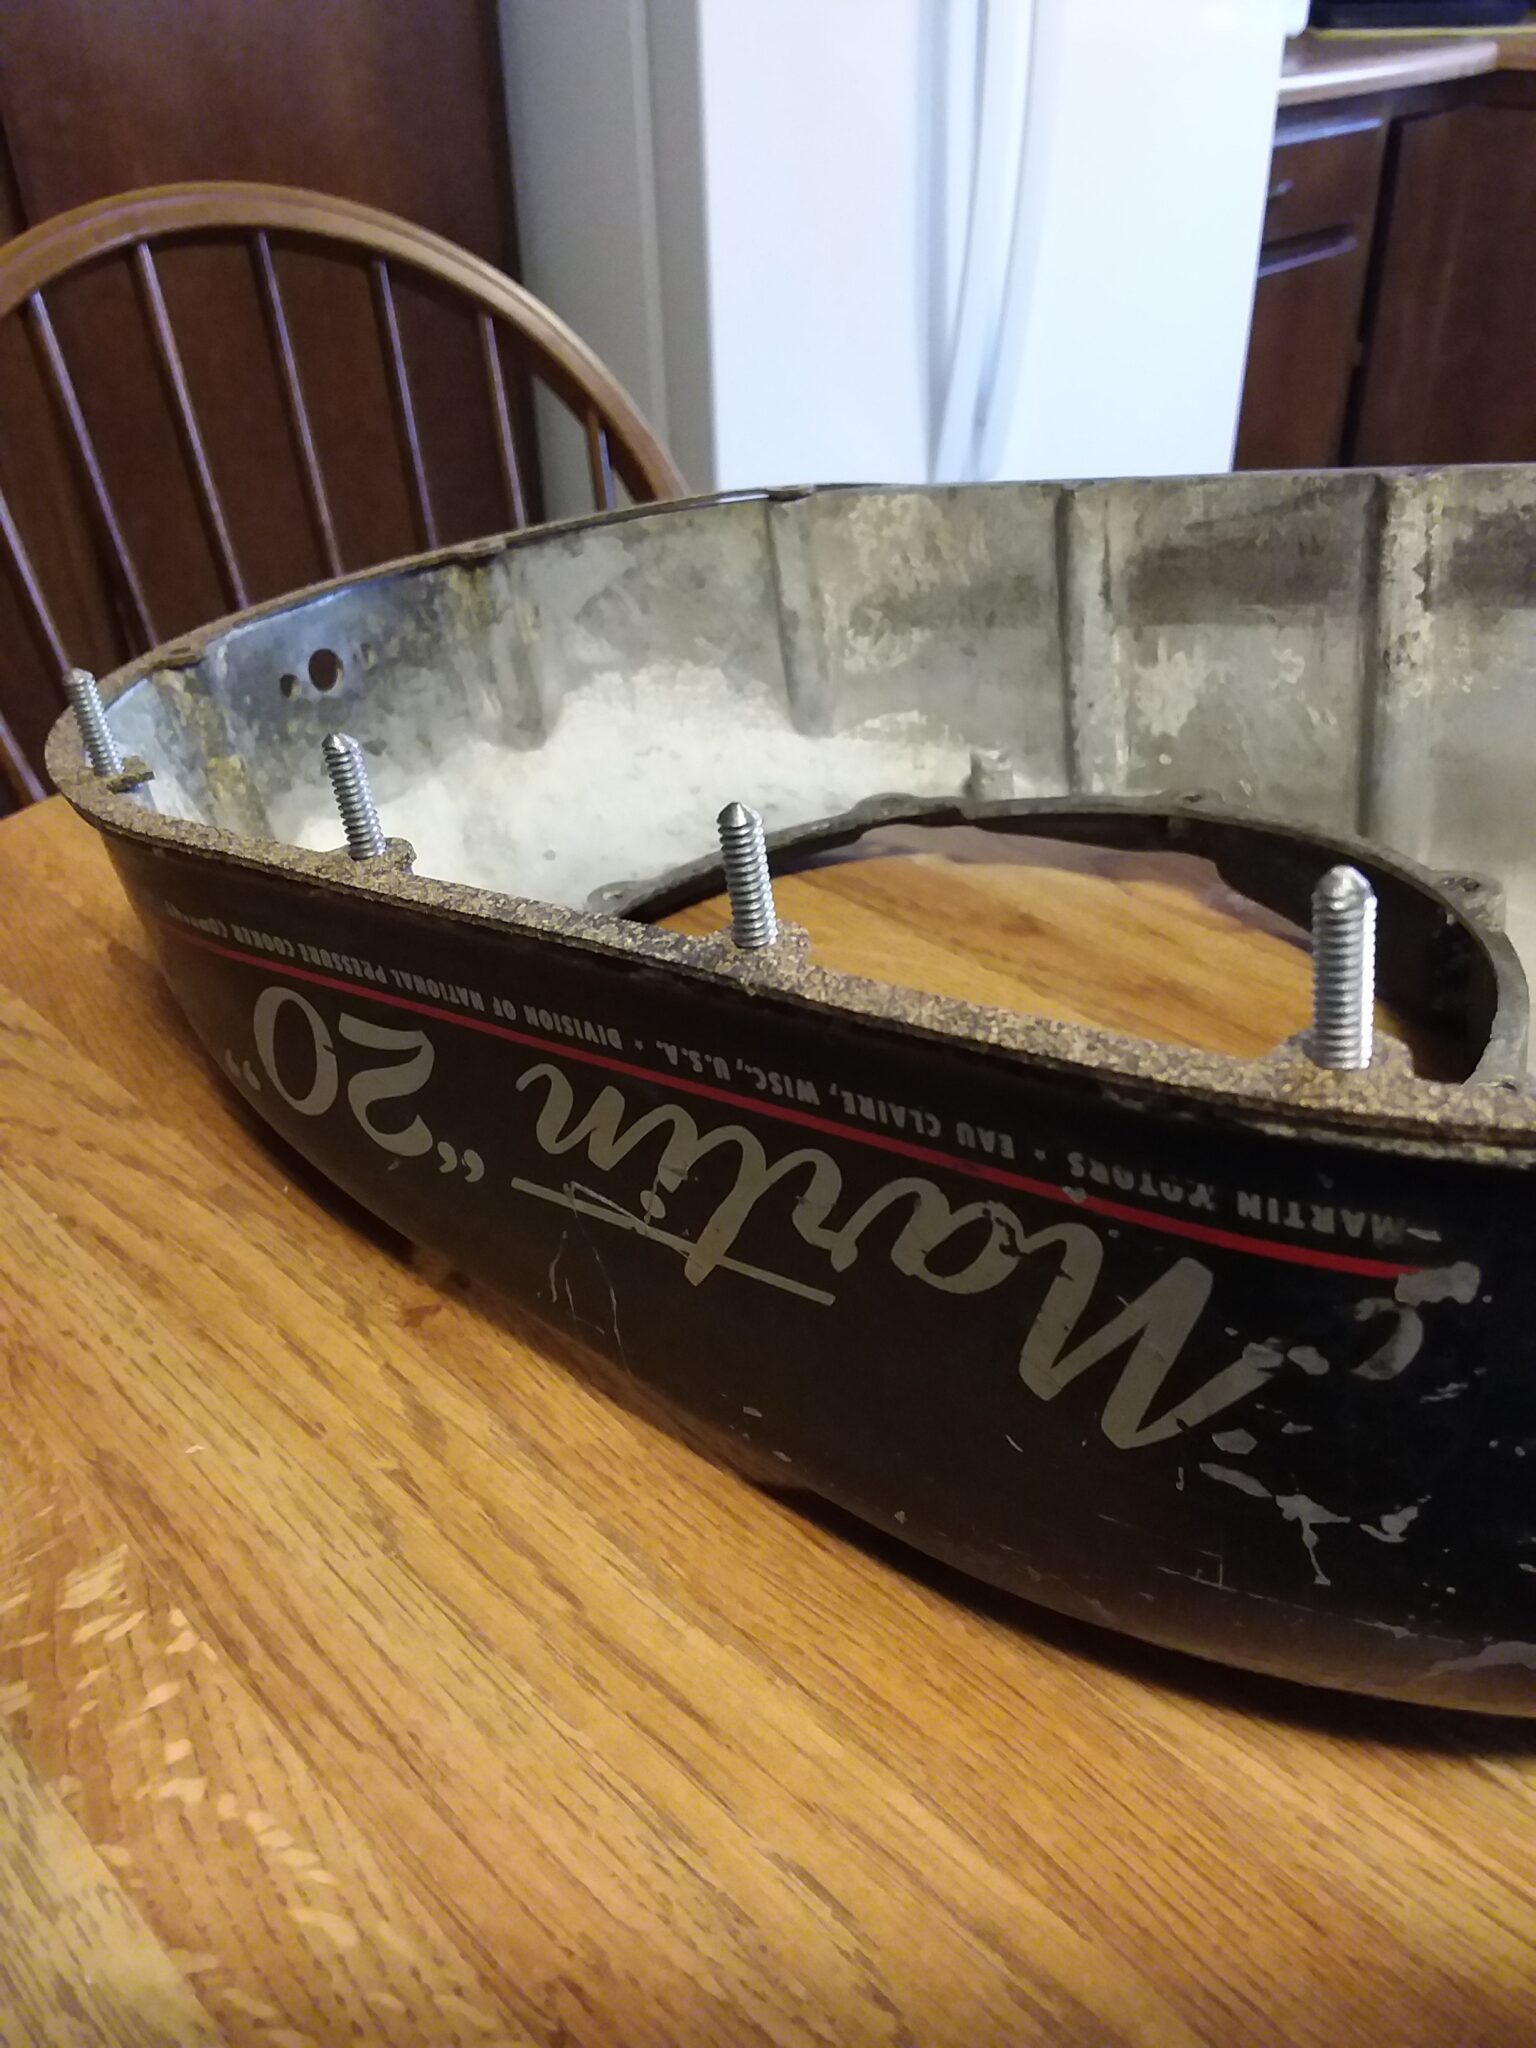
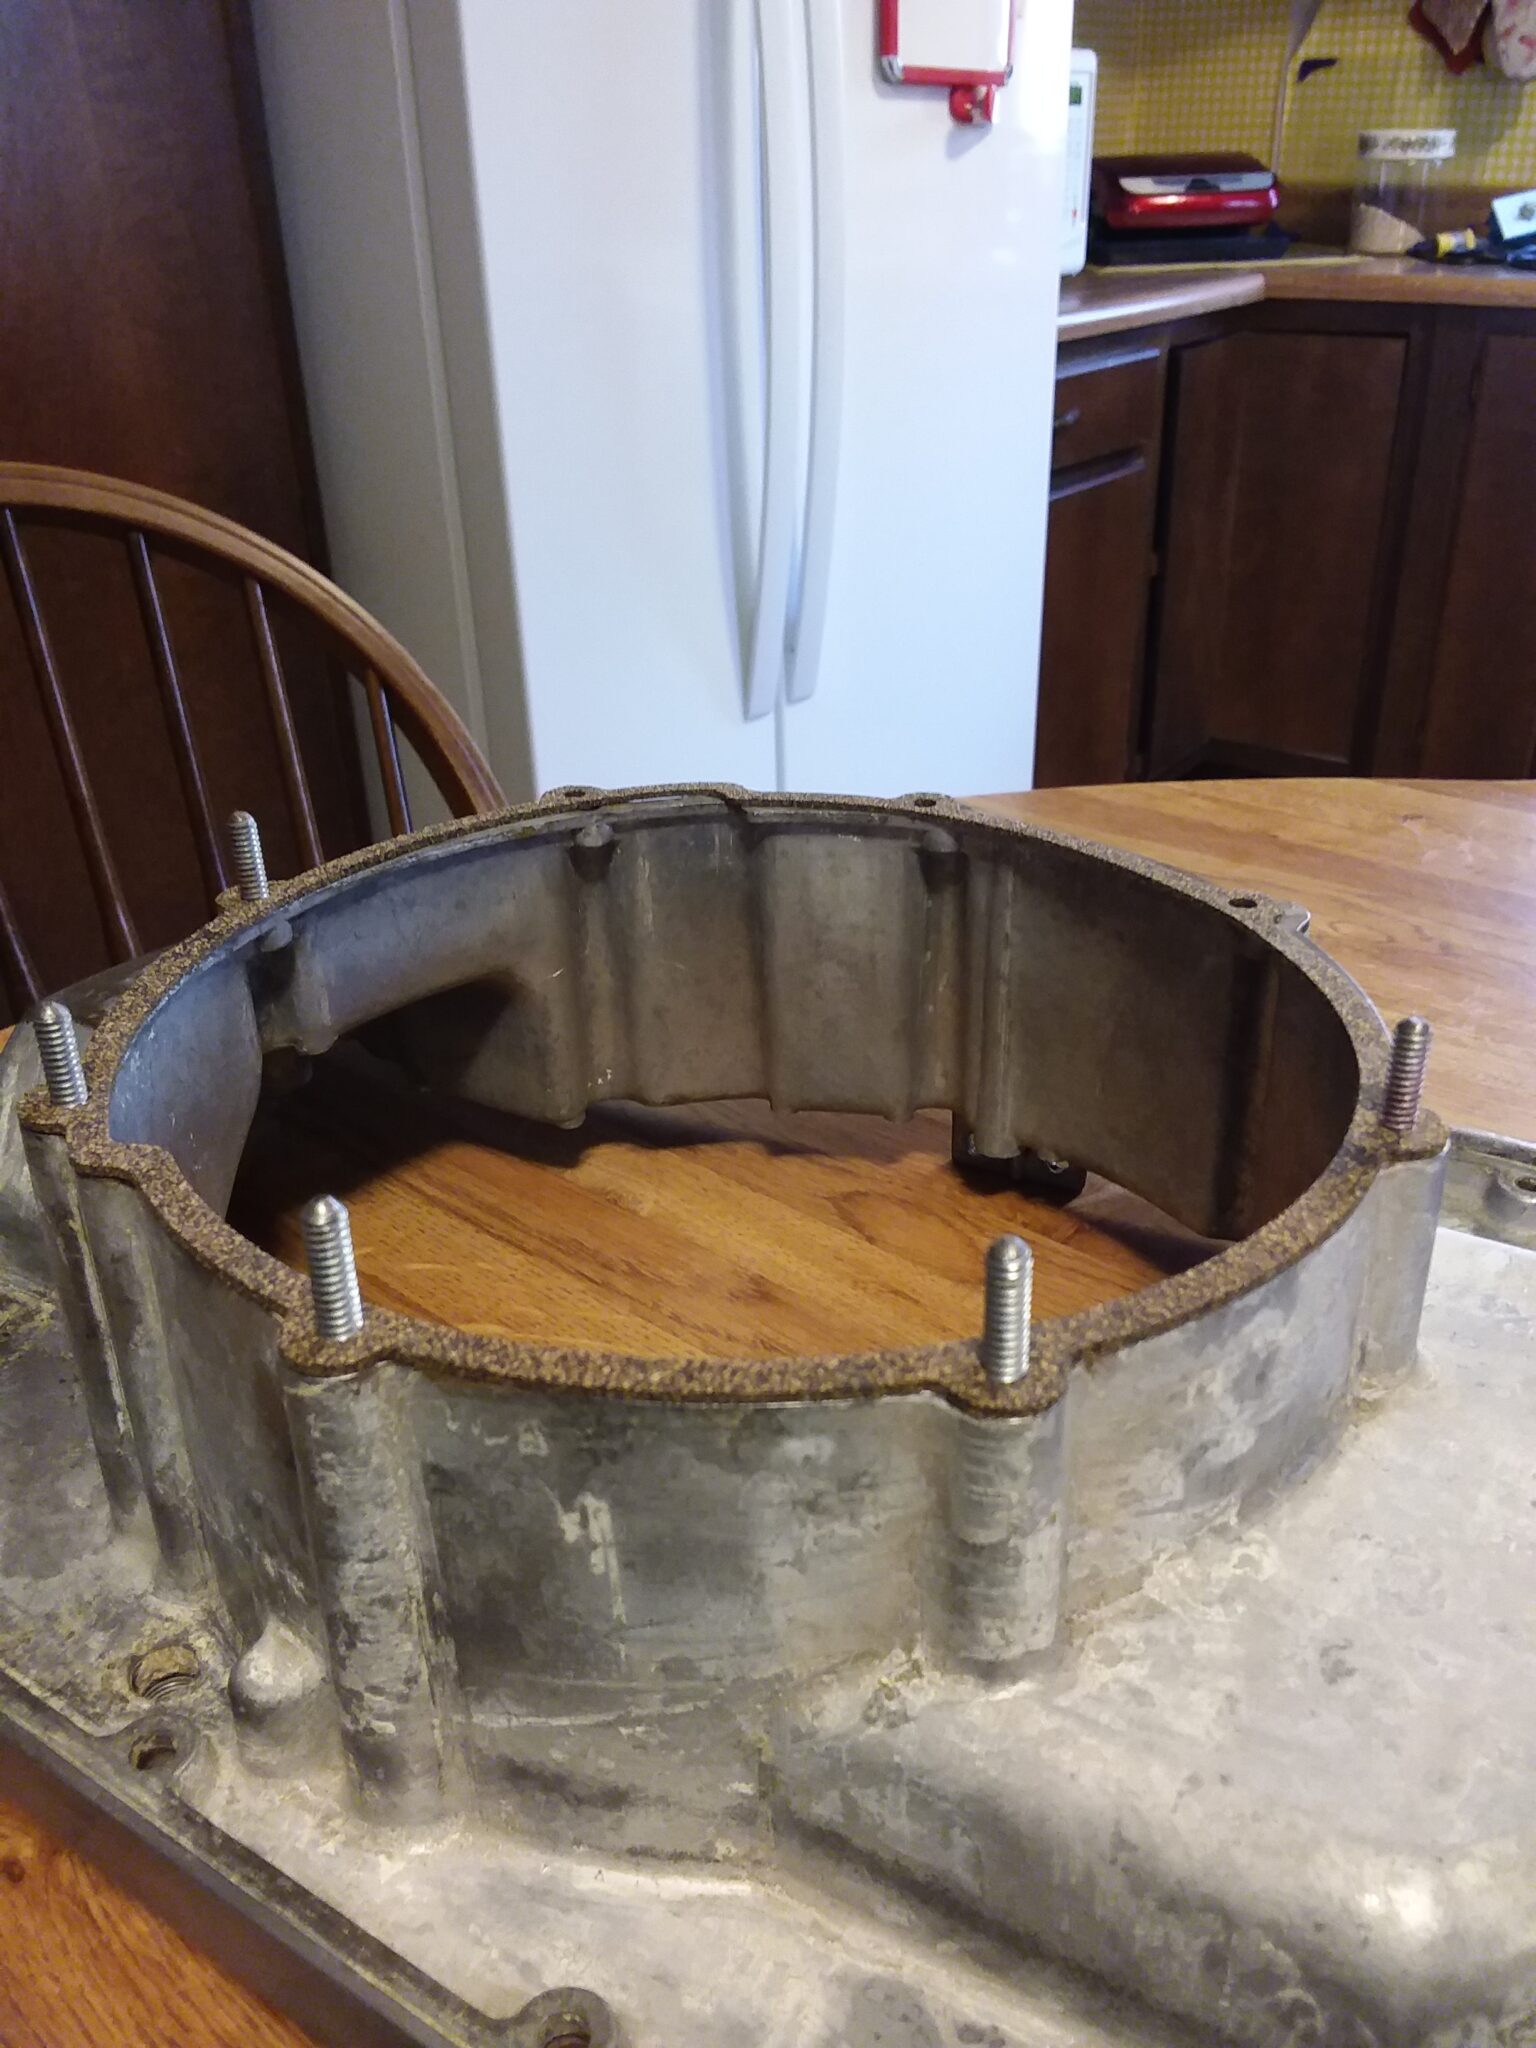
I split the tank halves by first cleaning and flushing the inside by using that “purple stuff” to remove any residual petroleum products and associated “odors”. (important for the next step!) I then, while the wife is still sleeping, slide the tank into the kitchen oven and set the temp about as low as it will go. My (our) oven goes down to 170 degrees so I prop the door open a bit with a thing she has that looks like a spoon and is made out of wood to “control” the temperature.
Bake until thoroughly warmed. I usually go about 37 minutes. Your time may vary if you have a better oven than my crappy old one.
I have not had any problems with the paint using low oven heat, but low and slow seems to be the way to go with the heat.
Pop it out when it warm and toasty and start removing the screws that hold the tank halves while still warm It seems that the heat softens any old sealing goop that may be on the threads and usually the screws ease right out. Of course there is the steel/aluminum factor.. Go easy. Out of the 5 or 6 tanks I have done, I have had only one screw head snap off which I was able to remove when the tank came apart.
Usually the tank halves will now separate. I certainly believe that the warmth makes the gaskets willing to give up more easily. Sometimes another trip to the kitchen followed by maybe just a little persuasion with a soft rubber hammer usually does the trick.
I think the all over heat makes this all work. Just a heat gun won’t do it, I don’t believe.
There are tank lining compounds and you can cut your own gaskets if you have enough patience but I’ve always had great luck with Larson’s gasket sets. Not cheap, but good.
Just the way I do it….. I could be wrong…. Your mileage may vary…
Bob
1 user thanked author for this post.
January 26, 2022 at 3:14 pm #253450Excellent explanation, Bob. Do you call it “all over heat” because it’s all over if she catches you using the oven this way? Asking for a friend. : )
January 27, 2022 at 8:46 am #253491
A "Boathouse Repair" is one thats done without having tools or the skills to do it properly.
February 2, 2022 at 3:04 pm #253859Has anyone found a good paint match for the silver on the Martins? You might notice in the previous photos that I used a hammered silver that has too much texture. Maybe I laid it on too thick?
-
AuthorPosts
- You must be logged in to reply to this topic.