Home › Forum › Ask A Member › TN26 resurrection
- This topic has 58 replies, 9 voices, and was last updated 9 years, 11 months ago by
vikkip.
-
AuthorPosts
-
July 6, 2016 at 1:12 am #39660
I replaced the fiber washers with leak free nylon washers. I still have the float needle problem so I will need to remove the carb cap to access the float hairpin.
I found an incorrect NOS float needle on eBay and purchased it. I will have to shorten it and move the pin groove to make it work, but it’s something.
And…I dropped the prop in a deep old tin washtub with water above the gearcase, hit the primer a few times (with the fuel off as it’s dumping out the top) and pulled the cord three times. It started up and sounded great! I left it in neutral because it’s a really small oval washtub. I can’t wait for a real test. Unfortunately with the float needle issue I won’t have the opportunity to put it on the boat this summer. I may try polishing the grooves out of it. Worst that happens is it still leaks.
July 6, 2016 at 2:05 am #39665Please make sure your cork is not a bit bogged even though it is floating. It may float but not have enough bouncy to allow the needle adequately seal and prevent bowl over flow. Have you been to the Poche website. Lloyd gave Mr. Poche a good bit of guidance with his motor repair and excellent advice for his website in regards to the TD and TN Johnson motors. Those leather primer seals are a must to evaluate as well.
http://pochefamily.org/outboard/
If your needle is damage, then you may have to get a carburetor replacement. I can’t remember if the carburetor and the needle are a married pair. If that is the case, your best bet is to place an add in the webvertise part of this website. You will get a reasonable deal from trusted members who have multiple parts motors.
July 6, 2016 at 2:45 am #39671The leather primer seals do seal well, I could hear a positive "squirt" when I pressed the plunger.
I wouldn’t be surprised if the needle and seat were lapped to fit at the factory, but I also saw the instructions not to lap them with valve grinding compound. That makes sense, it would be too coarse and would cause fuel leakage, but I wonder if something like baking soda or toothpaste could help ensure a good seal.
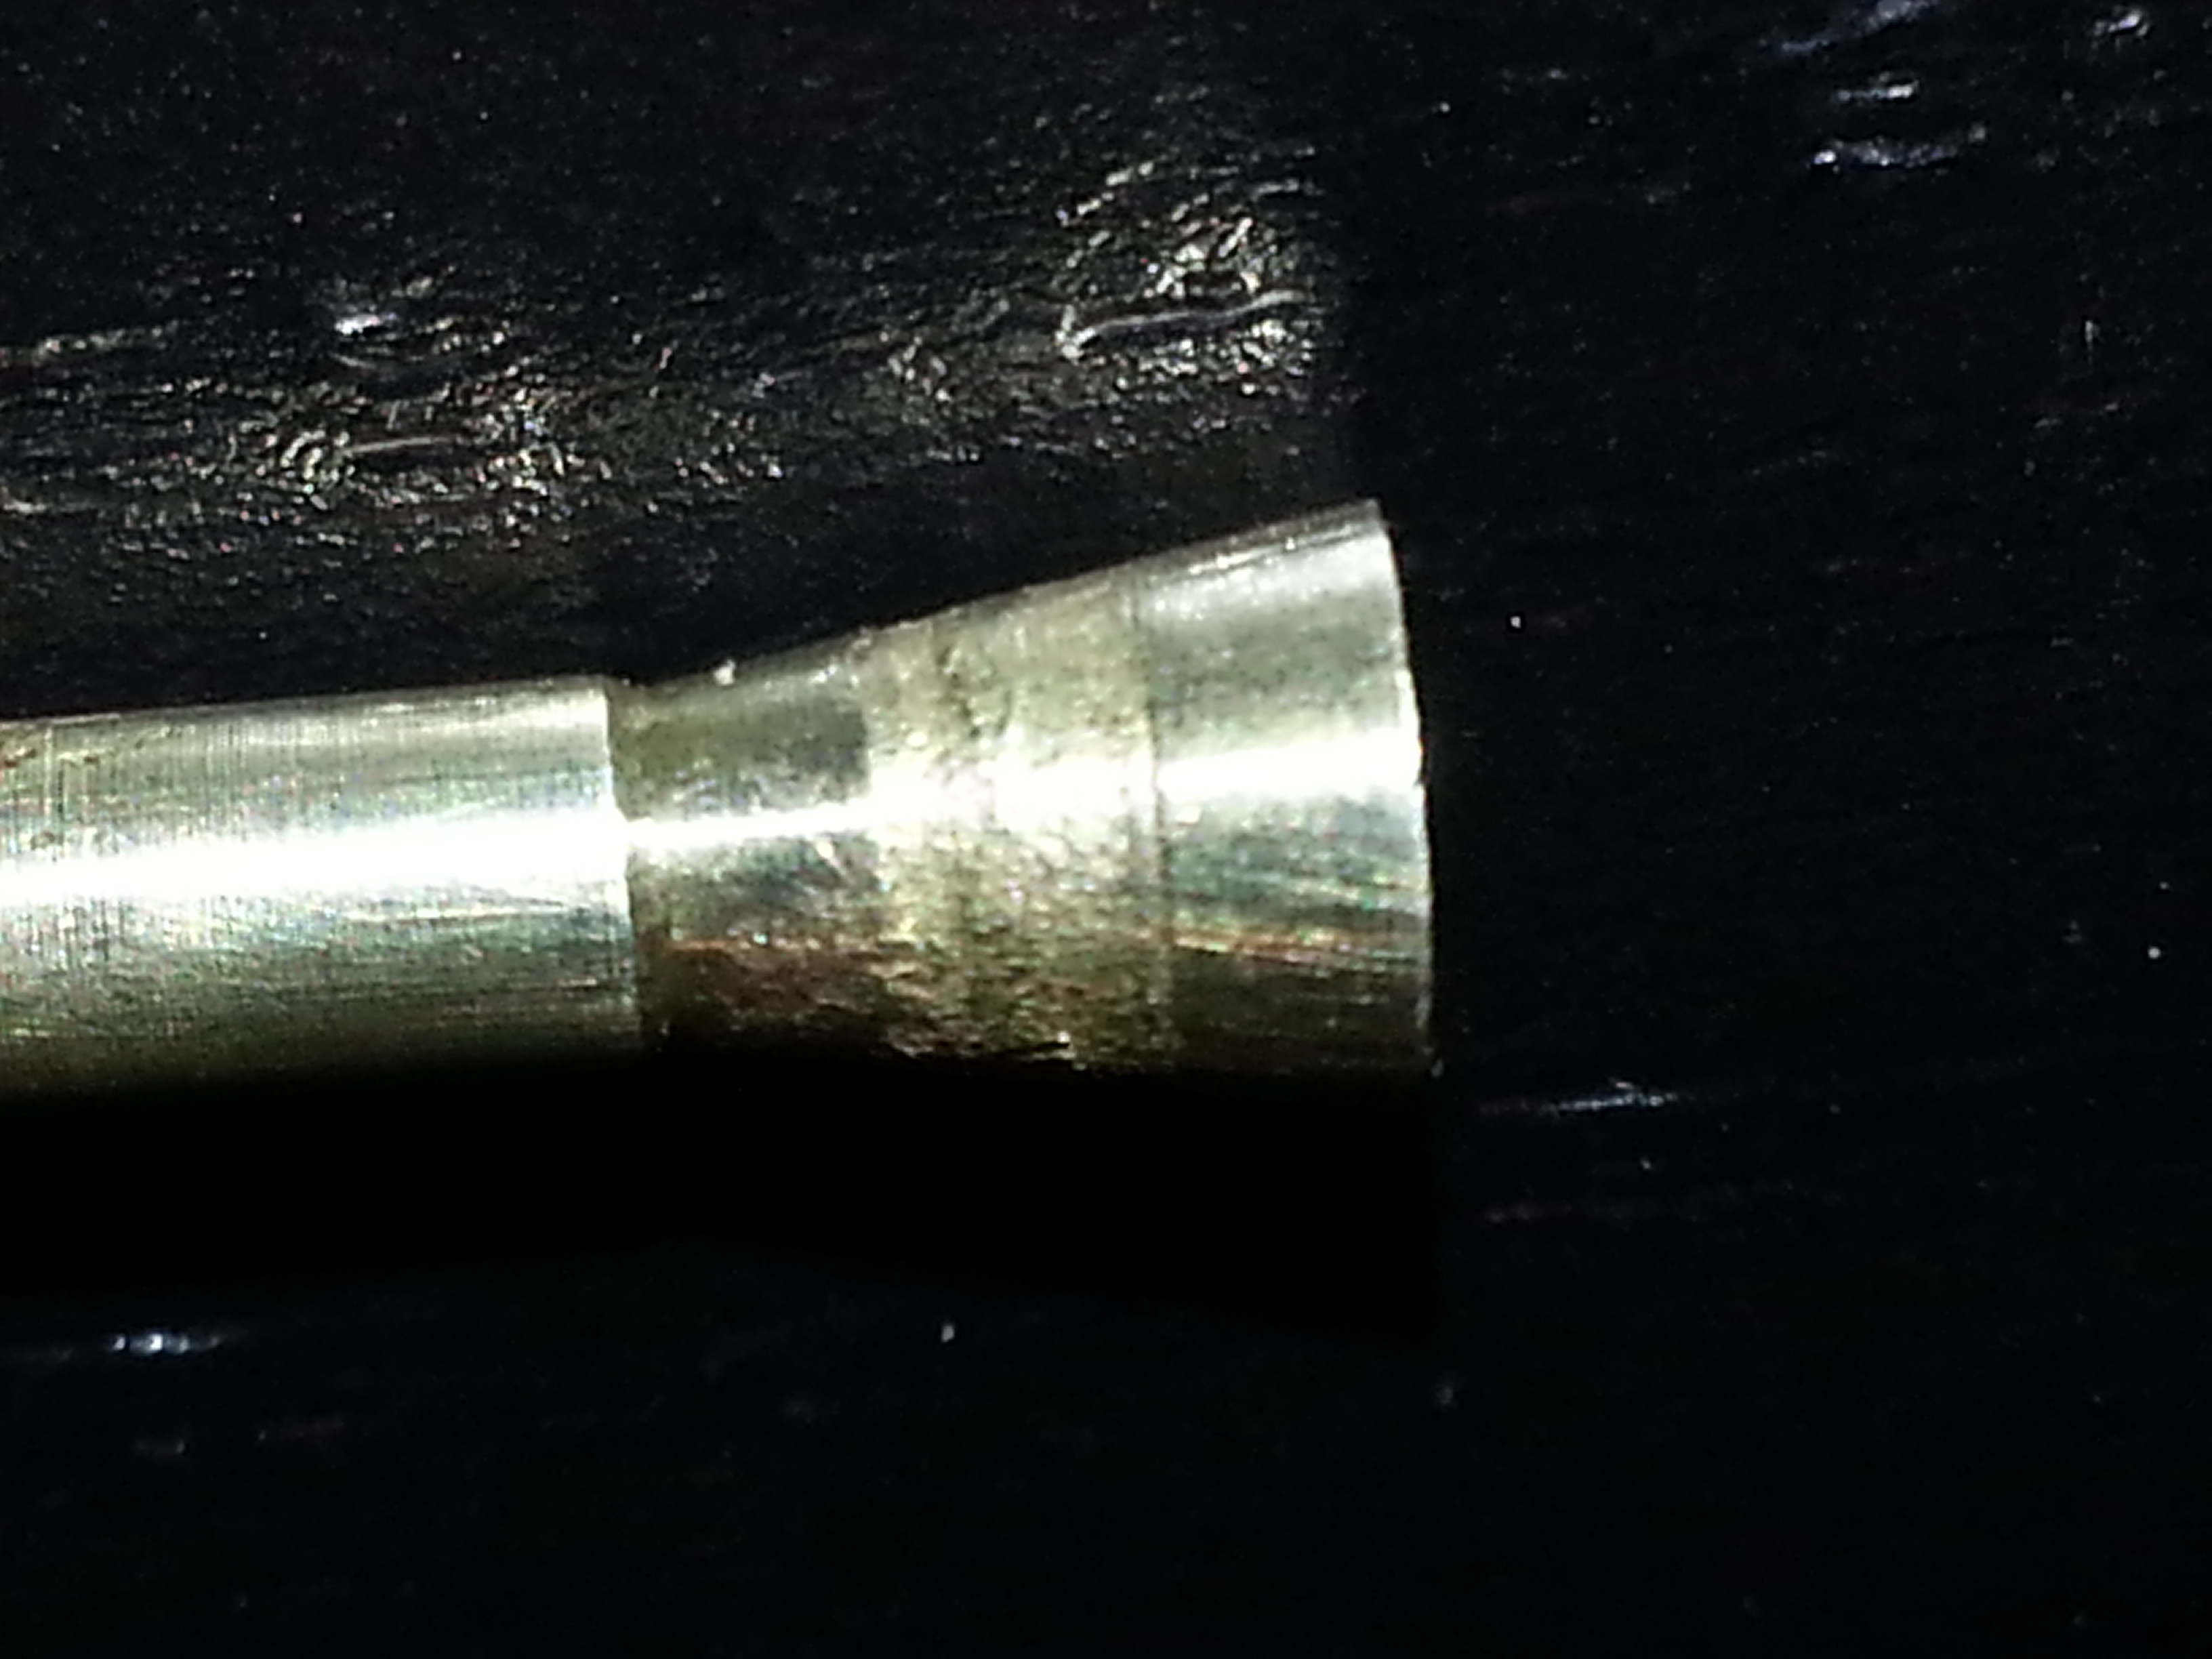
The needle that is in there now is well cleaned, as is the seat, but it has ridges that can be felt with a fingernail about halfway down the taper. The seat is also clean, but it’s difficult to evaluate. I’ll drain the carb again tomorrow, pull the cap, and drop the needle to see what else I can do. The N.O.S. one won’t be here for a week anyhow so if I can’t fix it with what I have, it’ll be too late.
Heck, it’s only quarter to eleven. I’ll go out and pull it now.
July 6, 2016 at 3:49 am #39680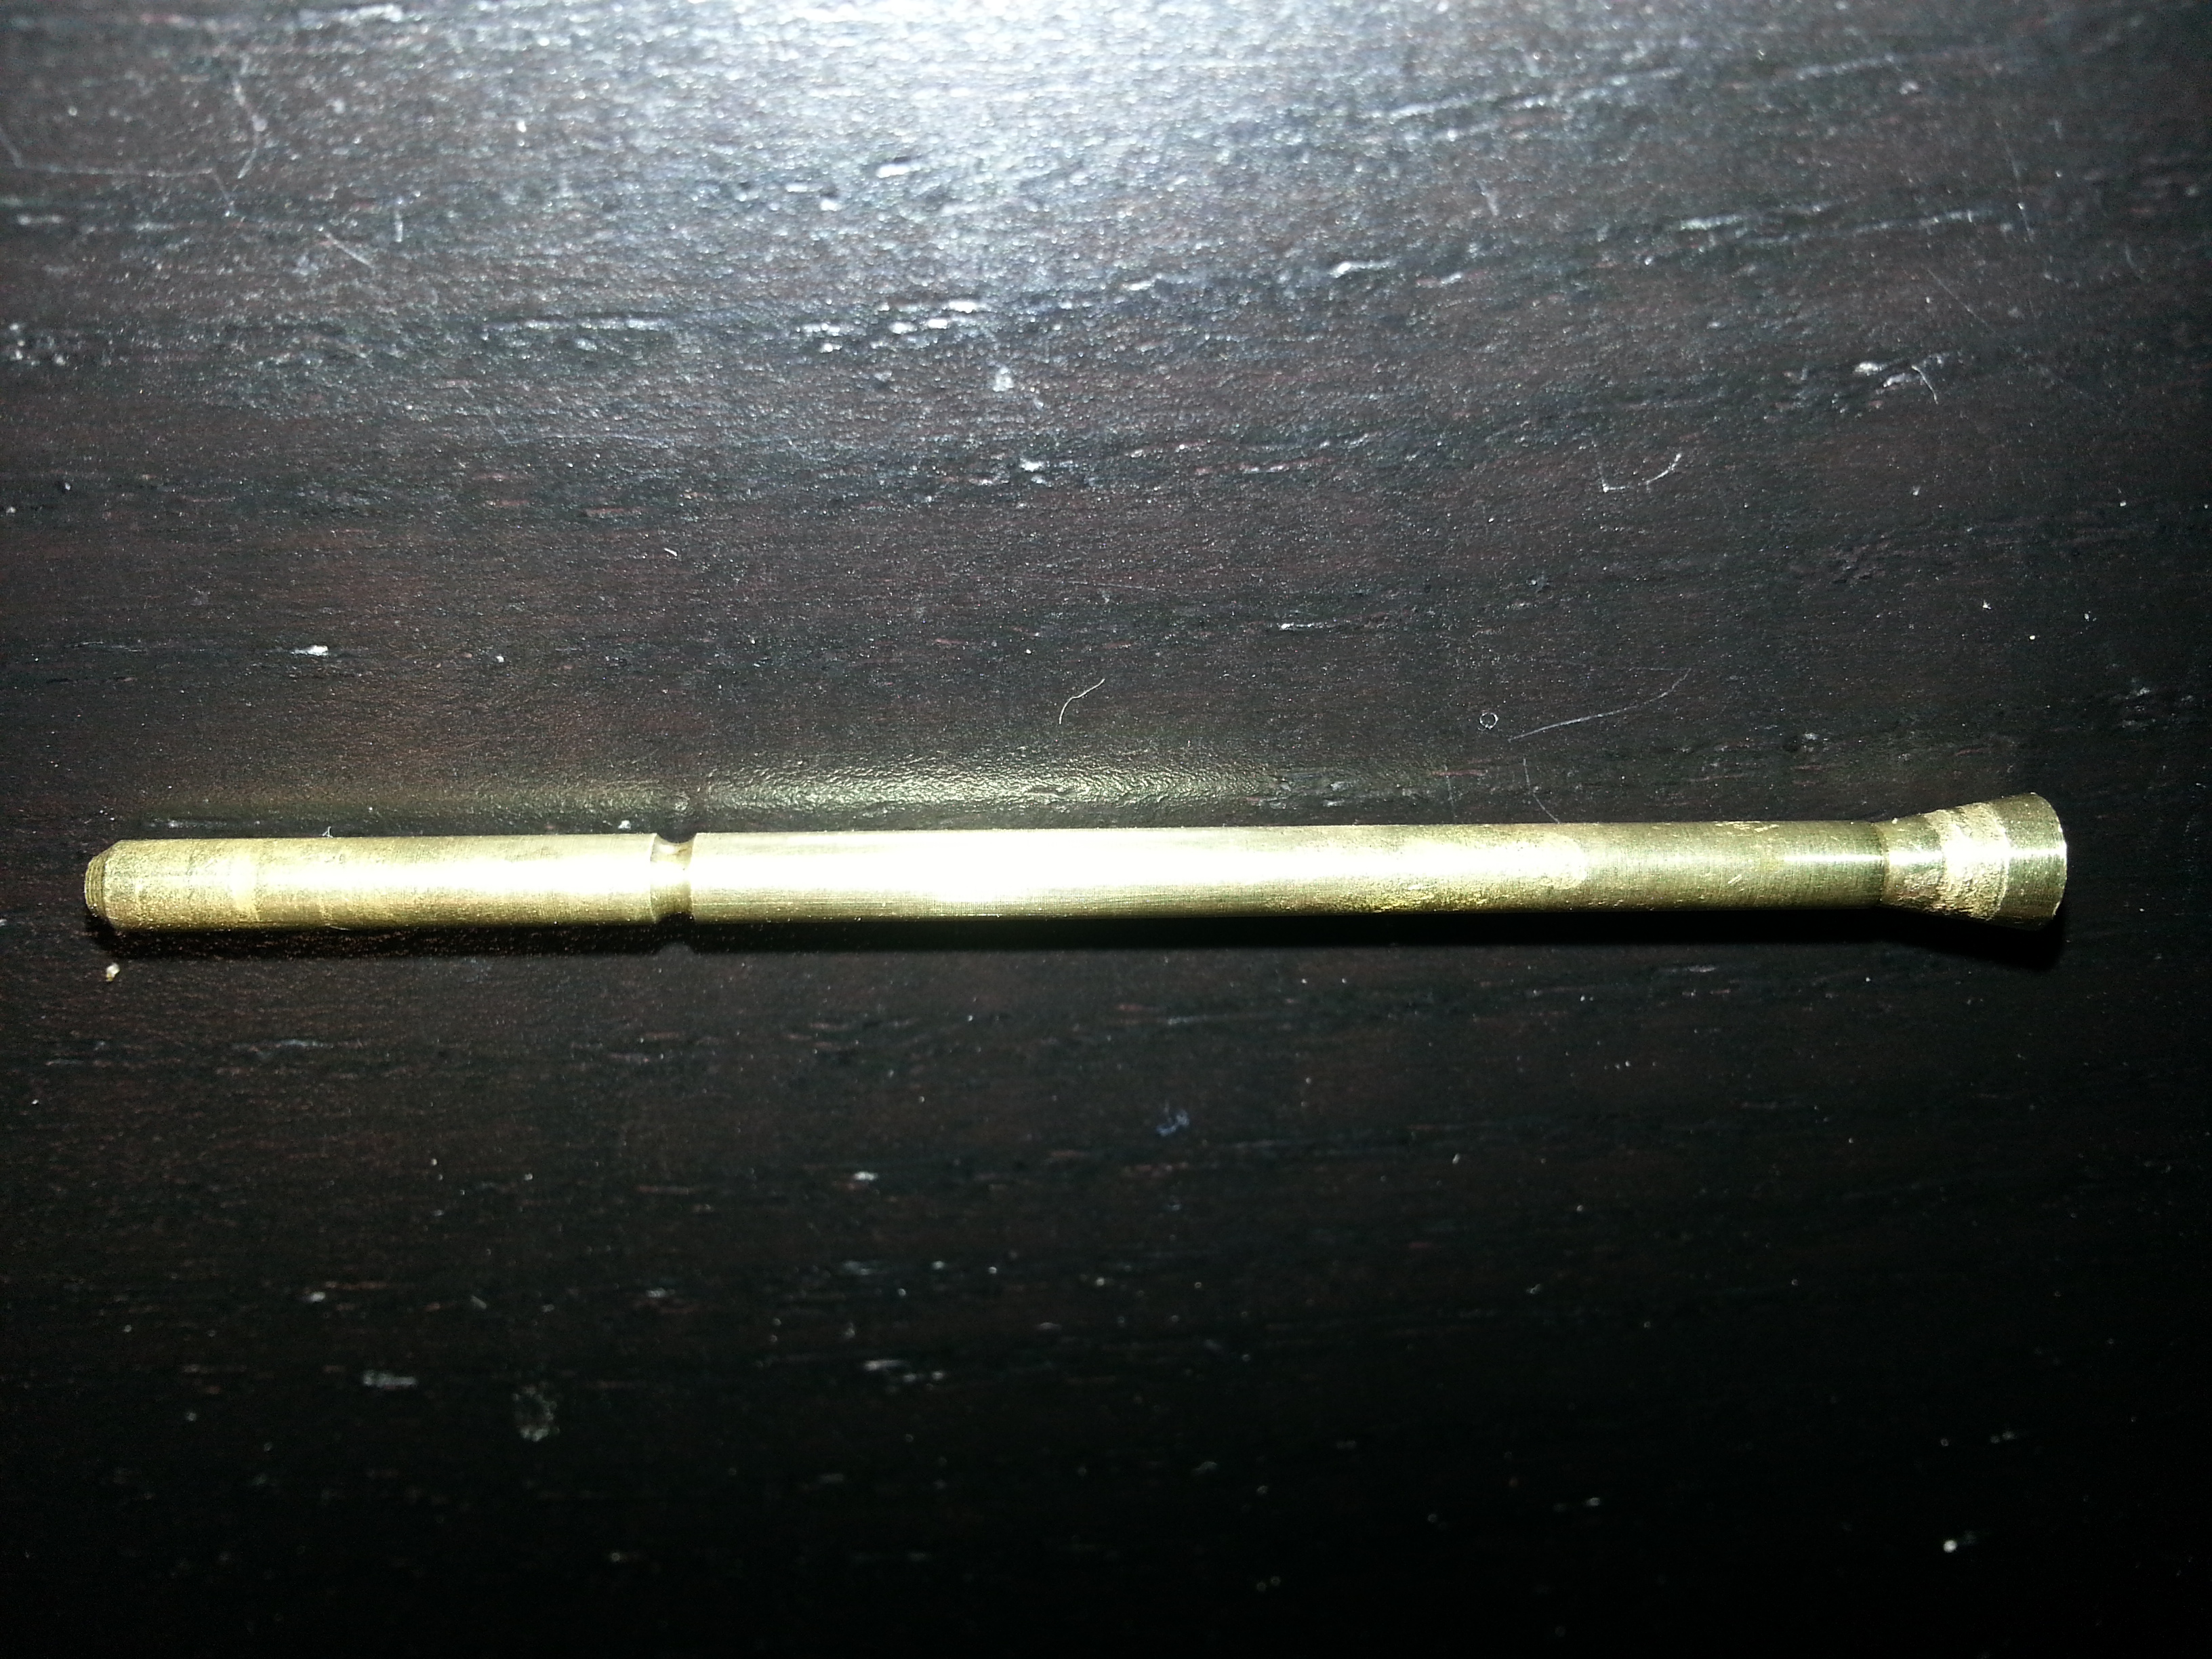
I think this needle is too far gone.
Does anyone have specifications for the fuel level when the float is set properly, or how to adjust or measure it? I can’t imagine that "not overflowing" is all that I need to know.
July 6, 2016 at 9:16 am #39687Vikki, there are lots of parts motors around for these models. Give a shout out on the webvertize and you’ll end up having more than you know what to do with.
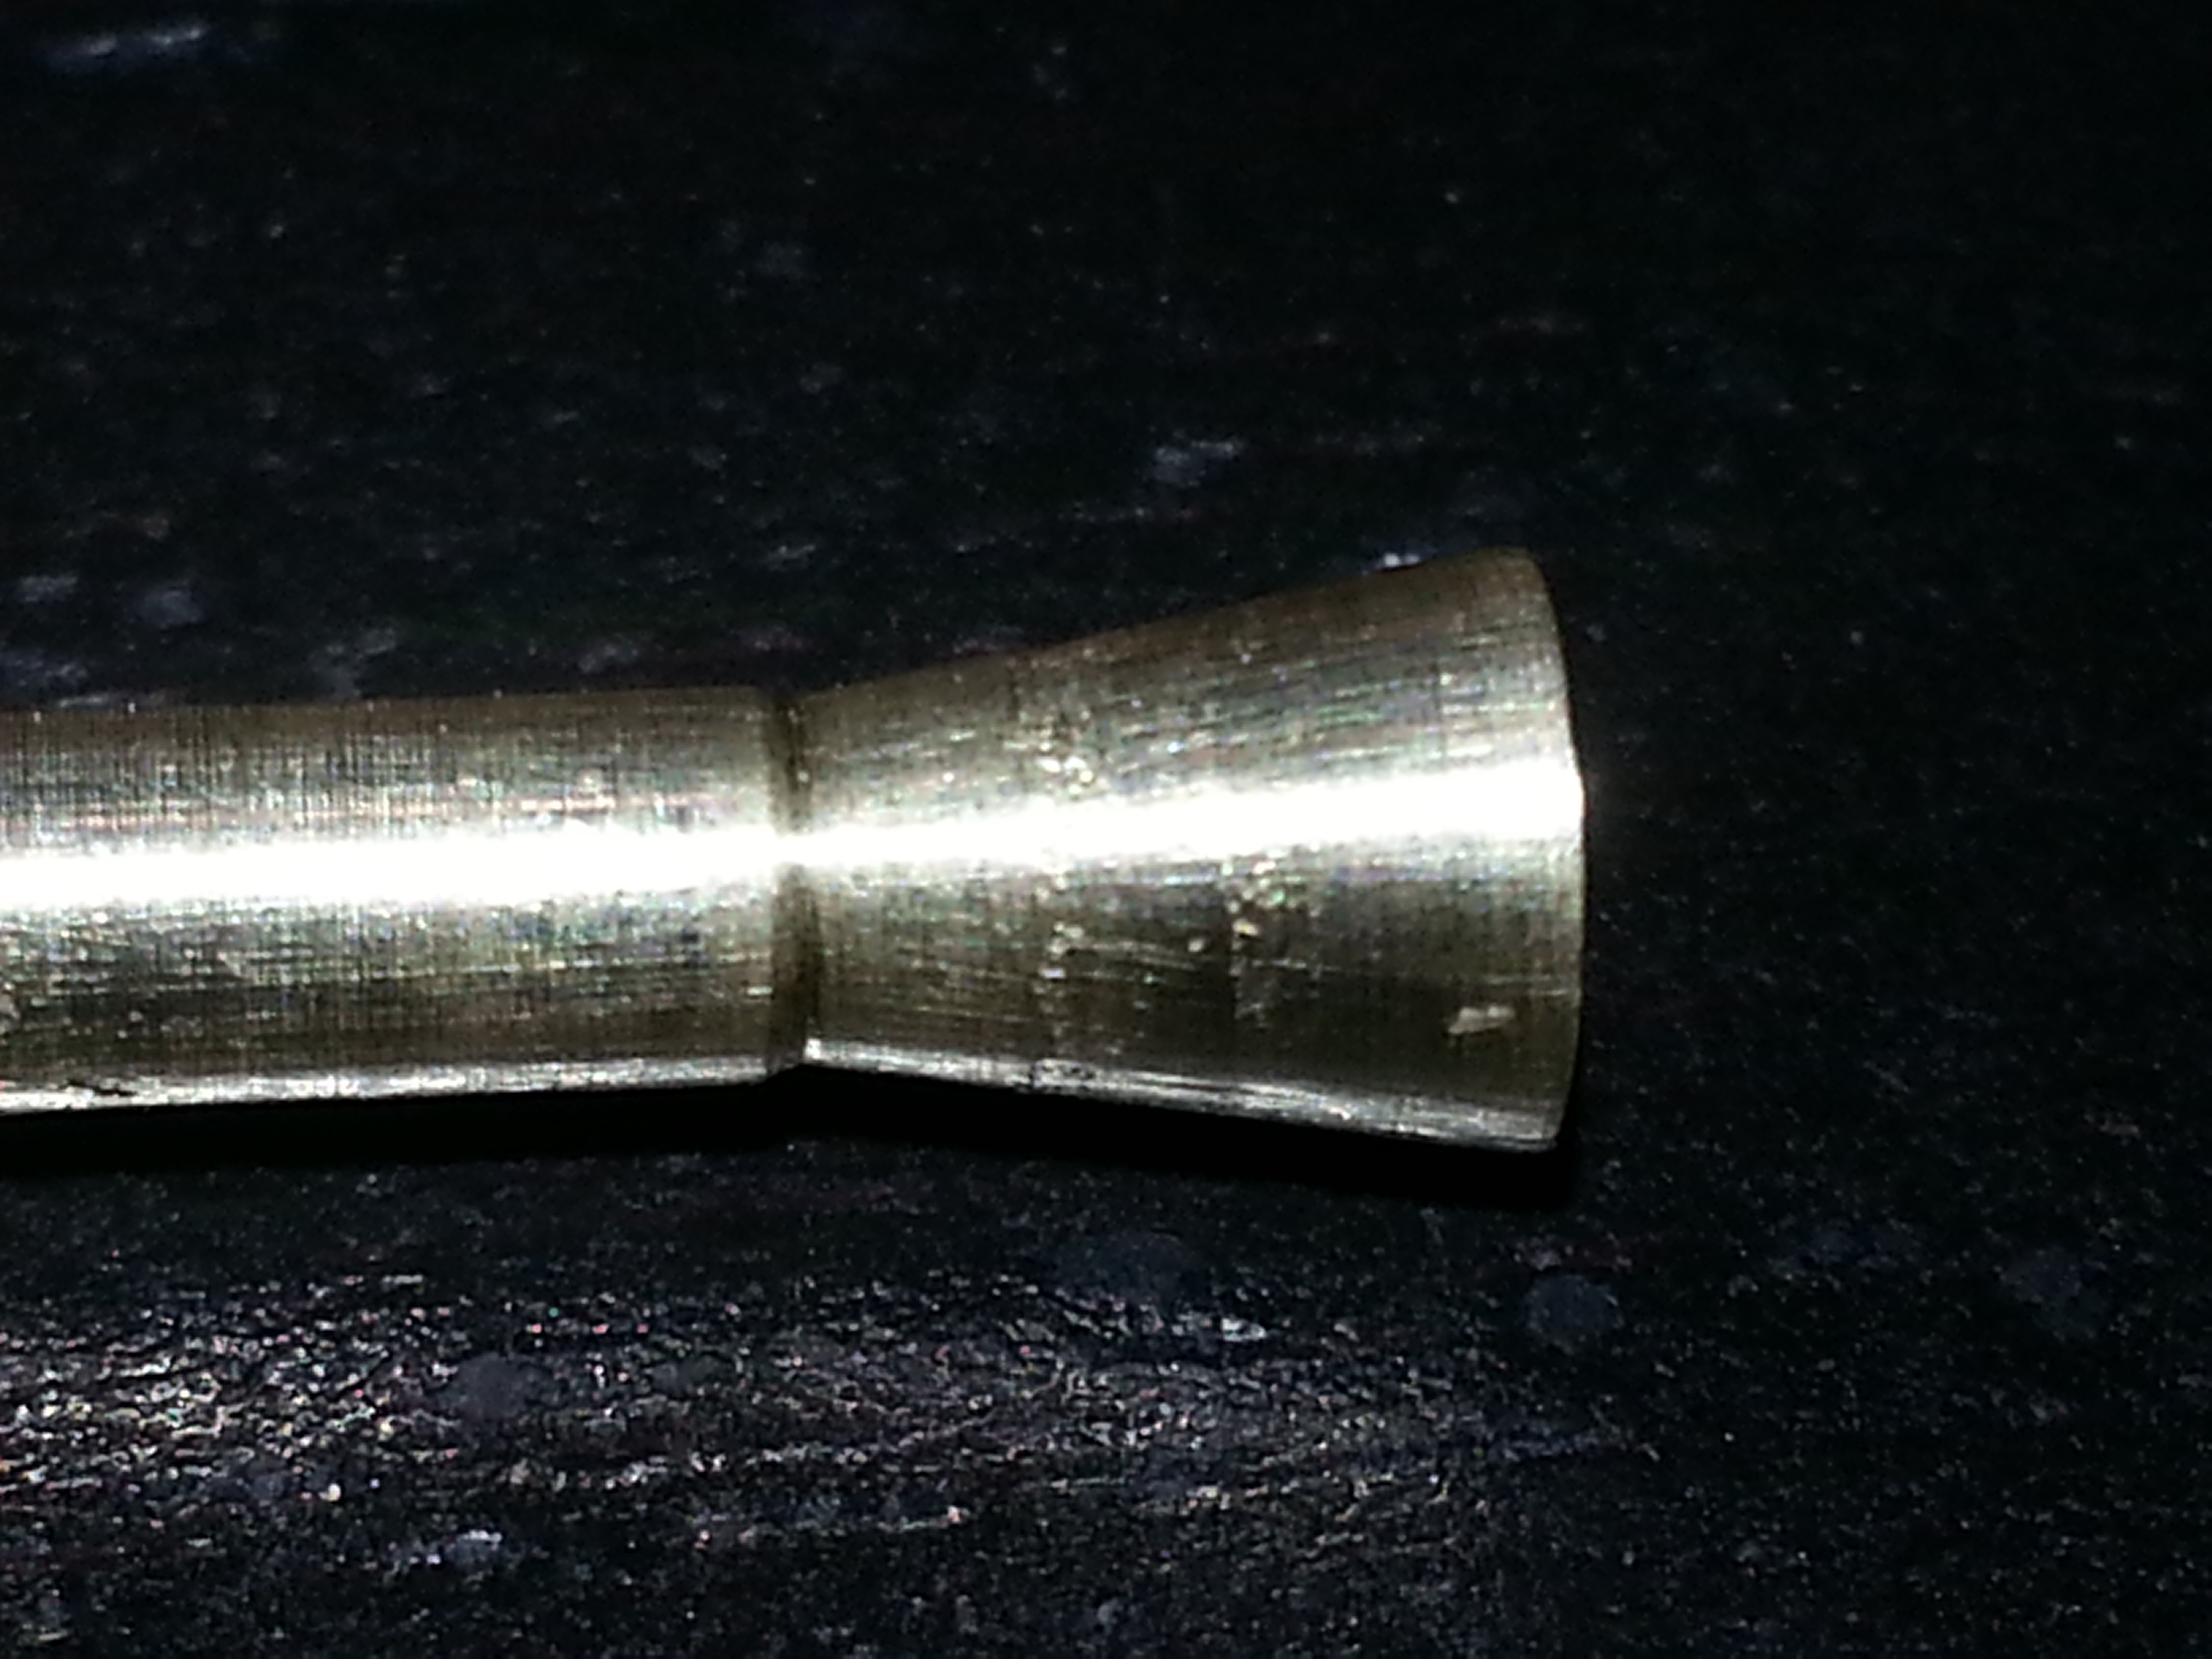
July 6, 2016 at 3:00 pm #39703I am still obsessed with the idea of getting this motor on the boat on the lake this weekend…my only chance for the season since I don’t own a boat (yet). I did polish up this needle and will put it back together, but I will also gather up parts and make the fix permanent.
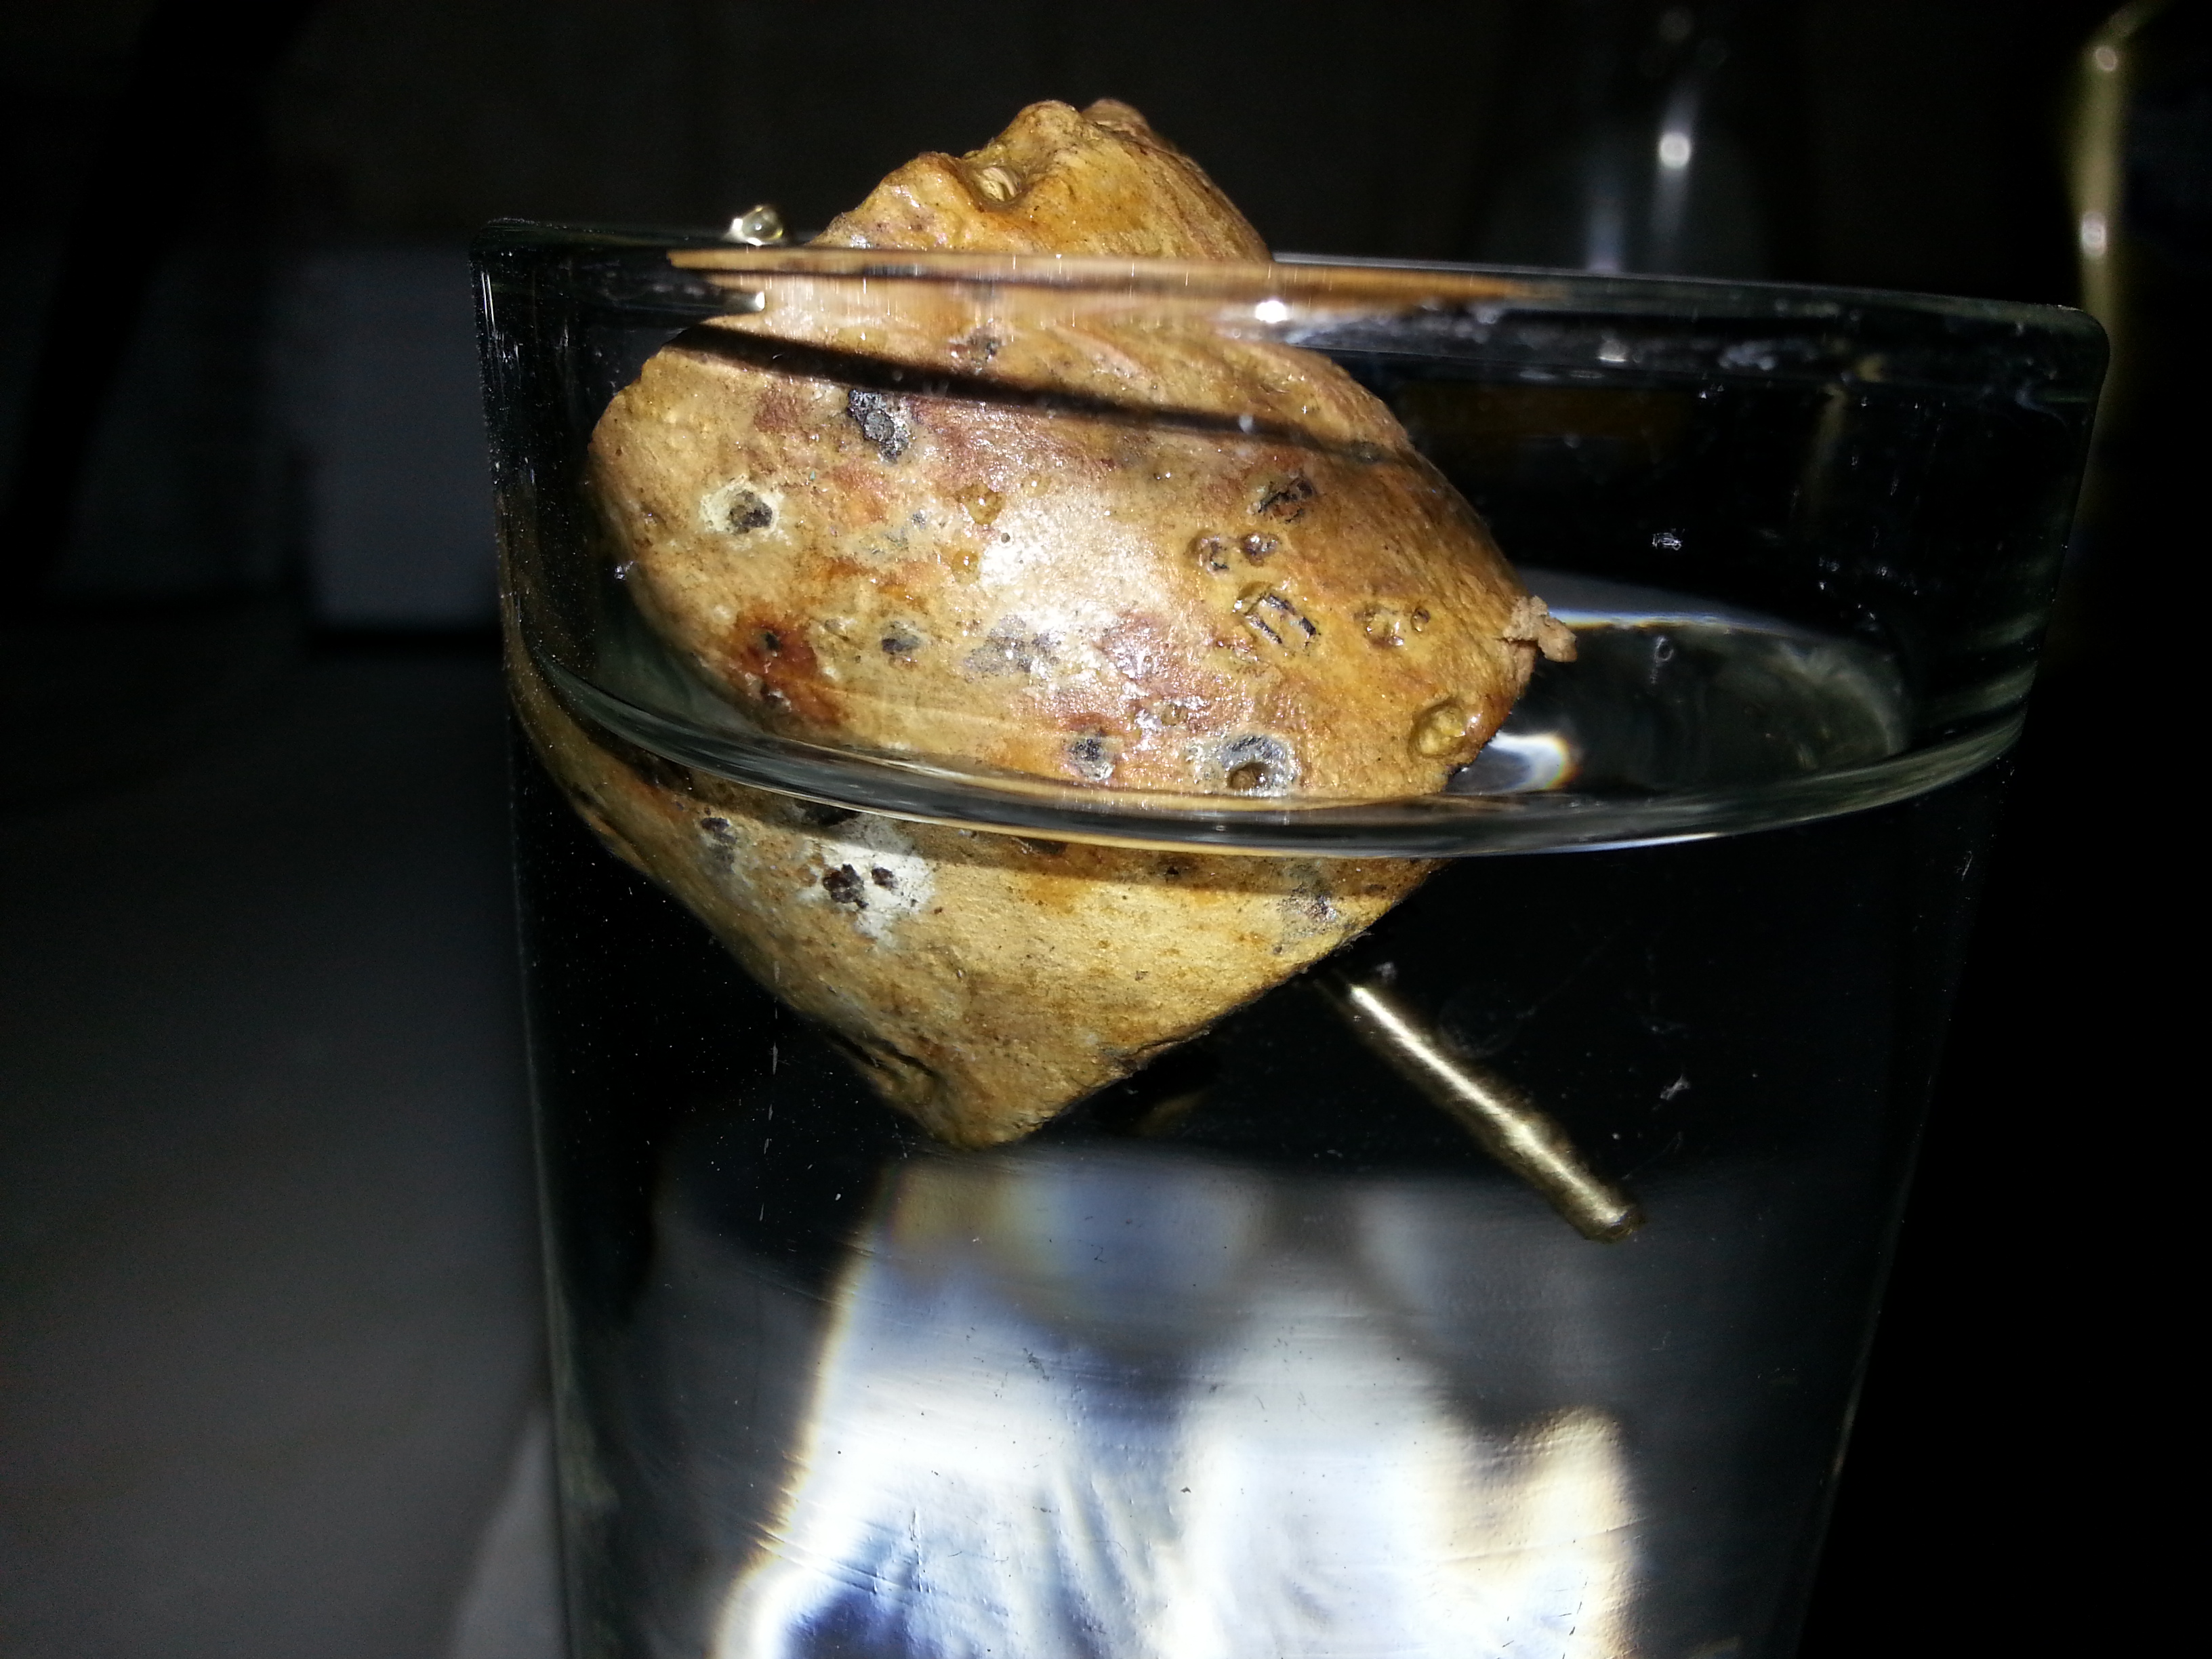
Still plenty floaty. I know that water is of higher density than gasoline but even with that in mind it looks to be buoyant enough now that it’s sealed. But it looks like it’s still crumbling a little so off to the homebrew store I go.
 July 6, 2016 at 5:58 pm #39711
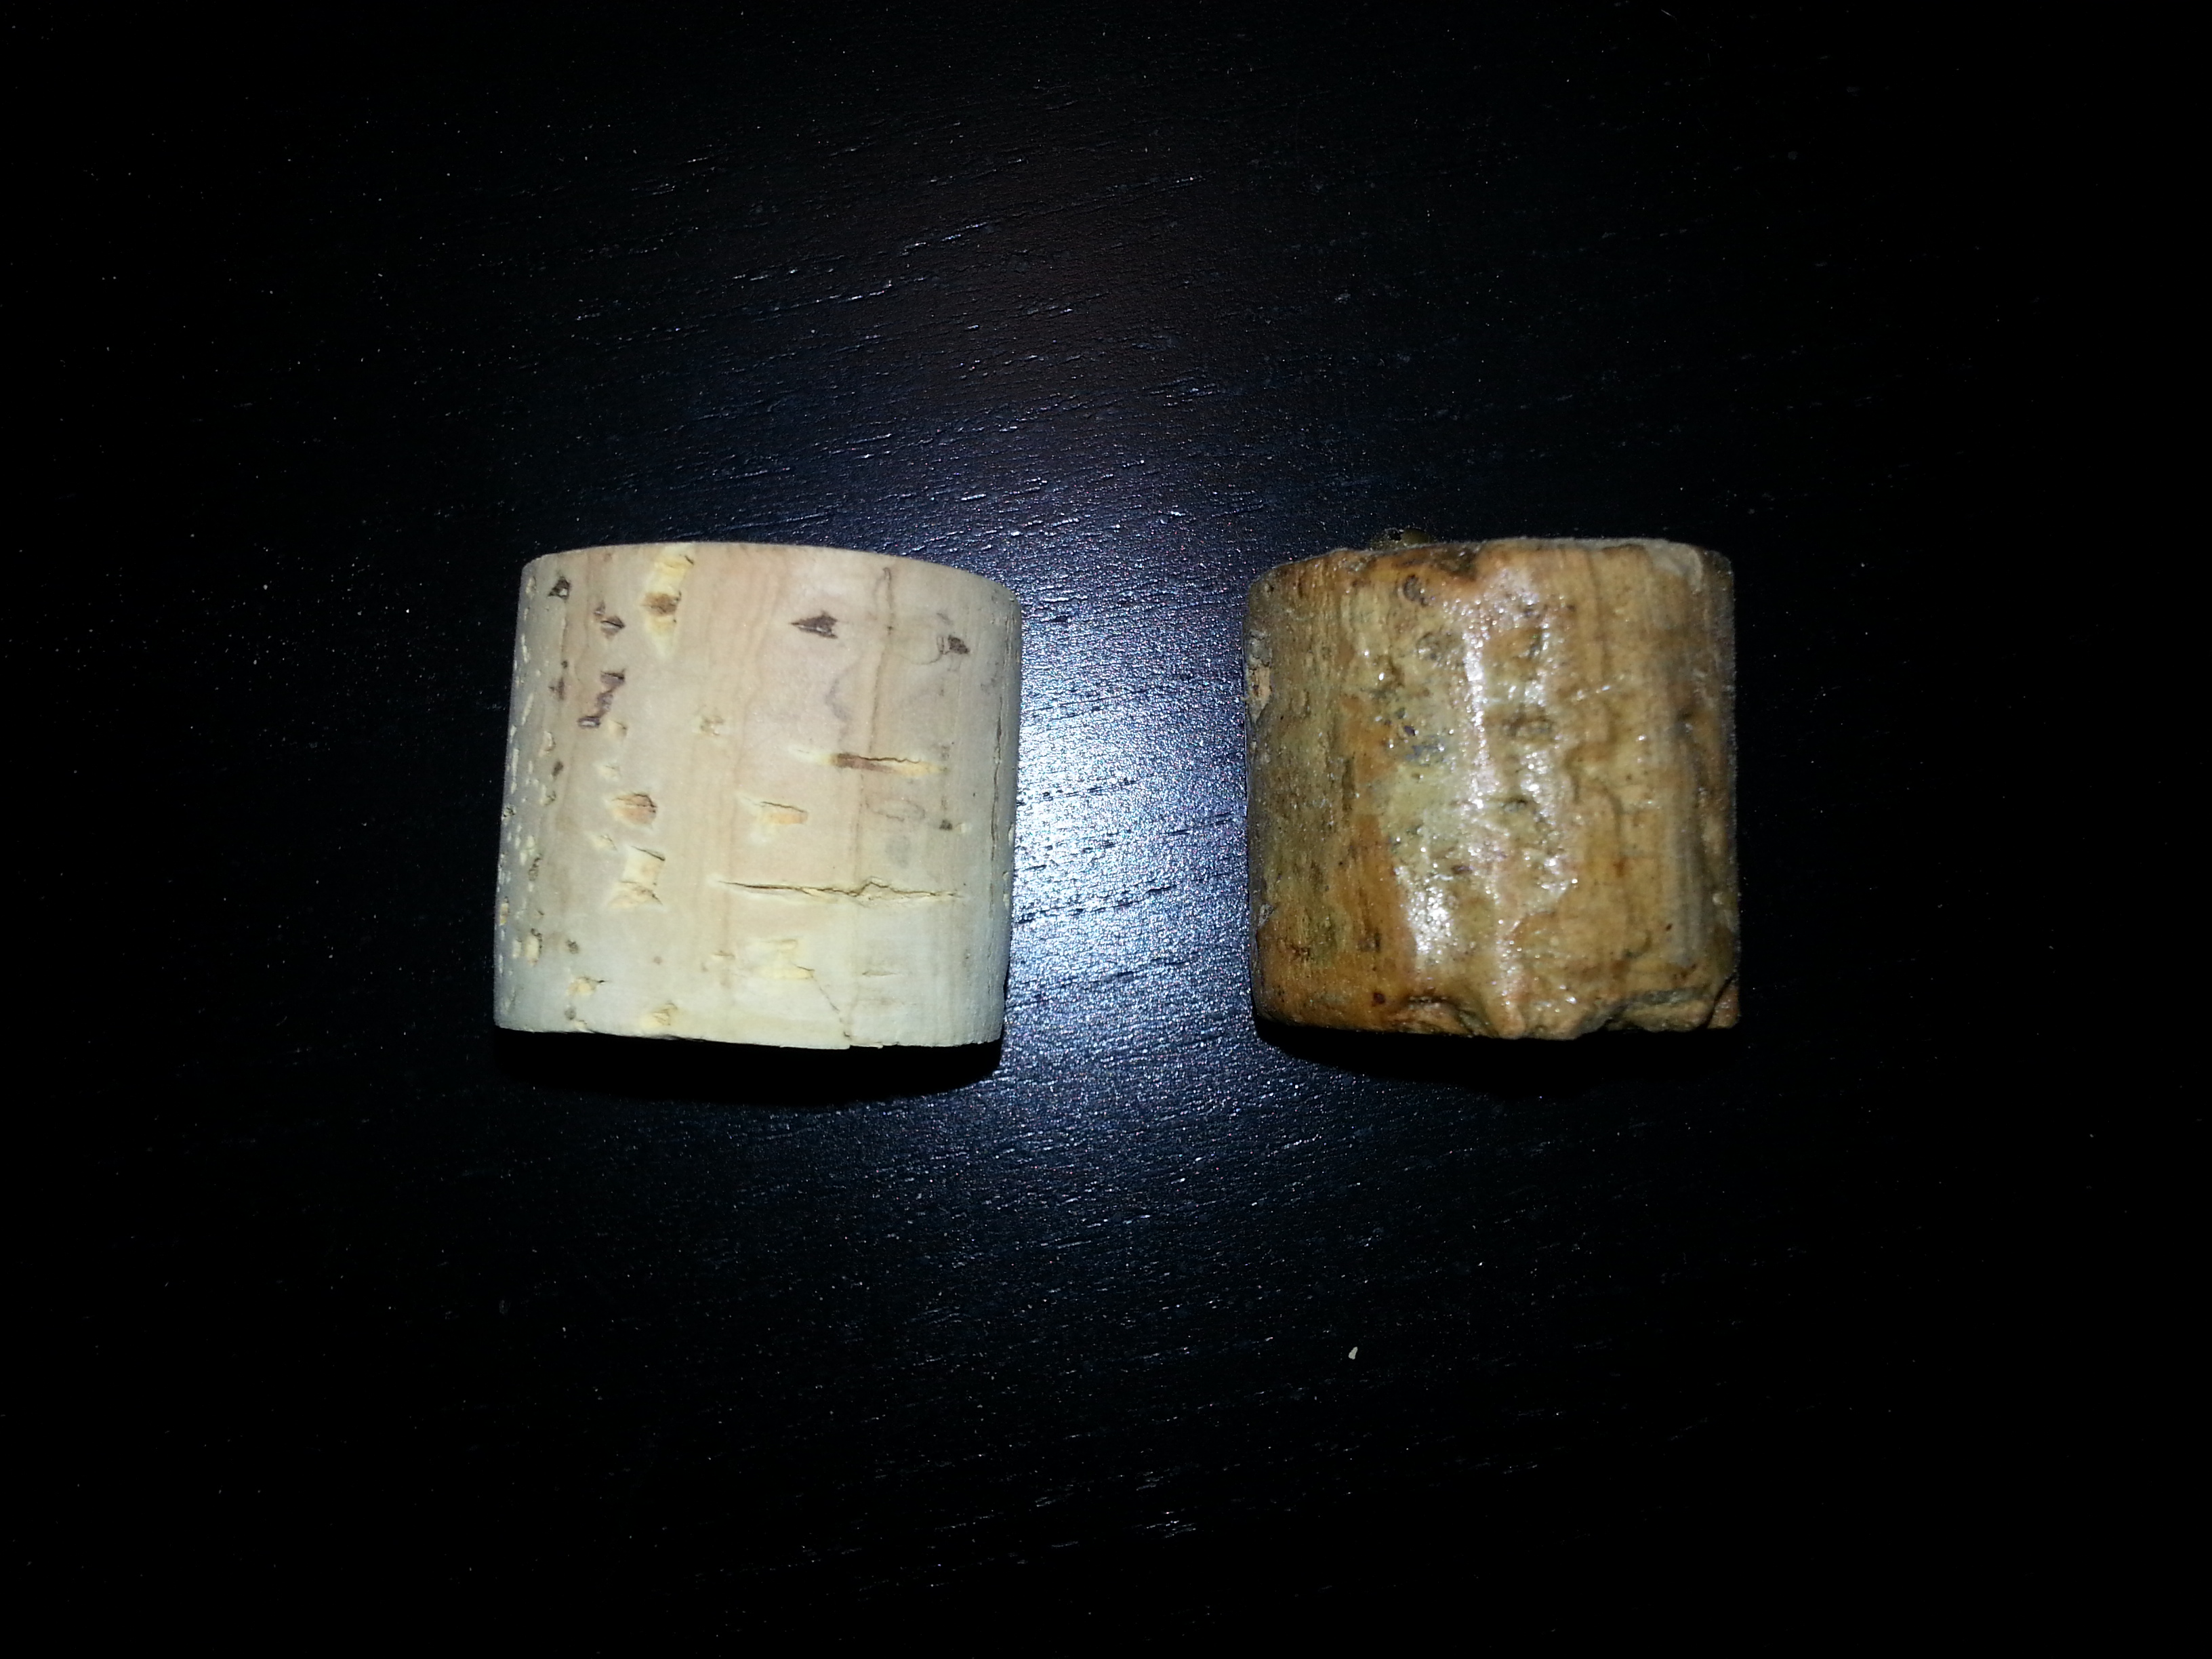
Homebrew store no longer carries natural cork carboy sized corks, so I headed to Michaels craft shop and bought two of the 1.56" x 1.5" corks. A mini hacksaw, 100 and 180 grit sandpaper, and a bead reamer to make the hole up the middle. I rounded the sharp edges after this photo and picked out the grit that was embedded in the surface. New float ready to coat in 45 minutes. 30mm x 30mm same as the old.
 July 6, 2016 at 6:49 pm #39713
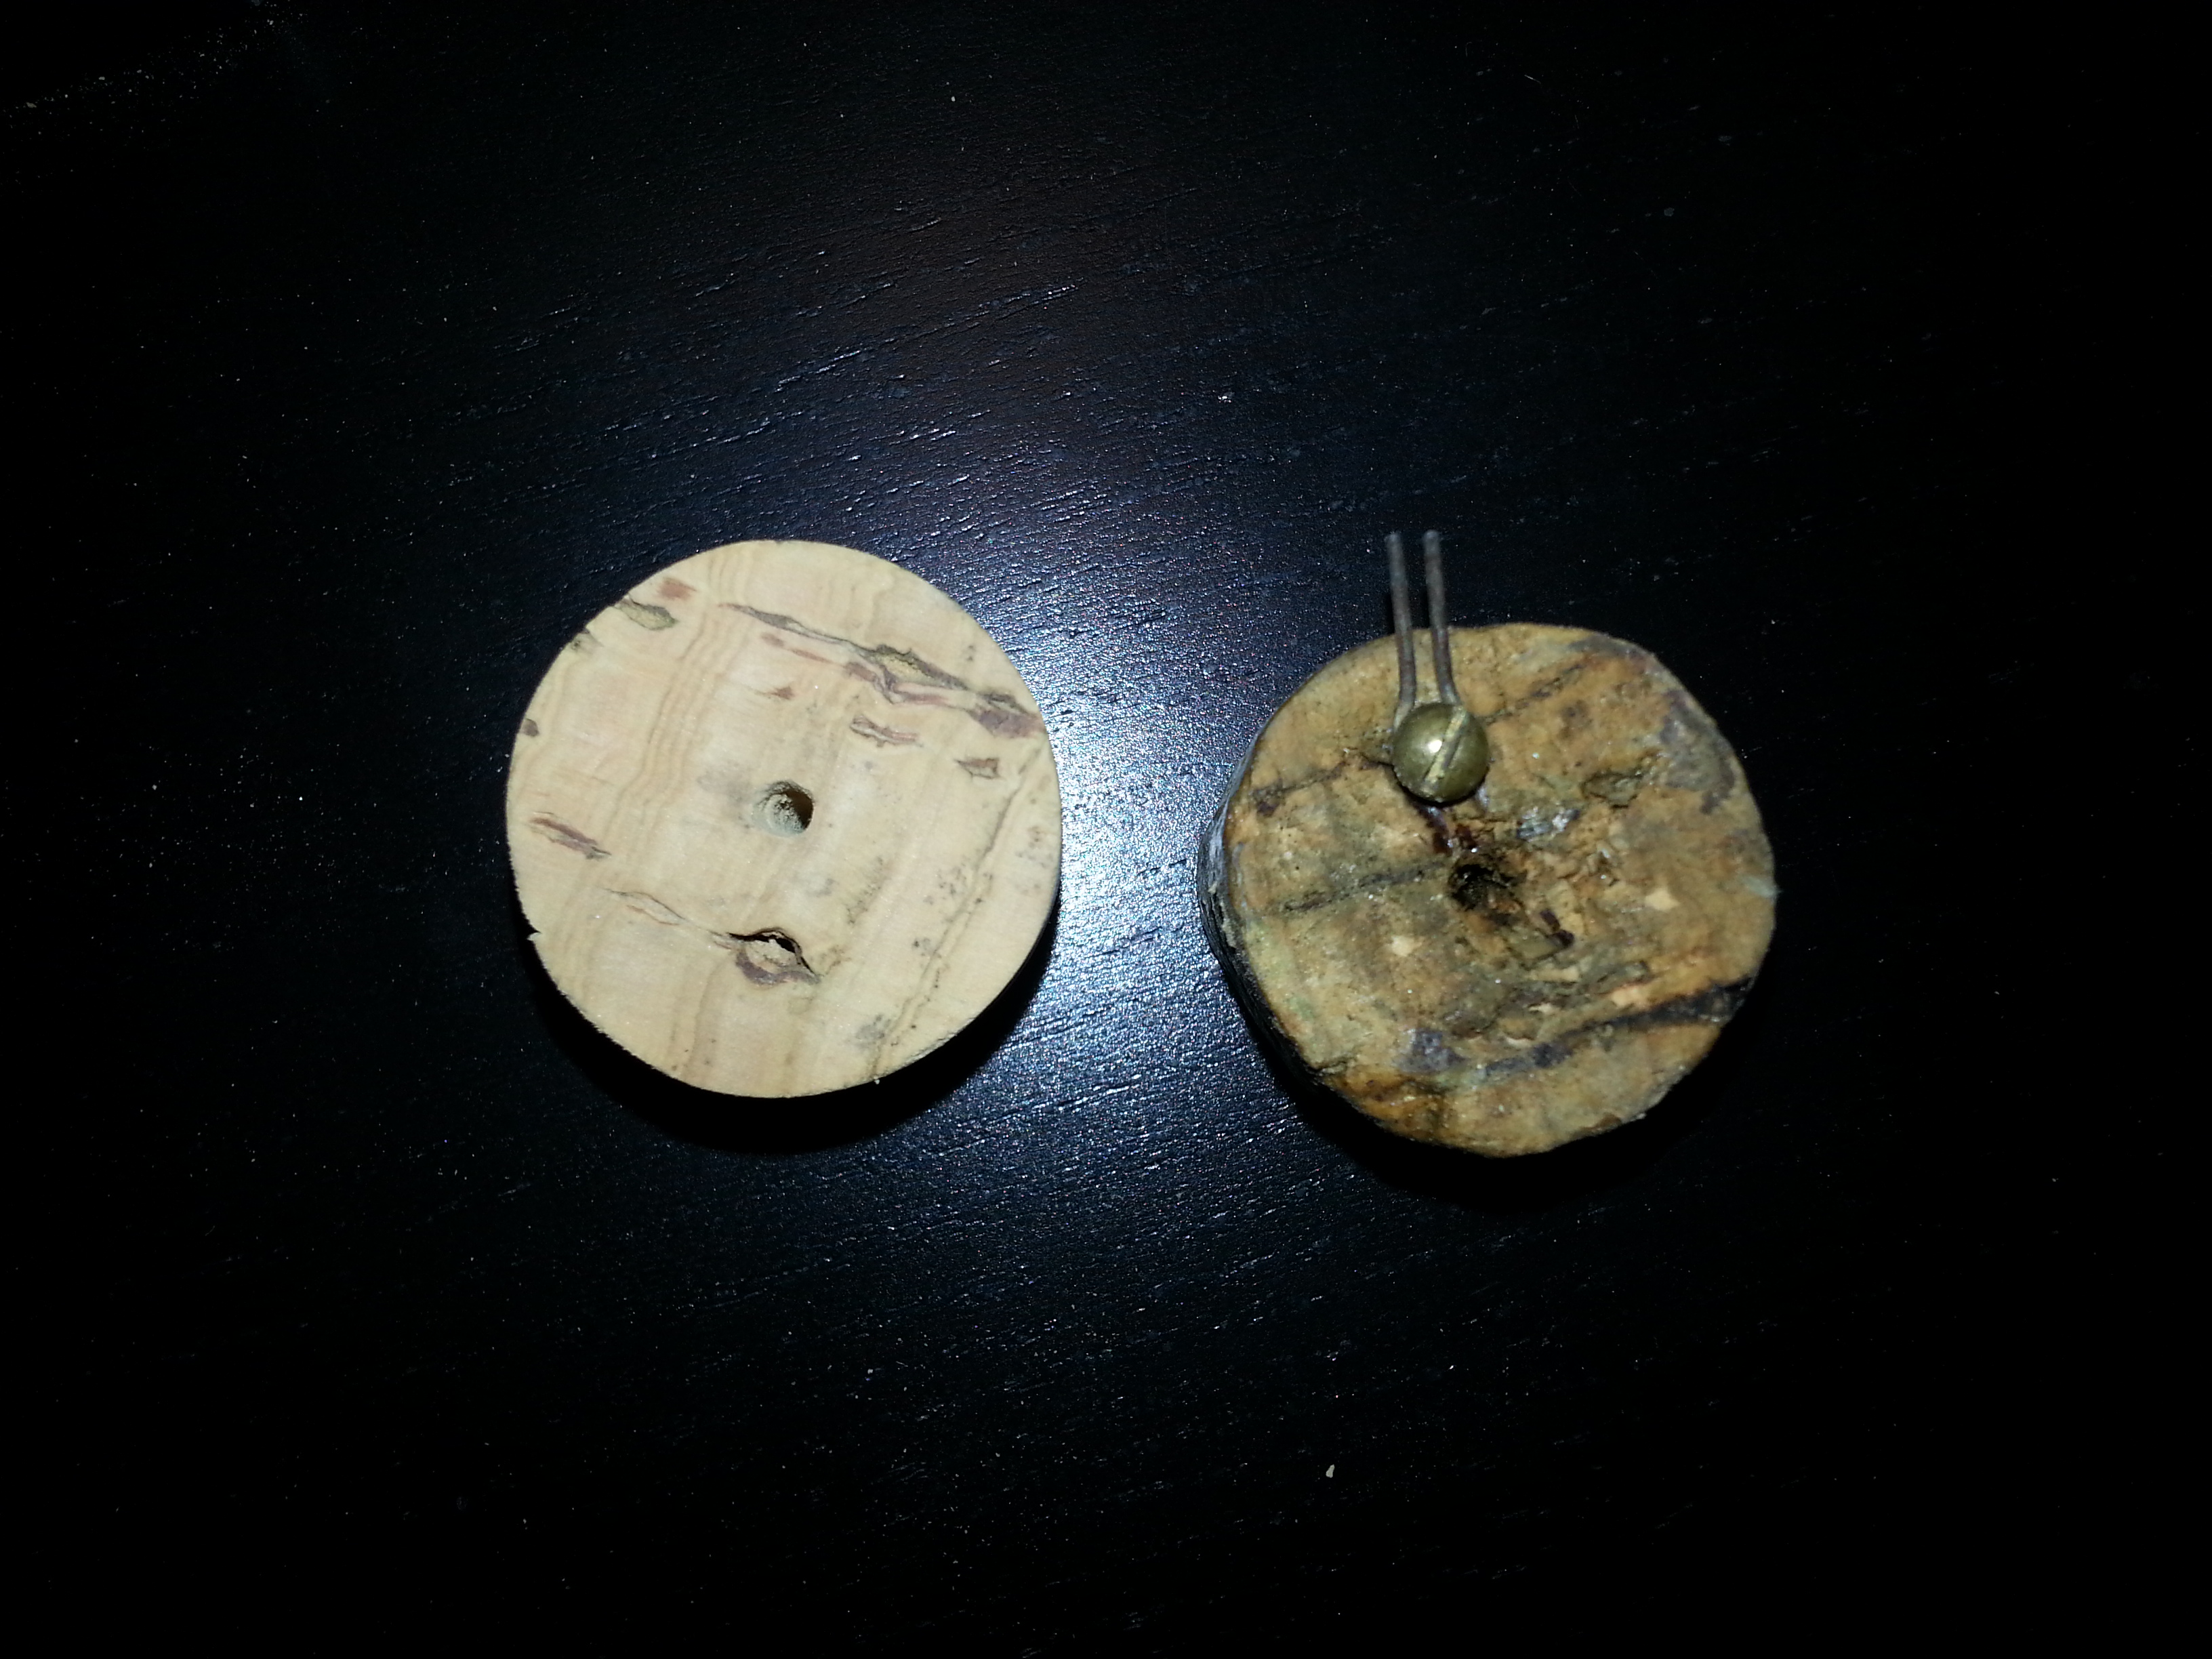
Setting the cork only needs to go to the level line on the needle. Easy peasy.
July 6, 2016 at 7:13 pm #39716New cork with two coats floats at the same level as the old (phew!) So one more coat, some cure time, and I’ll reassemble.
July 6, 2016 at 8:41 pm #39726And…the bead reamer set had a reamer with the exact profile of the seat. I used it with lube to gently dress the seat and then cleaned the seat with acetone. I put the bare needle in from the bottom, pulled it up, and blew into the screw hole below the needle. No air passed, so crossing my fingers that the seal is as good with the float!
-
AuthorPosts
- You must be logged in to reply to this topic.