Home › Forum › Ask A Member › Warped cast aluminum tank flange
- This topic has 16 replies, 7 voices, and was last updated 6 years, 1 month ago by
green-thumbs.
-
AuthorPosts
-
February 17, 2018 at 11:11 pm #9246
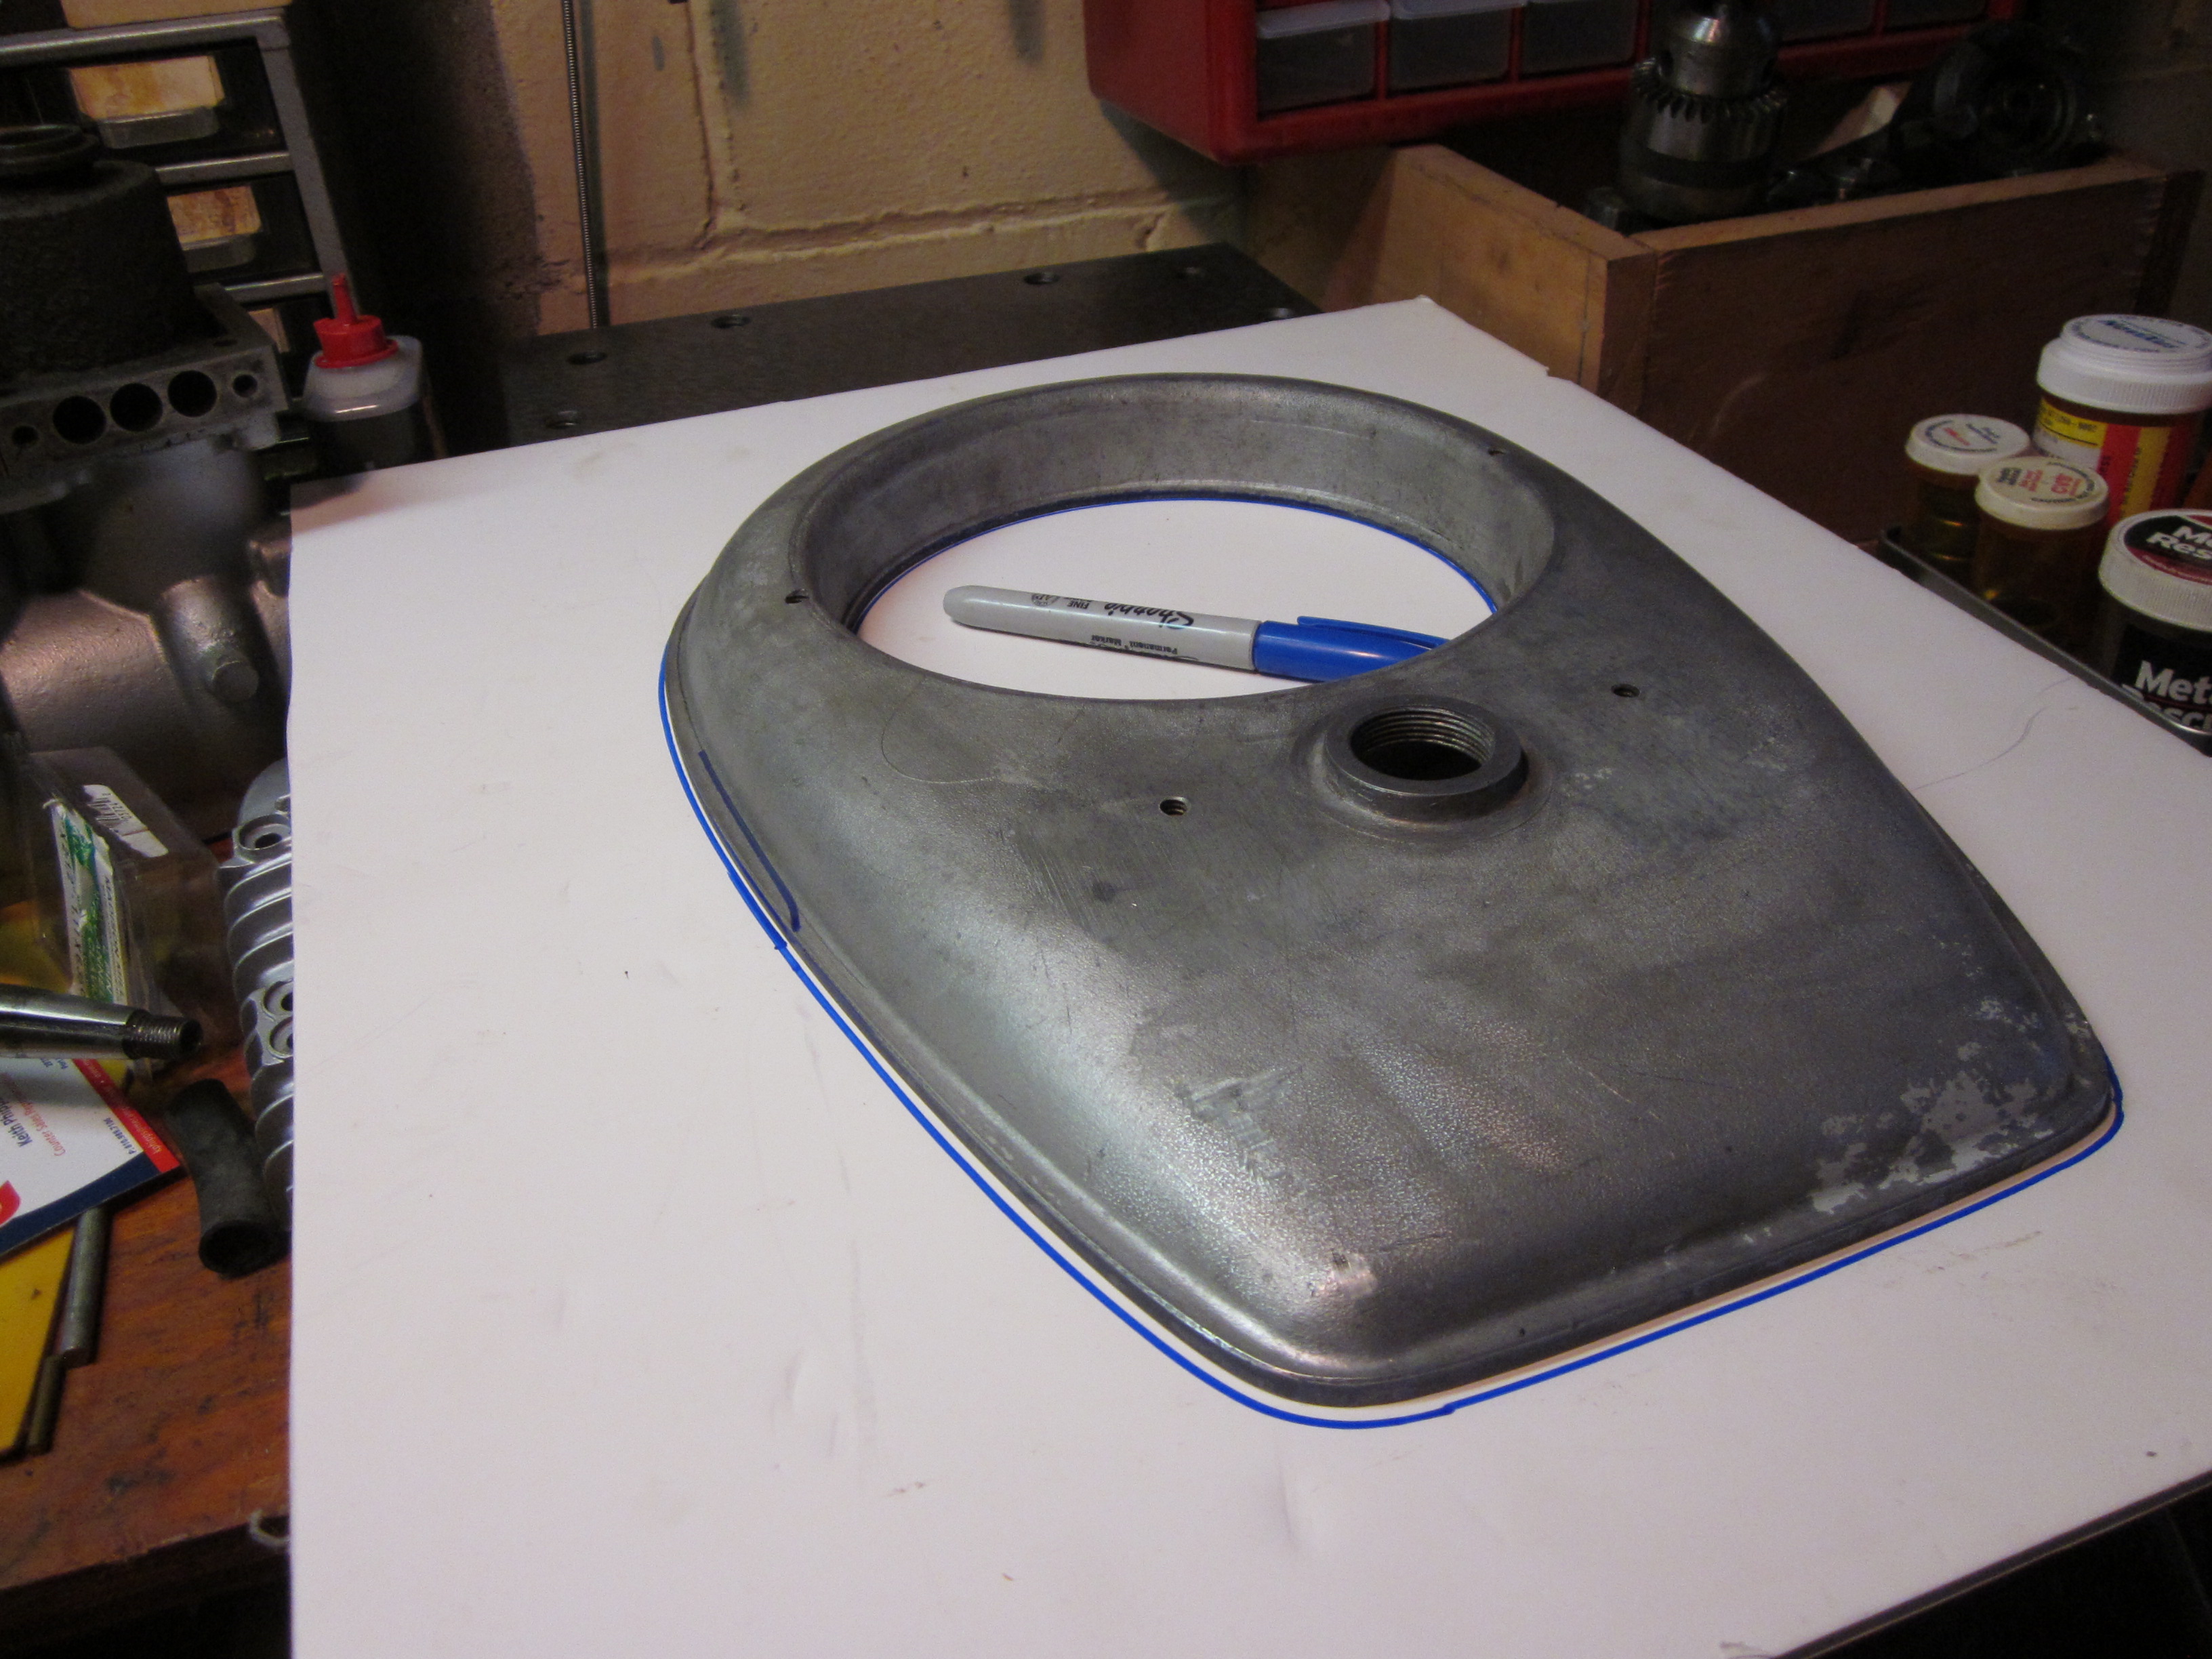
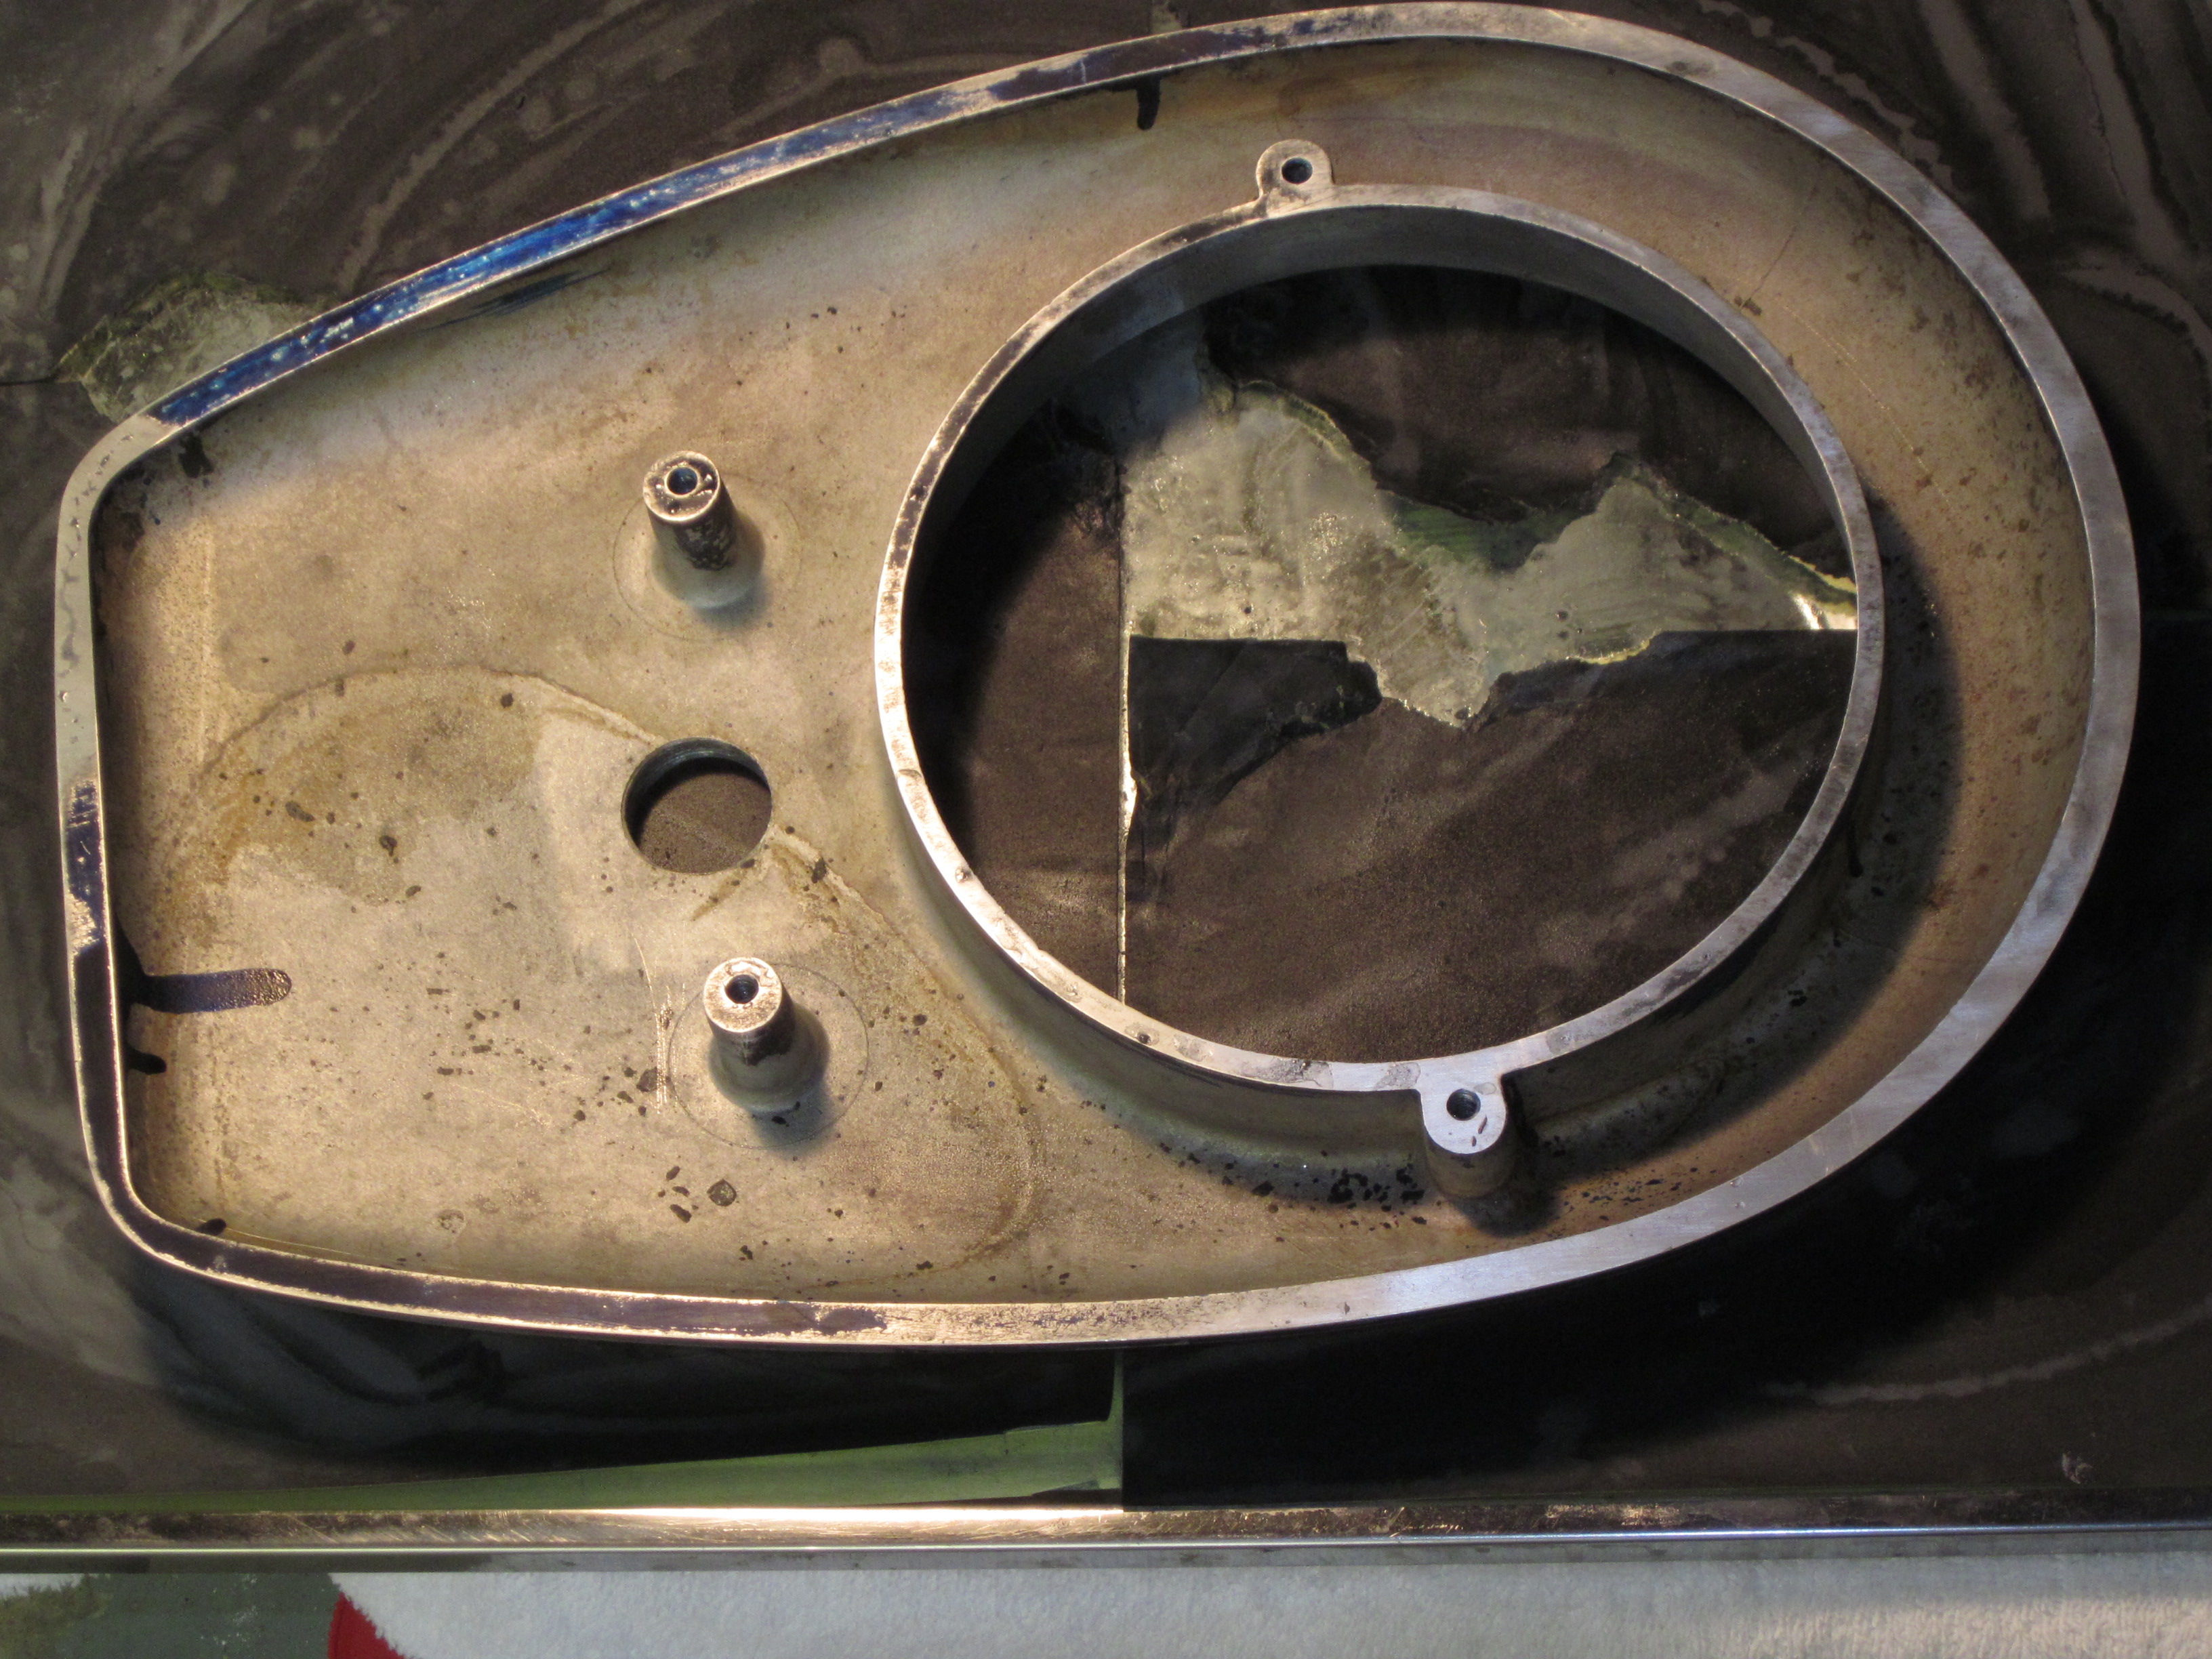
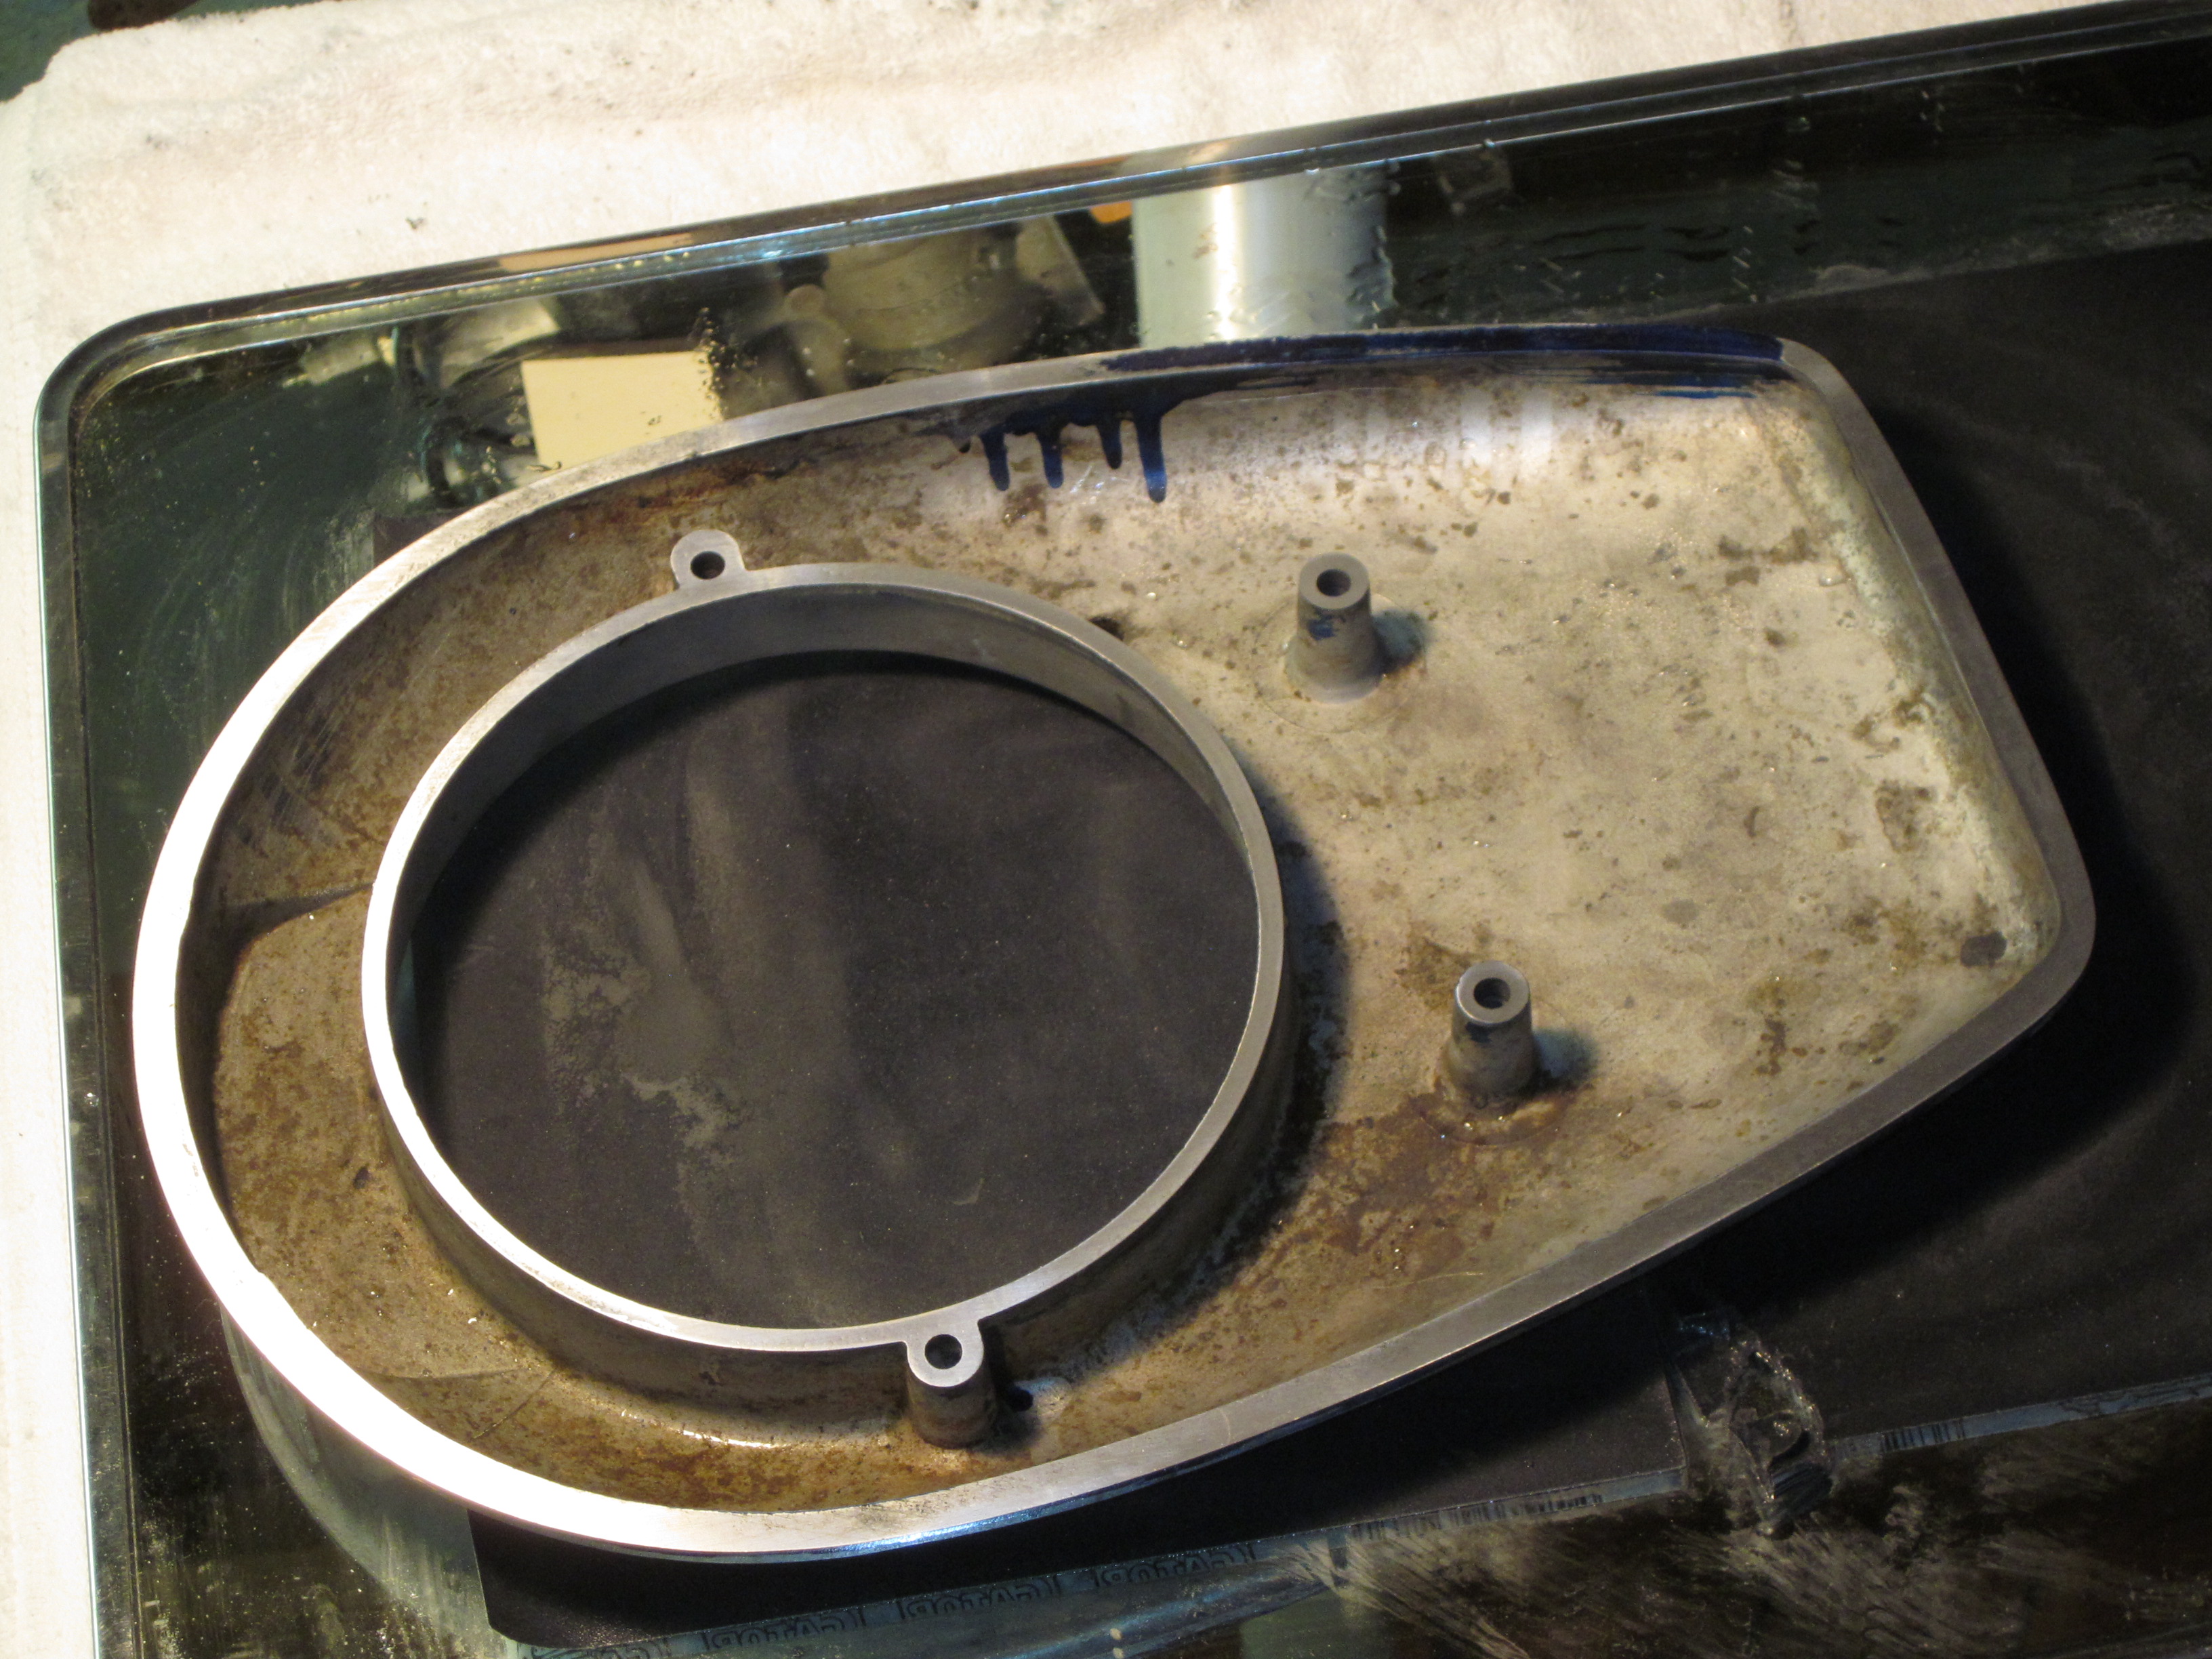
I have an early Kiekhaefer single cast aluminum tan with a gap in seam between top and bottom halves. The top half flange is the problem. I am preparing to lap or sand flange to eliminate gap. Before beginning, has any one done this, any suggestions and how did it work out?
Tank on surface plate to check gap with feeler gage
Map of gap between flange and plate .004" feeler gauge will fit into gap
A few limited high points and lots of areas with wide gap.
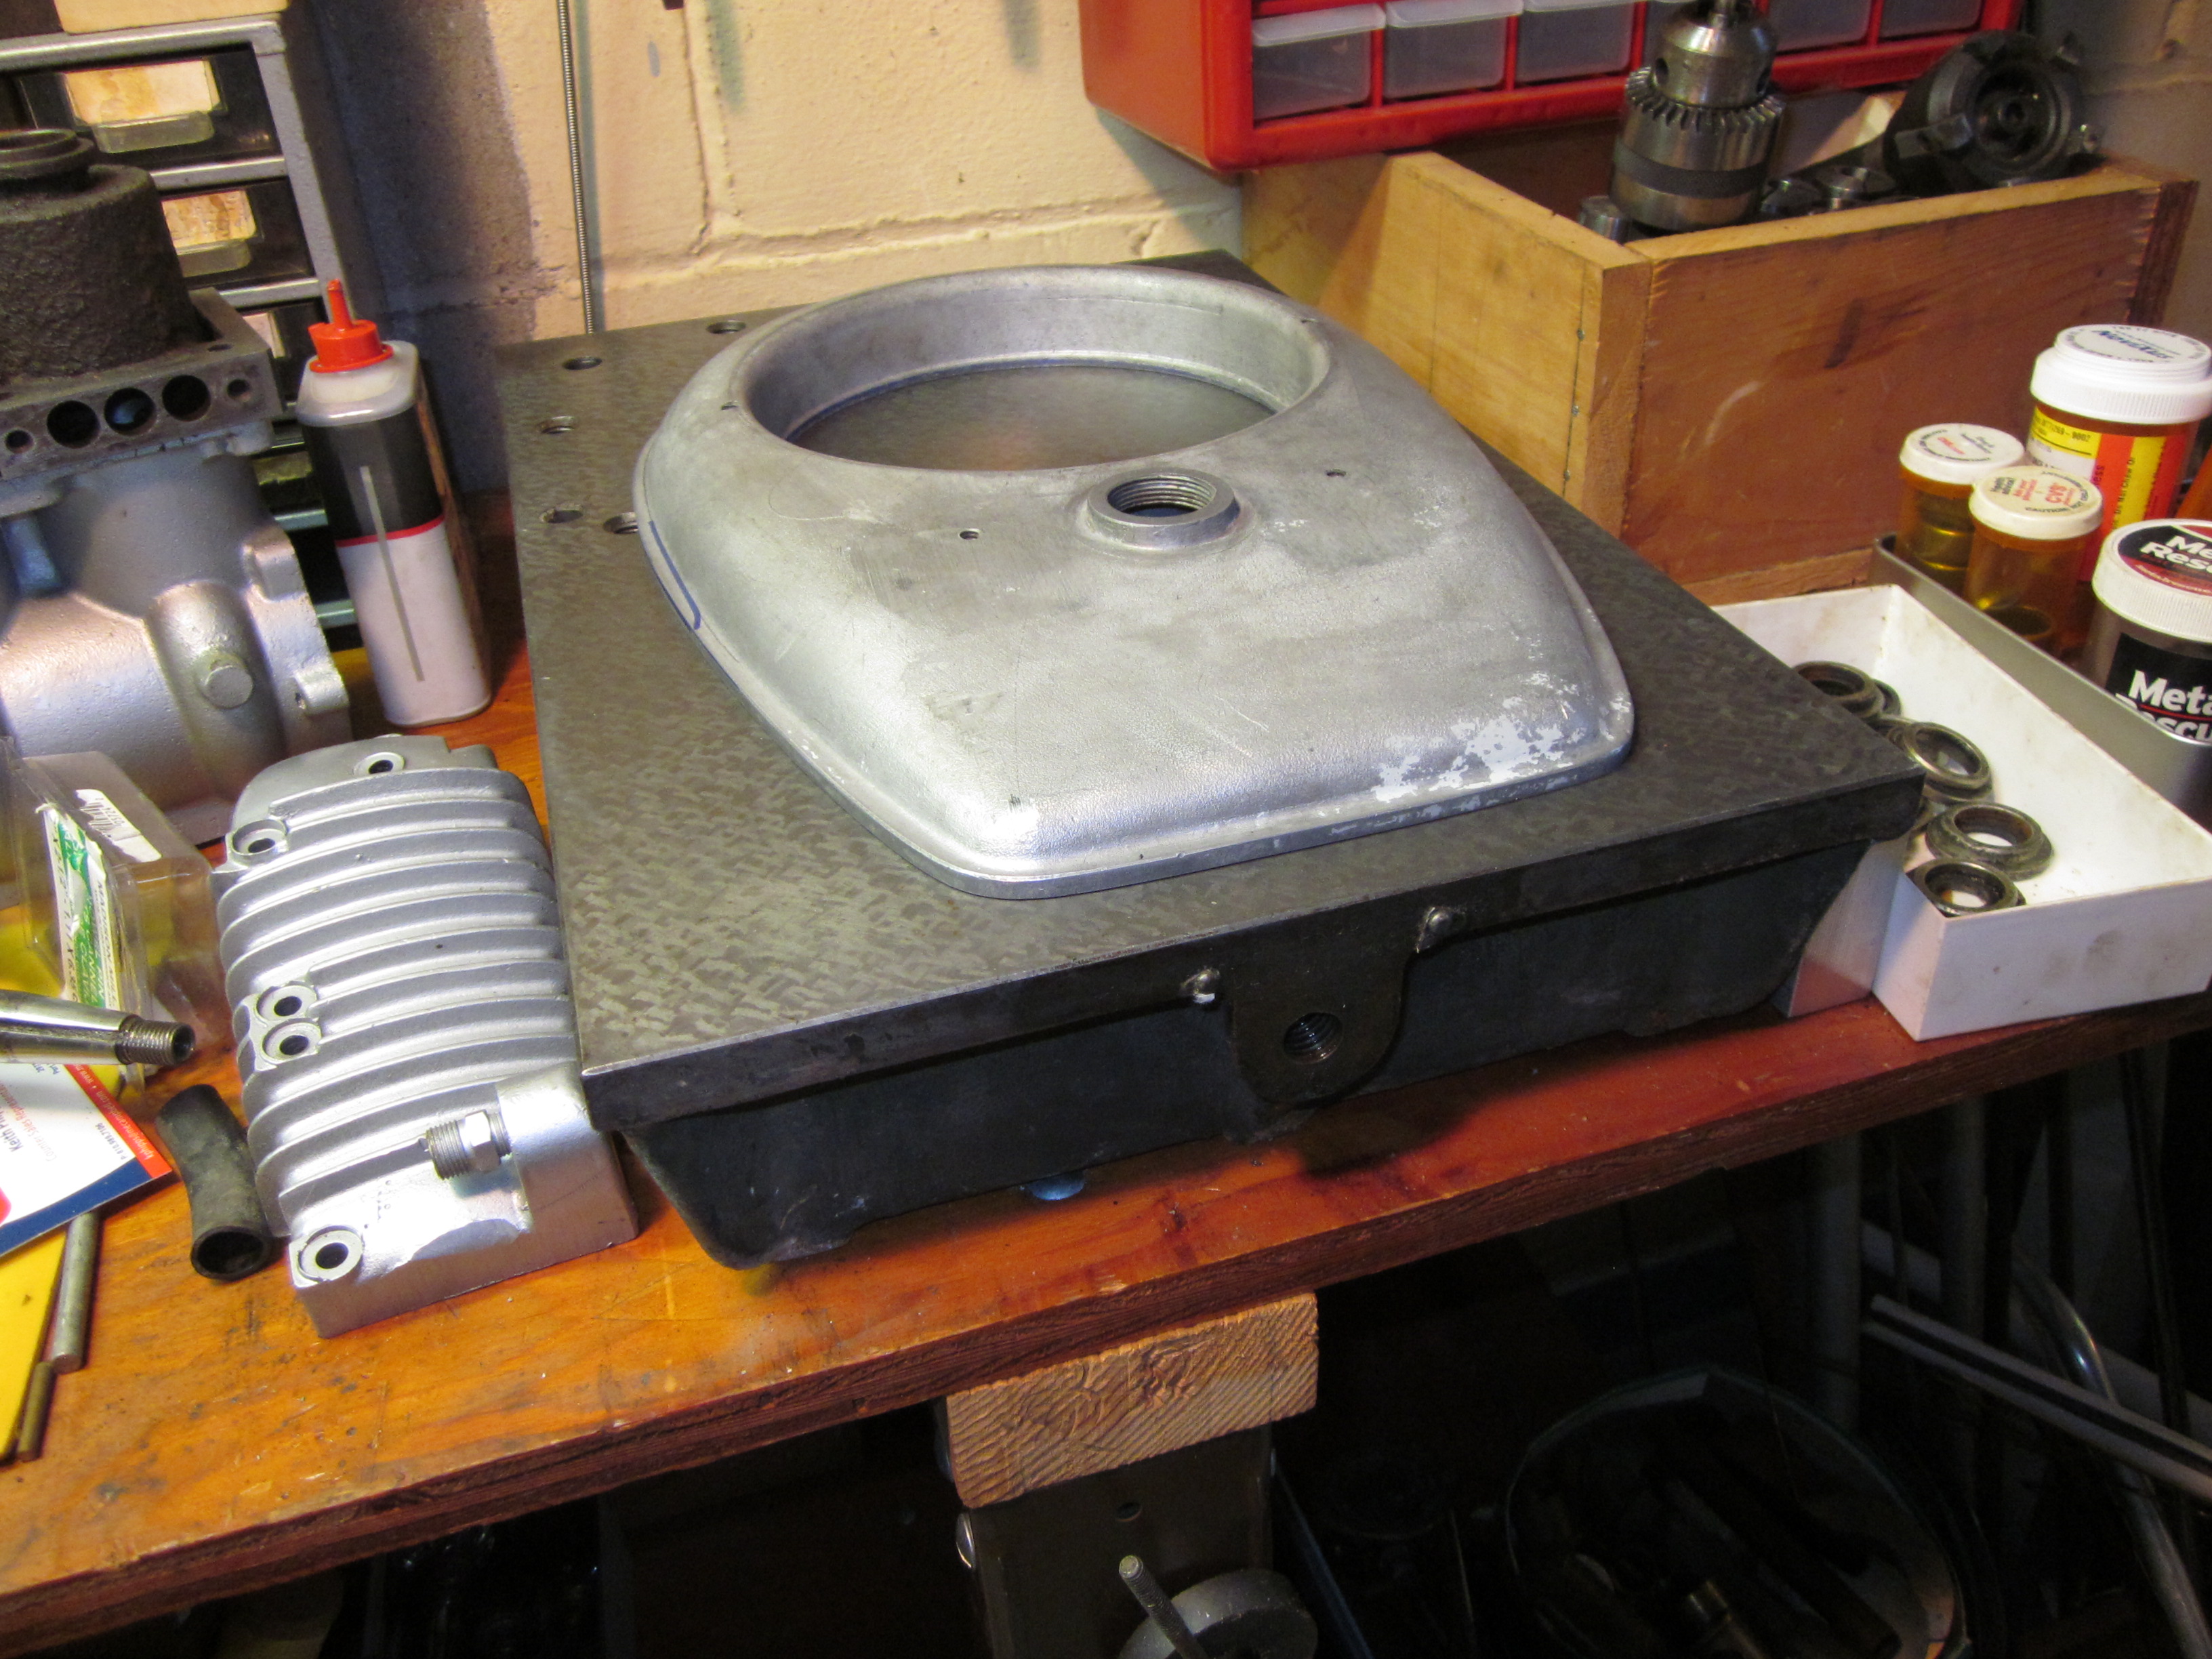
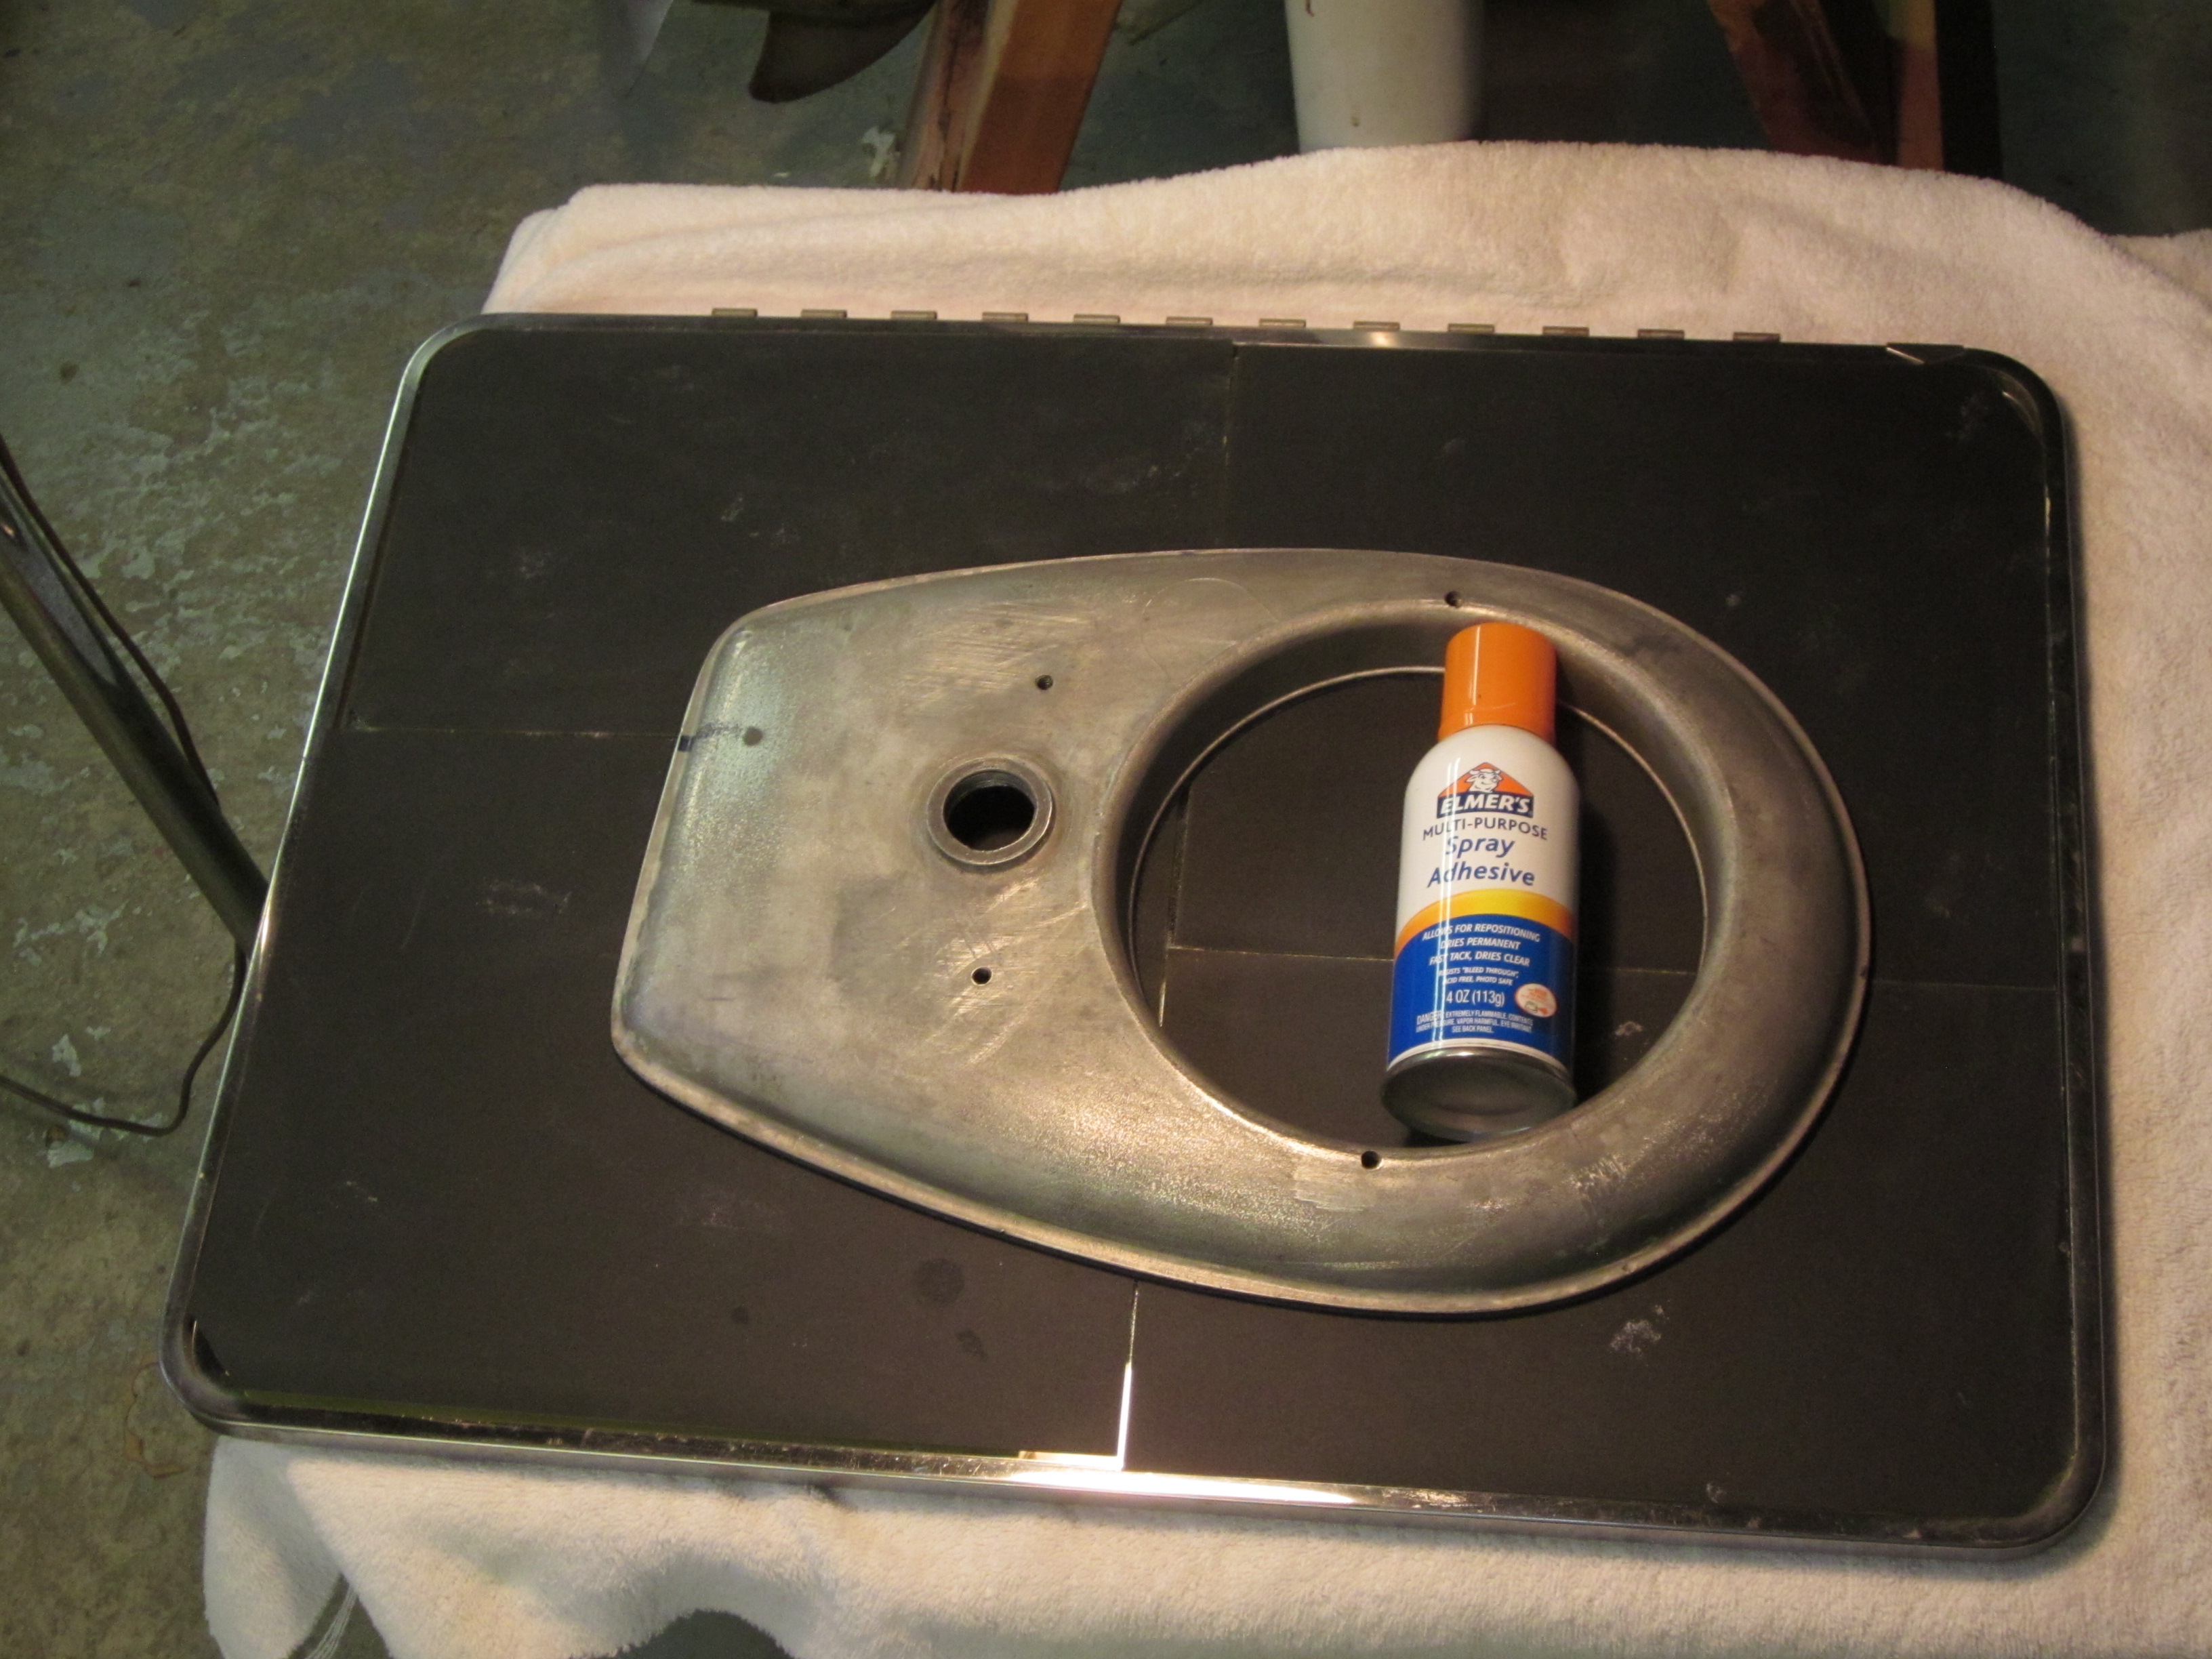
This is where I am at moment.Surface plate is ONLY to be used for checking NOT for abrasive processes.
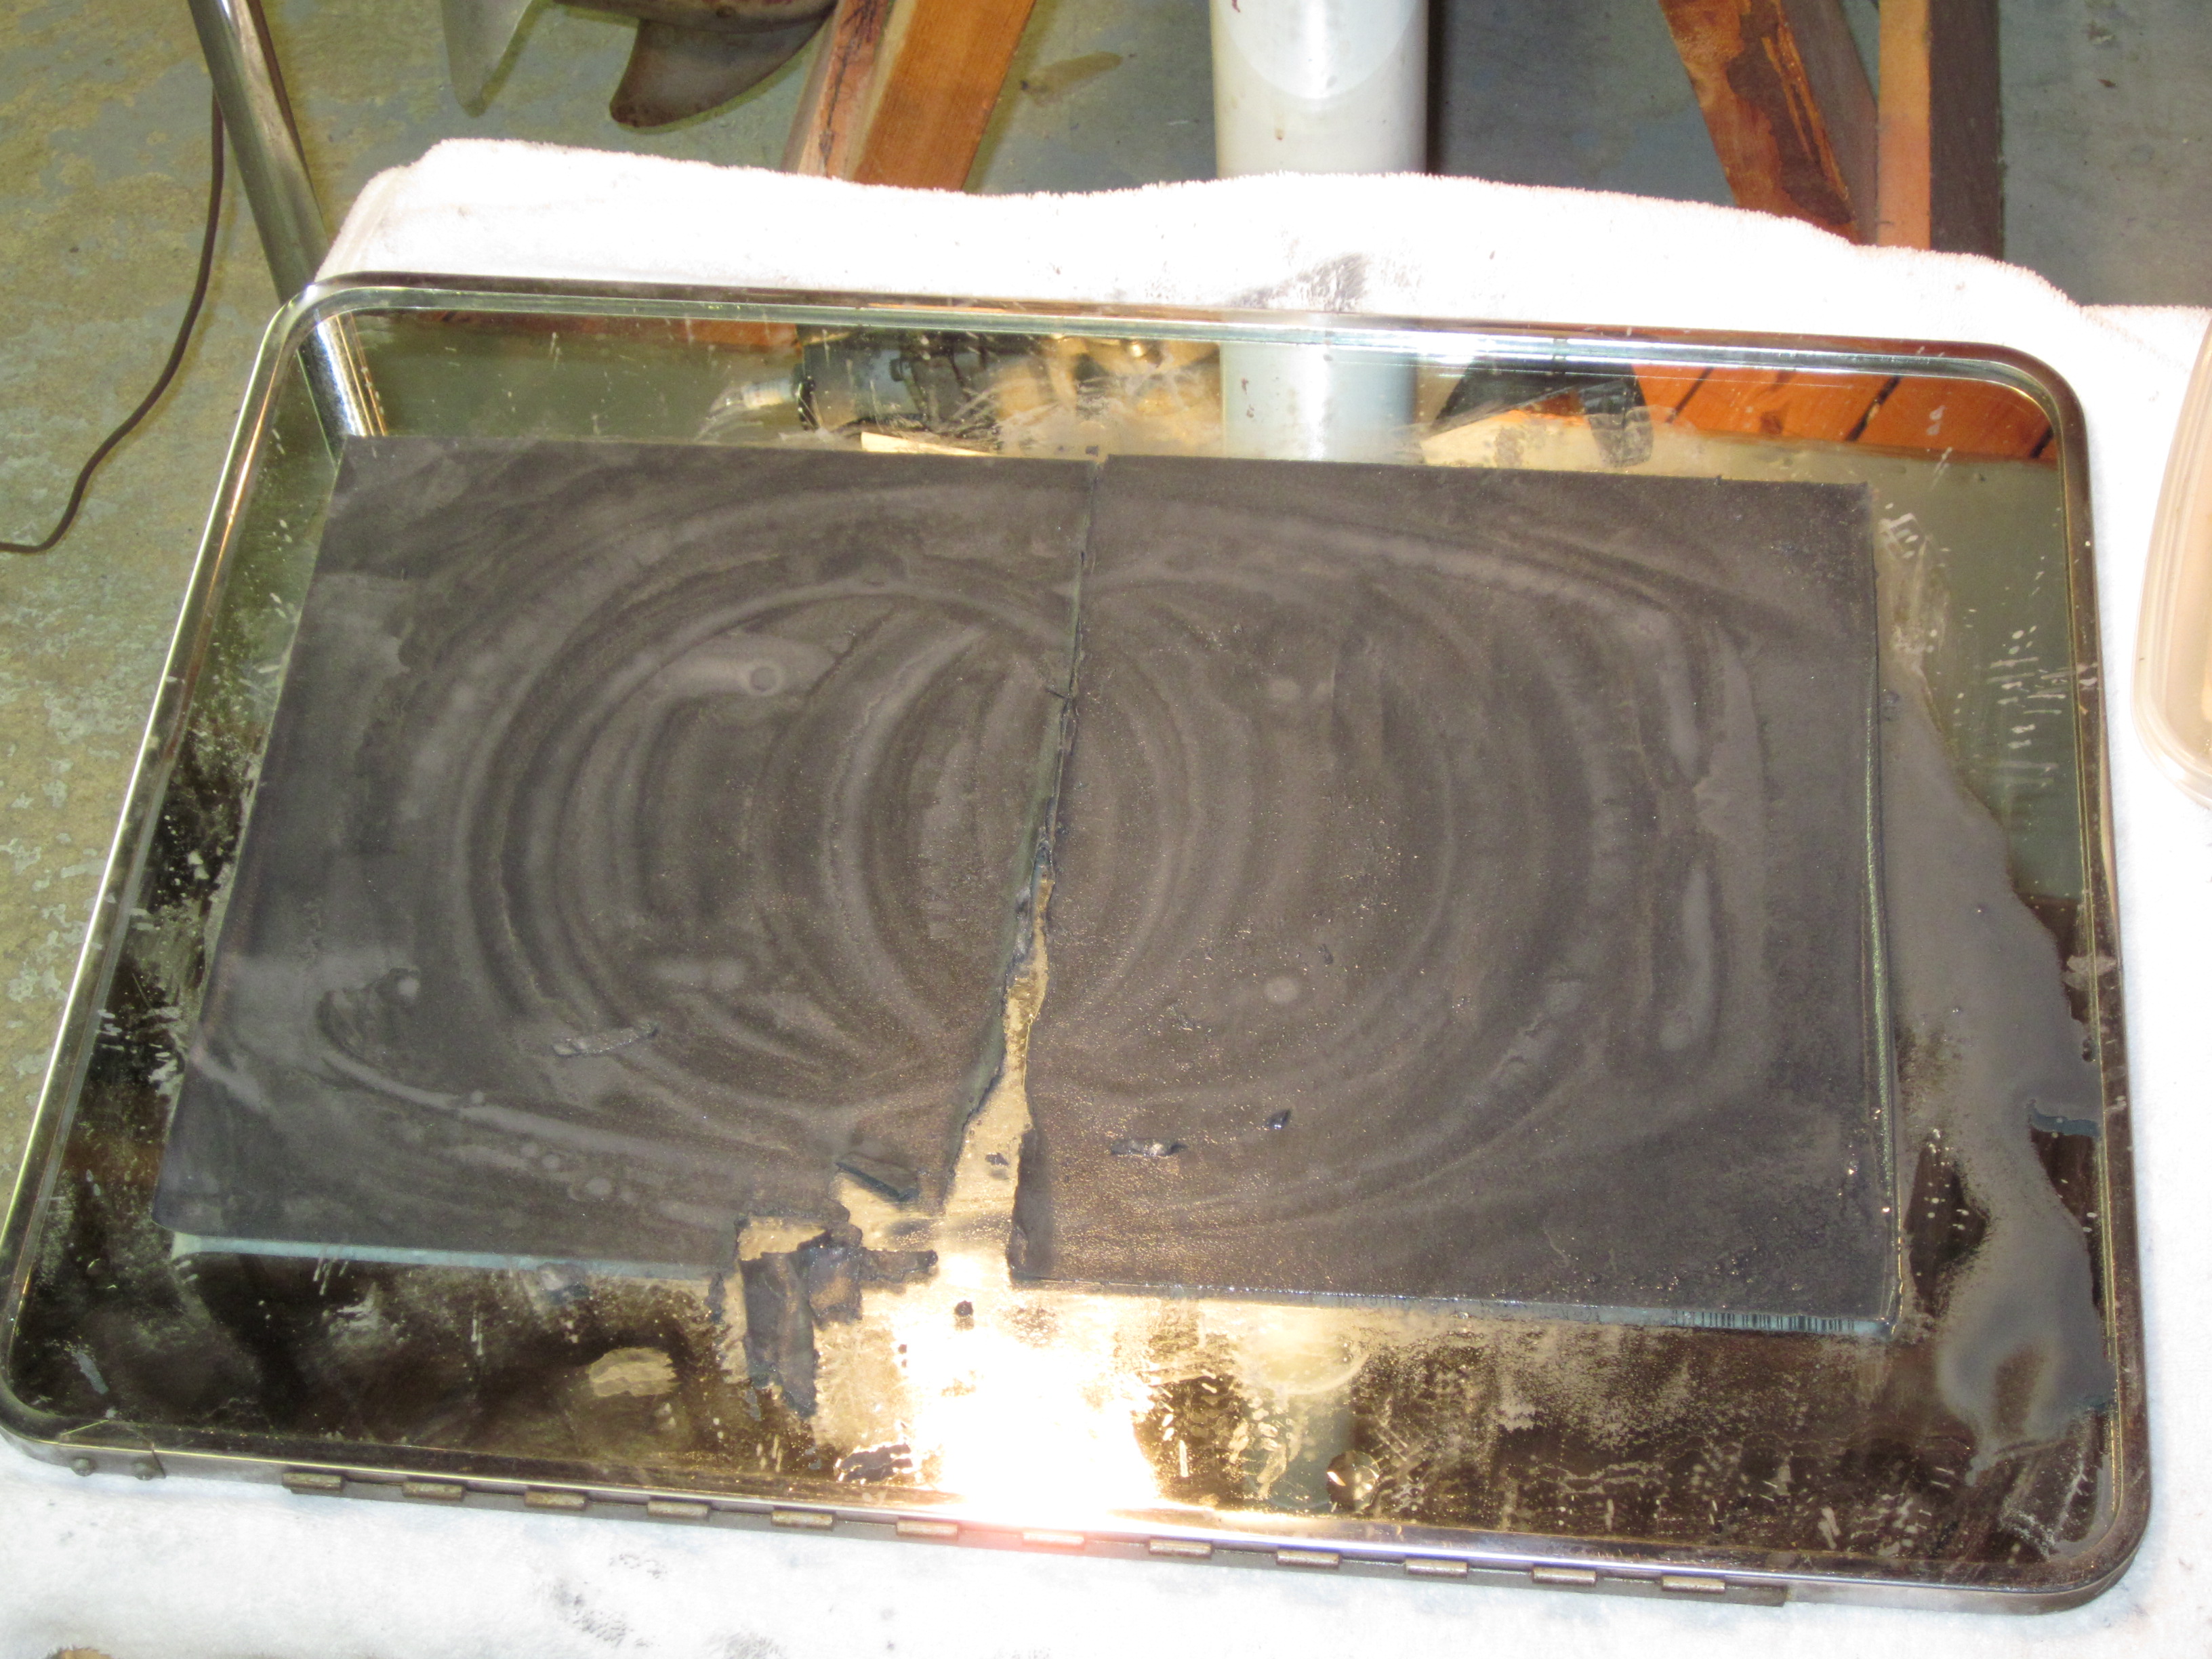
Got it years ago and this is second time I have used it.Dug out a medicine cabinet door/mirror. Plan is to attach wet/dry 400 grit to mirror with
spray adhesive. We will see how that works or does not work.
A surface with less than 0.001" gap over length and width is goal.
Gasket material is in 0.015" or 0.030" so minor variations and slightly rough surface
of flange should be acceptable.
Louis
Attachments:

 February 18, 2018 at 4:17 am #71215
I would tape sand paper to the surface plate and sand it flat. It wont hert the plate.
February 18, 2018 at 9:31 am #71216Usually those are quite warped by the time you get them apart. I’m as cheap as anybody but it’s a lot of work. I take mine to an automotive machine shop. The guy puts the parts on a giant, horizontal belt sander, used to true up heads and other parts. He’s done in five minutes, they are perfect and he charges me $20. Time=money=sweat. I gotta say, though, that if you’re only out by the .004" in your picture, even I might try it myself.
Long live American manufacturing!
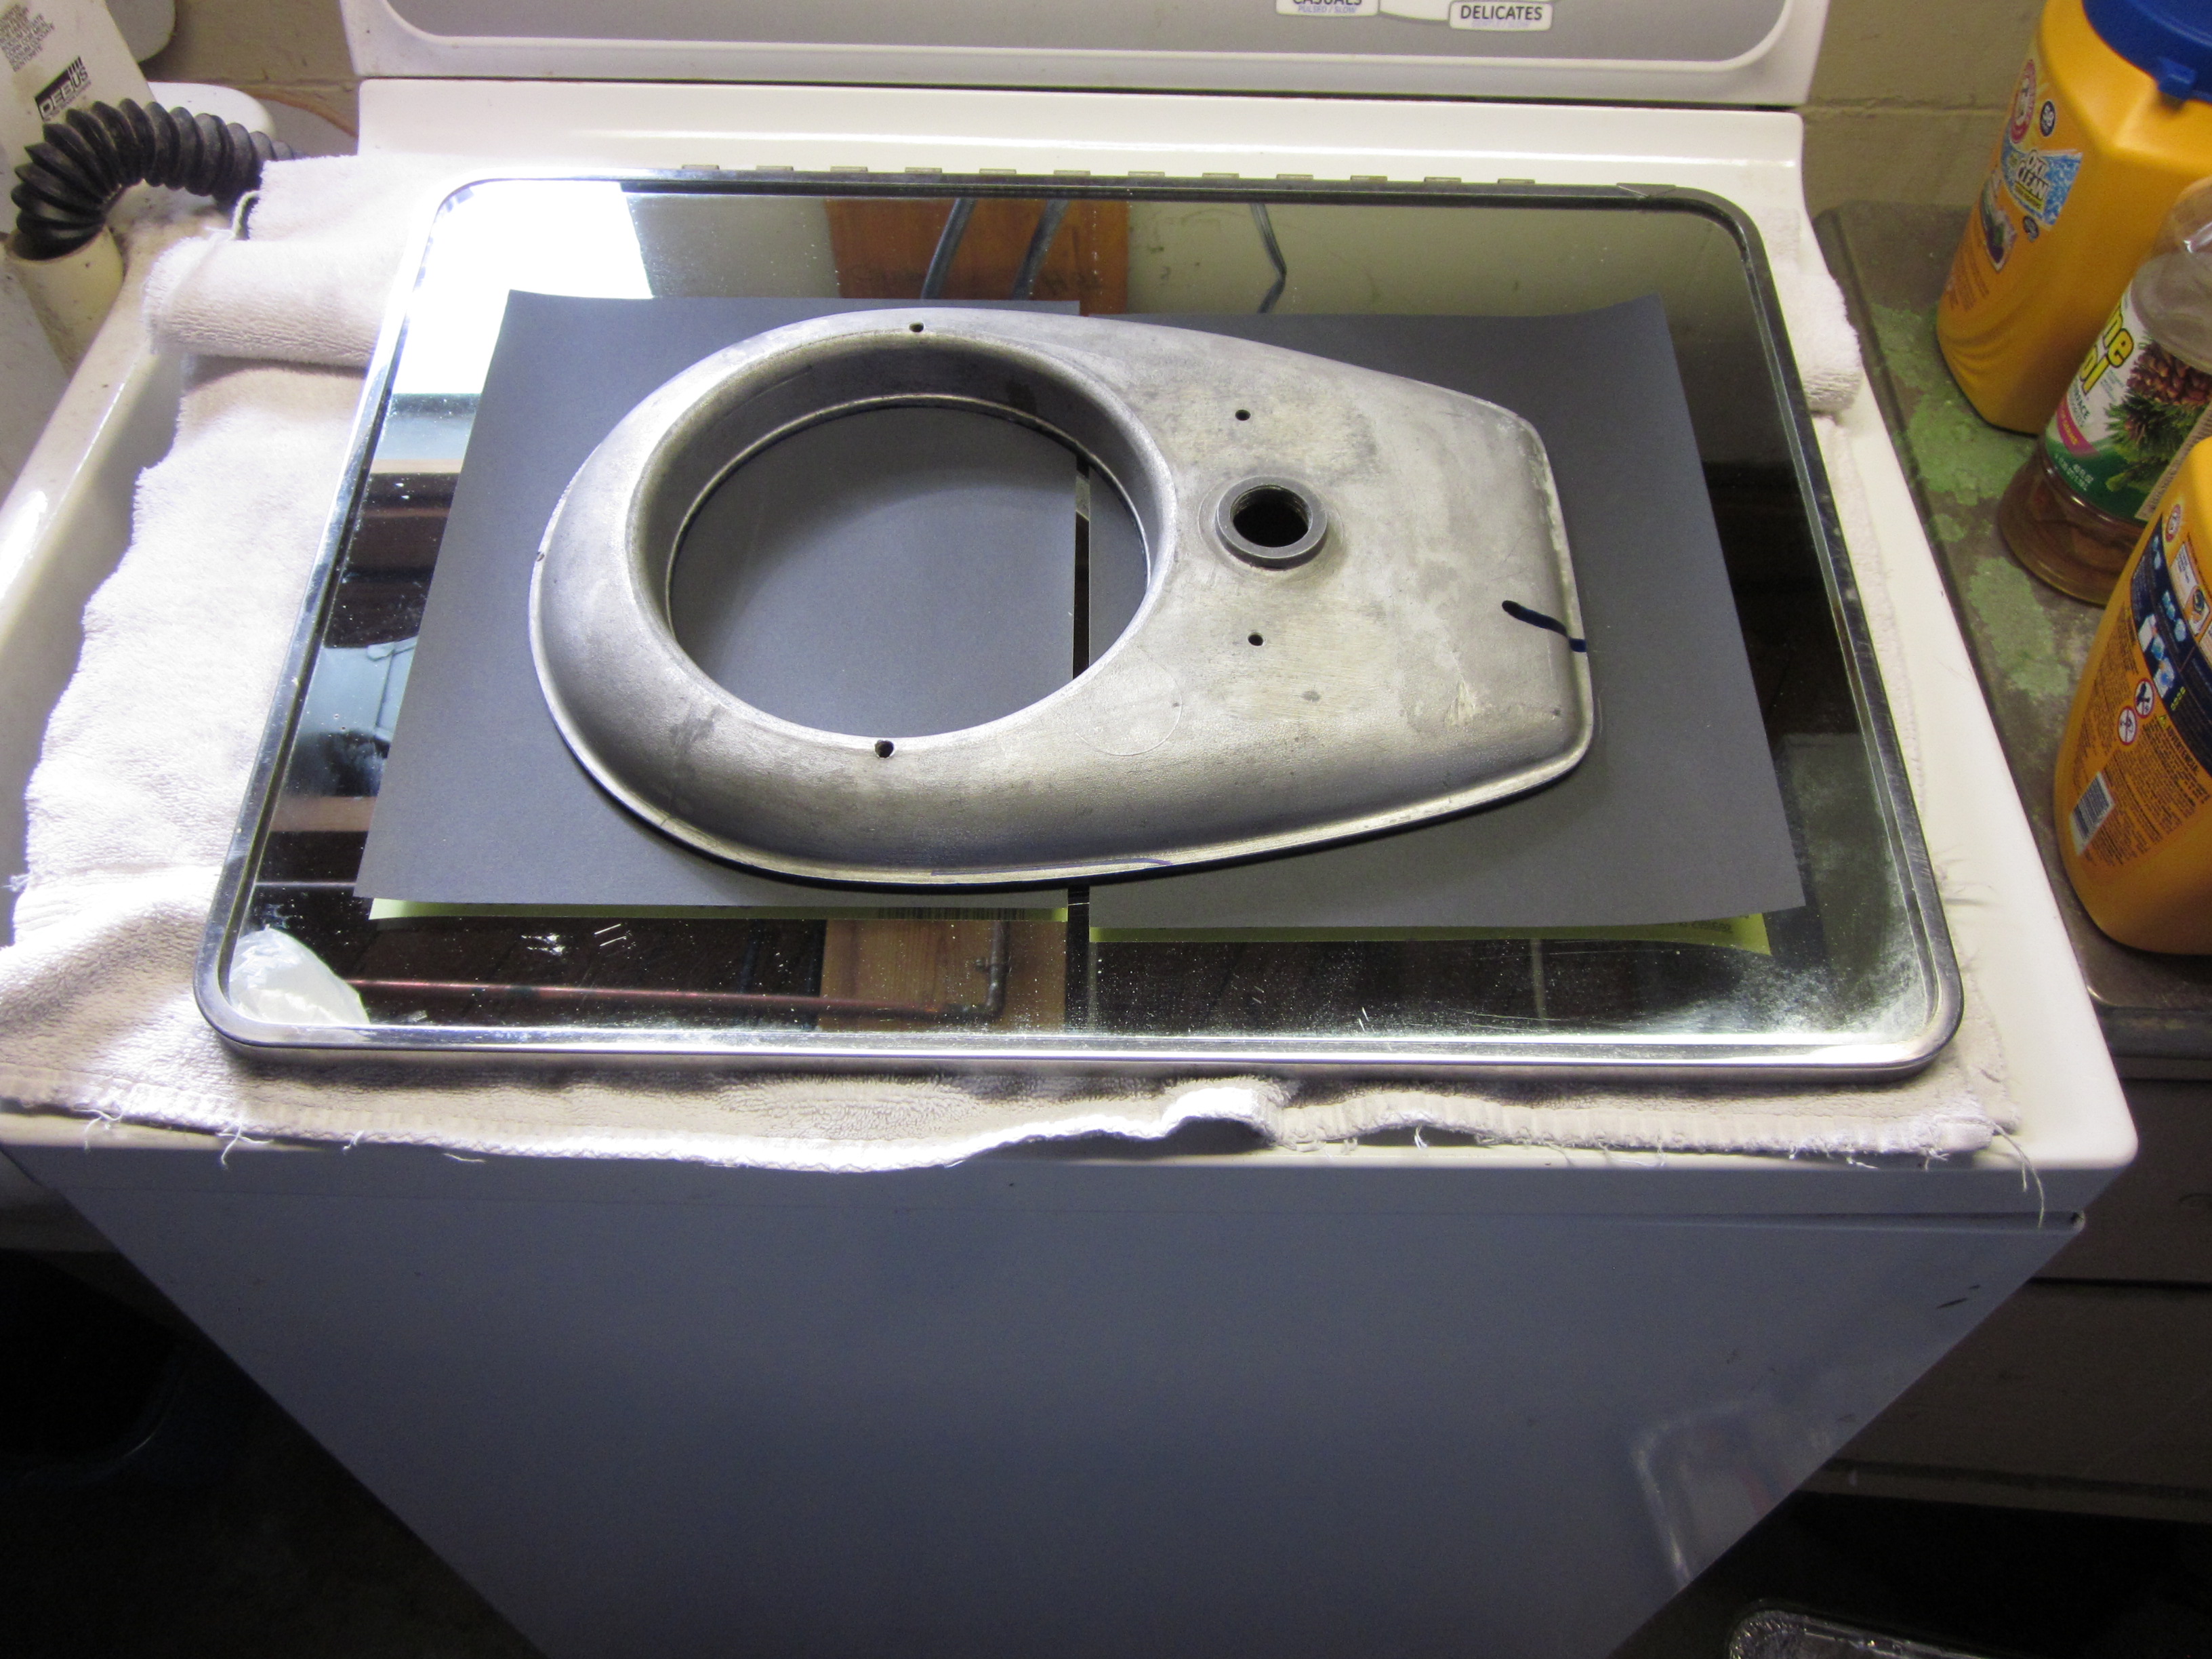
February 28, 2018 at 10:06 pm #71737Progress report…mixed results and more to do than planned.
The idea is sound. gap reduced from 0.004"+ to 0.002" in remaining area in about 20 minutes.
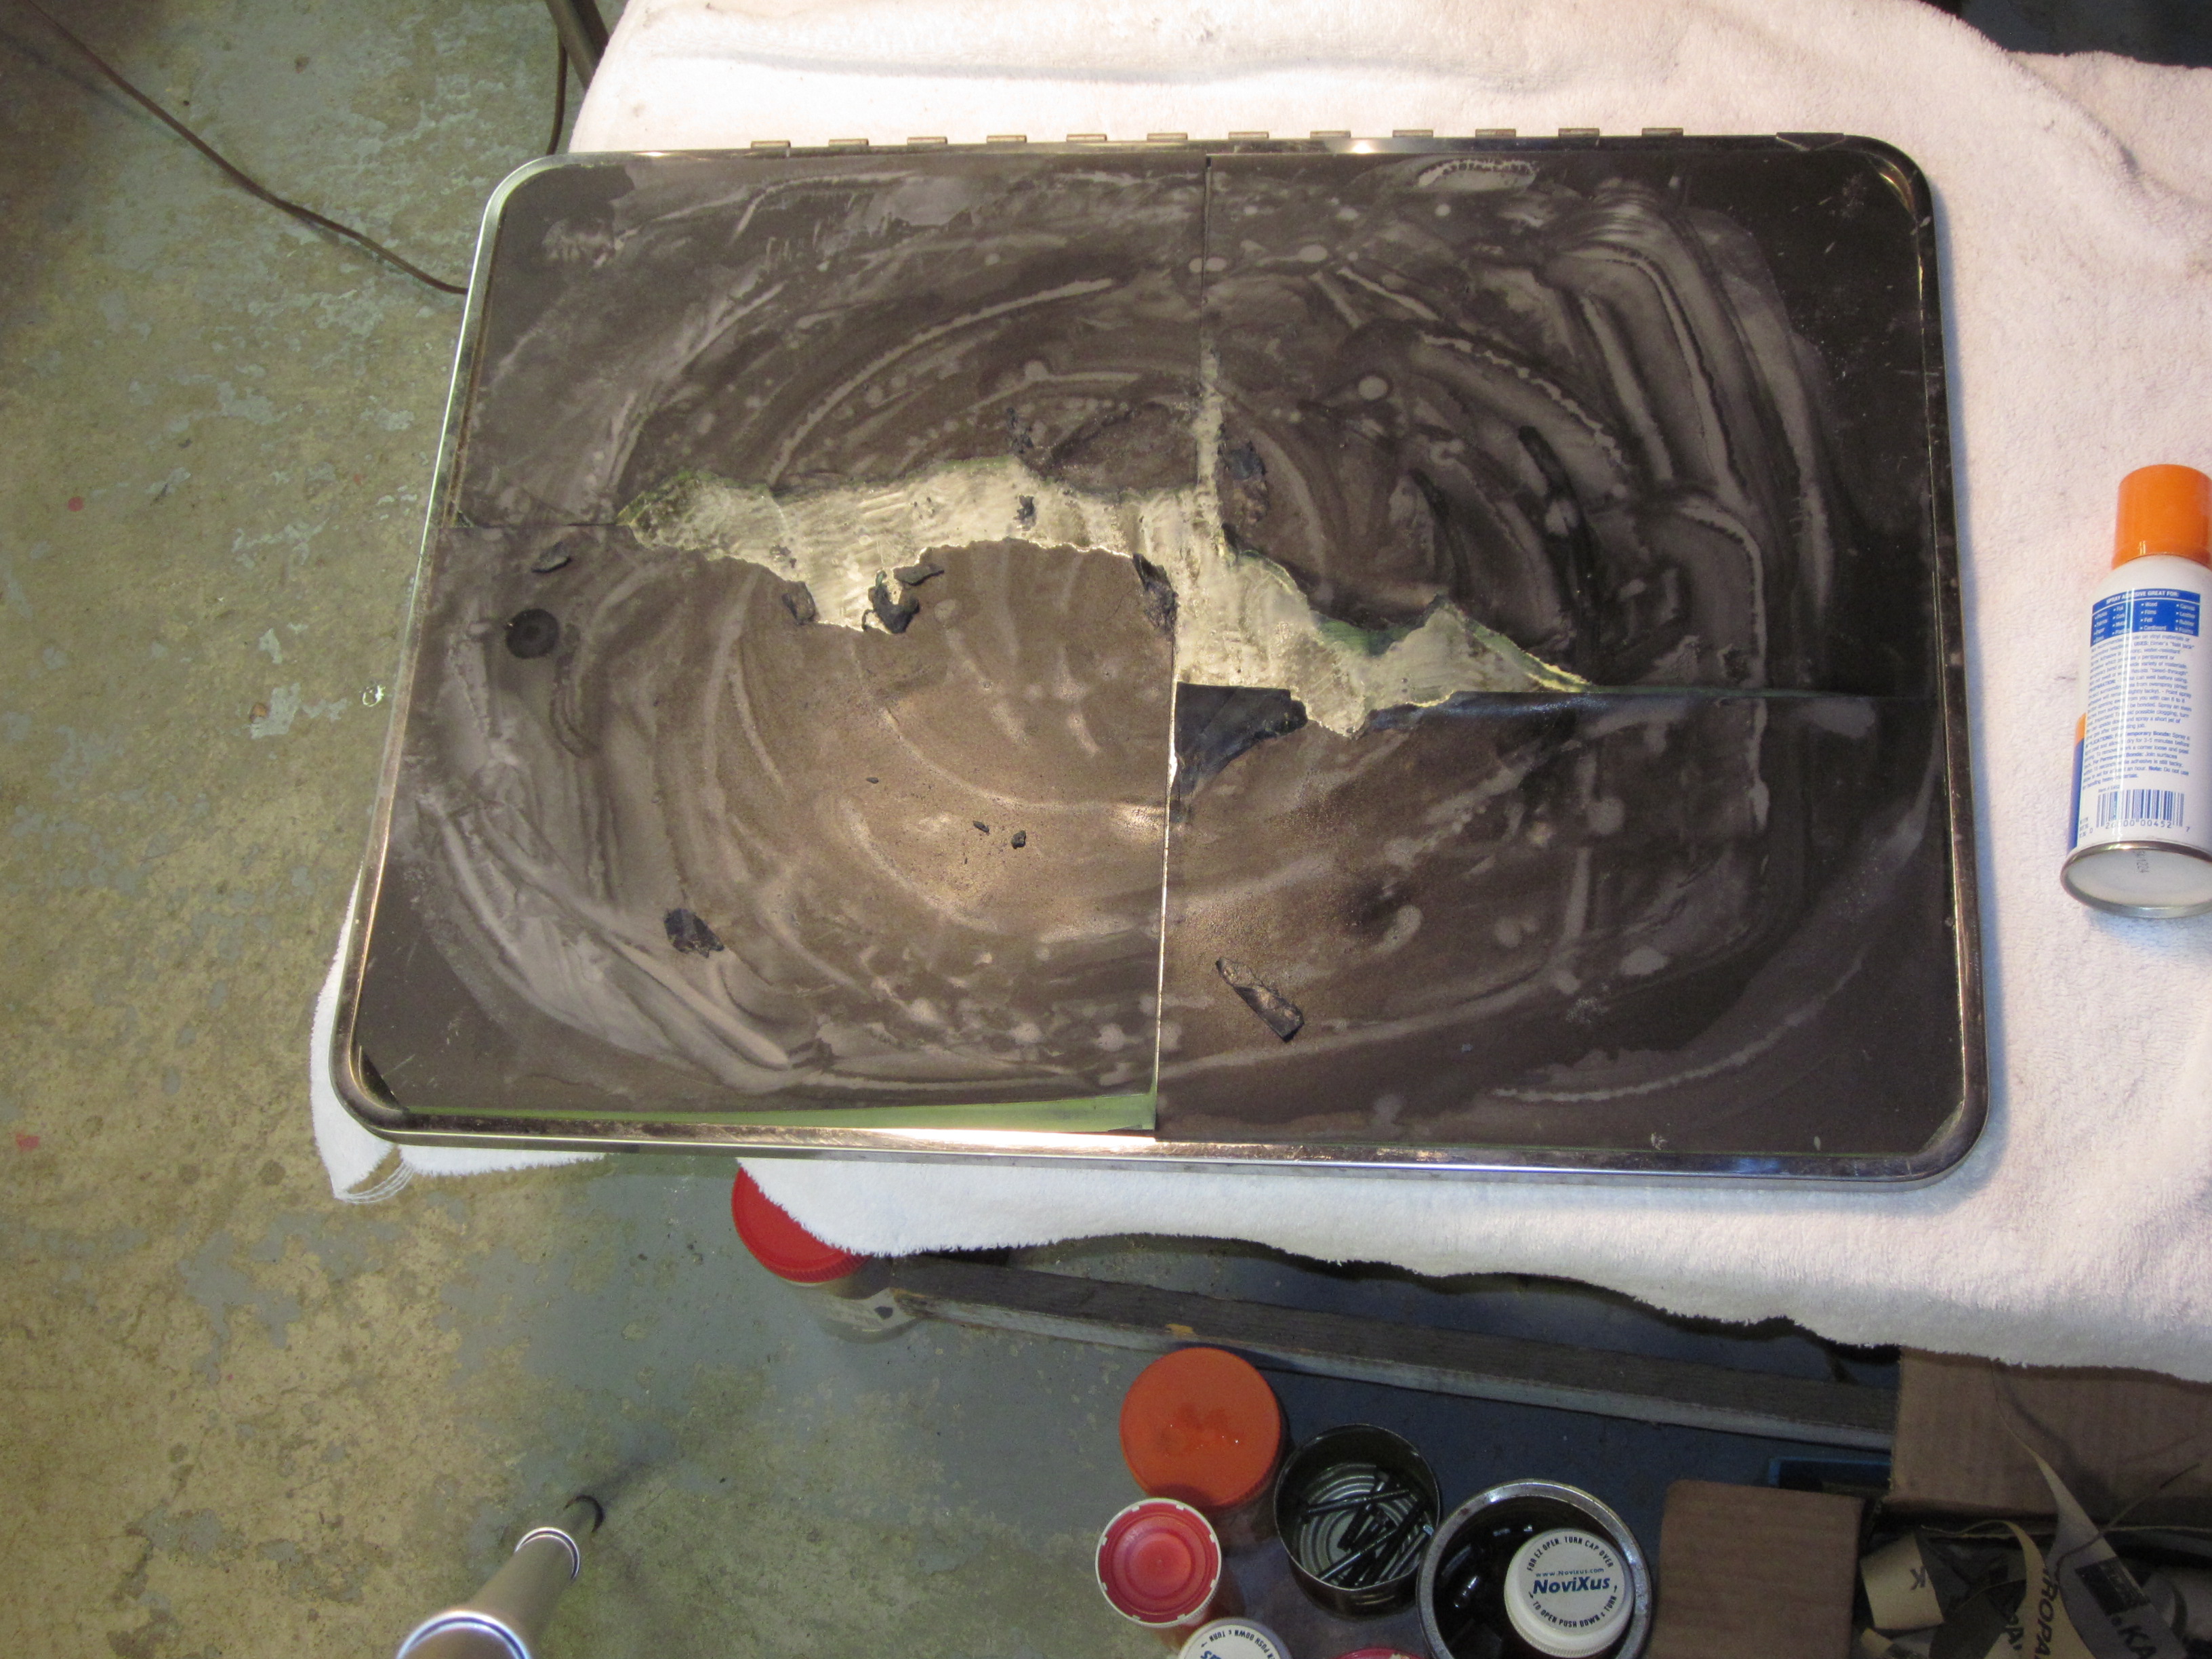
Unfortunately the spray adhesive did not hold paper to mirror very well.
That is a minor set back as the method is now proven to work.
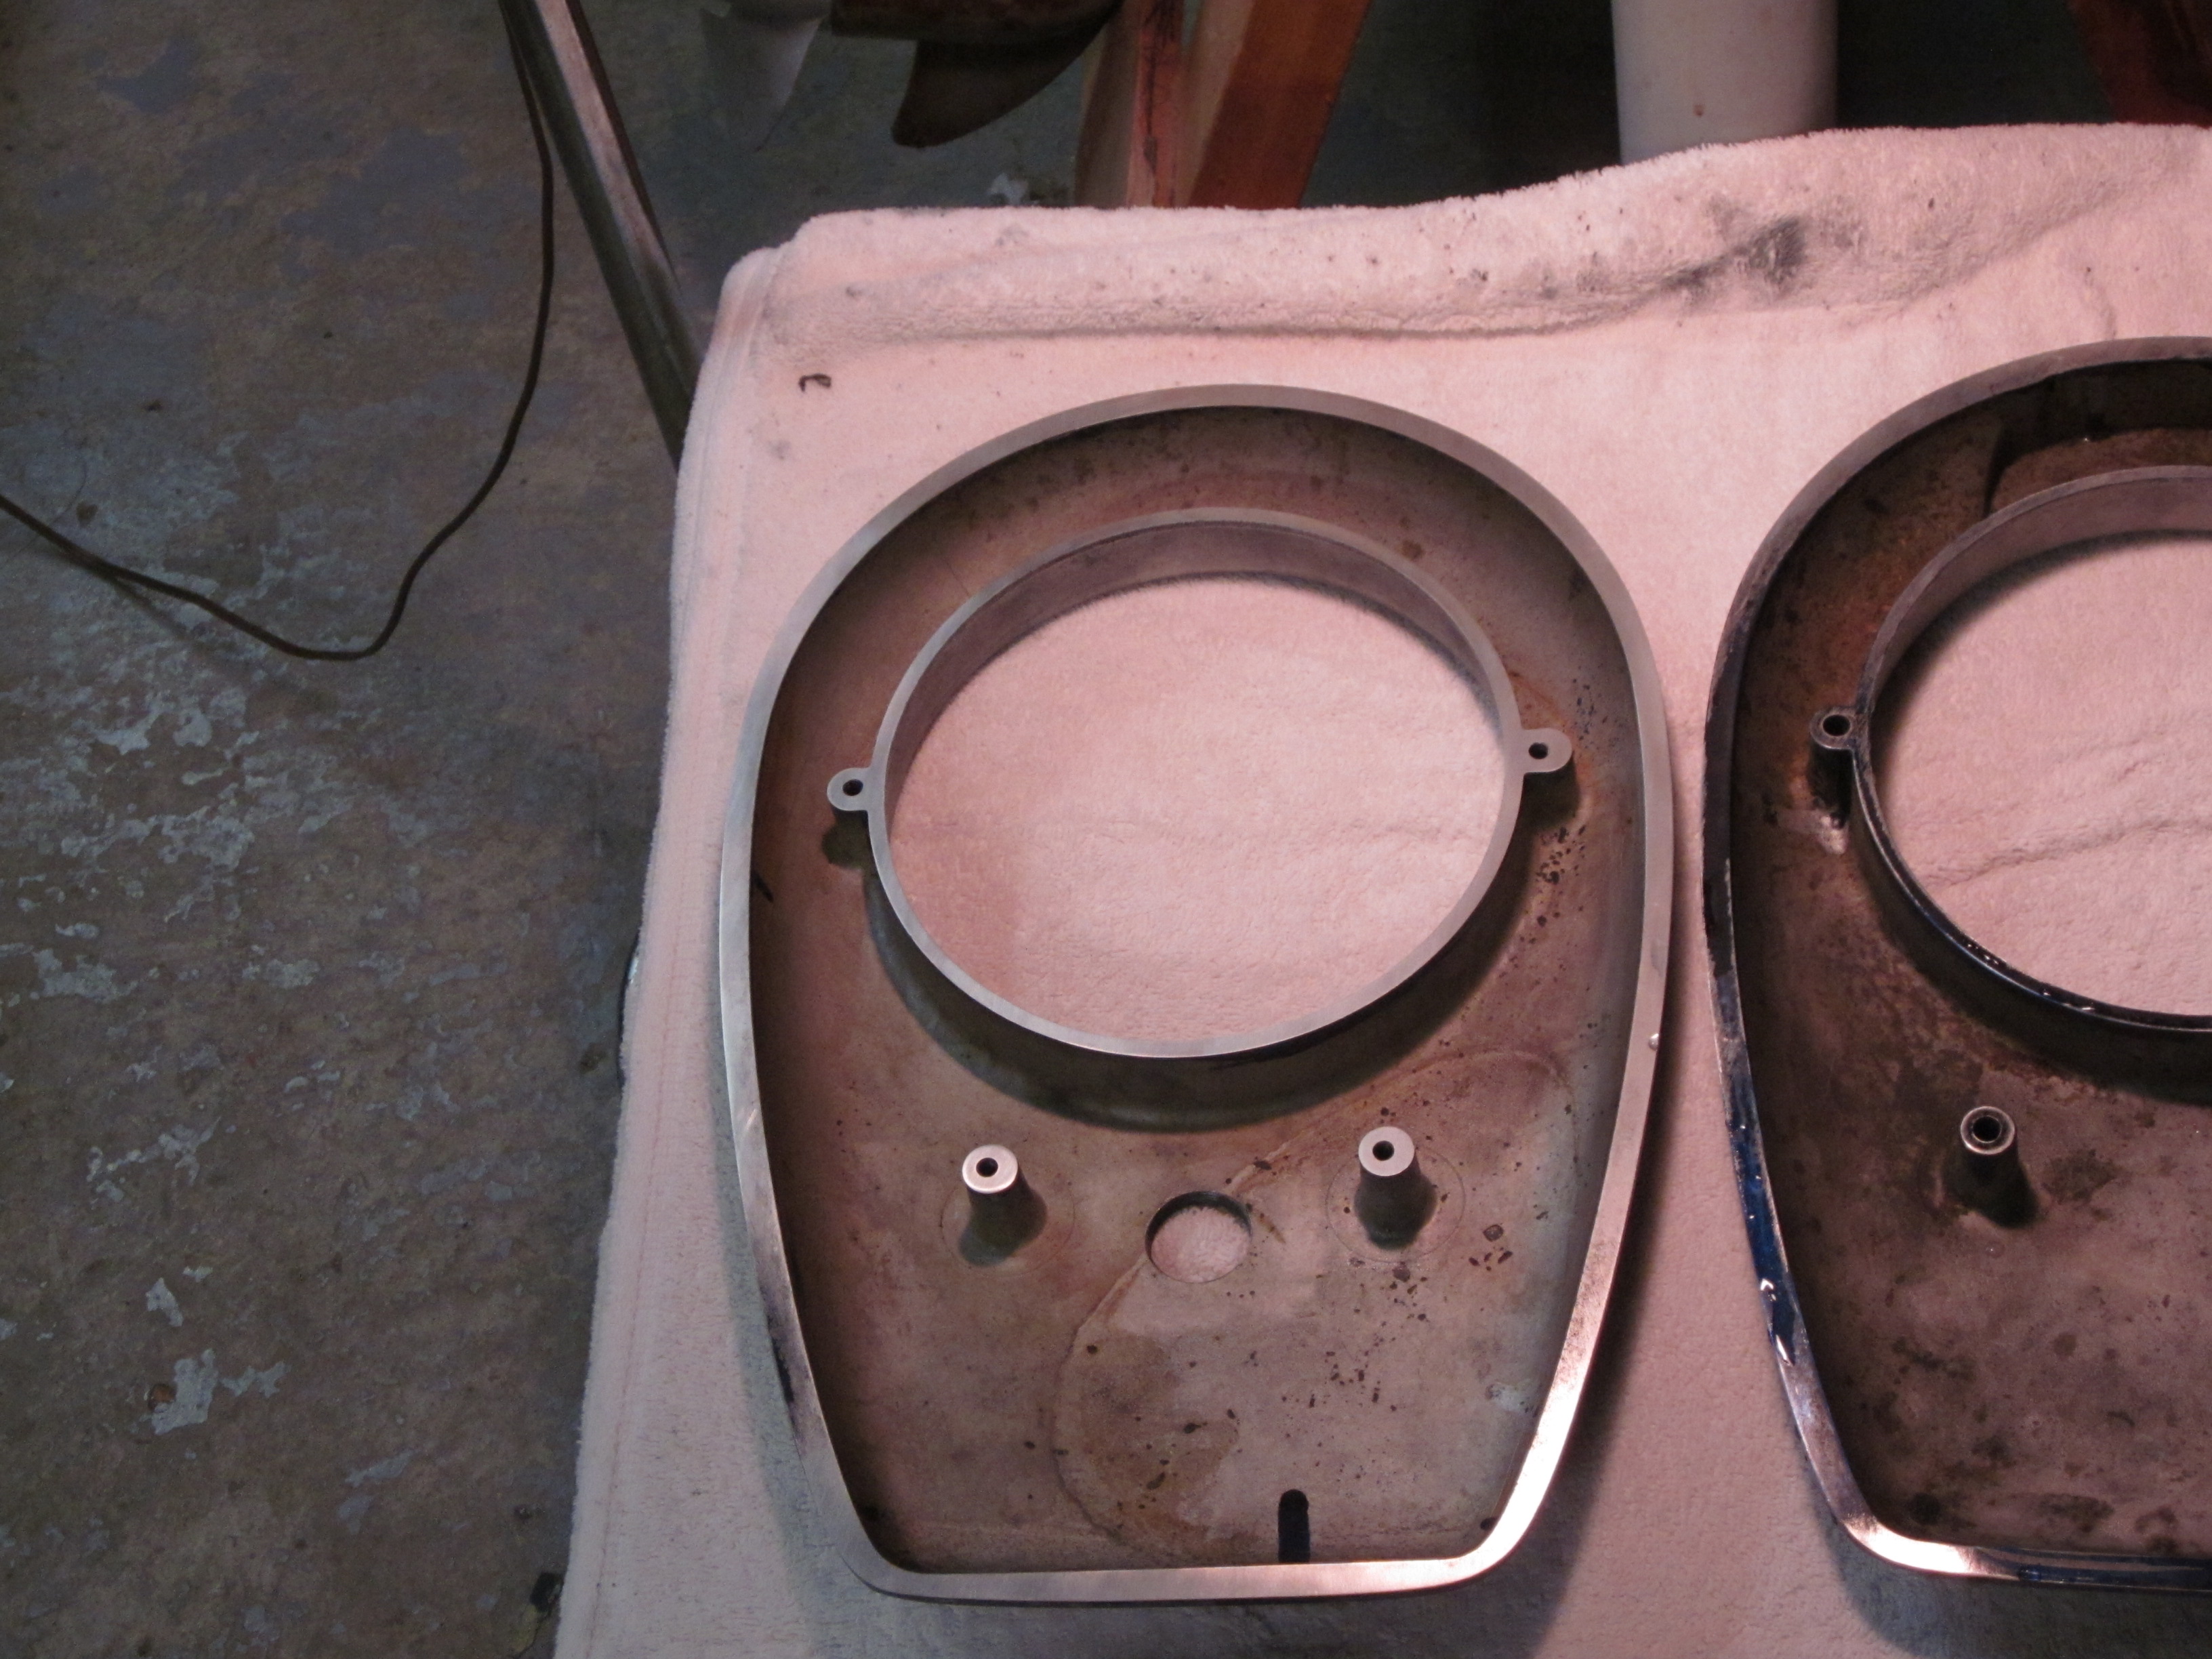
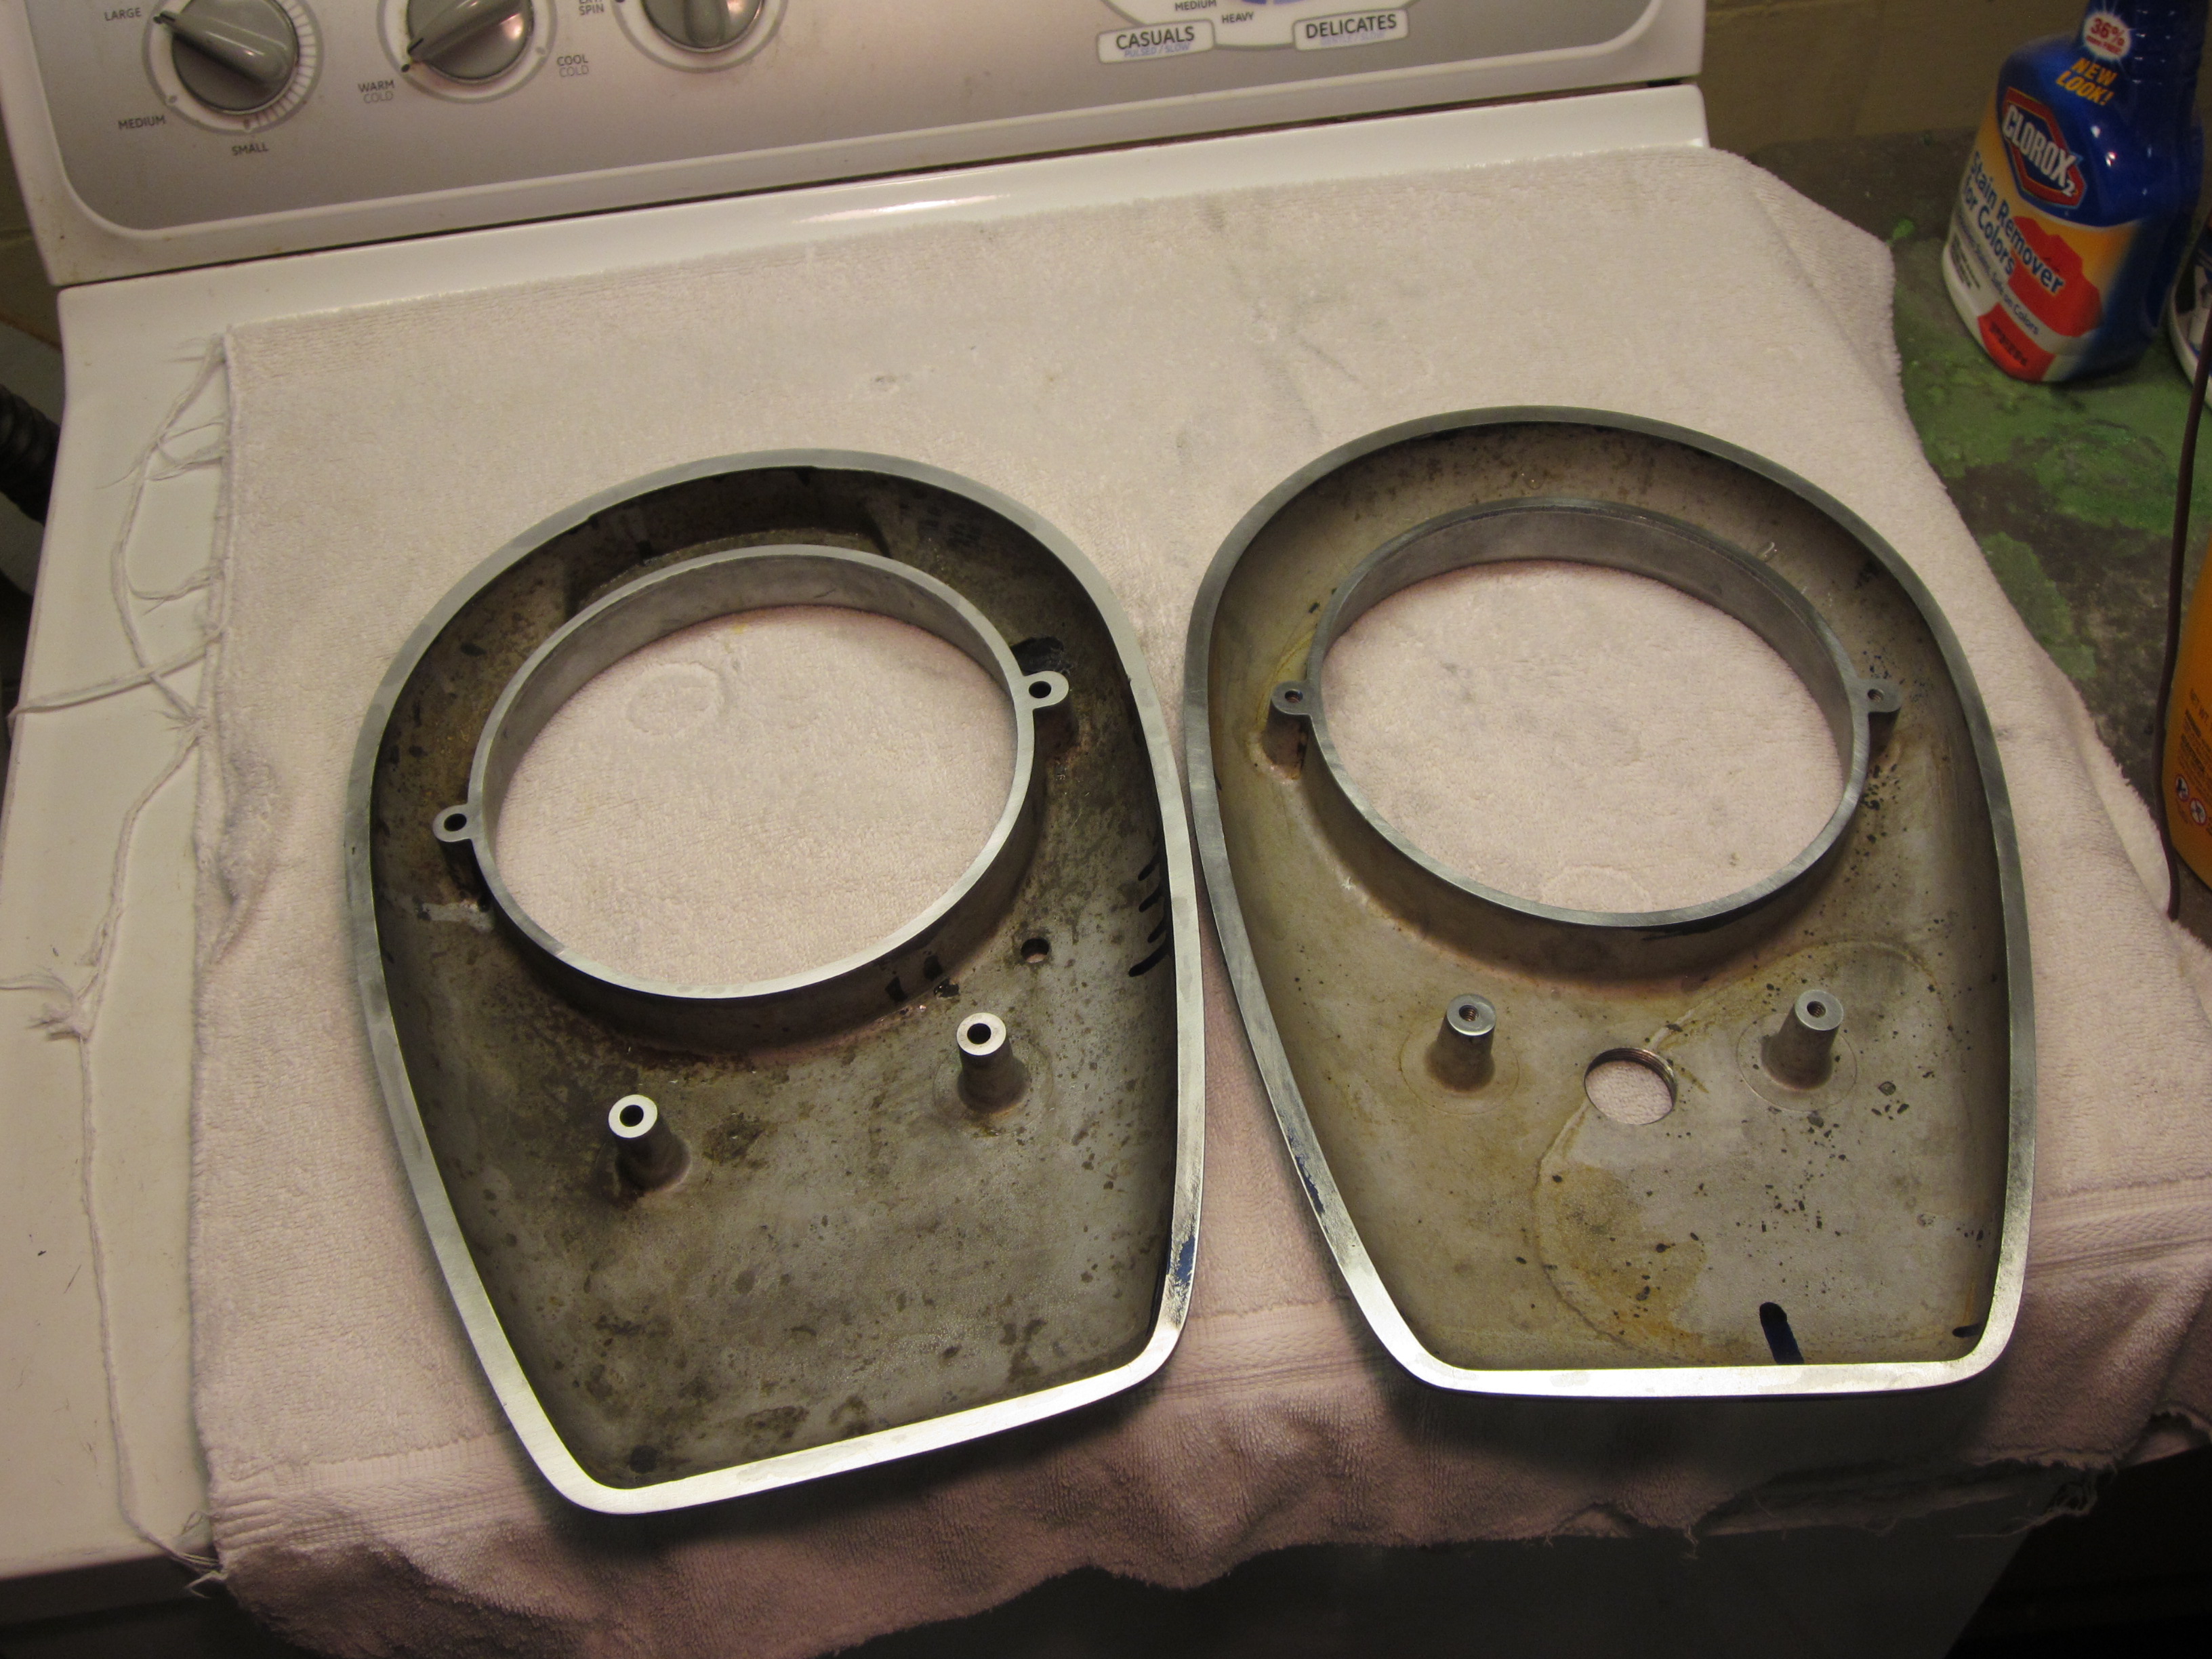
The two halves of tank did not match up as well as hoped.
Bottom half flange is also warped.
Not a serious problem, just more figure 8 time.
400 grit Wet or Dry leaves a nice smooth surface finish.The problem of sticking Wet or Dry to glass seems solvable.
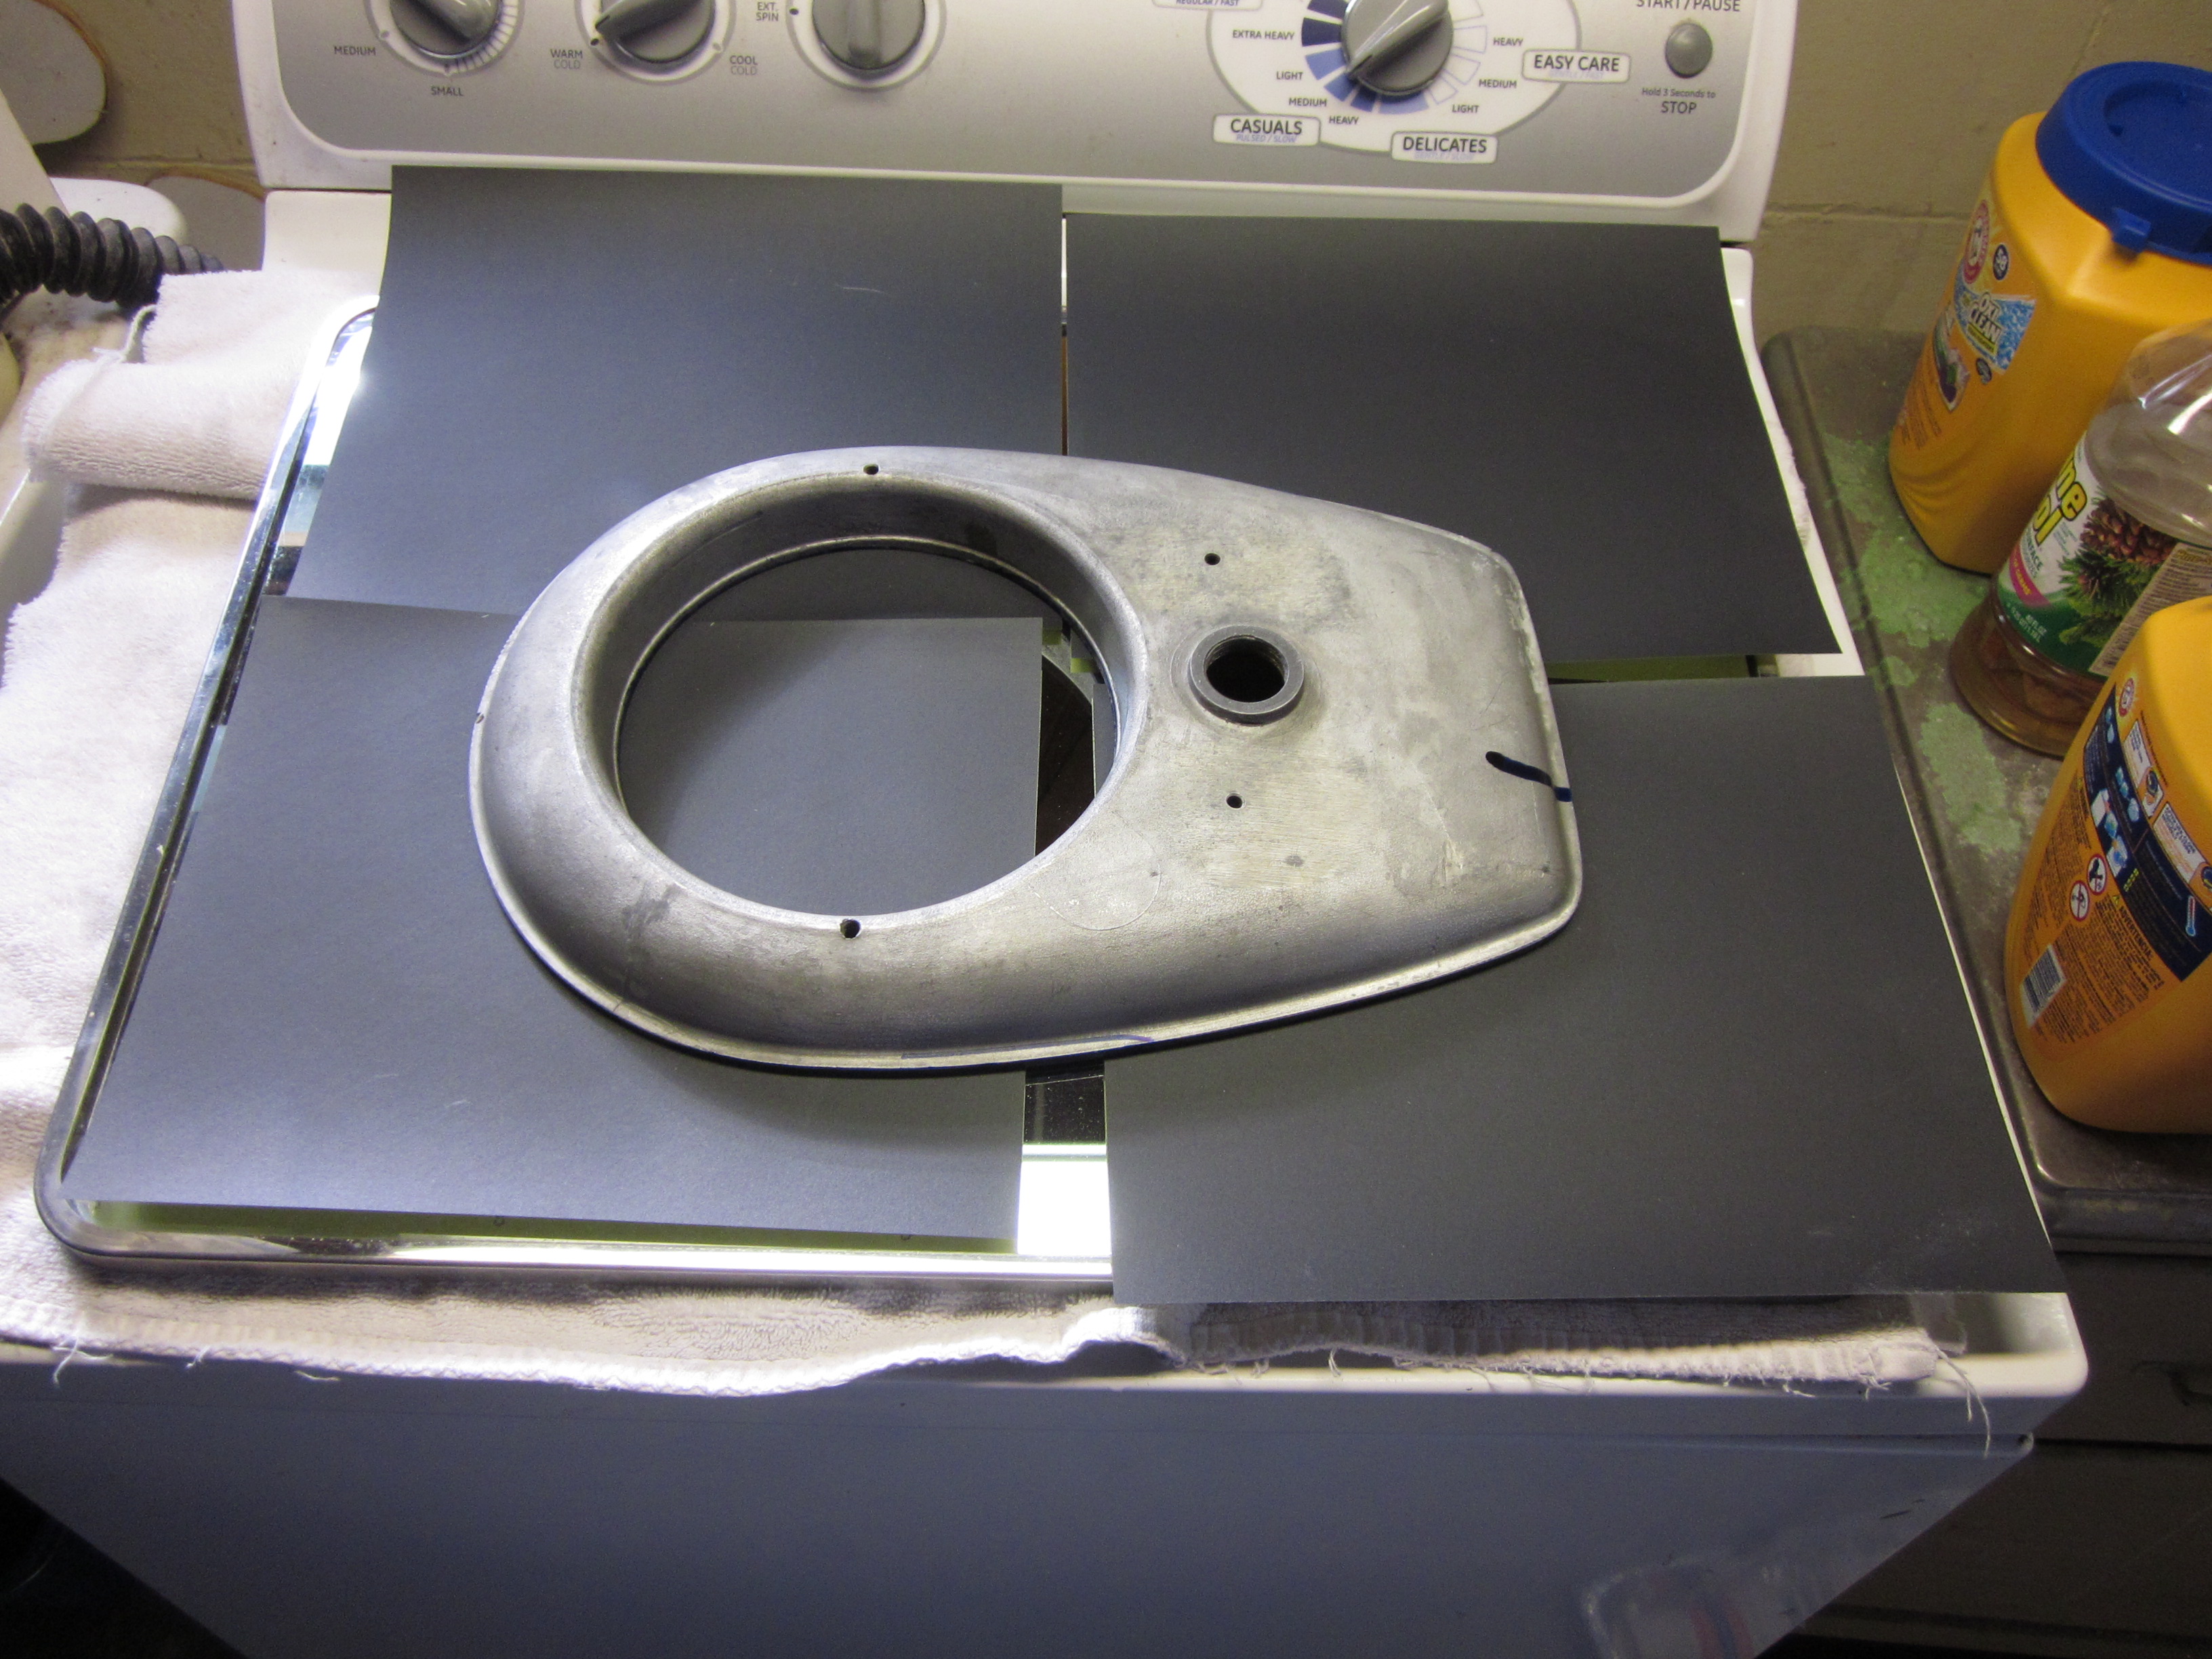
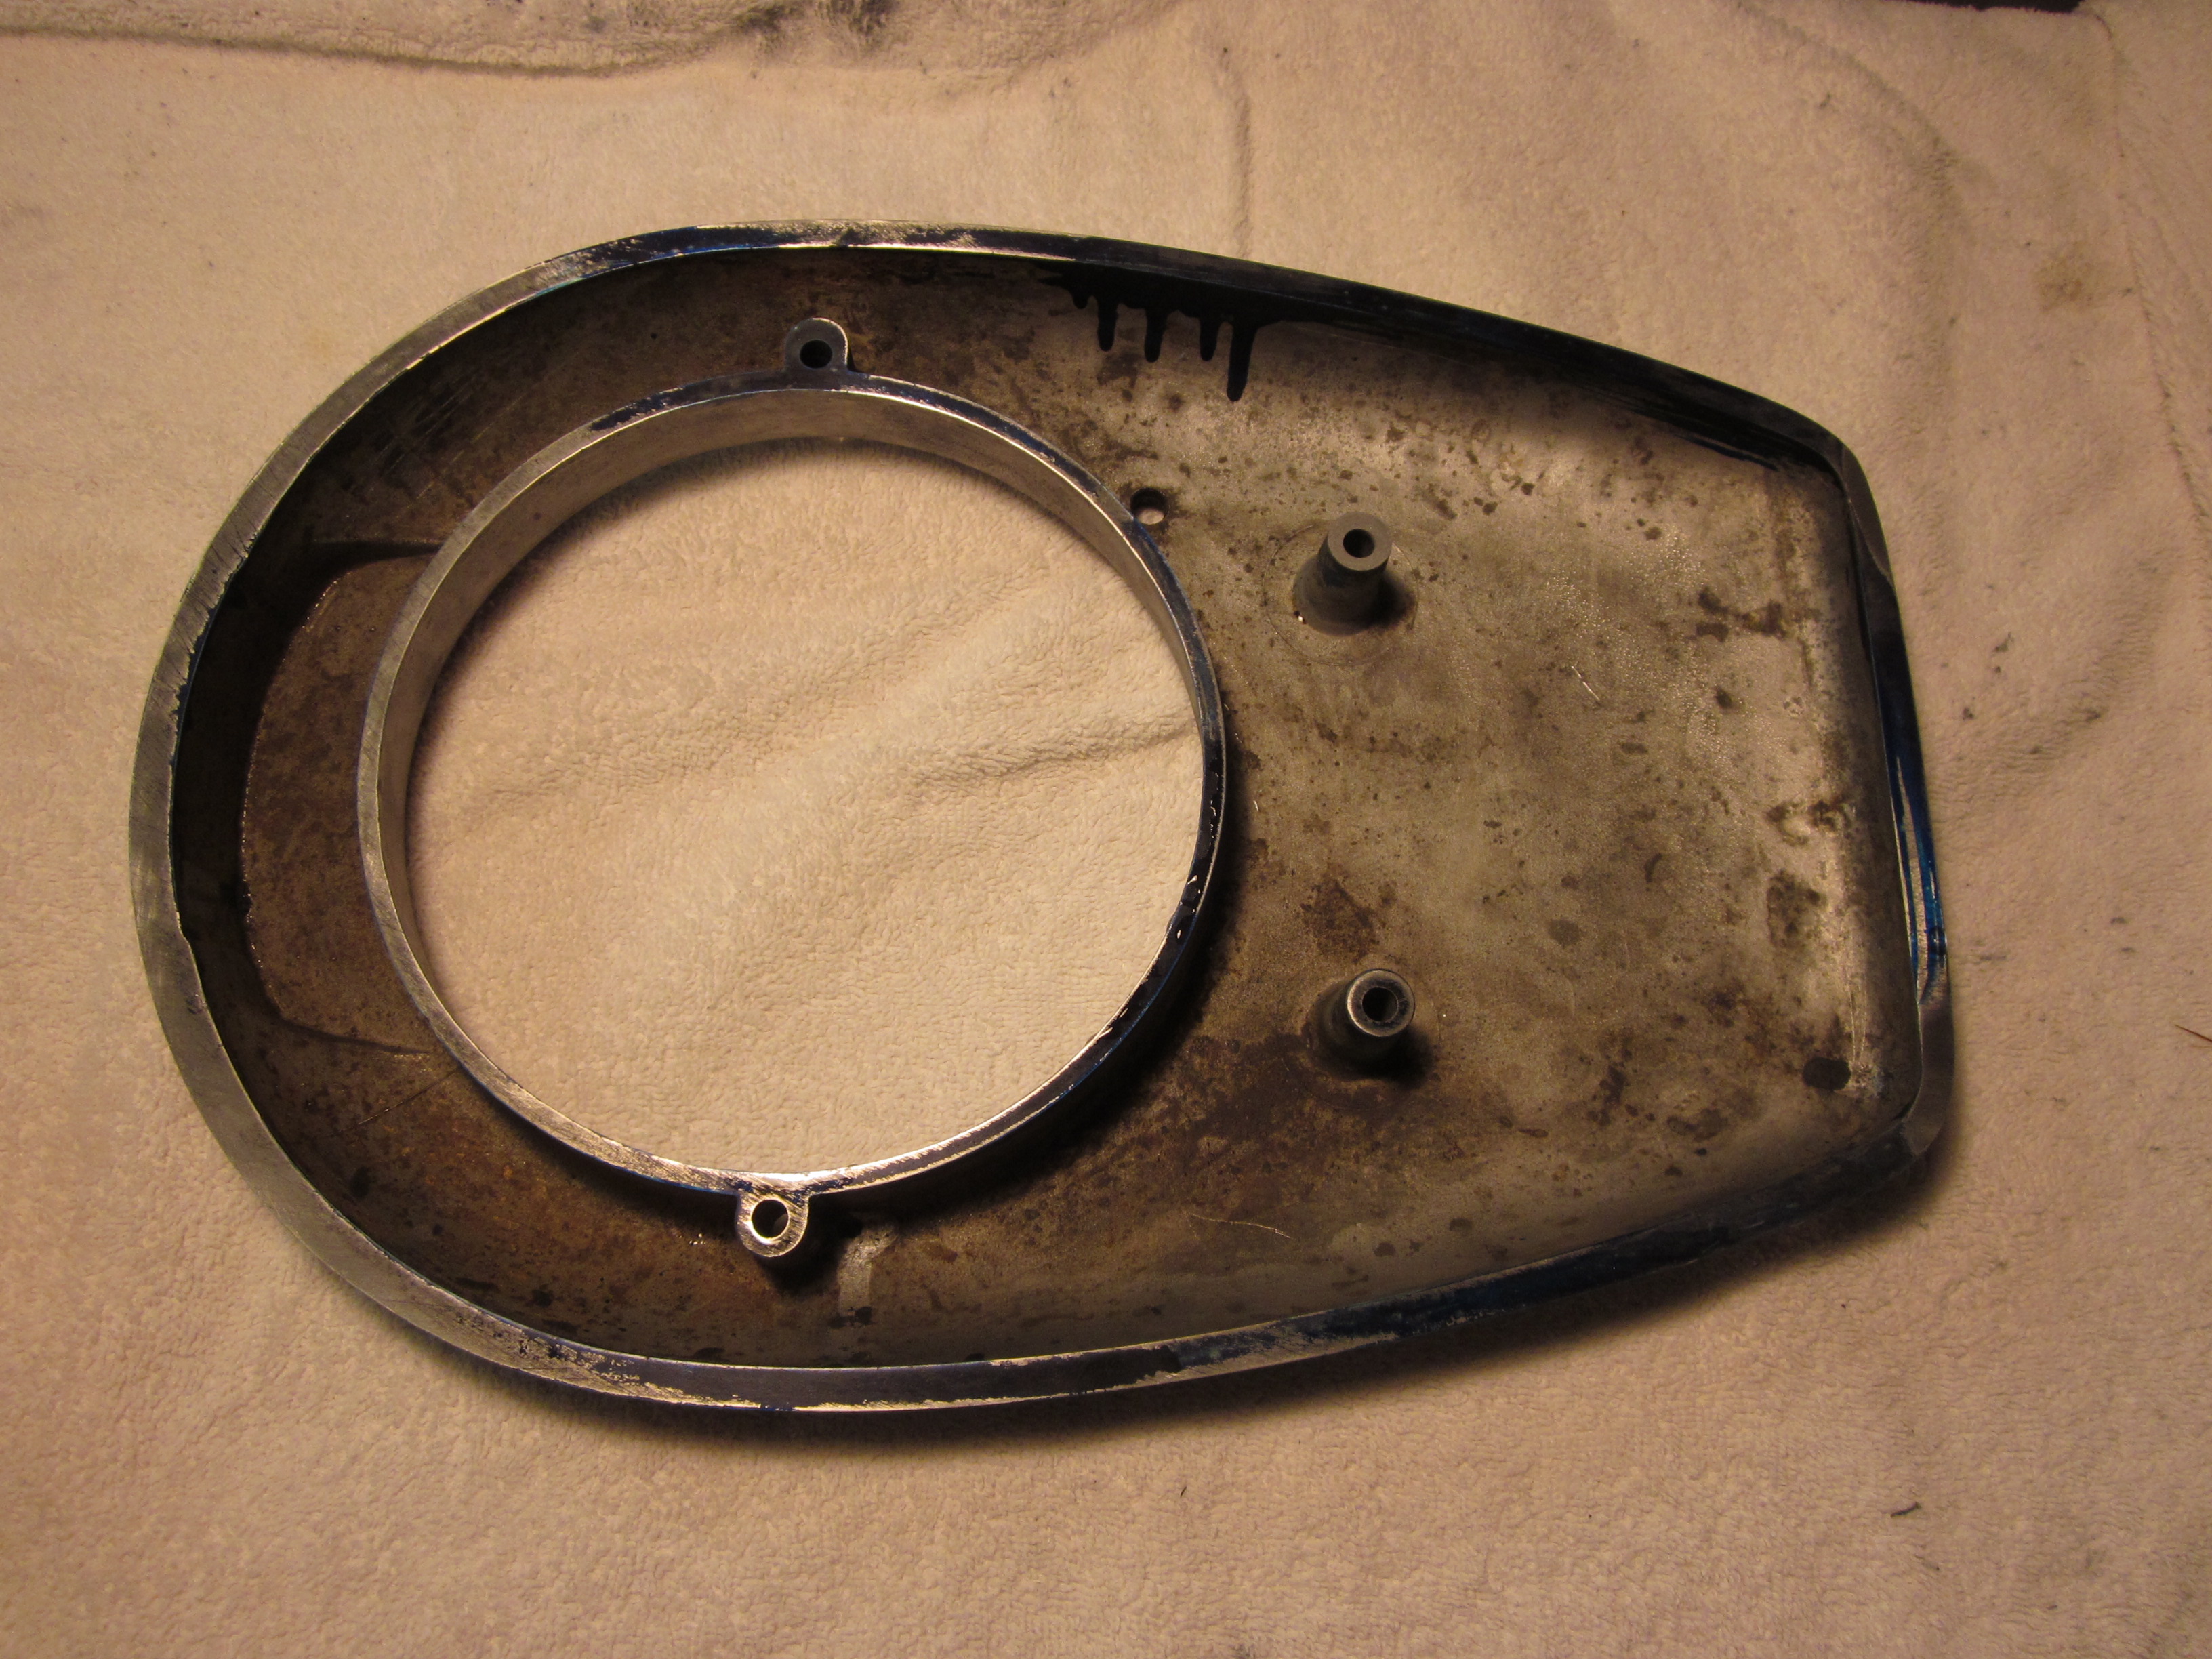
Update 3/1/2018
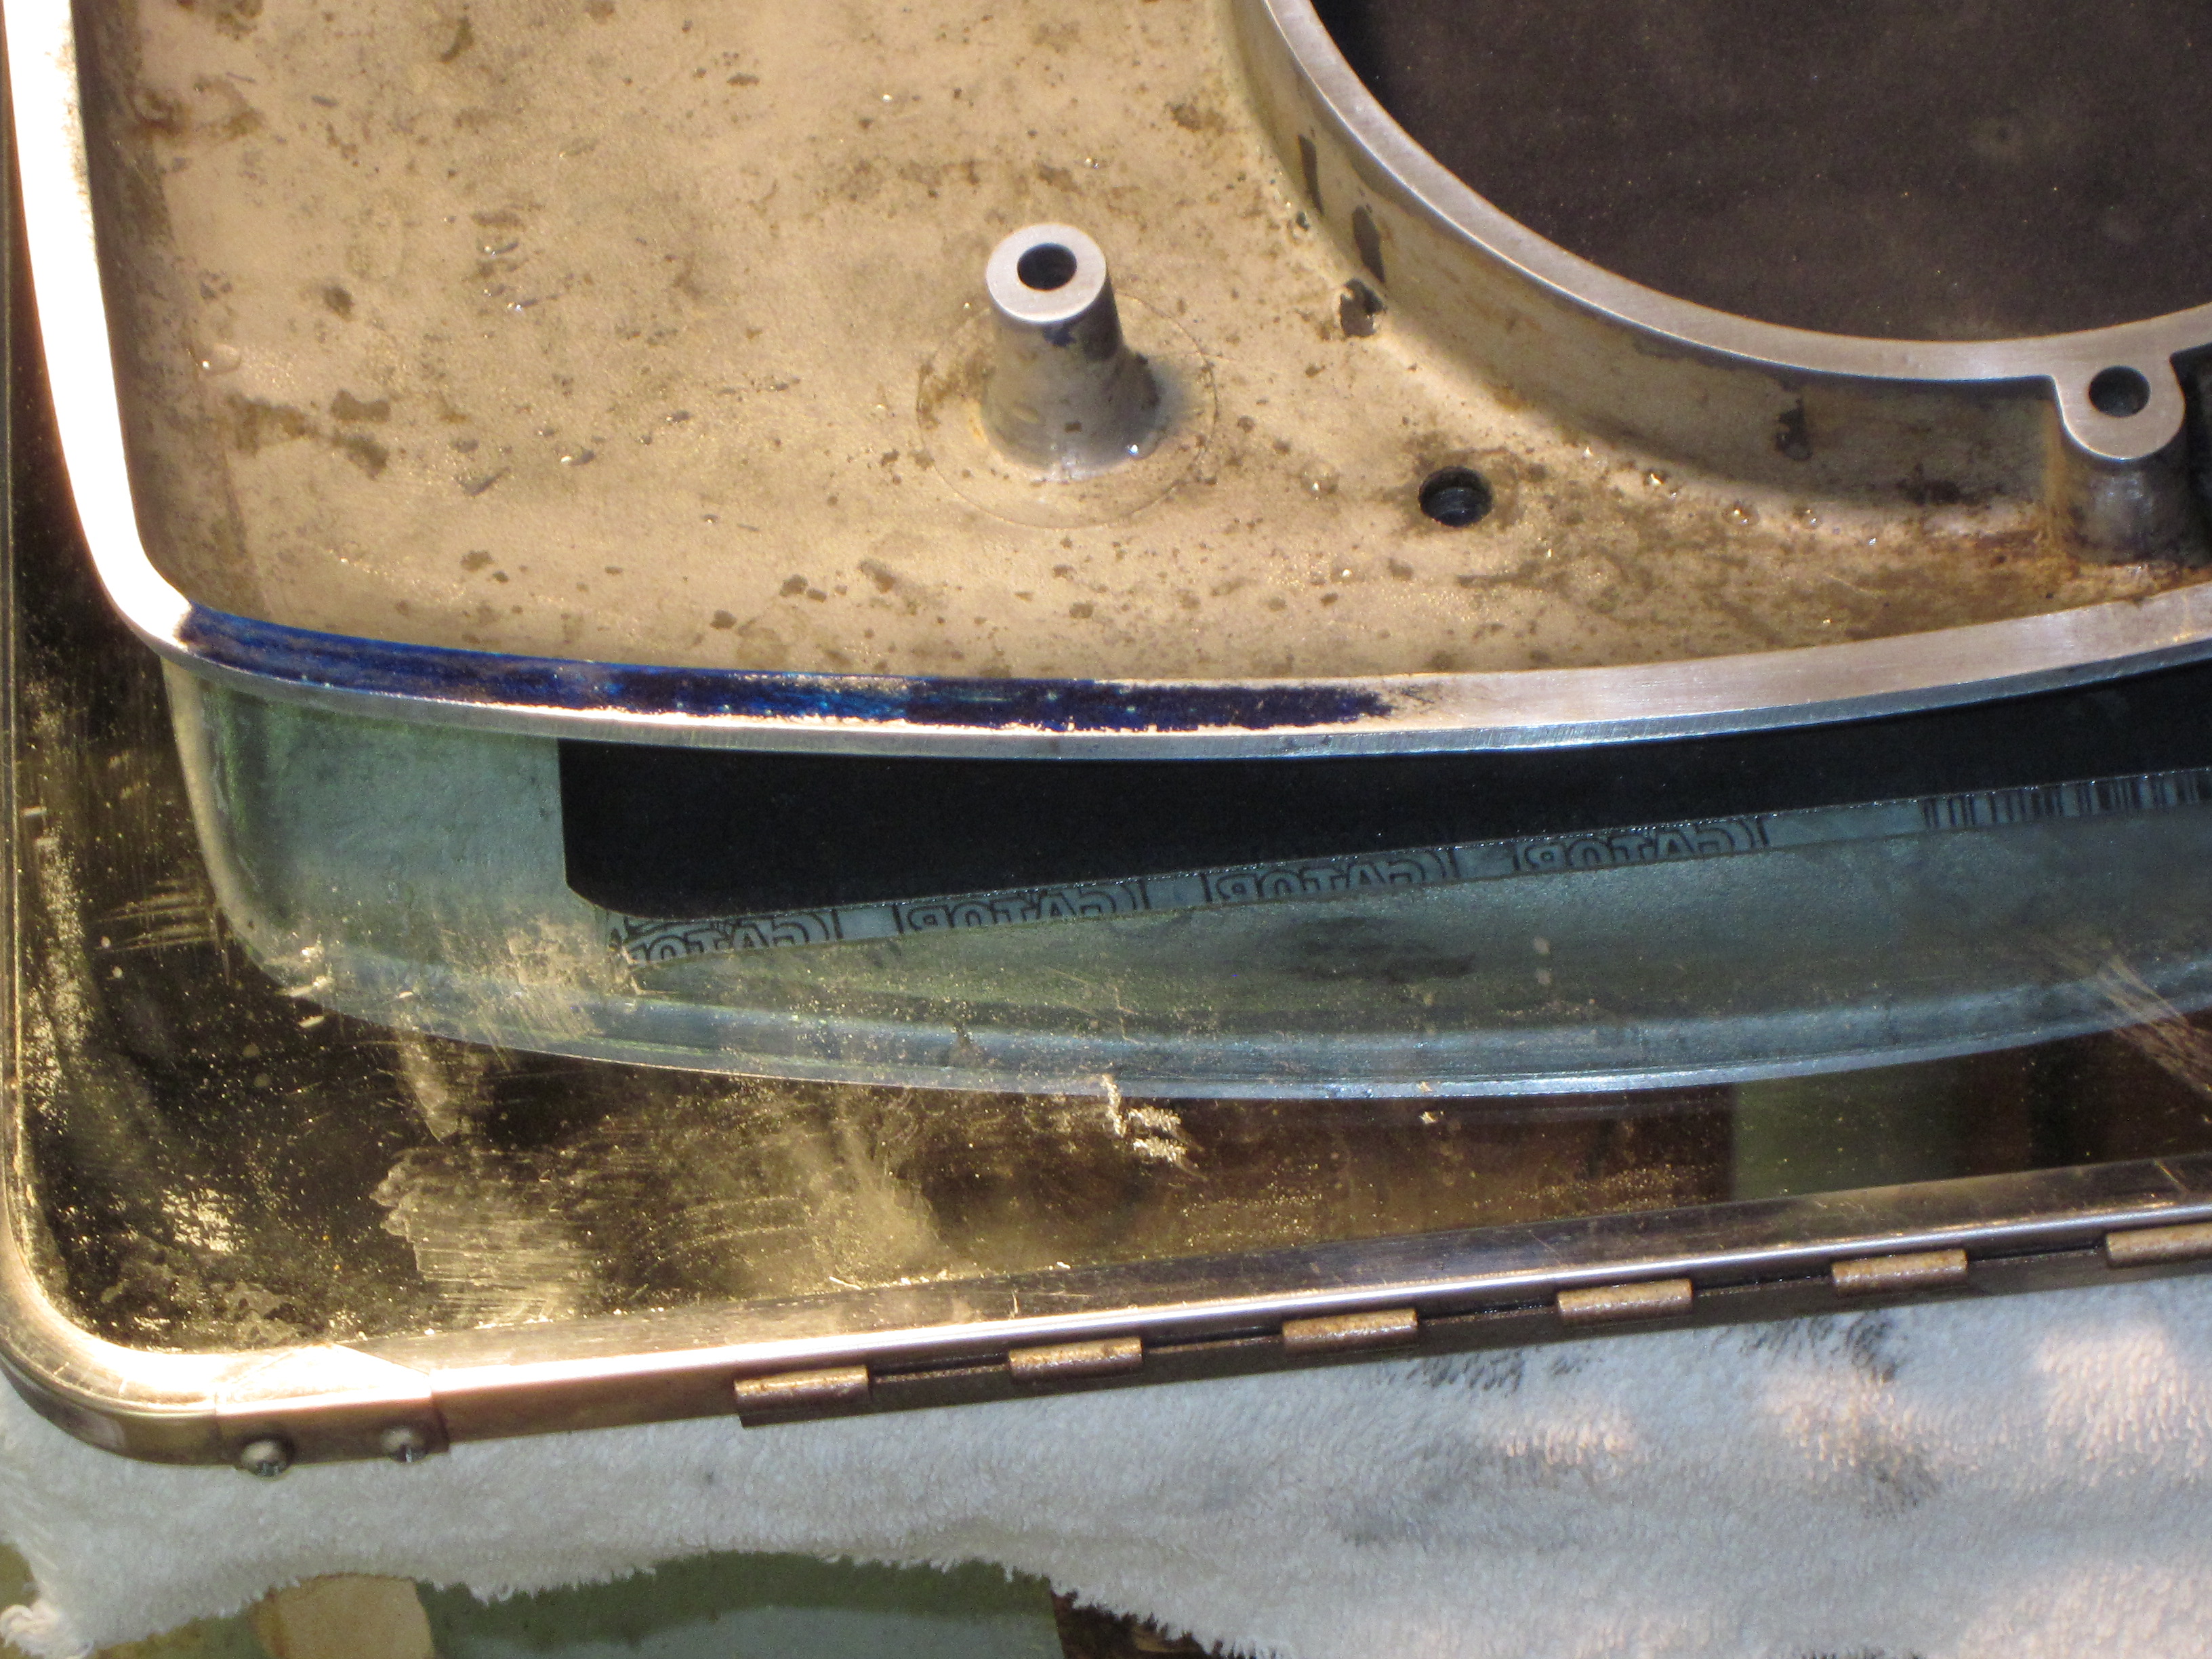
Top half of tank done. Sharp eyes may notice a bit of blue left
OK 0.0015" feeler gage will not fit between flange and surface plate.
Bottom half tank flange is seriously unflat.
220 Grit Wet or Dry gives a very good surface finish.
Gasket stock used for resealing tank is 1/32 " or about 0.031
Top and bottom tank flanges do not need to be perfect just so long at surfaces
are relatively flat and parallel enough to clamp gasket fairly evenly.
Interesting project and not forever and a day to do.
Using only 2 sheets of Wet or Dry instead of covering mirror with sand paper
made figure 8 out of question, but, the paper stayed flat much longer and
more economical with paper.
Note: the smaller the blue area, the more of the larger the remaining are that needs
to be reduced….sort of the closer you get to finish line the farther away it gets.
Note; it seemed helpful to sponge off grit on Wet or Dry and sponge on water
Louis
Thanks for comments and interest in old school technique.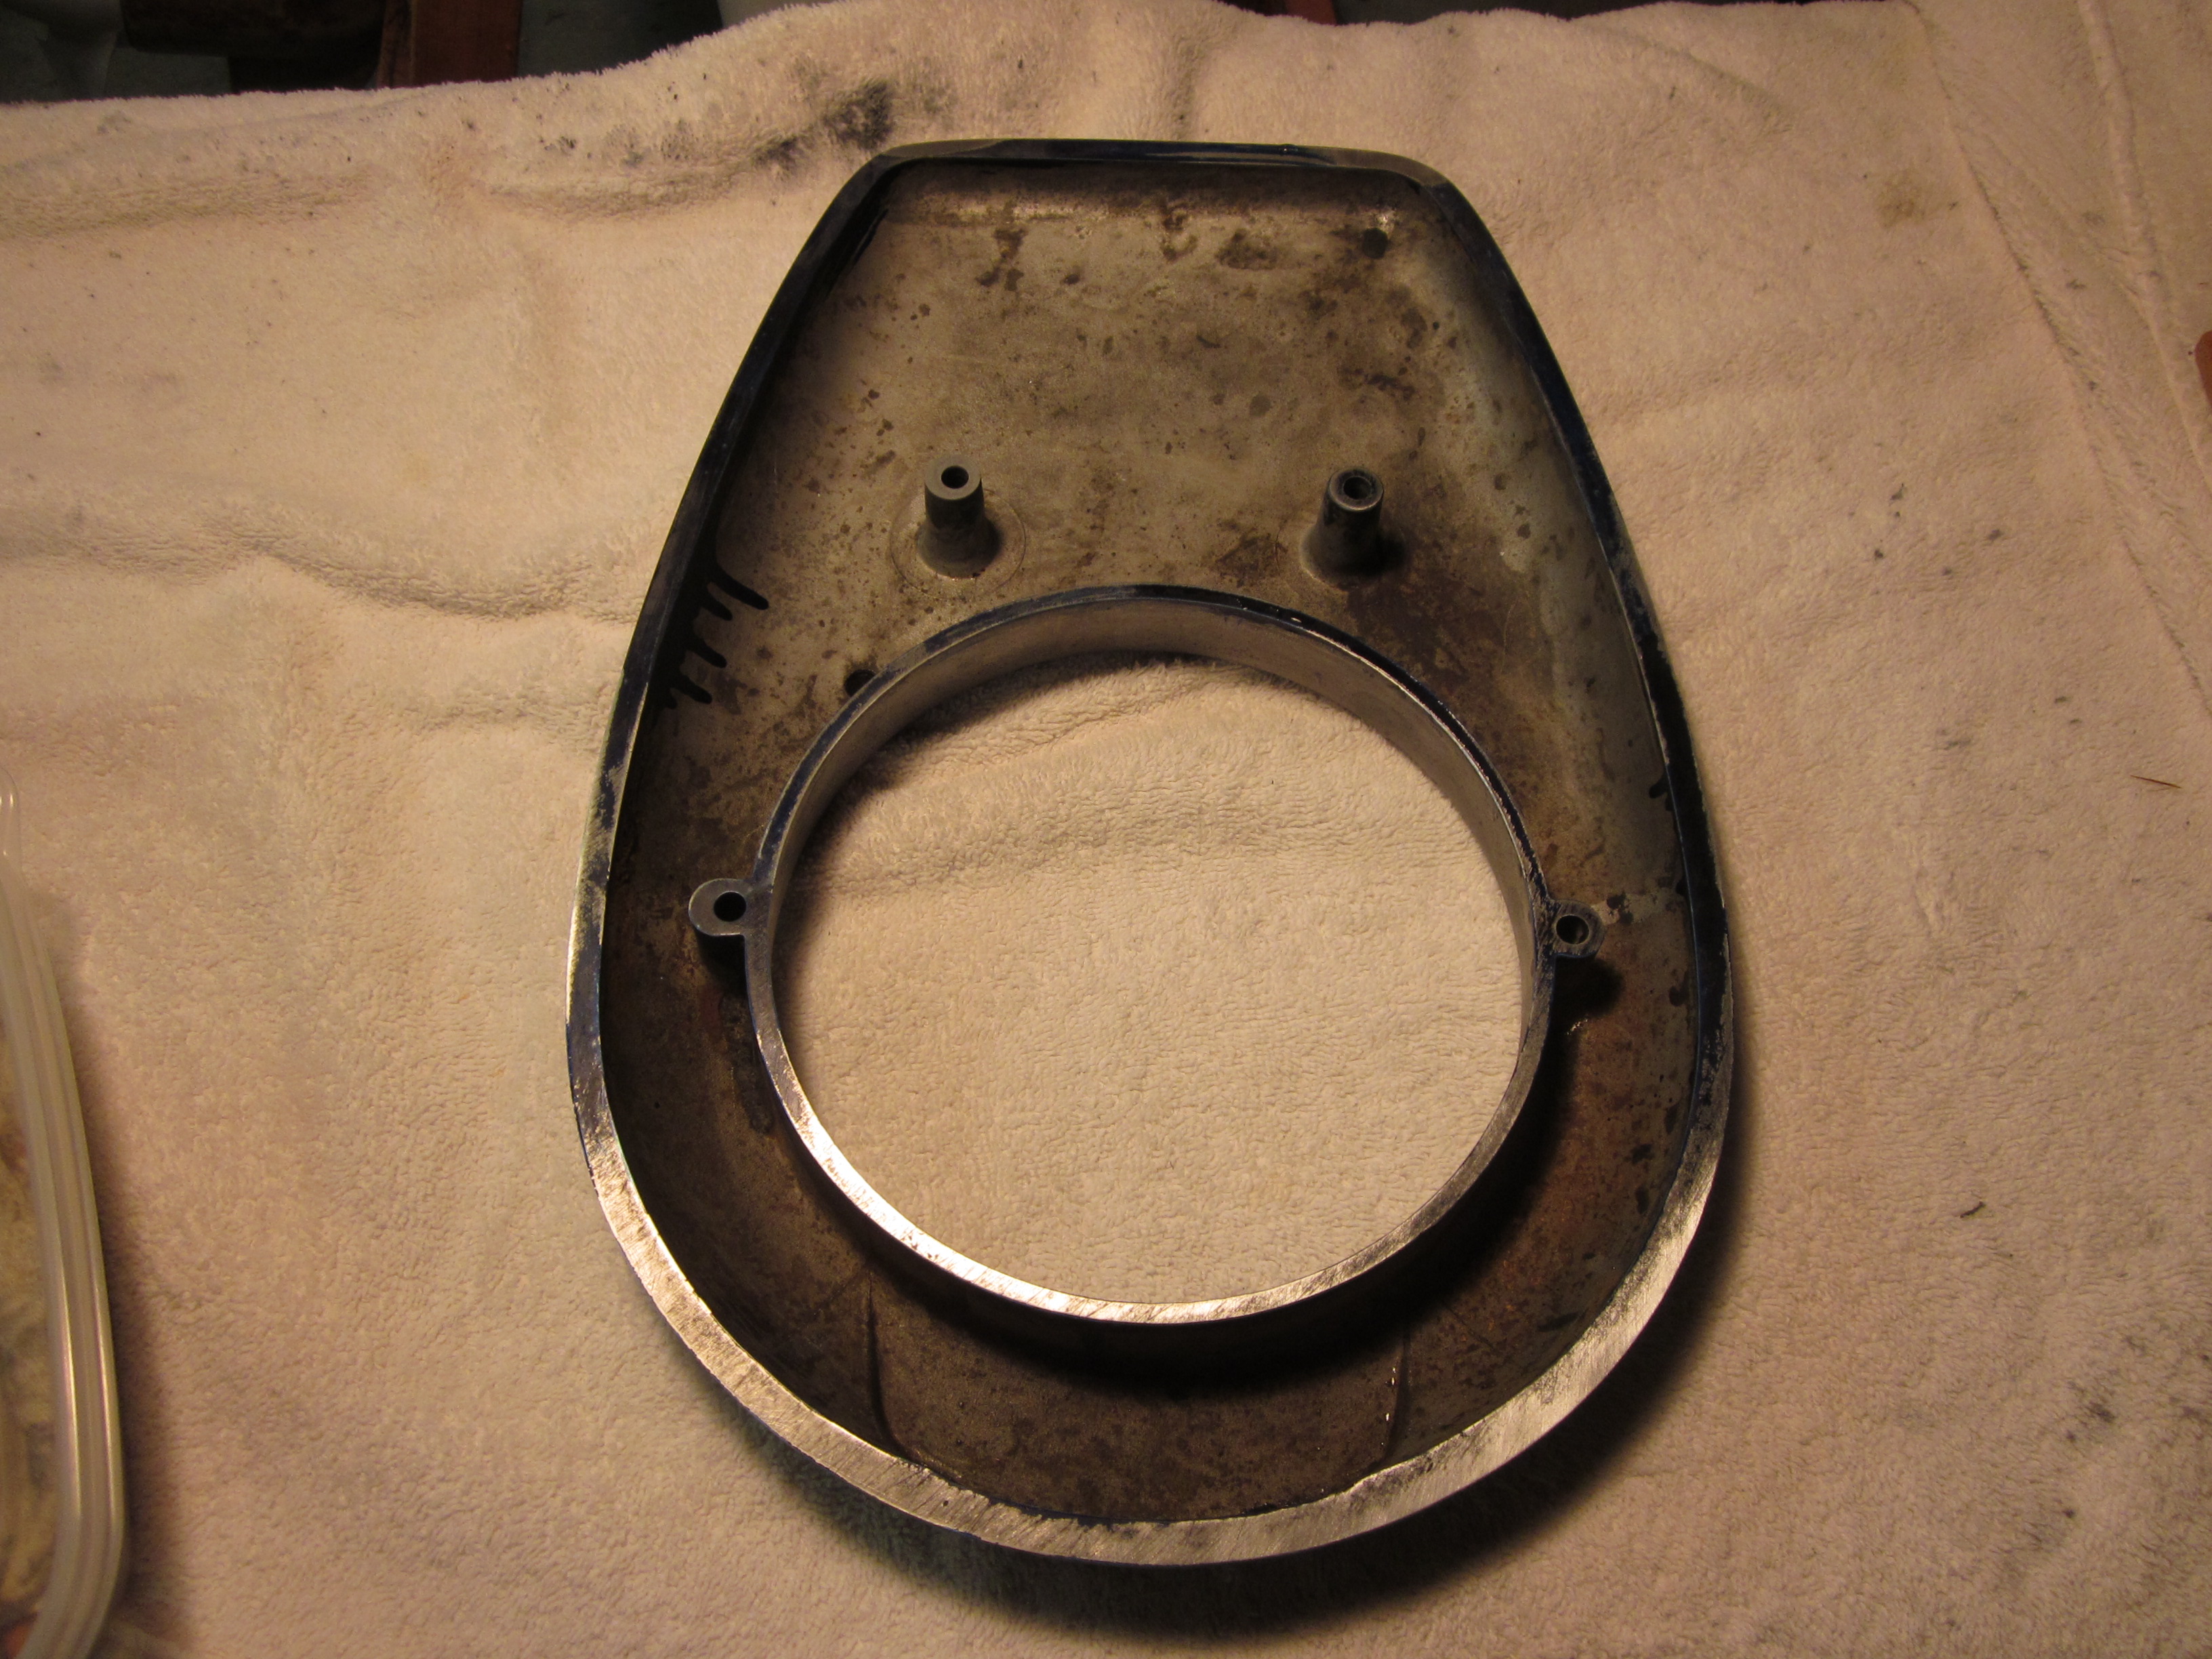
Attachments:
 February 28, 2018 at 10:44 pm #71739
Supposed to be the way to go and looks like you’ll get there. Is that paper backed? Maybe something with a cloth back????
February 28, 2018 at 10:57 pm #71742400, you might want to start with 220 or you’ll be there a long long time. Either way, you’ll get it.
February 28, 2018 at 11:22 pm #71744I bought a pack of 220 and a pack of 400….in a Sr. moment I selected the 400 to start with
Even 400 grit quickly reduced gap by at least half. Applied water with sponge before starting and as needed which may have been key to keeping paper from loading up.
After cleaning off mirror will try again with fresh Wet or Dry and a different adhesive.
I believe there is something specific made to stick abrasive paper to some types of
sanding wheels. Will ask questions at my hardware store.
Suggestions welcome
LouisMarch 1, 2018 at 12:38 am #71747Hi,
First post here. I have used valve lapping compound on a pane of glass to remove high spots on motorcycle engine covers. Spread some compound on the glass and work the part in a figure 8 motion. I think I used a couple drops of water to keep the compound moist while moving the part.
RobMarch 3, 2018 at 3:50 am #71888Tank flanges now fit together light tight…that is less than 0.001" I believe that is about the minimum gap light can be seen thru (or so I understand) True of not, the seam is more than good enough to reseal.
Interesting project that salvaged a prewar Kiekhaefr single cast aluminum tank. Learned a
a new skill and used a surface plate and a trash find mirror.
Problem with Wet or Dry and spray adhesive is neither holds up to water.
Next time I would like to see how valve grinding compound works for this purpose.
Due to limited area provided by 2 sheets of sand paper, it was not possible to really figure 8
I did vary direction as much as possible. Results more than satisfactory.A "short version" posted to Tools of Trade site for future reference.
Will also post a how to for resealing cast aluminum tank.
Louis
Attachments:
 March 3, 2018 at 8:33 pm #71918
Looks great. Probably a tighter seal than it had when new. Nice job.
-
AuthorPosts
- You must be logged in to reply to this topic.