Home › Forum › Ask A Member › 1957 Fleetwin 7.5
- This topic has 29 replies, 16 voices, and was last updated 5 years, 9 months ago by
dougs-outboards.
-
AuthorPosts
-
July 4, 2018 at 2:47 pm #79018
Thanks RC, I had already taken the nuts off. However, the lower rod was pretty well cemented in place with 50+ years of grime. All good now!
July 4, 2018 at 3:12 pm #79021Don’t forget to have a peek up inside the exhaust manifold to make sure it is not plugged up with carbon…
Follow Ben’s advice about the lower seal components, this is extremely important…
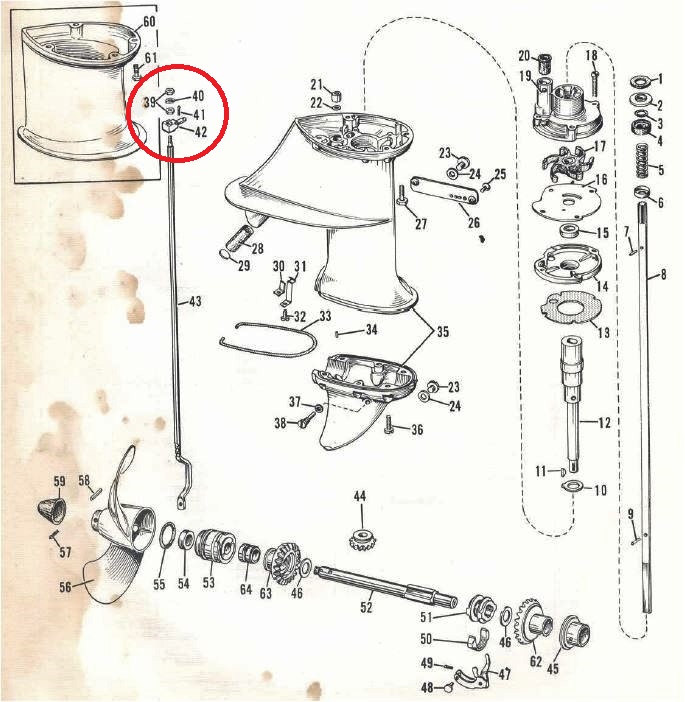
Ask questions if you are confused about those components, it is rather confusing…July 4, 2018 at 3:13 pm #79022These are the two nuts and washer being referred to, #’s 39 and 40. Also, when undoing the seven screws holding the powerhead on, check them for length as some motors had a few screws which were slightly shorter than the rest. The short one always goes to the rear as this hole goes thru the water jacket and if a long one is used, it could contact the cylinder causing problems. A bit of sealer on the threads will prevent any leaks.
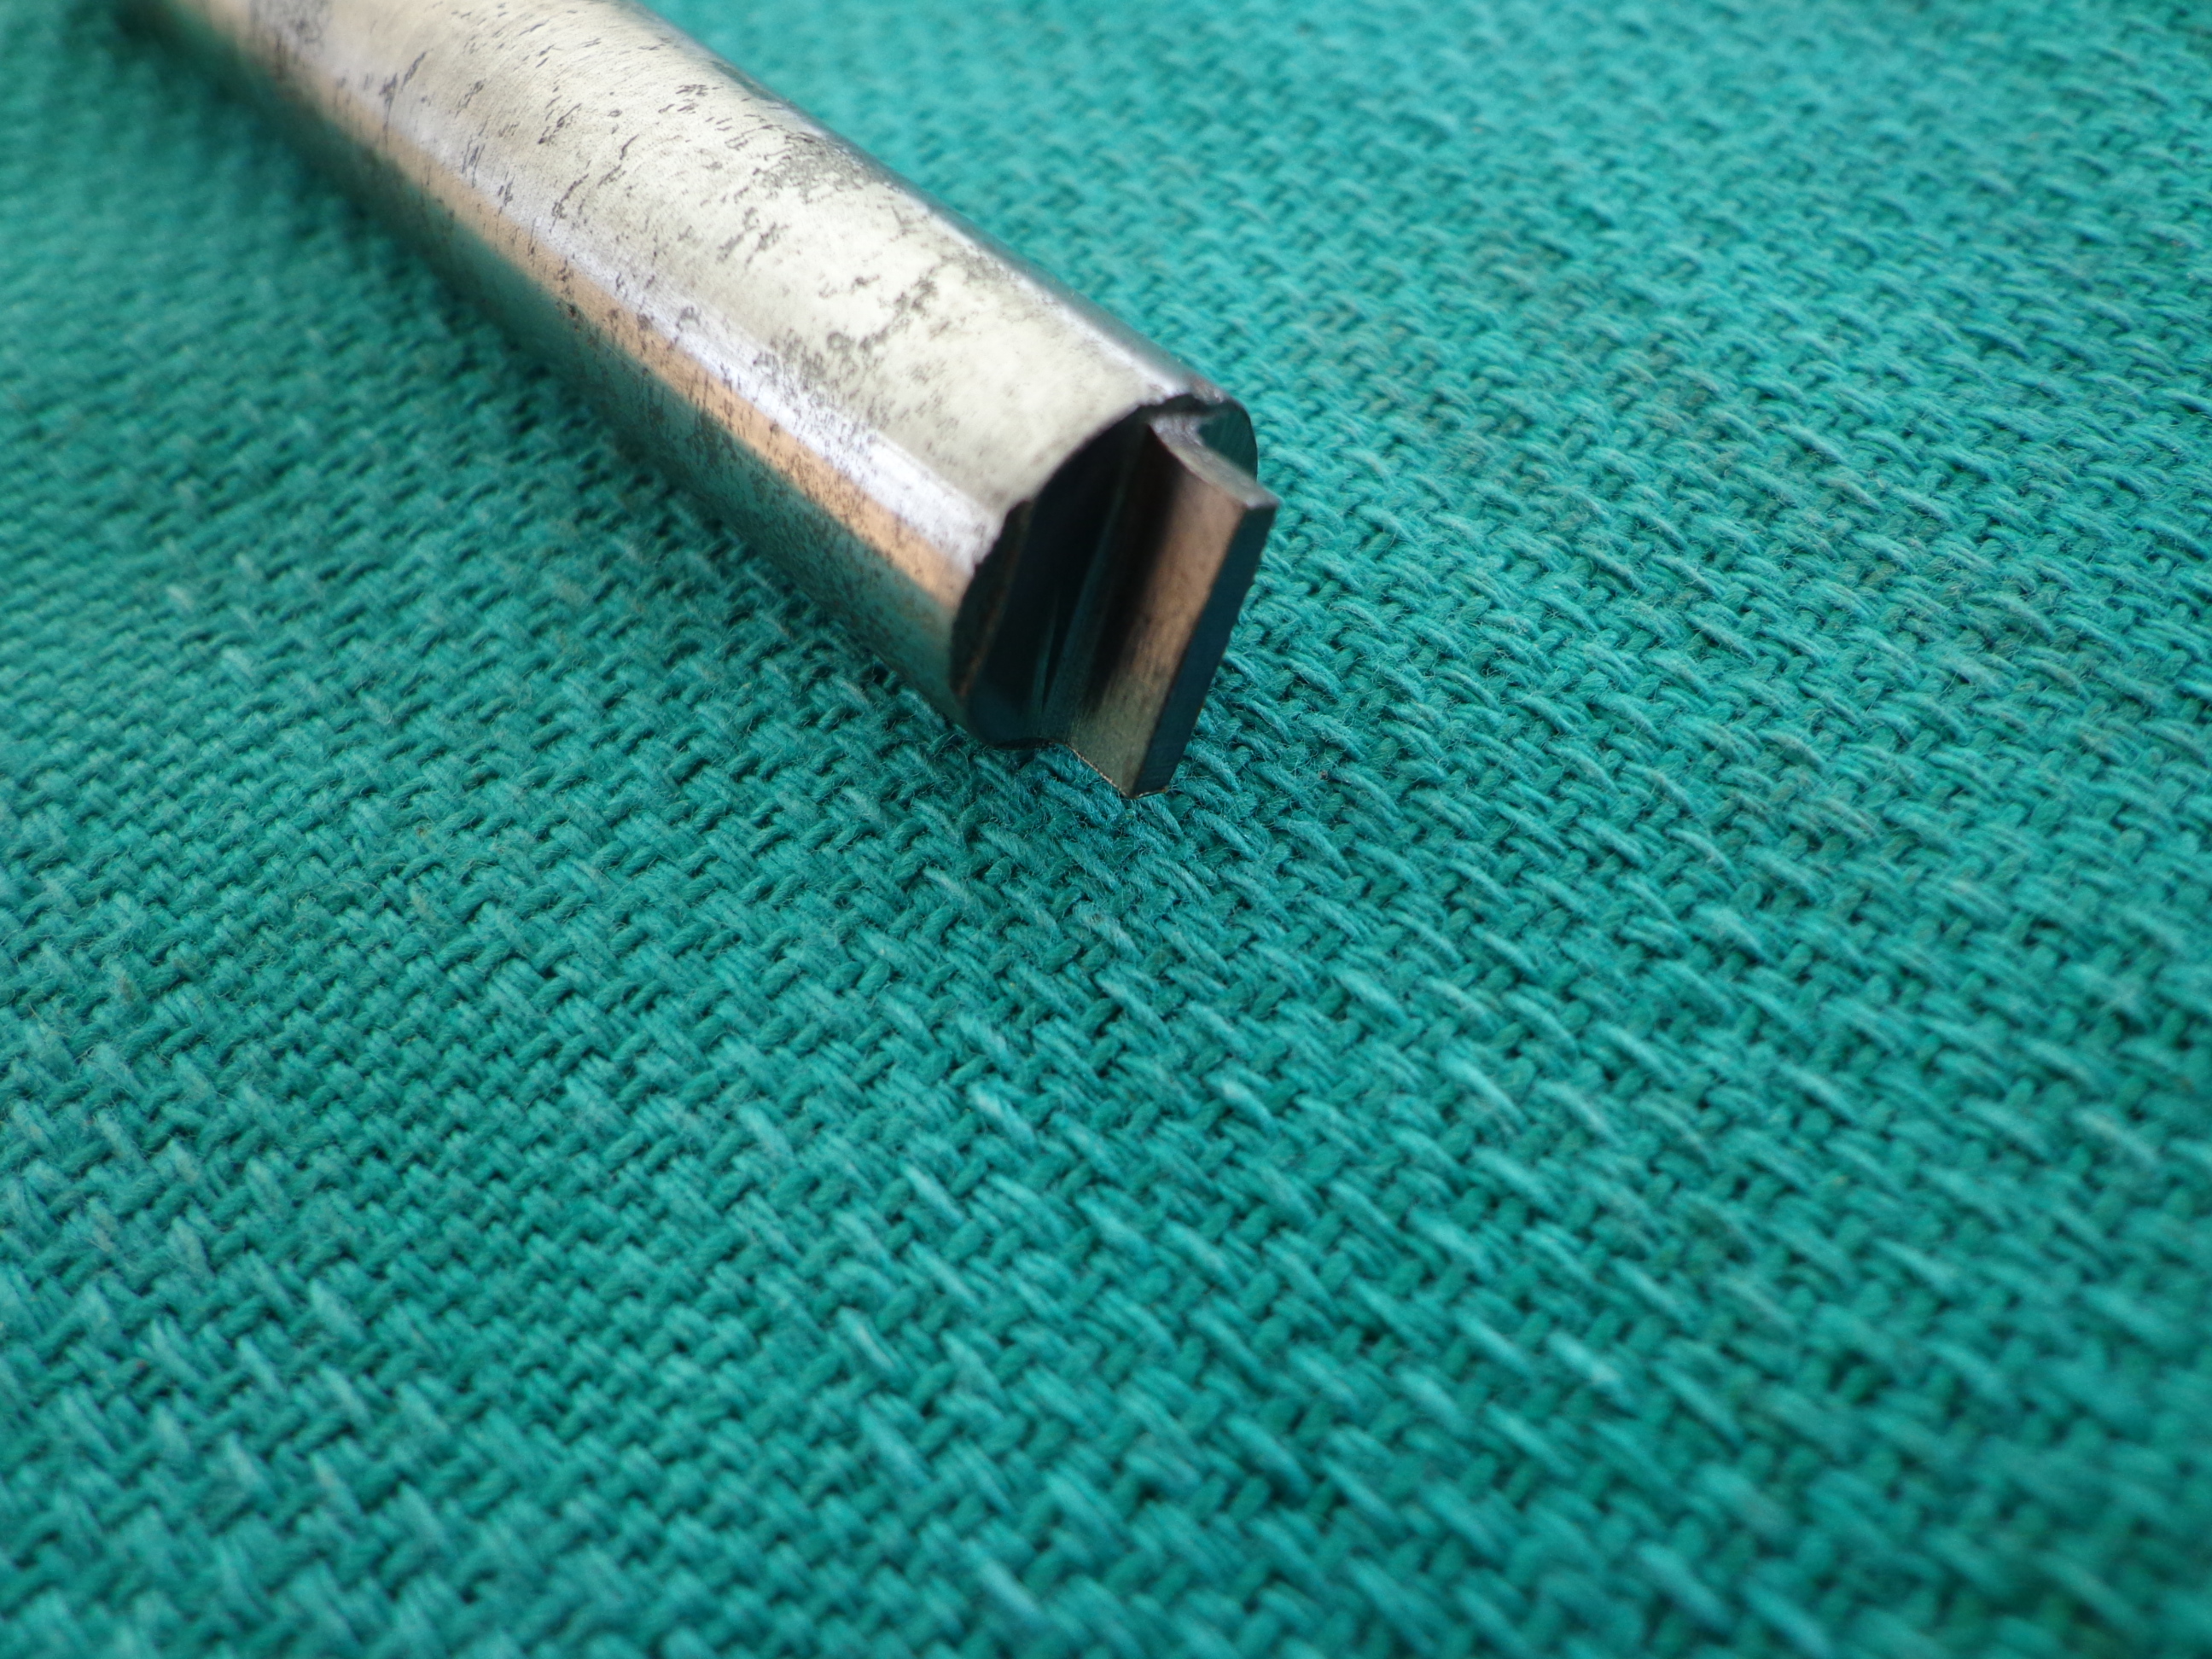
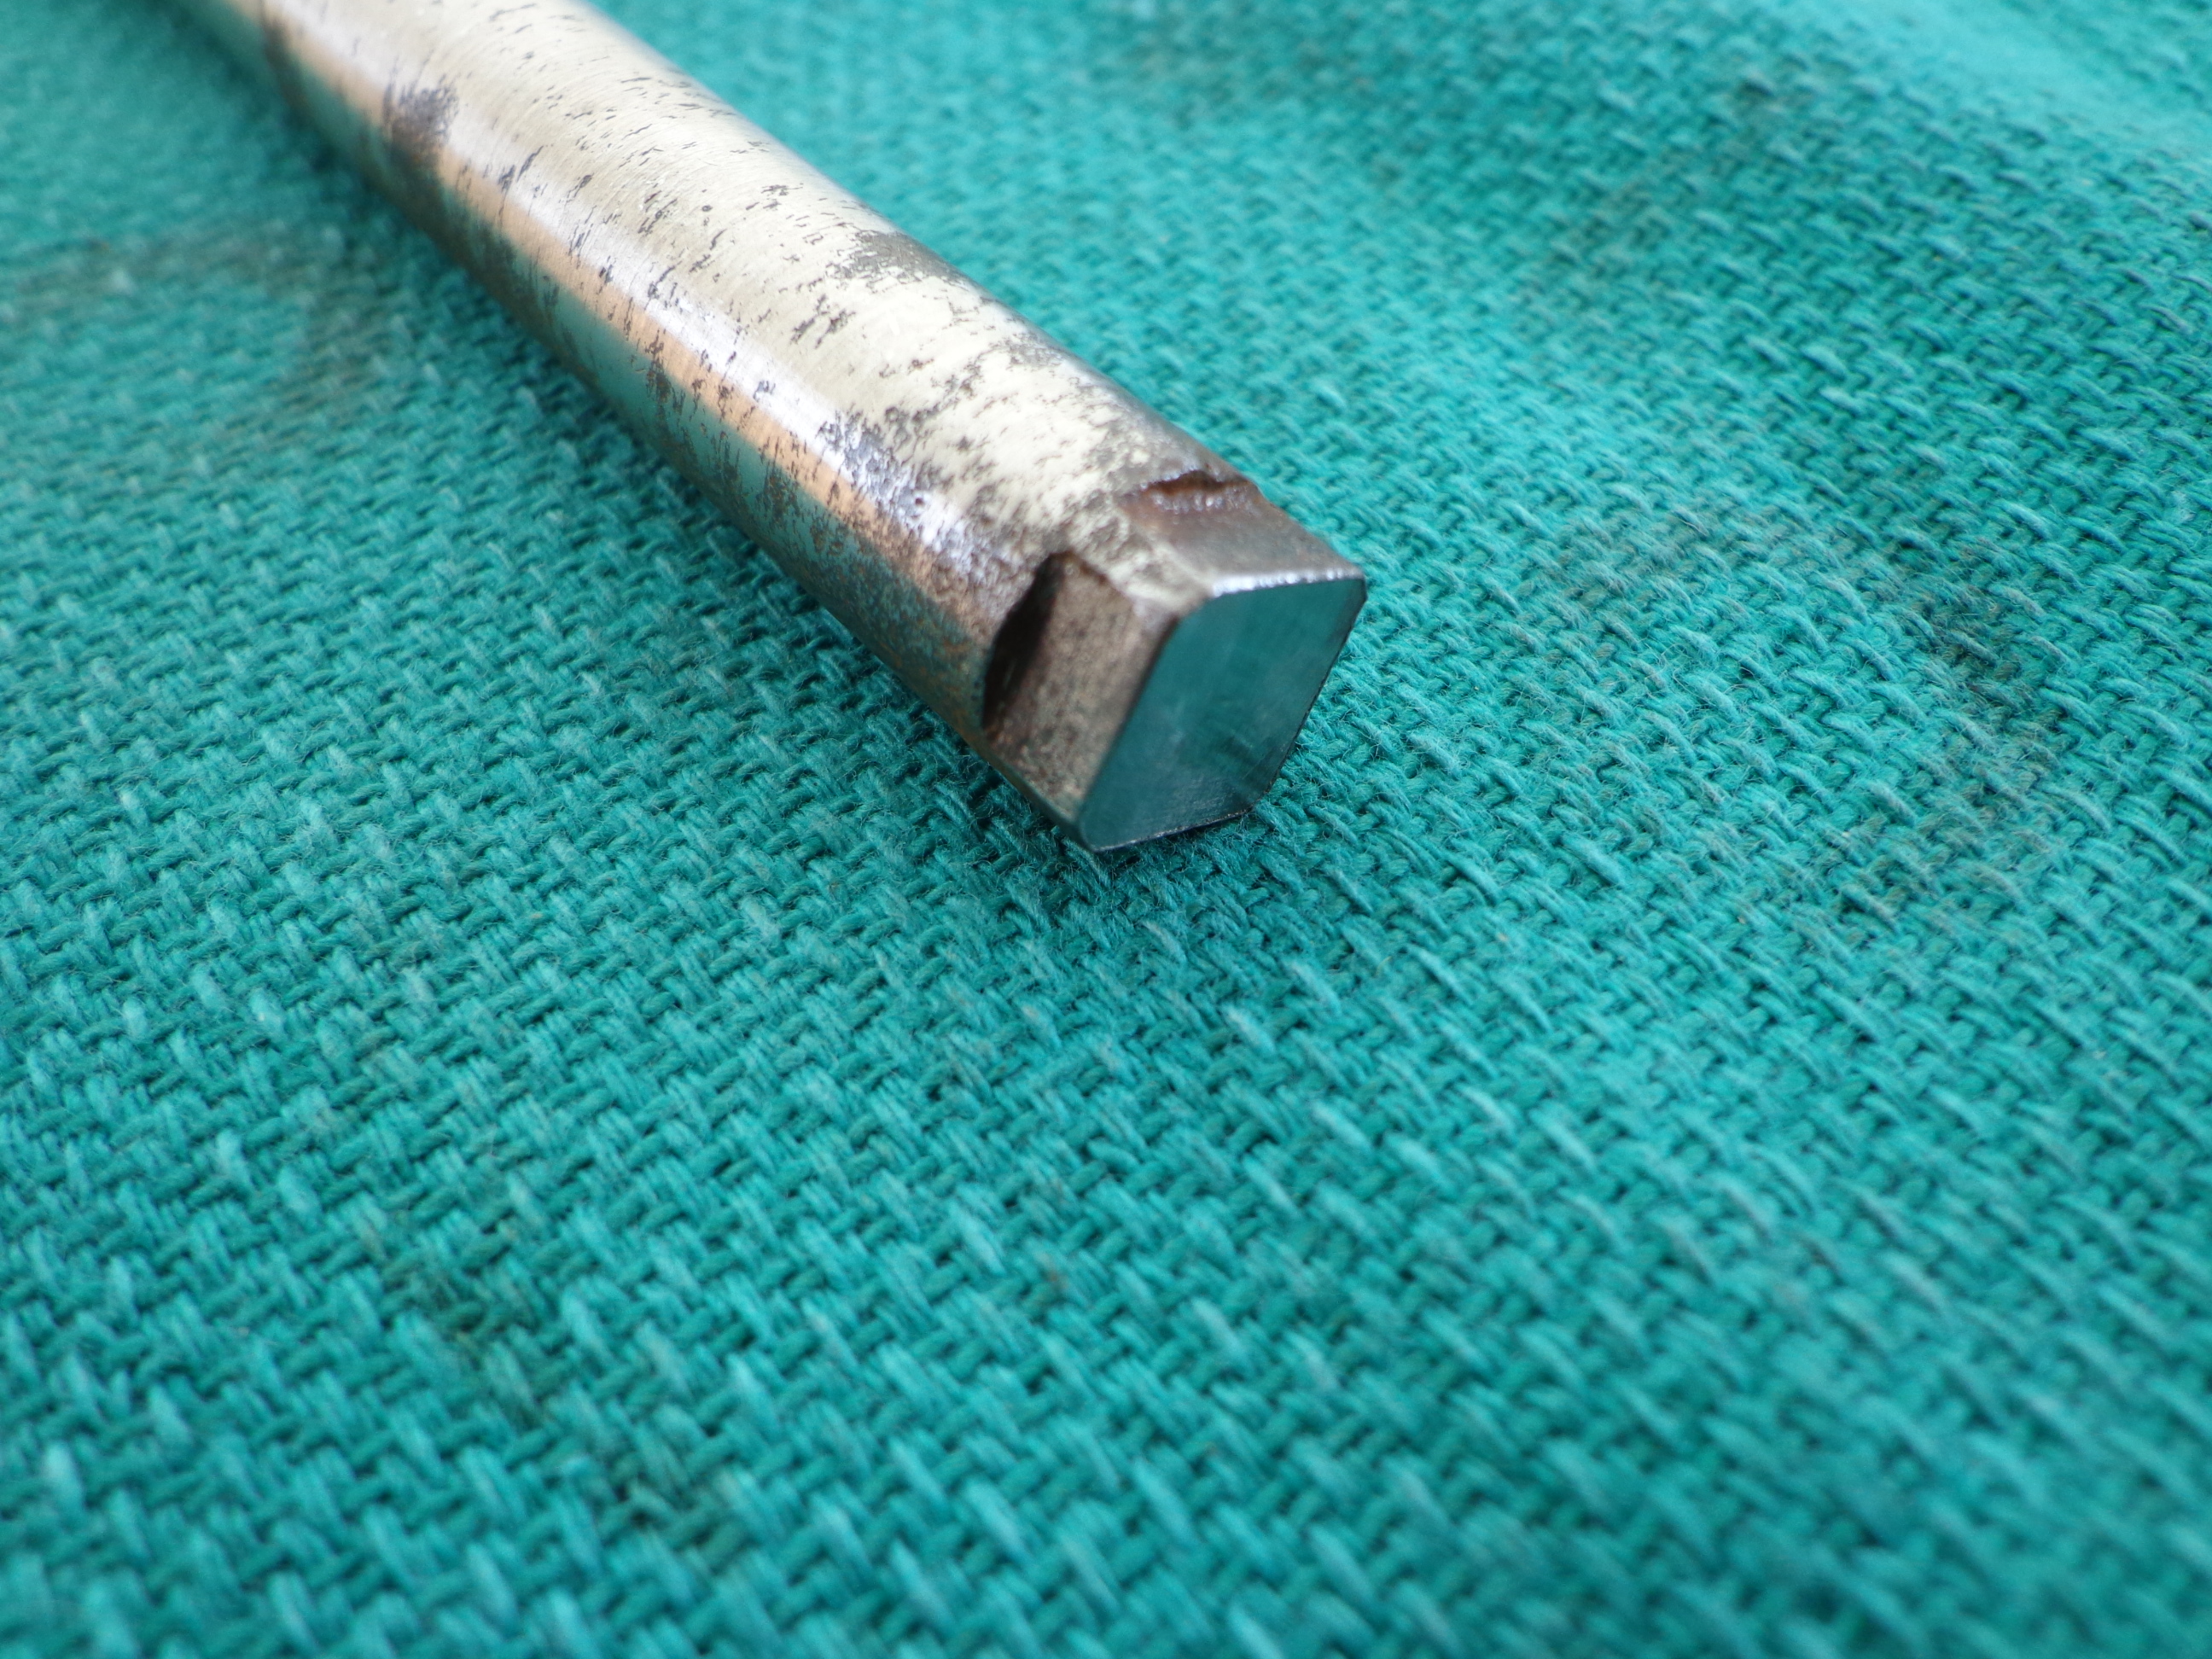
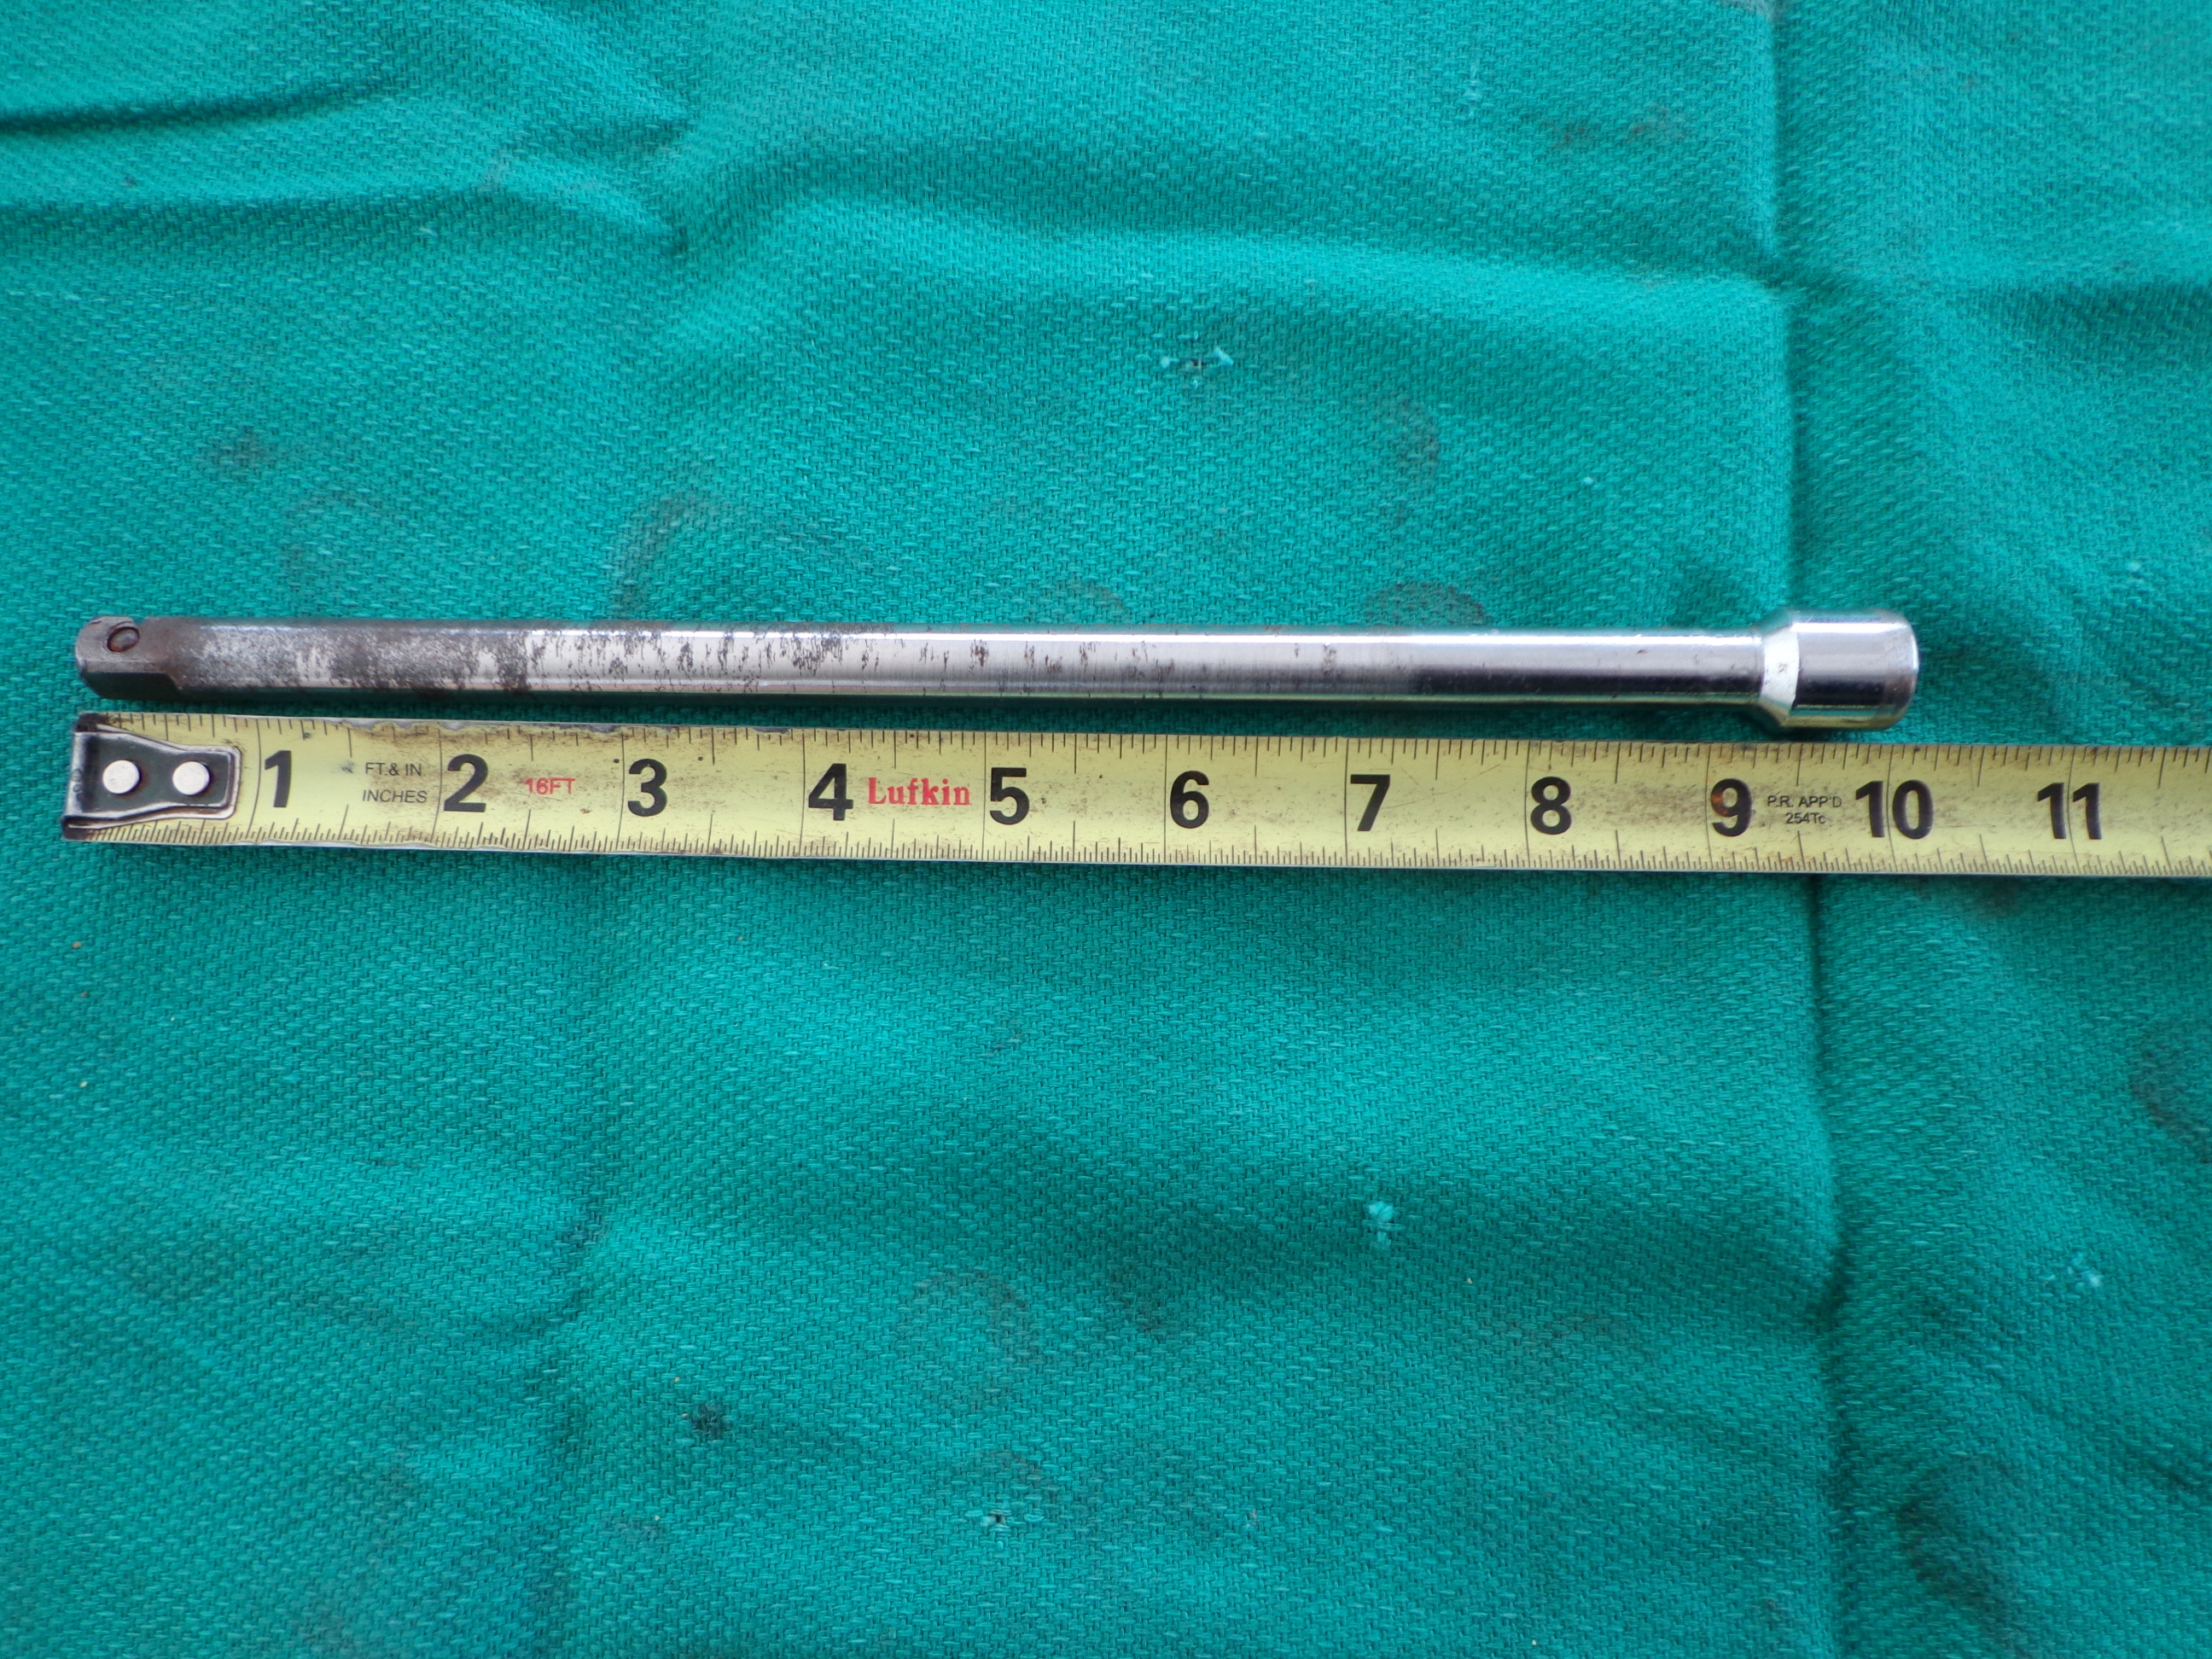
If the powerhead screws are hard to remove, an extension for a hand held impact driver can be made out of a cheap extension found at a garage sale or flea market.
Attachments:

 July 4, 2018 at 4:18 pm #79028
Thanks Mumbles. My hang up was #43 being stuck in #42. It seemed to me to be threaded in, and I couldn’t figure out how to unthread it. But it is all apart now. Time to reassemble and see if we can get her to run!
July 5, 2018 at 10:49 pm #79081I have the thing almost ready to run, but still no spark on one cylinder. I had cleaned an re-gapped the points. My ability to test coils here is limited, so I brought a spare coil and condenser (both new) with me. However, on the cylinder in questions, the brass label for the upper cylinder was actually on the lower cylinder. The wires have been replaced at some point in the past, so the question is how can I be sure the label is on the correct spark plug wire. In other words, how do I tell what coil goes to which cylinder?
Thanks,
Steve.
July 6, 2018 at 12:02 am #79086The coil located toward the FRONT of the motor is the one for the TOP cylinder. 😉
-BenOldJohnnyRude on YouTube
July 18, 2018 at 9:18 pm #79699Thanks for all the help on this motor so far guys. I ran out of time while I was at the lake. There was an issue with no spark on the one cylinder, but a new coil and condenser fixed that issue.
So, I tried to start it in a barrel today. Best I could get was for the thing to fire about 5 or 6 times in a row. It wants to start, but it isn’t getting there.
I am going to guess we have a fuel delivery problem. I had taken the carburetor, soaked the filter in Pine-sol for a couple of nights, blew it all out. Next came gasoline for a couple of nights, then blew it all out. I also blew out all the carburetor passages both with air and carb-cleaner. So, a couple of questions:
1. How far out should the needles be?
2. Not sure why, but my pressure tank leaks fuel from around the primer shaft. It’s a new diaphragm, but I suppose I could have missed an O-ring if there is one in there. Would a minor pressure leak cause it to stall after 5 or 6 rotations?
3. Any other directions I should look?
Thanks,
Steve.
July 18, 2018 at 11:11 pm #79704Primer shaft leaks are the norm for people working on one for the first time. The diaphragm supports need to be flat in the center, and the end of the push rod has to be flat (around the threaded part), and you should put a dab of sealer on that flat primer rod end. The gas is going through the hole in the diaphragm.
Also, the button should be free to rotate on the push rod, otherwise you tend to unscrew it from the nut at the bottom as you push it to prime.
July 19, 2018 at 12:07 am #79706Initial needles settings are 1 1/2 open for low speed, 1 turn open for h.s. Adjust from there.
July 19, 2018 at 5:56 pm #79727All my motors run well at about 1- 1 and 1/4 turns out for low speed needle, and about 1/3 turn out for the high speed. Knowing it will end up on the final tune as these settings, I dispense with the 1-1/4 and 1 turn out and simply go to these automatically.
NOTE: If you open the high speed any more than 1 turn out it will cause starting problems and flood the motor. I scratched my head about this and learned the hard way. Had a perfectly good running motor, til I opened up the high speed needle too much and then had starting/running probs. I know, if it was running perfectly, why did I open the high speed needle more? Dunno, but it happened right when I was trying to demonstrate the motor to a customer. Finally smoothed out and he was happy then and bought it.
-
AuthorPosts
- You must be logged in to reply to this topic.