Home › Forum › Ask A Member › 6r74c missing parts ??
- This topic has 34 replies, 6 voices, and was last updated 6 years, 5 months ago by
 fisherman6.
-
AuthorPosts
-
November 20, 2017 at 9:13 pm #67710
You might want to get the proper gasket as it’s fairly thick and controls the amount of crush on the seal.
November 21, 2017 at 3:27 pm #67751Deep creep is creeping in I have about 20 degree movement on the flywheel so it is loosening up slowly ..for now with some alternate peg poking
i’ll let the stuff soak the rings a few days
9 celcius 48-49 F …..in Montreal … really warm winter day 😀
Joining AOMCI has priviledges 🙂
November 21, 2017 at 5:12 pm #67758Sounds like those are just pieces of the thermostat that have come apart….
I would not worry about the rust on the cylinder walls…Clean the walls up with some light crocus cloth. The question is whether or not the rings are stuck….This engine does not have intake bypass covers making a visual inspection tough….Trying to remove the exhaust cover may open a can of worms if the screws are stuck and snap off….
I would point the pistons up toward the sky, then add whatever kind of soaking juice you prefer….Then try tapping with the wood block in a few days….
Once the pistons are freed up, then you can remove the powerhead and have a look at the exhaust hsg….I wouldn’t give up on this project quite yet, these engines are pretty tough and will continue to run nicely even with some imperfect conditions inside….November 21, 2017 at 9:37 pm #67768your my man fleet 😀
with my nice TN27 and this modern brother I got all winter to save them both before ice out 😎
Attachments:
Joining AOMCI has priviledges 🙂
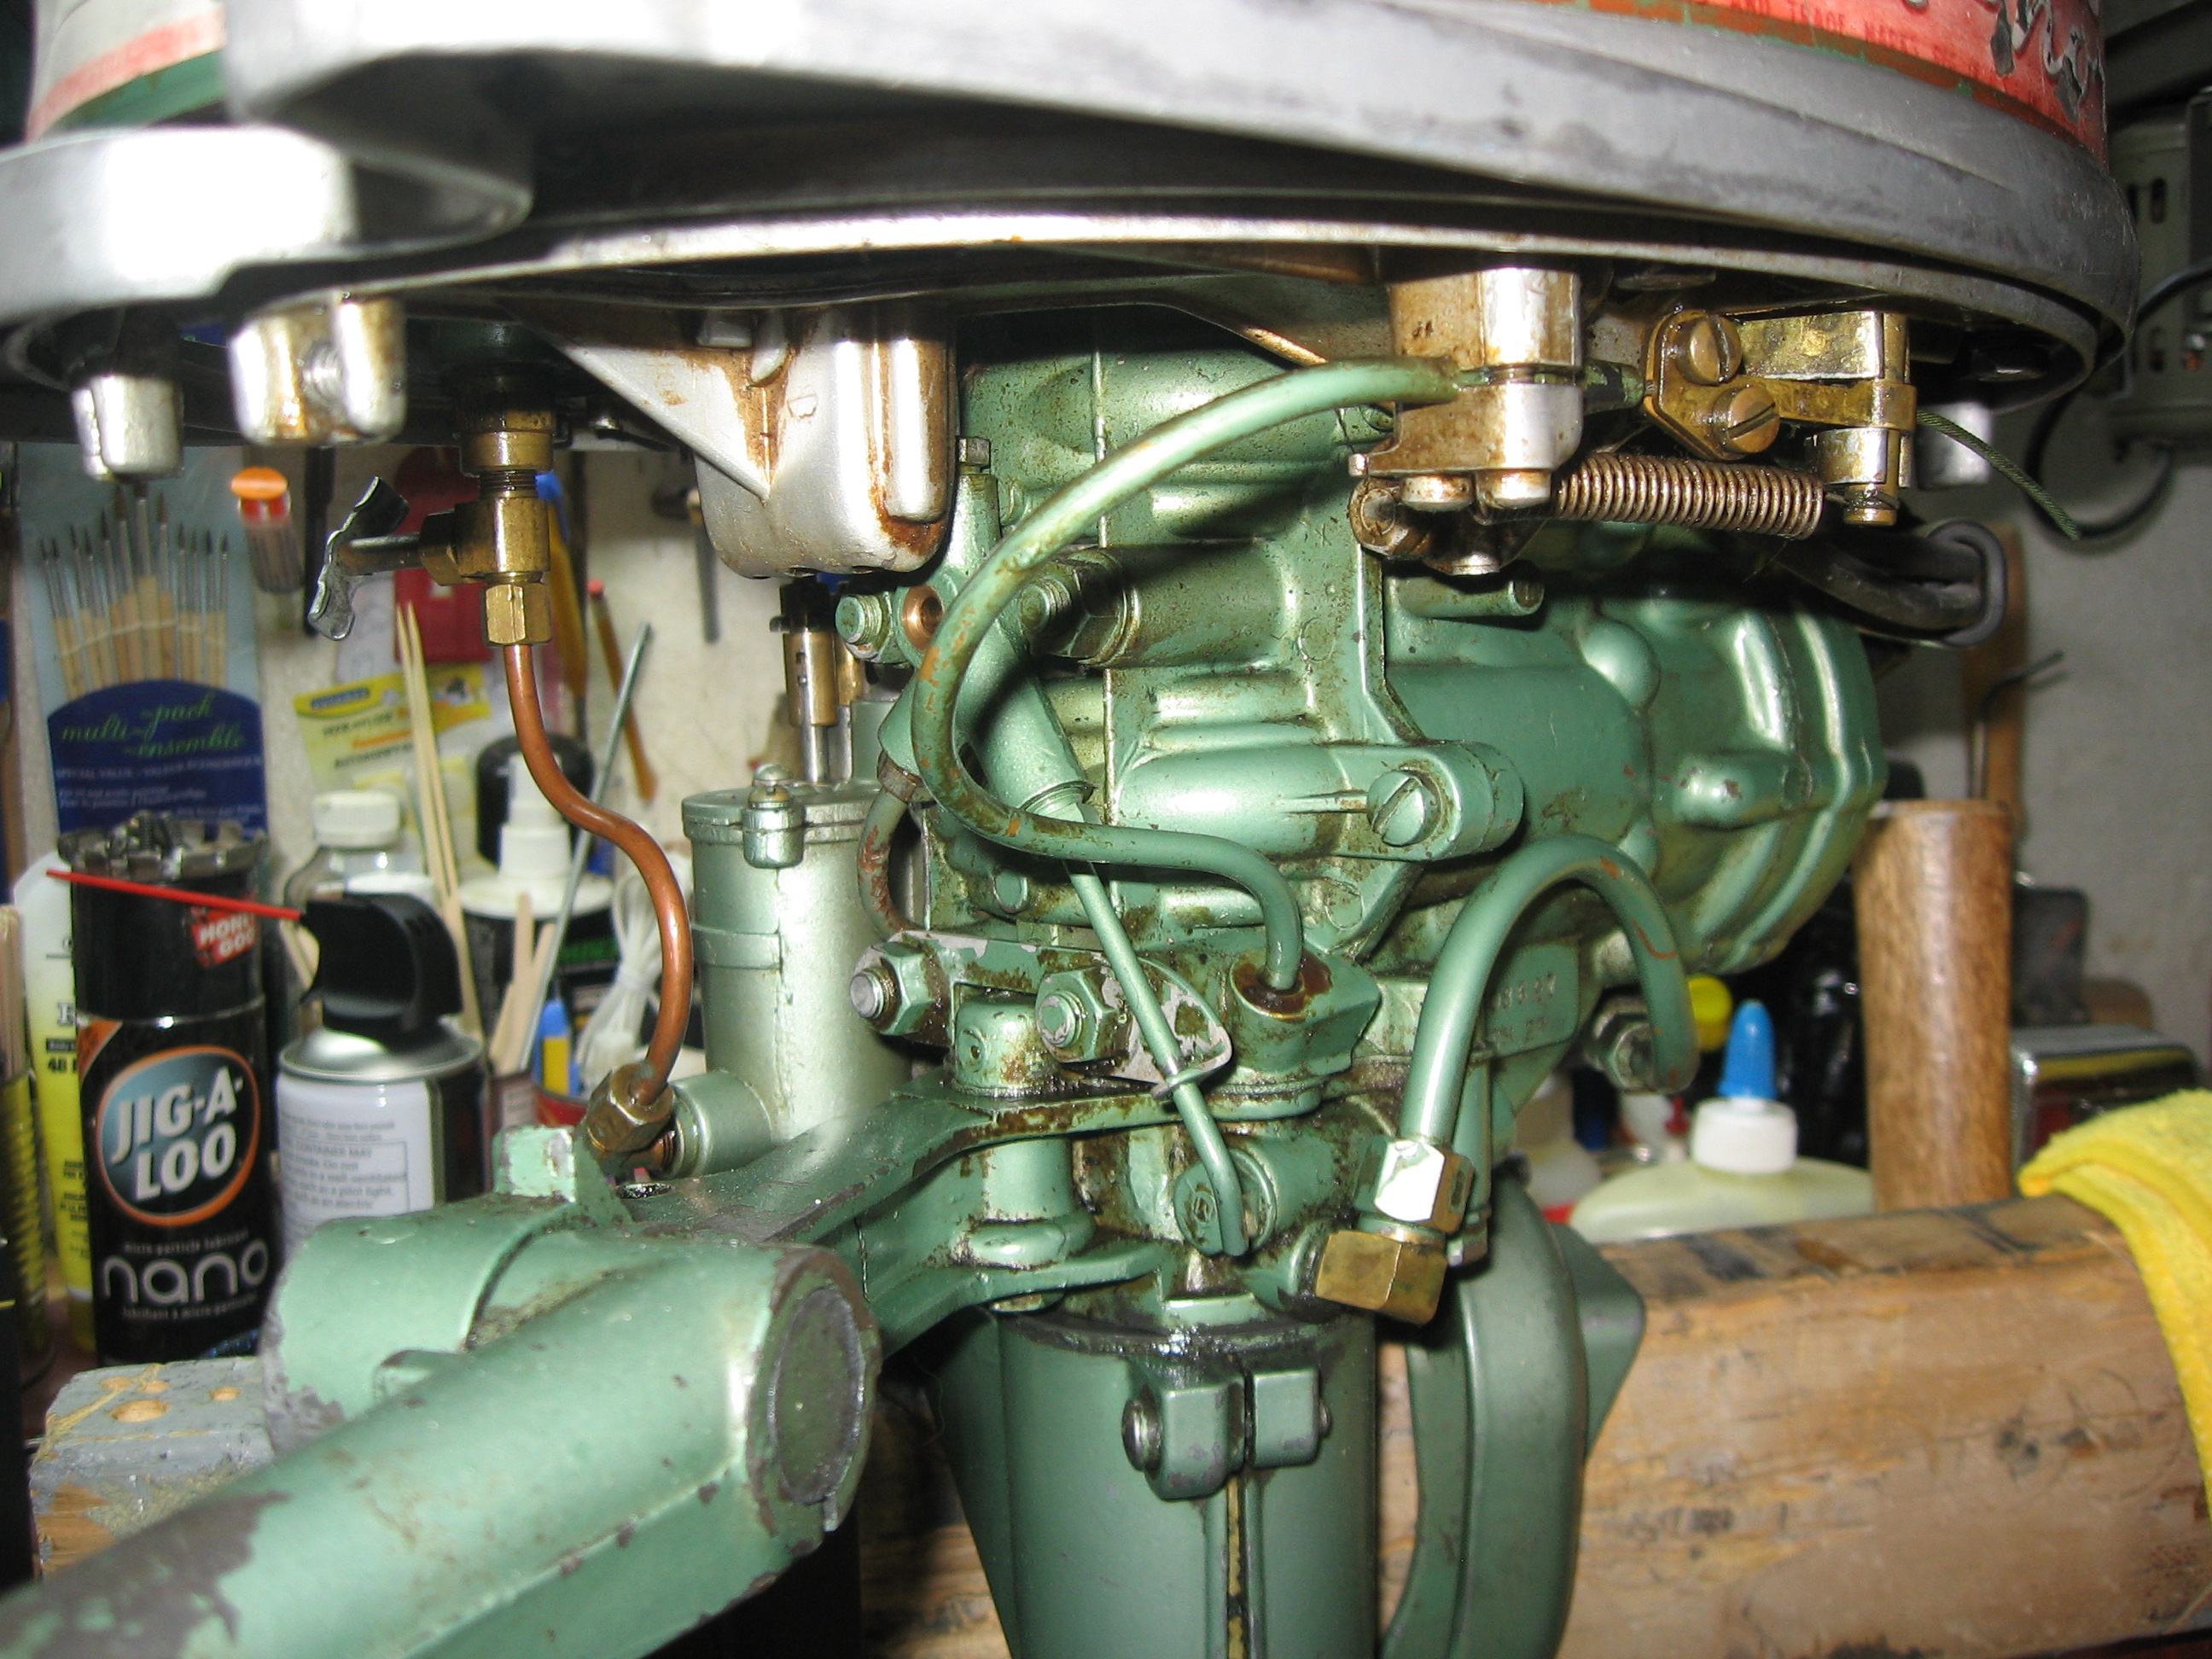
November 22, 2017 at 1:55 am #67781Once the powerhead is off, and the pistons are freed up, you can remove the intake manifold and sneak a peek at the rods to ensure none of the water got on the rods/bearings….I don’t know if you can get the manifold off without disassembling the starter though, guess it depends on whether or not the rewind spool covers any of the manifold screws….
Can’t wait to hear this thing purr next spring….November 22, 2017 at 5:11 am #67790i have some close reading to do on that starter because it is in the way of the carb retainer nut and that snake of a spring seems to be a challenge
to deal with if it jumps outI’ll tackle it after the piston and rings are freed up enough to warrant deeper exploration
Joining AOMCI has priviledges 🙂
November 22, 2017 at 2:44 pm #67801You don’t need to fully disassemble and remove the starter just to reach the carb nut that’s hiding behind it. If you remove the nuts from the top of the starter and carefully lay it over to the side, you’ll be able to reach that nut to R&R the carb without any worries of dealing with that spring. Those starters are not as bad to deal with as they appear in the event you need to completely remove it for something. I don’t take them apart just for kicks though. Unless it needs repair, I just lift it slightly and may not out of the way for carb access.
-BenOldJohnnyRude on YouTube
November 22, 2017 at 3:32 pm #67802😀 😀 😀 😀 sounds good already carb wise
what about full ph removal … is the starter simply left in place attached to the ph ?
update ……
SUCCESS….. 😀 😀 pistons now free
I pulled the side fuel pump to spray some deep Creep inside the crankcase and any resistance immediately disappeared
Come to think of it… 💡
it is to bad these engines don’t have a small opening (1/8 inch) sealed with a bolt on the side of each crankcase cavities (upper and lower cyl) allowing access to spray storage foam on the bearing & innards for effective, maintenance , oiling and protection during long term storage.
I can turn the flywheel smoothly by hand ad it turns like a switch watch no abrasion sounds
backsprayed some storage foam in the crankcase via the now available inlet ports to soak the innards a bit
I think things a looking up….I’ll pull the head anyway for a look/see underneath but for now I won’t be splitting this one in two .. impeller, carb kit and electricals should brig this one back to life 🙂
dang…. I may need another project motor before winter really starts 😆
Joining AOMCI has priviledges 🙂
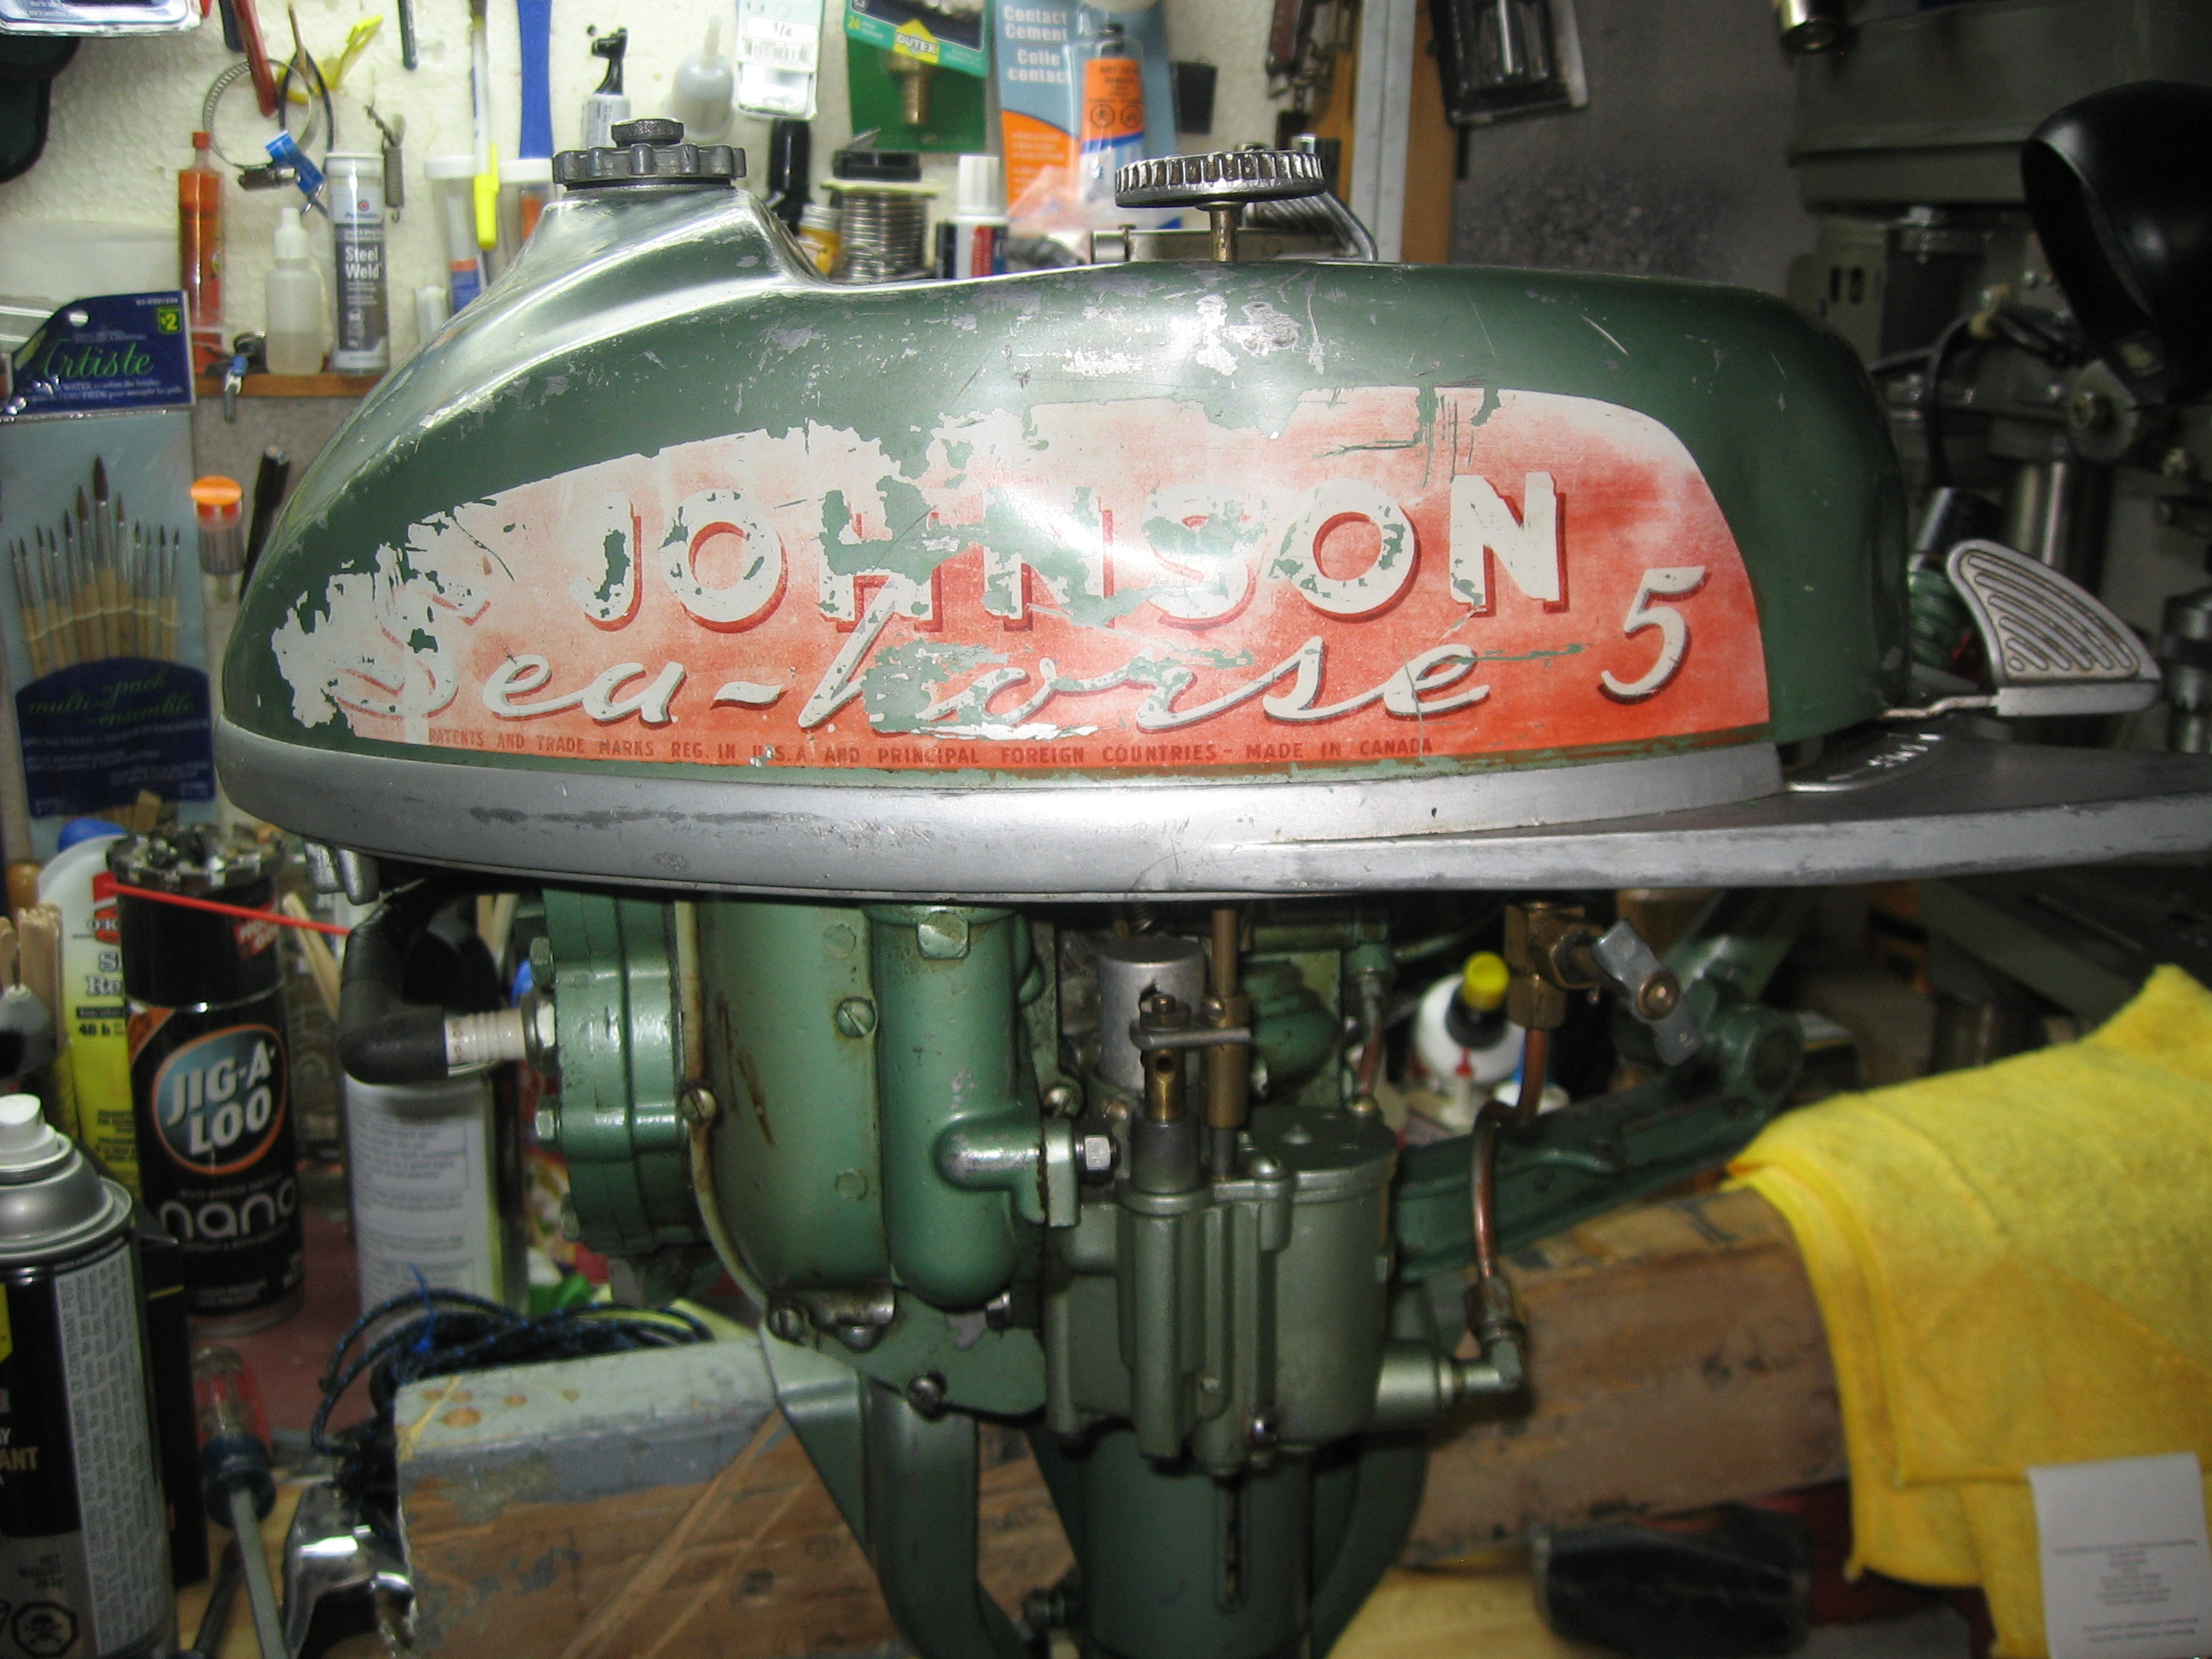
November 22, 2017 at 6:06 pm #67815OK, seems like the engine was just stuck due to being dry, and some surface rust….Guess I would not go through all the trouble of pulling the intake manifold.
As for pulling the powerhead, there is no need to disassemble the rewind starter during powerhead removal. I am assuming you have the two piece (rubber starter grip with aluminum insert) rewind grip. If so, simply pull the grip apart and "unthread" the rope from the rewind insert. Be very careful not to let the rewind "unwind completely" by tying a loose knot in the rope which will jam between the spool and guide keeping the recoil properly wound. Might be easier to have an "assistant" help hold the rope while you remove the grip and tie the loose know though, the rope slips out of your grip real easily…..
I am assuming the seven powerhead bolts will come out easily because this is a fresh water motor. The choke will have to be disconnected, and you might find it easier/safer to just remove the low speed needle to avoid interference, damage during the project. Remove the vertical throttle rod and disconnect the fuel inlet line, the powerhead will be off in minutes.
And yes, you will need more winter projects to keep you busy, this one will not take up too much time….November 28, 2017 at 4:54 pm #68024update…
well I pulled the head to check out suspected casting flaws….at the bottom of the cavity just below the ph
turns out each separate sections (divisons) pictured in mumbles photo does in fact have a hole about 1/8 inch unseen in the picture due to the shadows in each corner . The holes… presumably to drain those individual sections .
The ragged hole in my picture where I suspected a casting flaw is larger but unlikely to cause any grief. In any event I did some dental surgery with steel epoxy paste to fill the enlarged "cavity" leaving a hole the same size as the other ones for "drainage"
Engine wise with the head off I found no carbon deposits to speak of but surfaces were dark Seals looked fine to me anyway
Carb wise… some brown buttery crap, float looked almost new but stuck hard on the pivot. It loosed up . The carb looks good and will only need a wash and blow job 😯thats it for now… looking good overall
gearcase drained …no water impeller blades nice and soft
Joining AOMCI has priviledges 🙂
-
AuthorPosts
- You must be logged in to reply to this topic.