Home › Forum › Ask A Member › Caille Neptune Gas Tank Repair?
- This topic has 94 replies, 15 voices, and was last updated 3 years, 4 months ago by
 Buccaneer.
-
AuthorPosts
-
December 4, 2020 at 6:58 pm #224240
Buc, I would do the bottom to the sides complete, all soldered and then attach , rivet and solder the brass pieces. When you say “crimp” , if you mean the inner “s” bend, I did not crimp any of those joints before soldering, however I suppose that it might be a good thing while you can access them on the bottom panel.
Your work is looking very good…
Gas cap>>> the raised “blade” is the correct style.
Joe B
December 4, 2020 at 8:33 pm #224270 December 4, 2020 at 9:16 pm #224271
Buc, I would do the bottom to the sides complete, all soldered and then attach , rivet and solder the brass pieces. When you say “crimp” , if you mean the inner “s” bend, I did not crimp any of those joints before soldering, however I suppose that it might be a good thing while you can access them on the bottom panel.
Your work is looking very good…
Gas cap>>> the raised “blade” is the correct style.
Joe B
Joe, with the way you suggest, I could do some soldering inside the tank
as well to increase my odds of no leaks. Yes, by crimping I meant
tightening the joints up mechanically before soldering, hammering
the small “fold”, locking the side panel tighter.
Maybe I’ll start on a gas cap tomorrow if I have some round stock
the correct size.
Thanks!Prepare to be boarded!
December 4, 2020 at 9:19 pm #224272Tubs, I can see with the motor in your photo, your idea would be excellent
as it’s a shoret and rigid connection between the tank trough and mixer,
but my Caille is connected with about 6″ of fuel line, so the placement
of the trough isn’t that critical.Prepare to be boarded!
December 5, 2020 at 12:12 pm #224301Buccaneer, Hope you can help me!! I have a 1932 Neptune ob5. I have Know idea of its starting procedure, would You know how to start this??? Not sure how to set the points? Any idea of what the replacement ignition condenser would be? Replacement Coil? I would appreciate any help You can provide me or any direction to go from here. Thank You. OLDE!
December 5, 2020 at 2:52 pm #224330Buccaneer, Hope you can help me!! I have a 1932 Neptune ob5. I have Know idea of its starting procedure, would You know how to start this??? Not sure how to set the points? Any idea of what the replacement ignition condenser would be? Replacement Coil? I would appreciate any help You can provide me or any direction to go from here. Thank You. OLDE!
Olde, Suggest you start a new thread and include photos if possible.
I think you’re talking about a twin, opposed cylinder?
I believe some of these had the troublesome Eisemann coils,
that are NLA, but a lot of time the coils can be retrofitted
with another brand of coil.
This is a photo of my 1936 OB34A Neptune with the Eisemann coil.
Is your similar?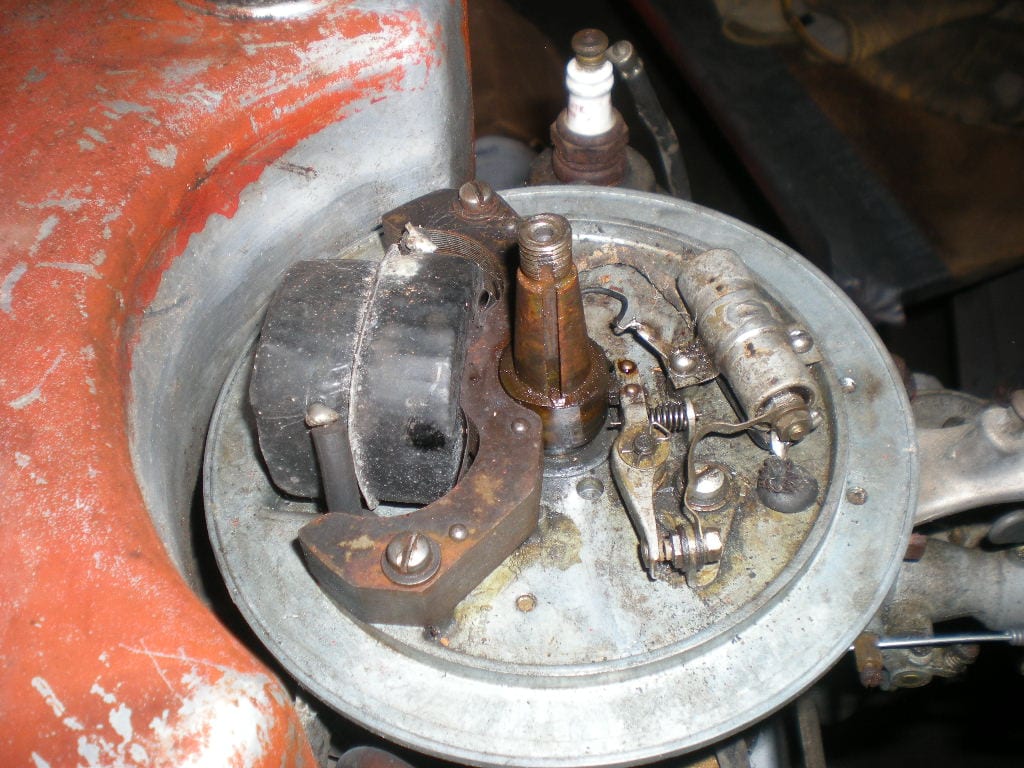
Prepare to be boarded!
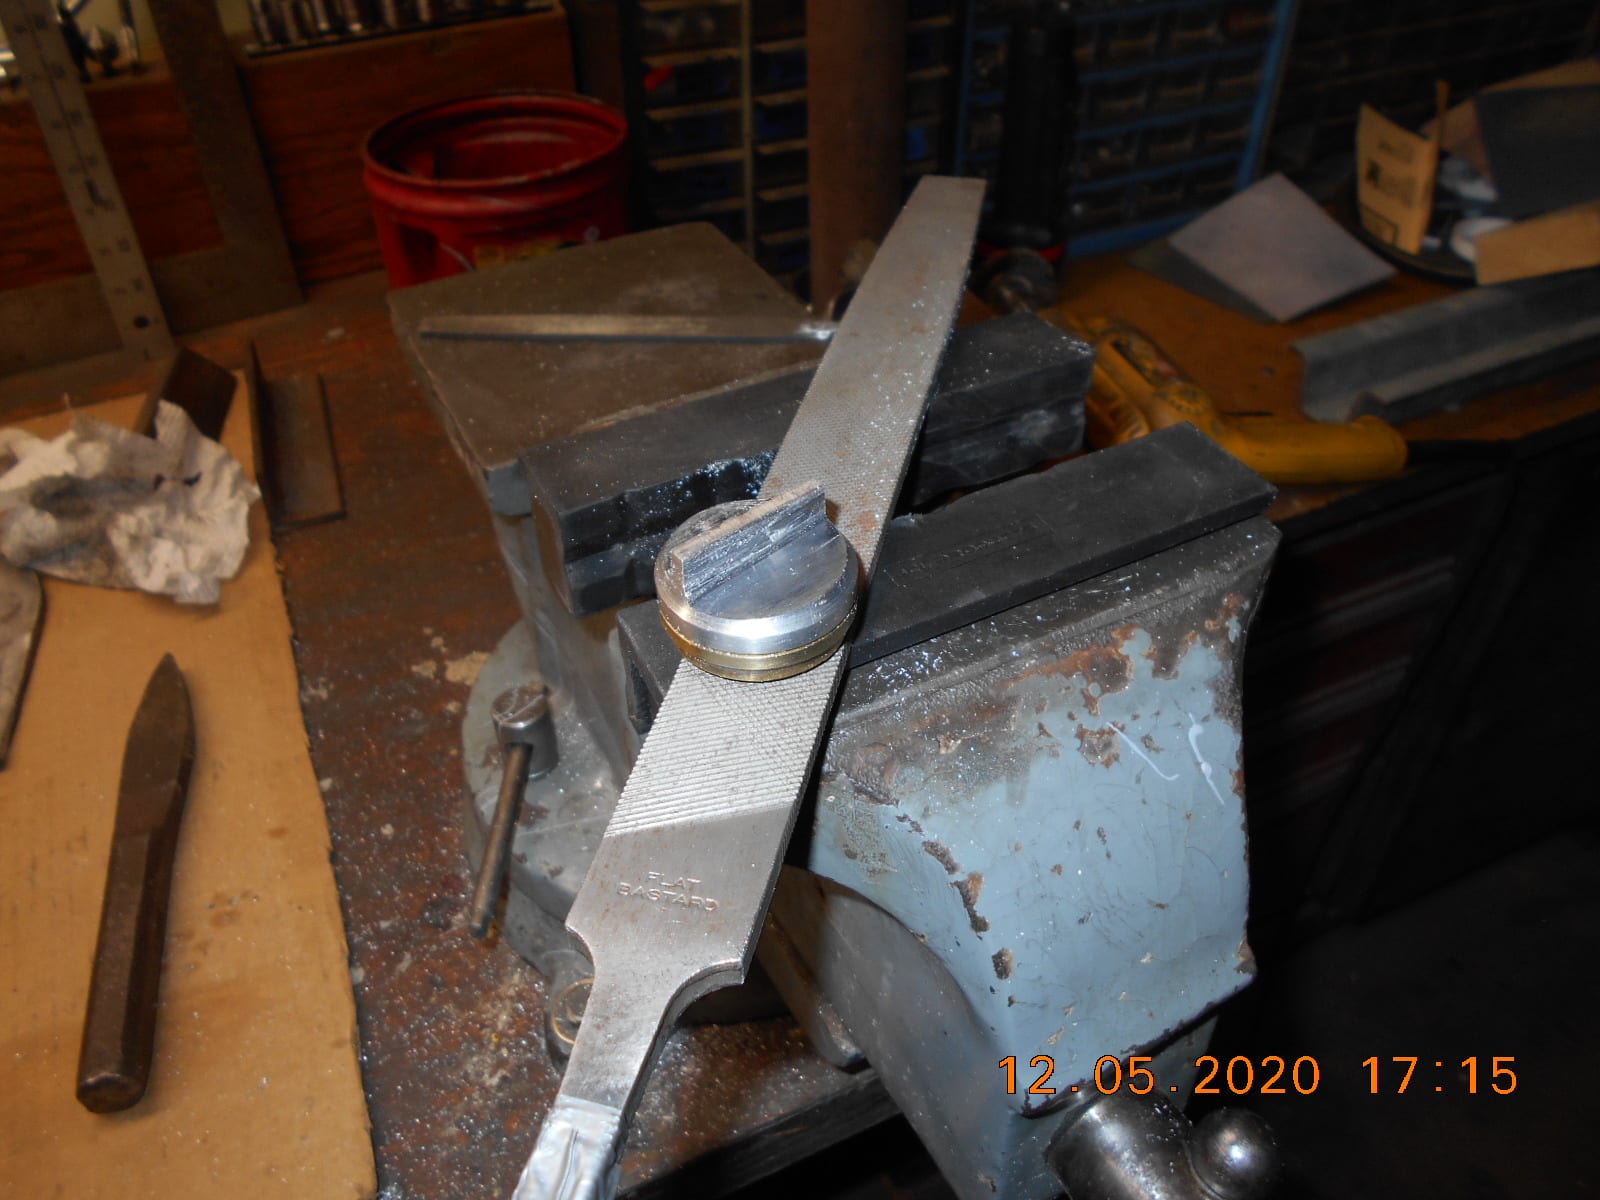
December 5, 2020 at 8:55 pm #224352I got a start on making the gas cap for the Caille Neptune today.
It appears that I’ll need a 1-3/8″ hole saw to cut the hole
in the top tank panel for the brass gas cap flange to set into the tank.
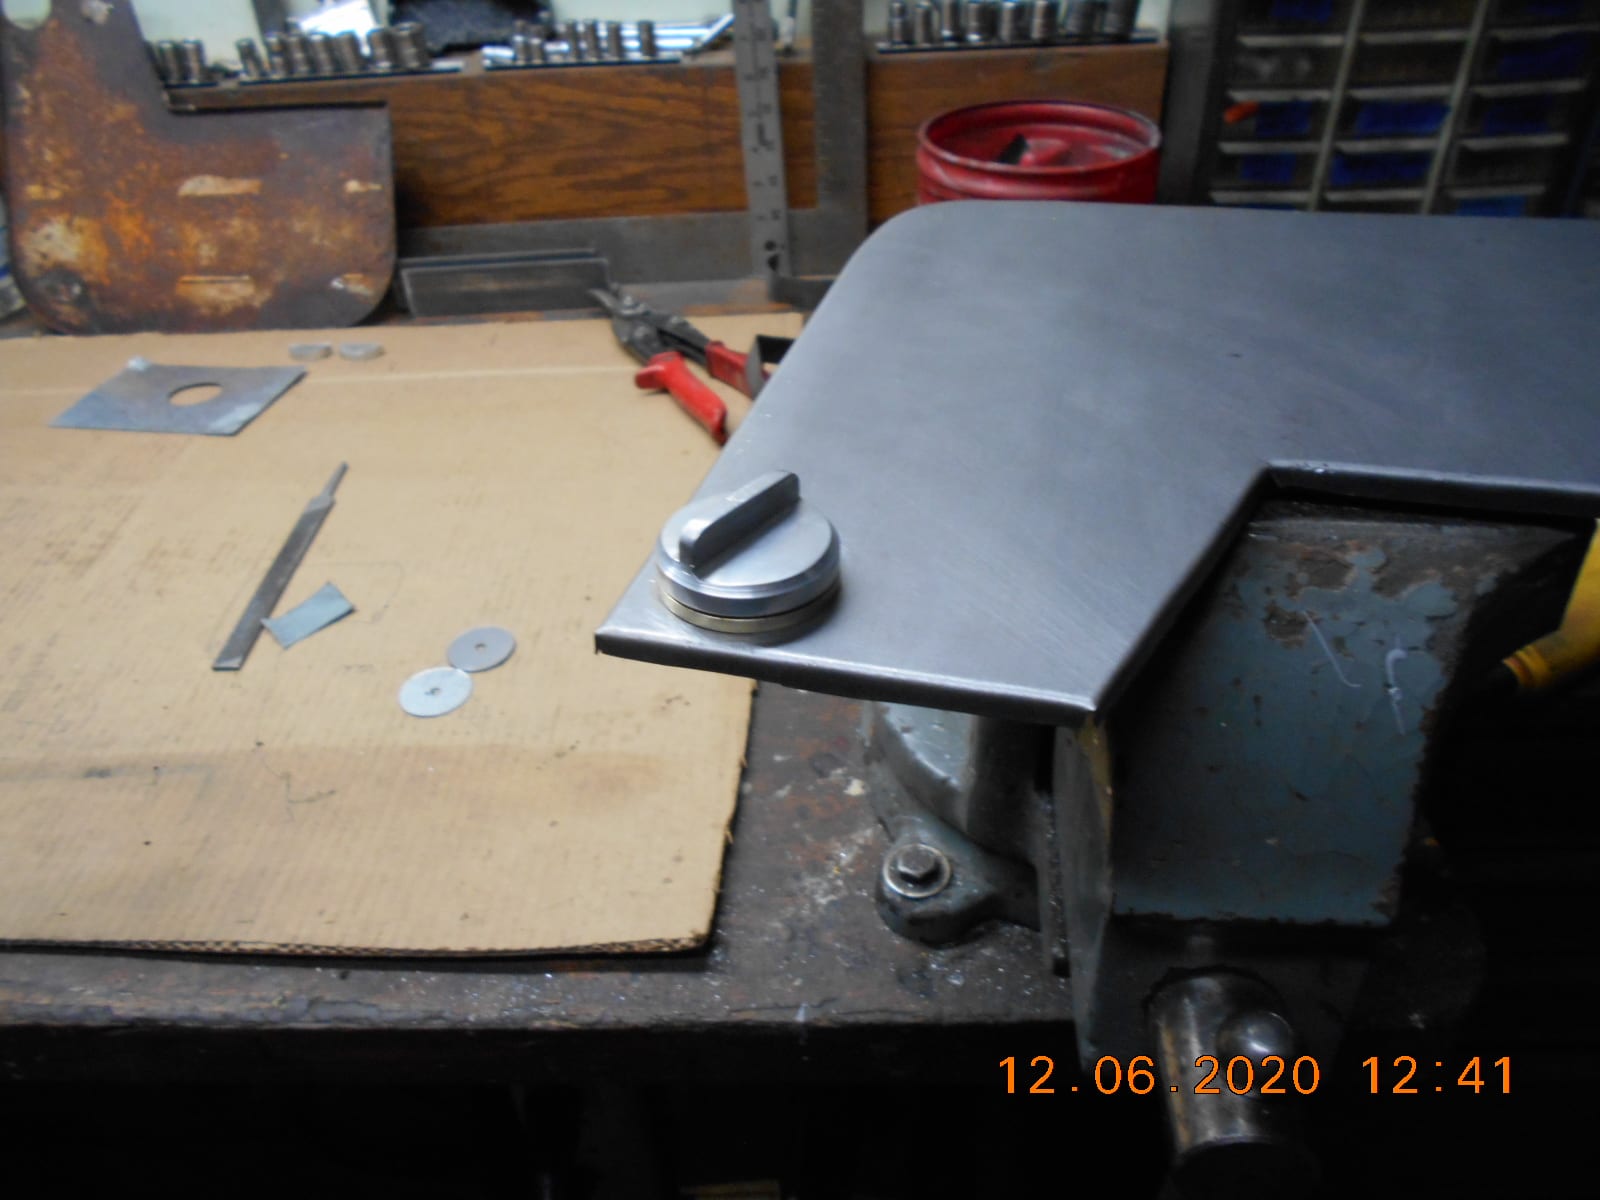
Also appears that “need” and “have” are two different things.I’m making the gas cap out of aluminum, as that’s what I had.
I’m glad I thought of making the cap before I soldered the flange
on the tank, as I used the flange to test my thread turning as I
went along.
FYI, the threads on the cap are 1-1/4″ x 14 tpi. Not a standard bolt size
according to any charts.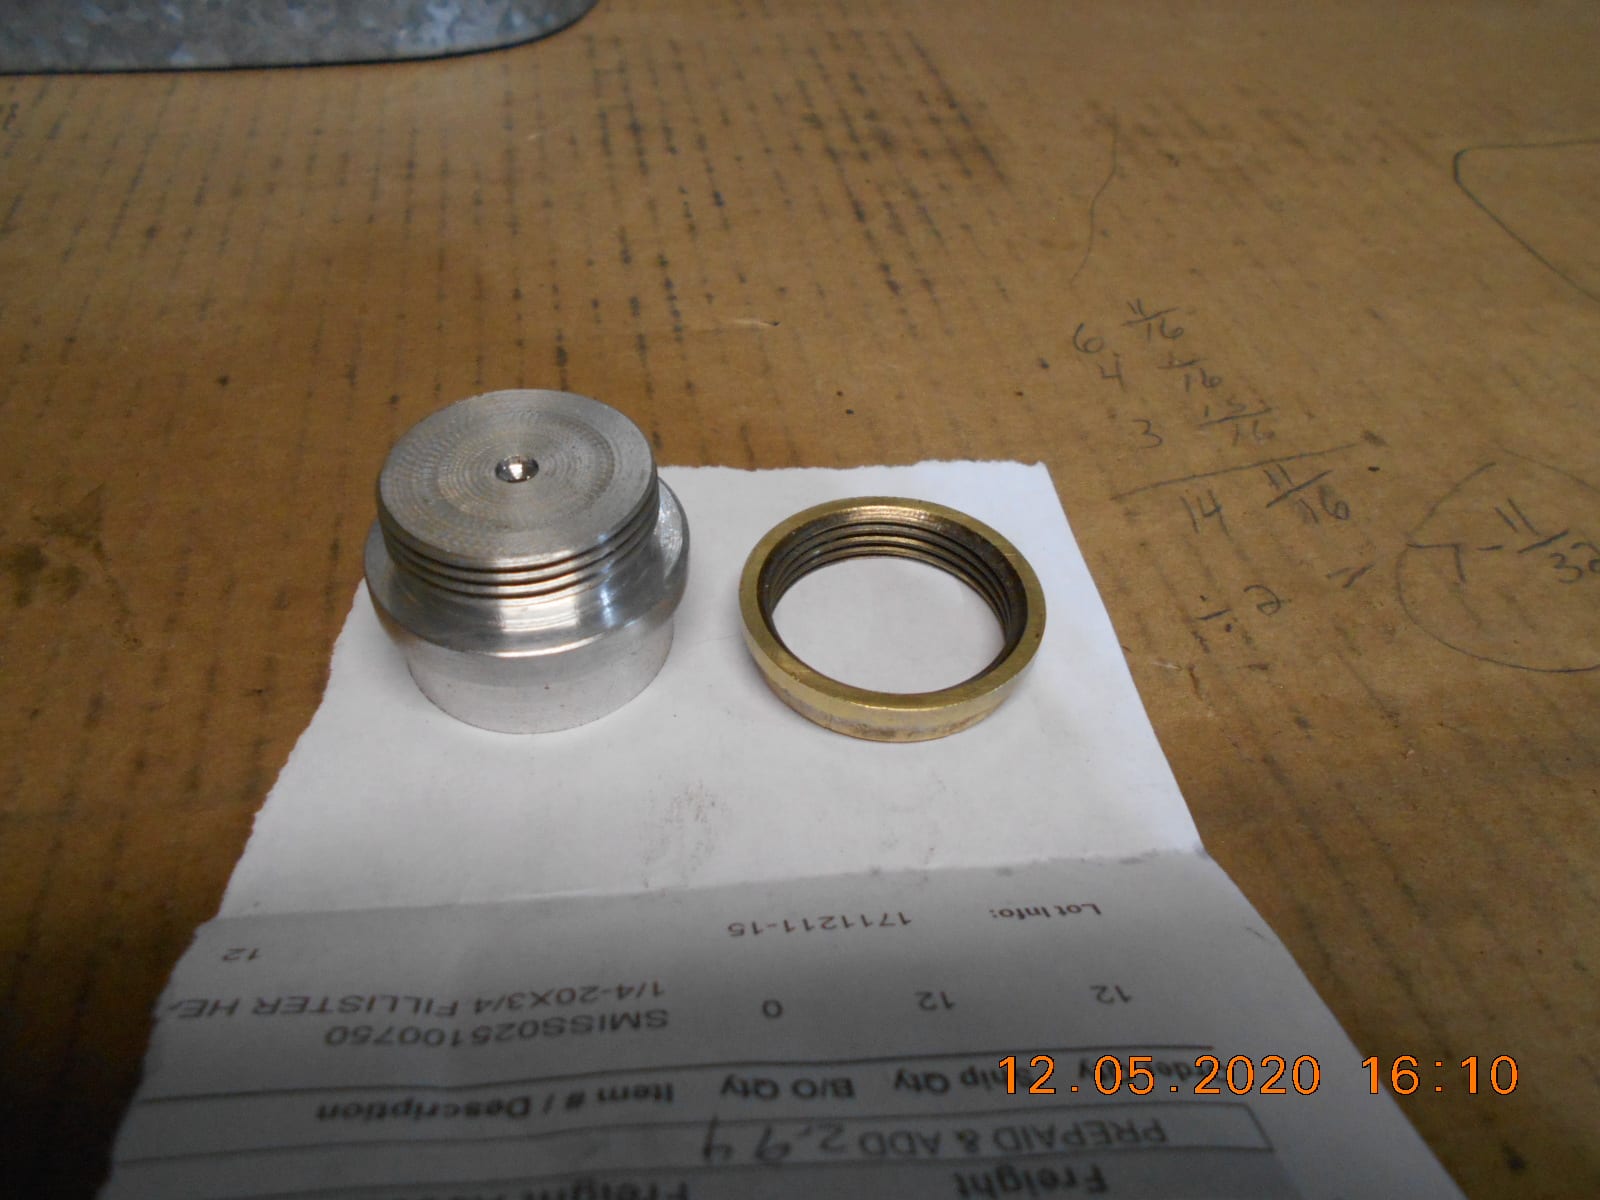
It’s 2020 and hacksaws are still used….. who woulda thunk.
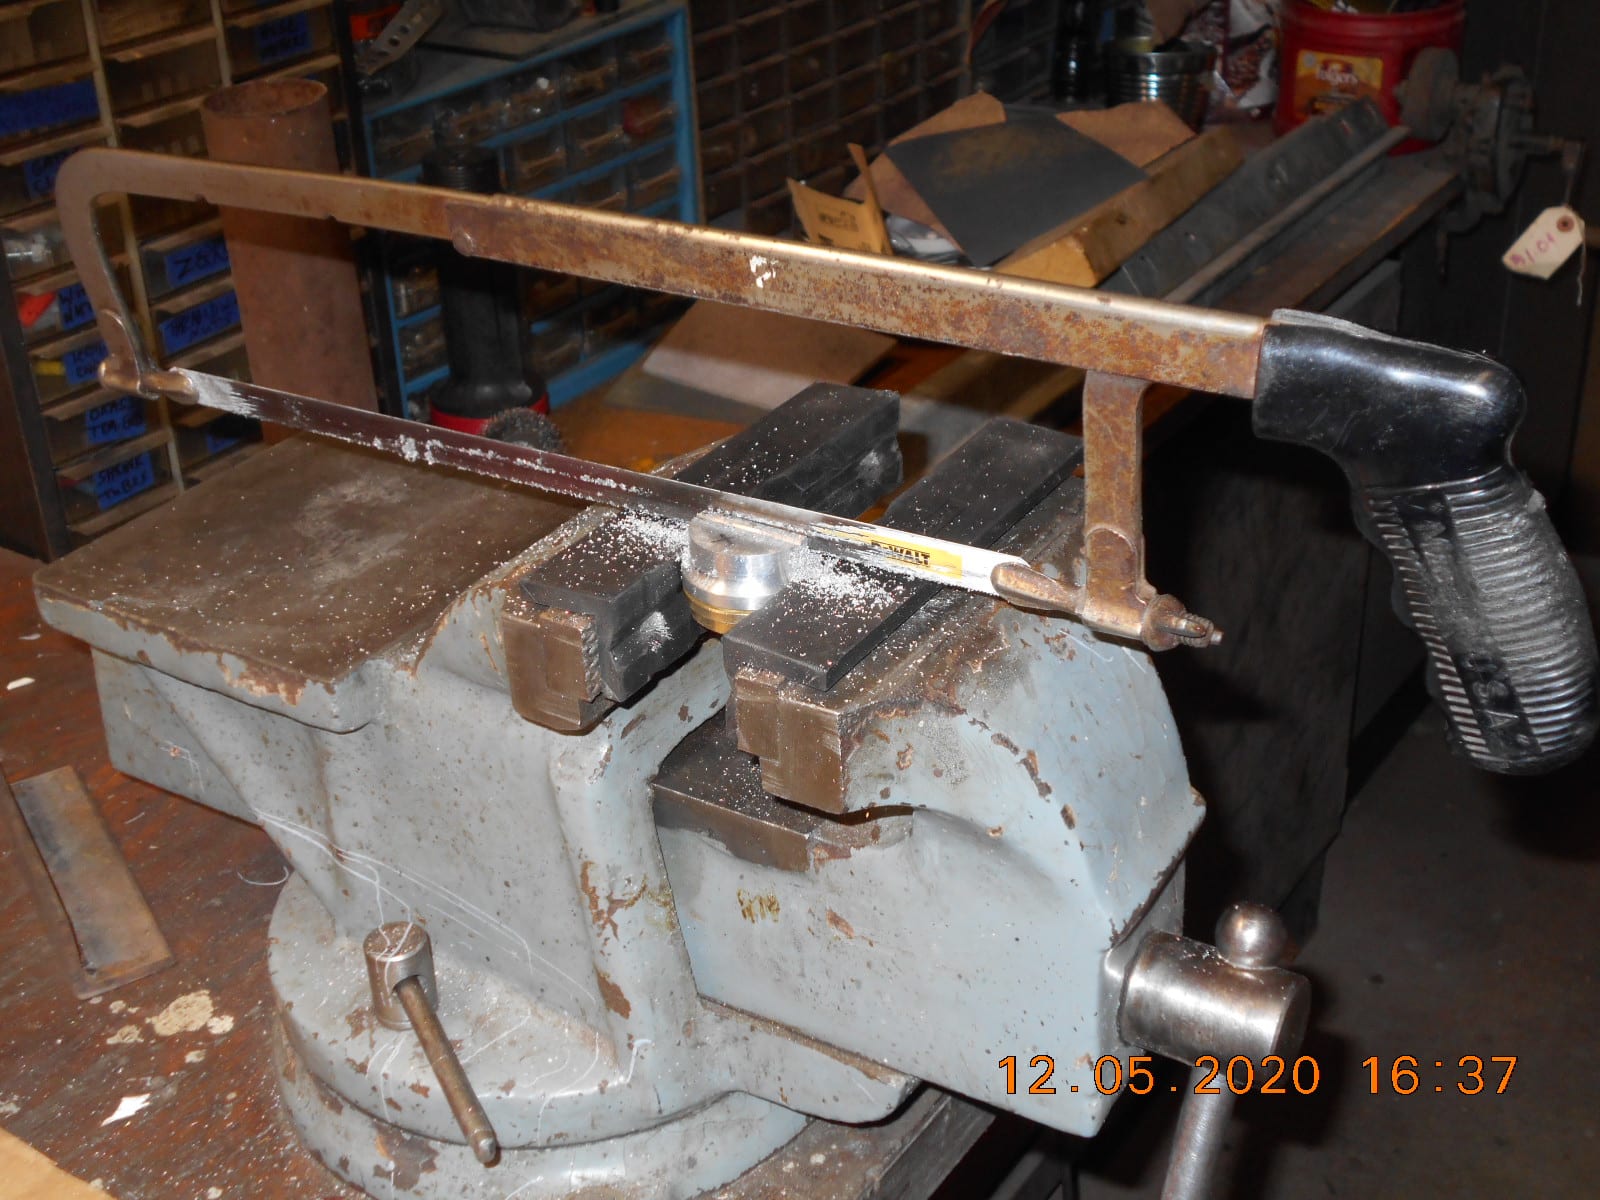
My “Old Fashion” Milling Machine. Will finish the cap tomorrow.
Me and the Flat Bastard had enough for one day.
Prepare to be boarded!
December 5, 2020 at 10:40 pm #224360Buc – another nice piece of work. This tank will look great when it’s done!
Bob
1937 Champion D2C Deluxe Lite Twin
1954 Johnson CD-11
1957 Evinrude Fastwin 18
1958 Johnson QD-19
1958 Johnson FD-12
1959 Johnson QD-20“Every 20 minute job is only a broken bolt away from a 3-day project.”
"Every time you remove a broken or seized bolt an angel gets his wings."December 5, 2020 at 11:16 pm #224361Buc – another nice piece of work. This tank will look great when it’s done!
Bob, that will depend on how the soldering goes. I haven’t used
a blacksmith style soldering gun since 10th grade. I do have
a flea market electric one though, that I forgot I bought several
years ago…… will finally get to try it out once the solder and
flux arrive.Prepare to be boarded!
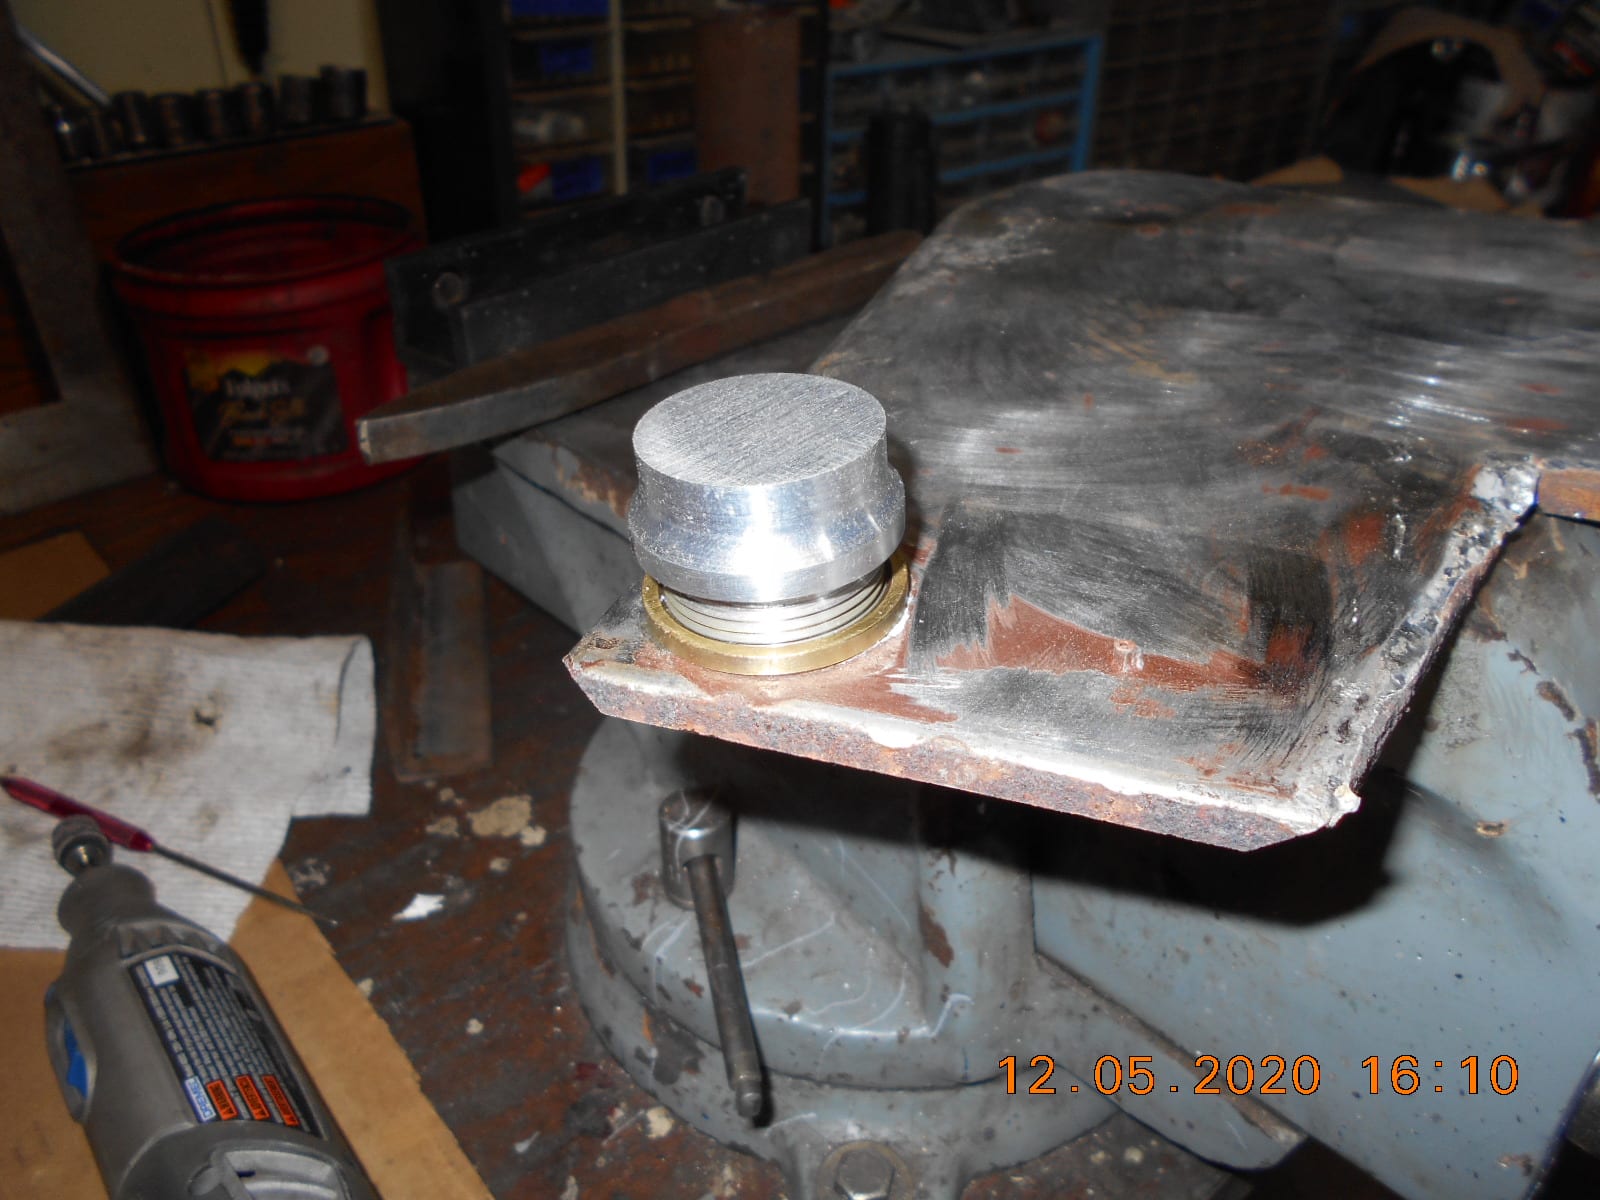
December 6, 2020 at 3:14 pm #224401I finished up the gas cap, at least for now. I could make it a little
nicer looking with more filing, sanding, etc., or I could hope I
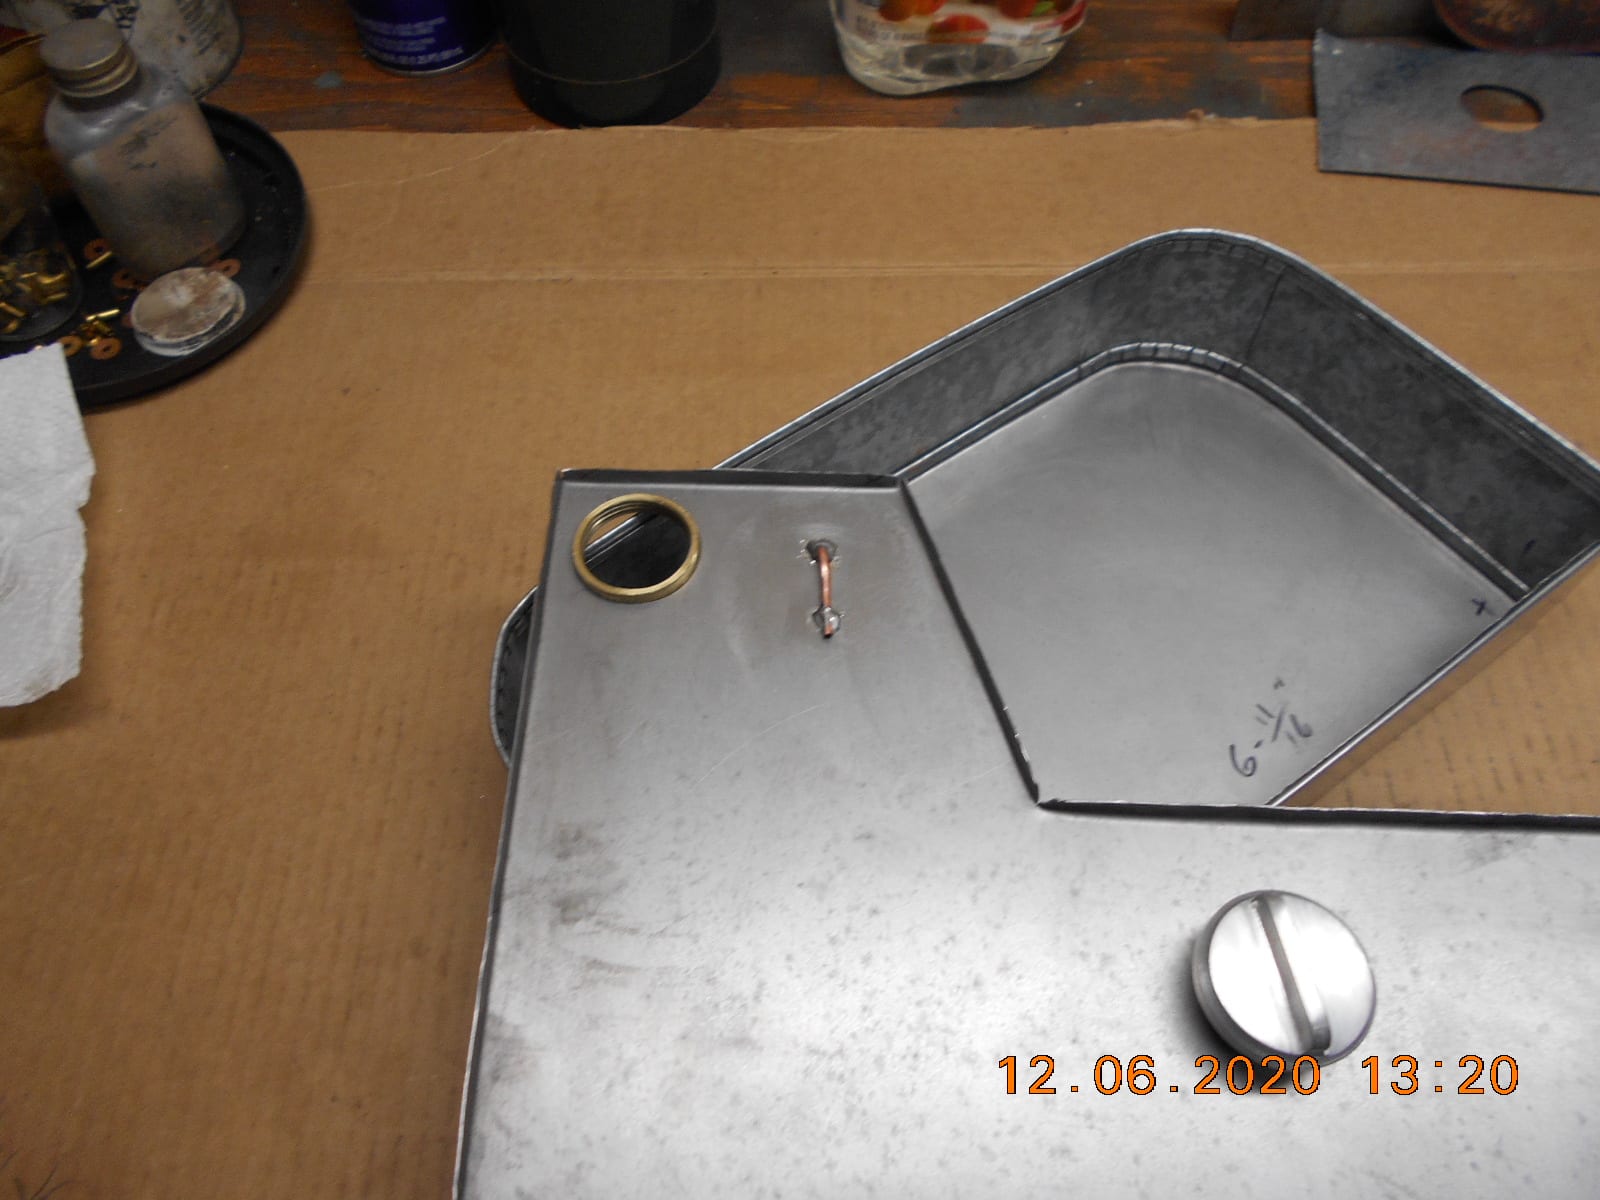
get a milling machine in this lifetime to make a new one.Then I cut out the hole for the filler cap threaded flange
using an adjustable hole cutter. I had my doubts, but
I cleaned the tool up, sharpened the cutter bit, and
did a test drill in some scrap. The hardest part was trying
to get everything clamped down good on the drill press.
Had to do a little deburring, but the flange fit tight.Next, onto the “vent”. My old vent barely stuck above the
top of the tank.
Is this how they left the Caille factory?
I see that Joe’s tank was the same.
Some other photos it appeared that the vent line stuck up
a ways. I decided to make it longer, figuring I could always
shorten it if needed. I could not find any 1/8″ OD copper tubing
laying around, but I had a loose carb off a Zephyr with a
slightly smaller OD that became a donner.Next I need to “test mount” the tank to the motor to position
the bronze mount to make sure the tank looks square
to the motor, then drill the rivet holes.
I still have to experiment with the rivets after I fashion
some kind of tubular rivet set.

Prepare to be boarded!
-
AuthorPosts
- You must be logged in to reply to this topic.